Announcing Needed Updates to Legacy OAuth Destination Accounts (2/24/21)
On January 26, 2021, we released improvements to the process for performing OAuth authorization when distributing data to destinations that use OAuth authorization. With that release, you now use an OAuth “connection” when activating a new destination account for an OAuth destination. You can reuse that connection for multiple destination accounts. See “Announcing OAuth Improvements (1/26/21)” for more information.
As part of this new process, customers who have legacy OAuth destination accounts that don’t currently use an OAuth connection will need to update those destination accounts with a valid OAuth connection. This will remove the risk of failed deliveries from your destination accounts that were present with the legacy process.
While no deadline has currently been set, we will be prompting you to make these updates within the next few months, so making these updates soon will allow you to benefit from the improved process (and reduce the number of emails in your inbox).
To make it easier for you to find those legacy OAuth destination accounts, we’ve implemented a toggle on the Your Destination Accounts page in Connect.
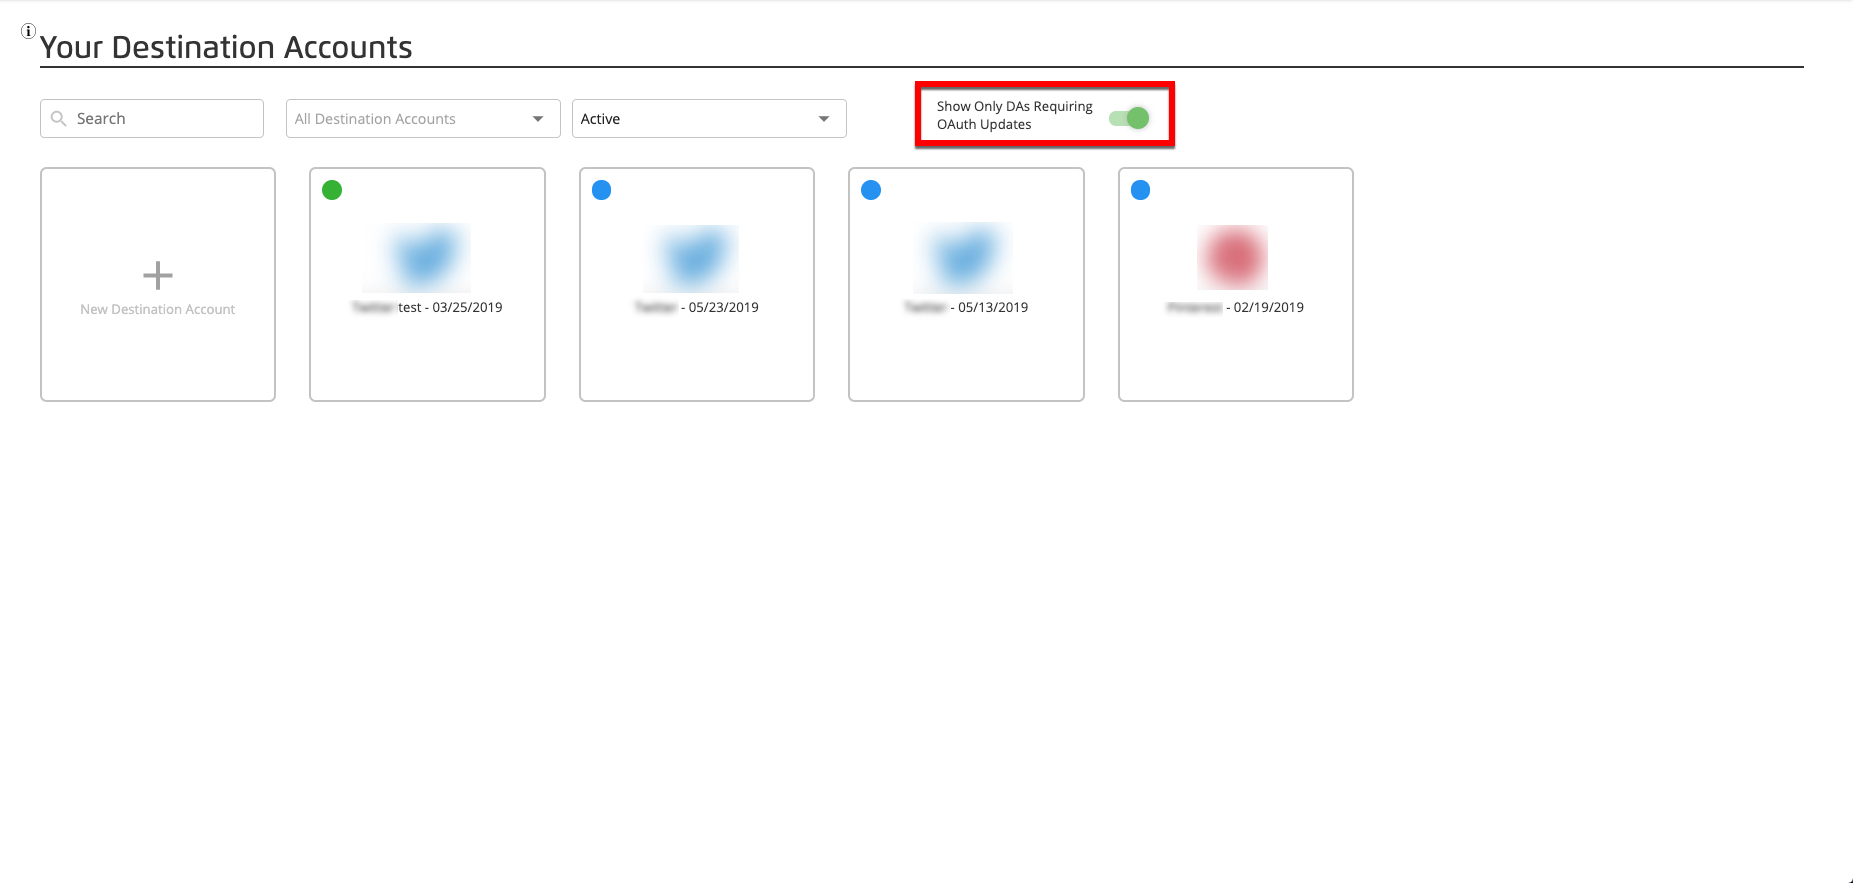
When you enable this toggle, only legacy OAuth destination accounts that require updating are displayed.
To update a legacy OAuth destination account:
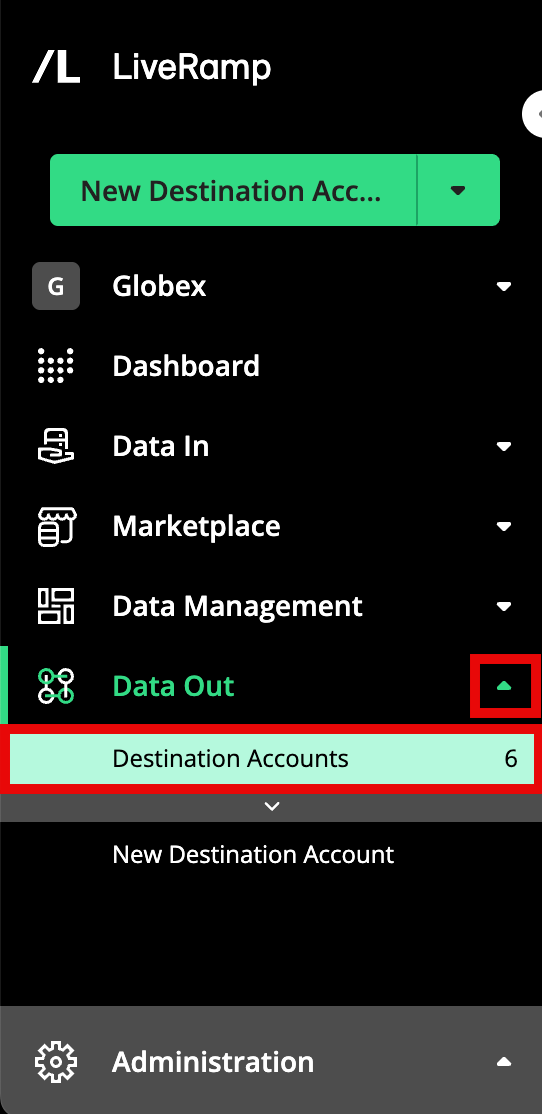
From the navigation menu, select Data Out → Destination Accounts or click the Distribute Data tile from the Welcome page.to navigate to the Destination Accounts page.
Enable the “Show Only DAs Requiring OAuth Updates” toggle by sliding it to the right.

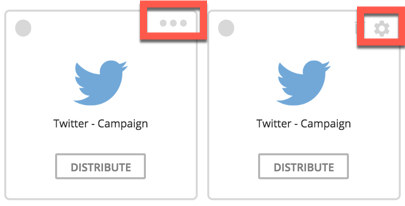
For the destination account that you want to update, click the ellipsis that appears when you hover over the upper right corner of the tile, and then click the gear icon.
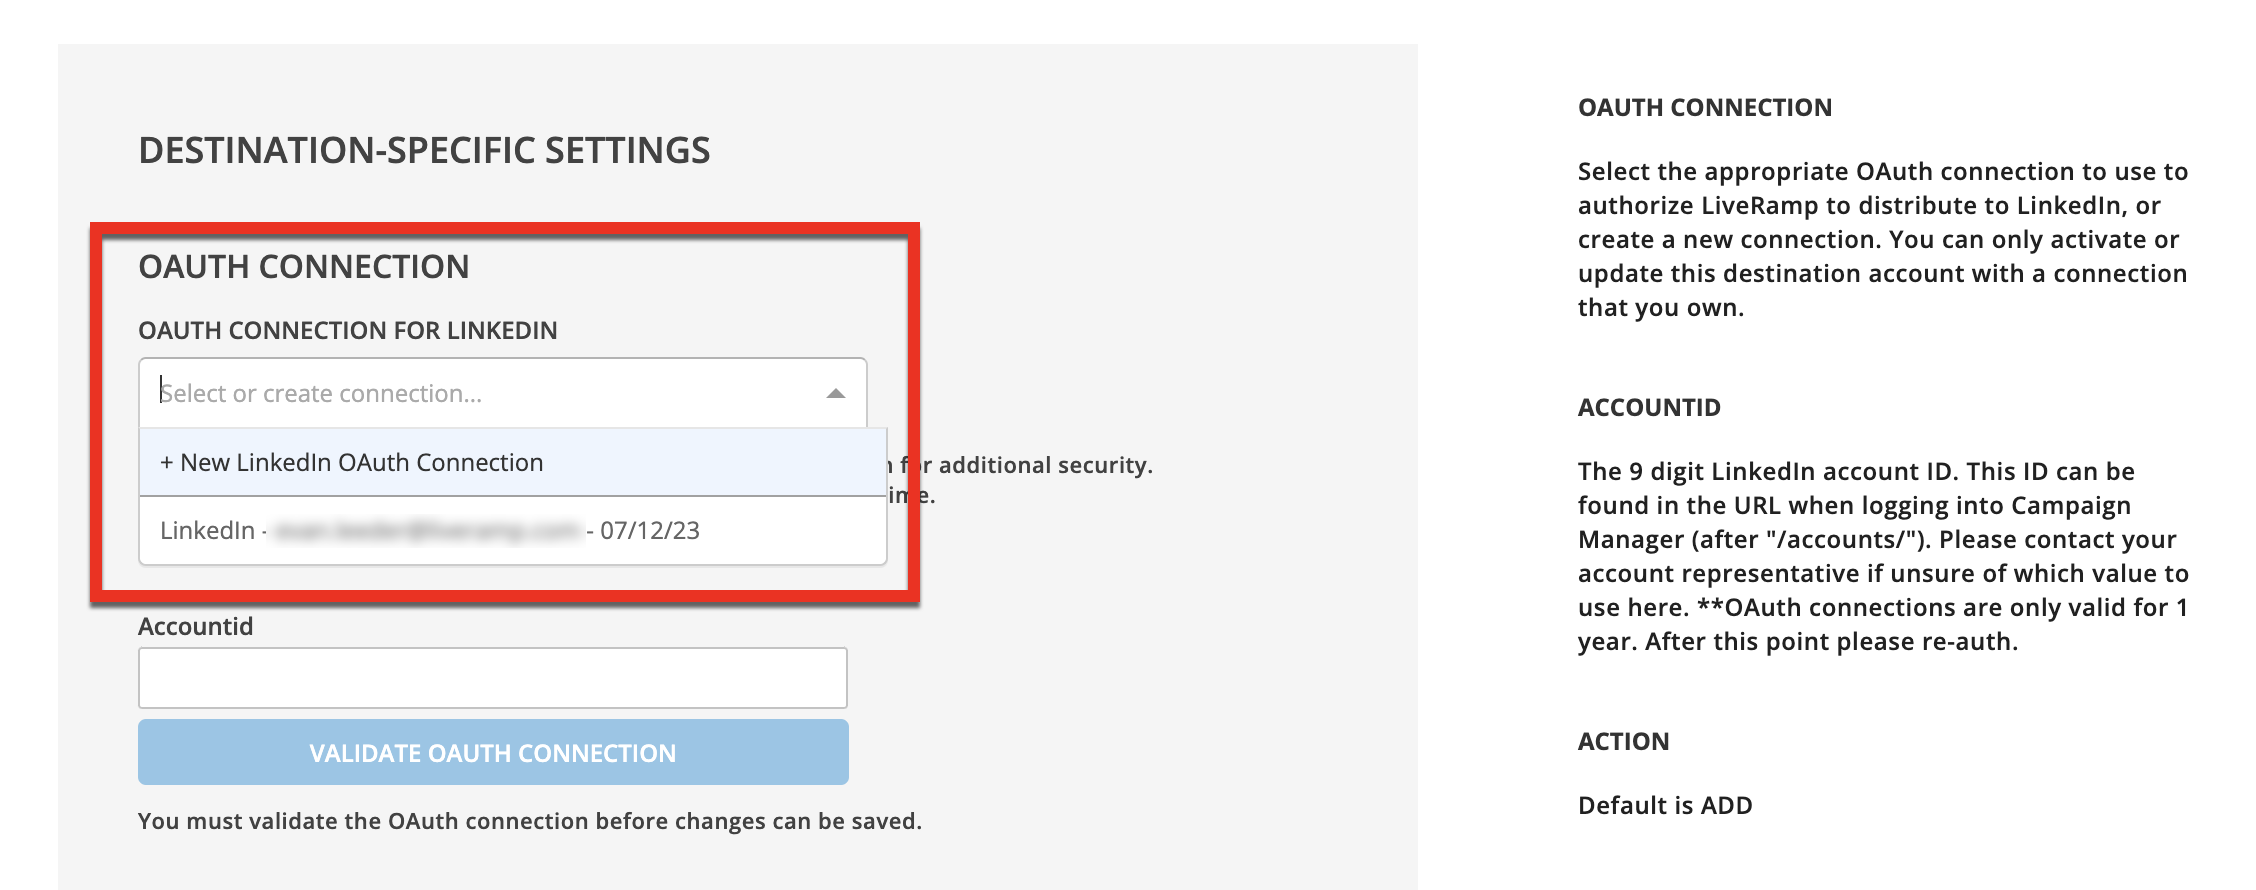
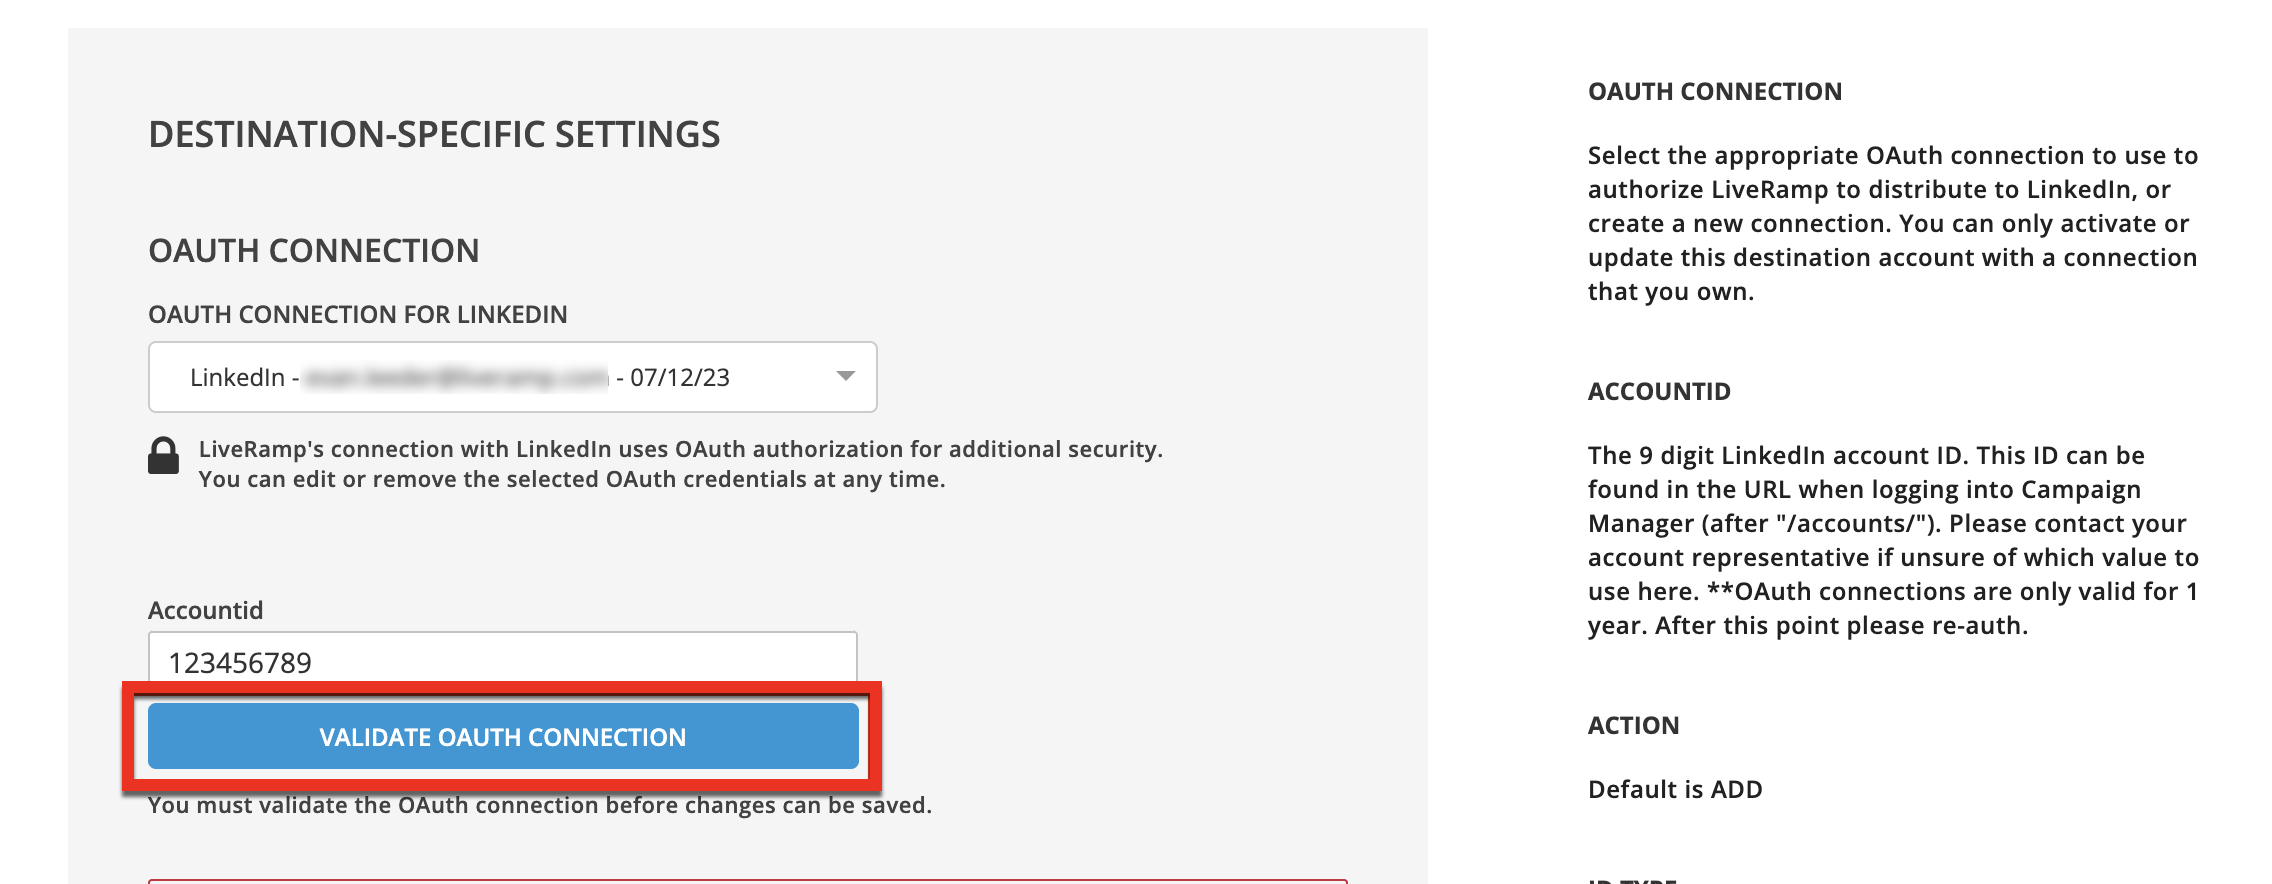
Select one of your existing OAuth connections for that destination from the OAuth Connection dropdown list, or select "+ New OAuth Connection" to create a new connection for that destination and follow the authorization process at the destination's website.
Note
If creating a new connection, follow the instructions to perform the authorization in the dialog that opens for that destination. See the appropriate section below for authorization information for specific platforms.
Click .
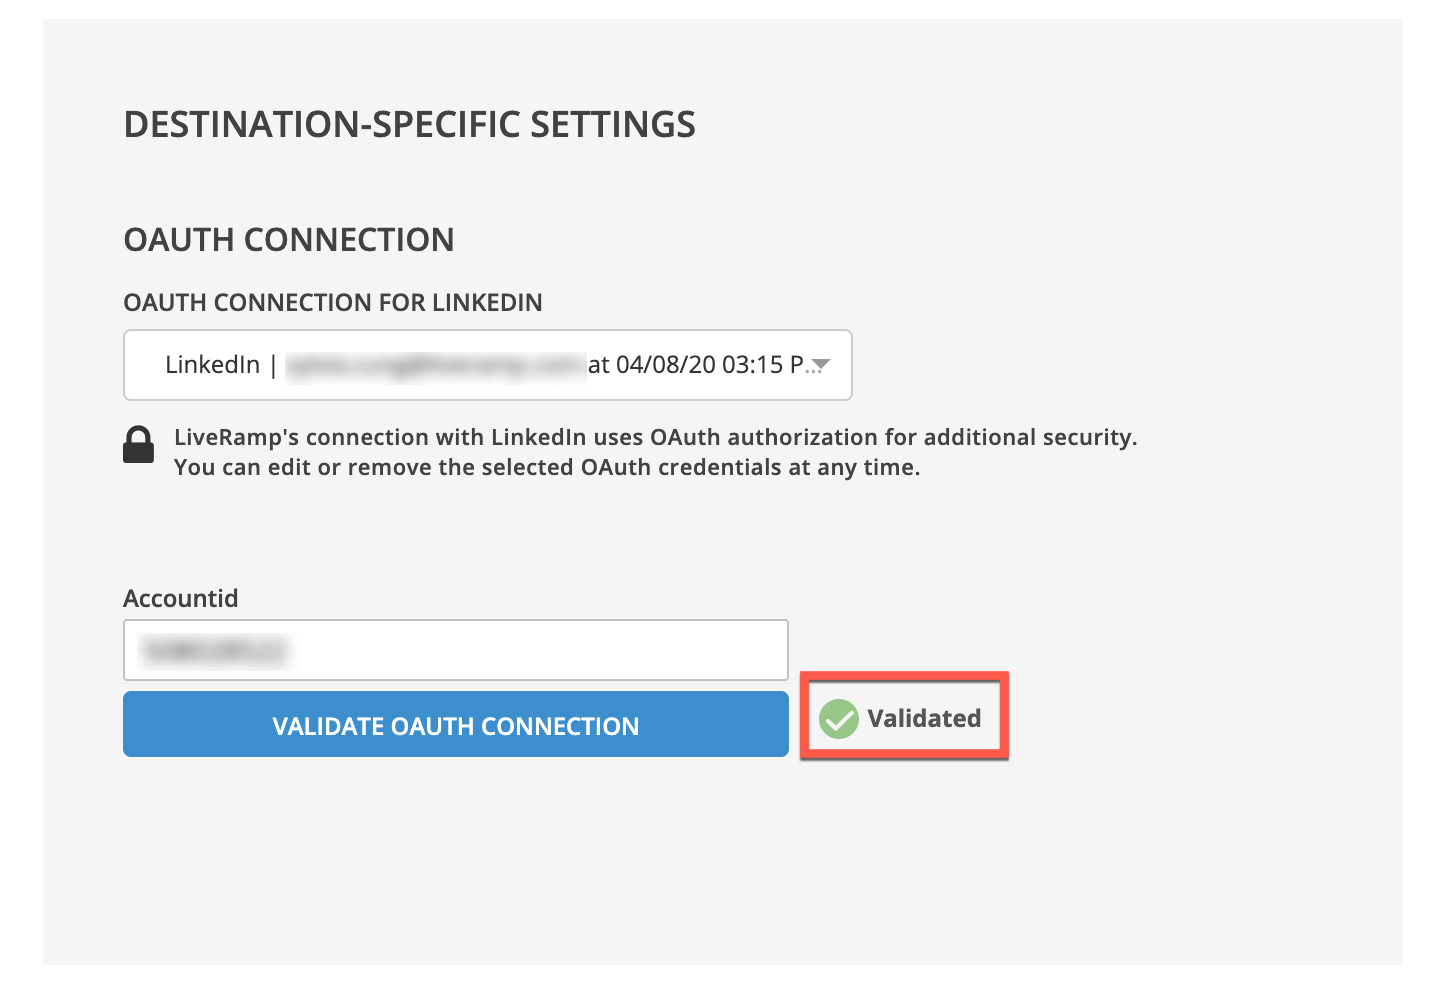
After the validation process is completed, a validated check mark appears:
Note
If a system error occurs, an error banner appears:

Try to validate again. If you continue to get this error, contact your LiveRamp representative.
Note
If the seat or account ID is incorrect, an error message appears:
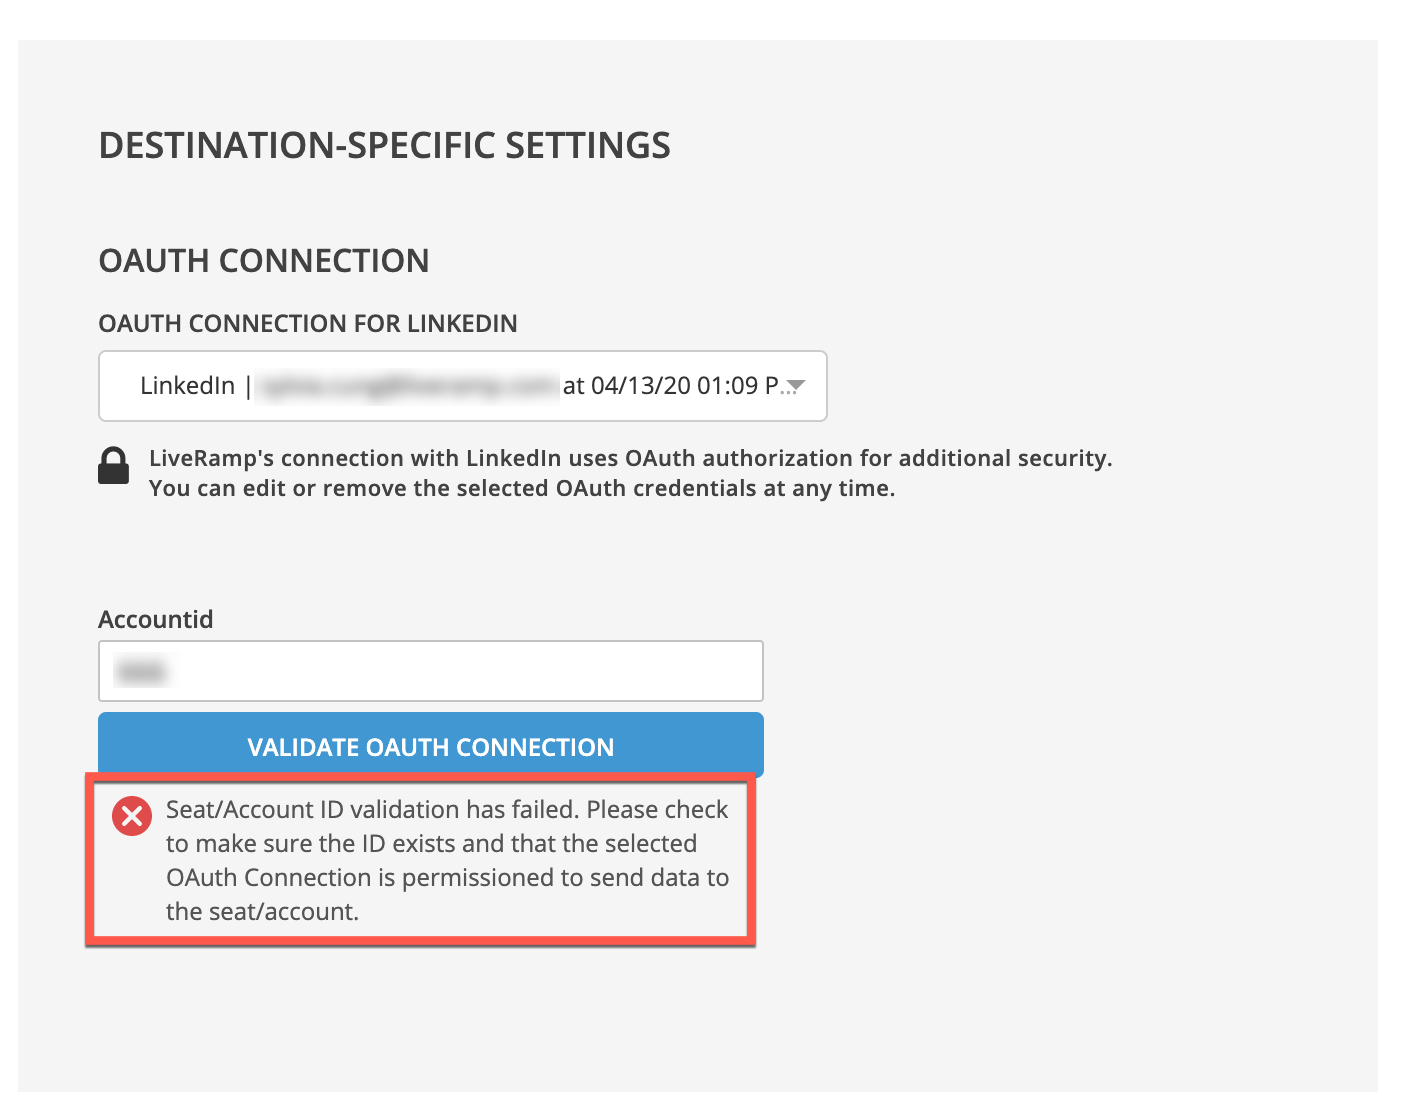
Check that the ID is correct and try to validate again.
After the OAuth connection has been successfully validated, click .