Create an ATS Placement
Every ATS implementation requires a placement. To ensure that your sites fulfill the privacy and data ethics criteria, you are required to submit the domains or bundle IDs (for Mobile ATS SDK) where ATS will be used for a review. A placement ID will be generated once you have passed the privacy review and you will then be able to implement ATS on your sites and apps.
About Placement ID
Your placement ID plays a crucial role within ATS as it will be used for determining the loading rules and for making sure your property is following all LiveRamp's requirements for running ATS. Each placement ID represents domains which are the websites where ATS will be running or bundle IDs for apps if you are running ATS via our Mobile SDK.
How it Works
Via our easy-to-use wizard, LiveRamp will perform two types of privacy review of your domain(s) for each country: an automated privacy review and a manual one by one of our team members. If you have submitted your placements for an automated review and did not meet all the criteria, you could still submit your placements for a manual review. If you have met all the criteria during the automated review, you must still go through a manual review.
You can still configure ATS in test mode while your placement is still pending for approval. During this time your configuration will use a (temporary) test ID instead of the actual placement ID and will log all library events in Console.
Note
If you’re not able to view, edit, or publish an ATS placement or configuration, you may not have the required permission to do so. If you are the account creator, all permissions will be granted by default. See Create and Manage Users to learn more.
Check the Recommendations
First, check if the countries you want to run ATS in are included in the list of ATS Supported Countries. Then, check our recommendations for your CMP and privacy policy language to ensure you pass the LiveRamp privacy and data ethics review:
If you are running ATS in multiple countries that do not include the EU, you can check out the following recommendations to save time from implementing multiple privacy policy languages:
How to Create an ATS Placement
The placement creation process is done through a wizard in which you will submit all the details regarding the countries where you plan to run ATS, your domains, available authentication methods, and others.
Make sure you answer the questions as correctly as possible to ensure a smooth onboarding process to ATS.
Log in to launch.liveramp.com.
From the navigation menu, go to ATS > Placements.
In the "Placement" area, click . This opens a "Create a Placement" wizard.
Enter a placement name and then click .
Note
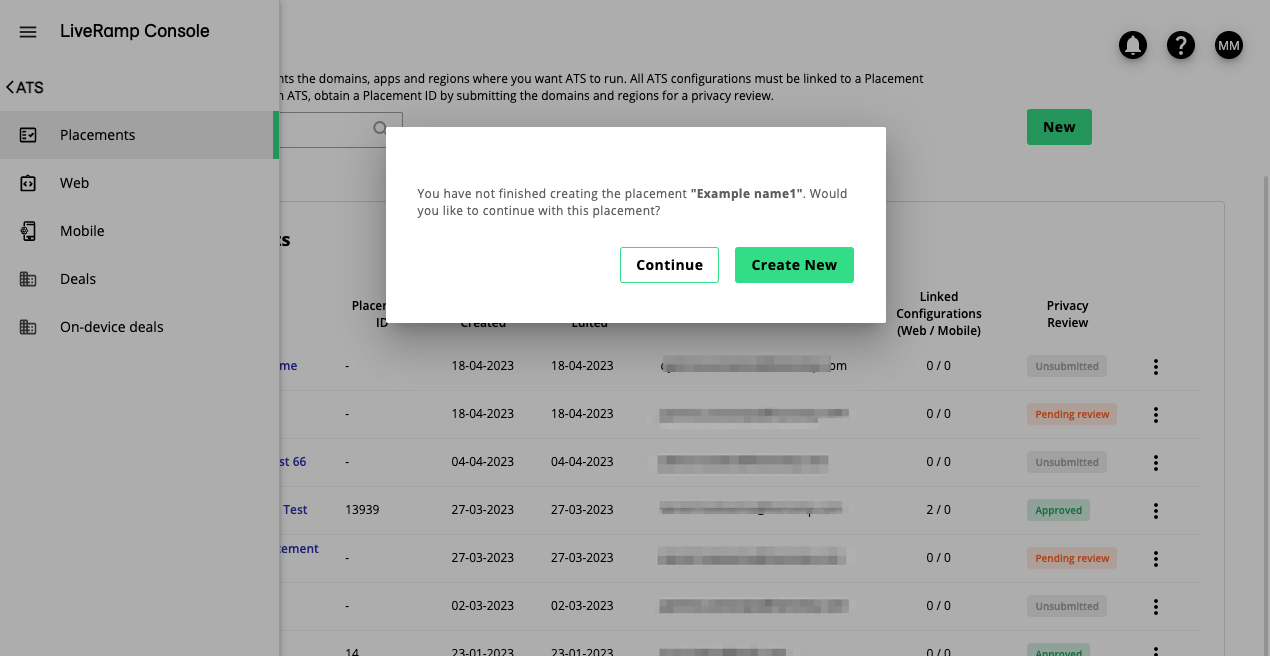
You can save your placement in the middle of the creation process by clicking Cancel > Save. To resume with the placement, click in the Placements screen and click Continue.
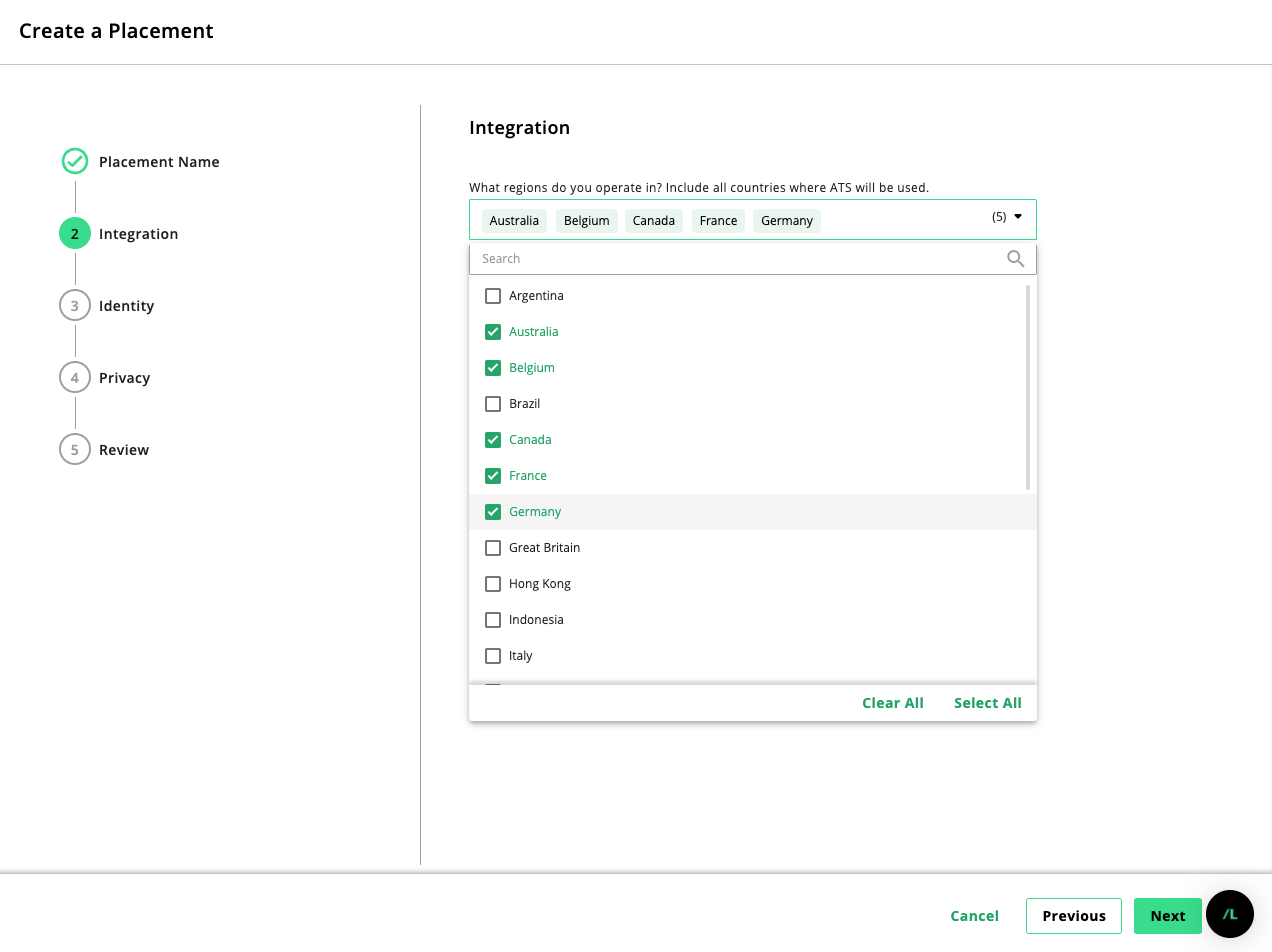
In the "Integration" step, you have to provide details on how you plan to integrate ATS with your domains. Select all the countries you want to include in your placement.
Add your desired domains/bundle IDs and links to their associated privacy policies. You can add more domains/bundle IDs by clicking the plus sign symbol.
Caution
You must note the following when you're adding your domains/bundle IDs:
Include all domains and subdomains where ATS will be used. Note that only the domains entered here can be used as a filter for ATS Analytics.
For domains, make sure the domain path is an exact copy of what Prebid is passing in the bid request (we do not check for
www.,http://orhttps://).For bundle IDs, it should be in the following format for Android
com.liveramp.androidand like so for iOScom.liveramp.ios.
Select how your users access your domains (you may select more than one), and select how you want to integrate with ATS. See Authenticated Traffic Solution to learn how ATS.js and ATS API compare.
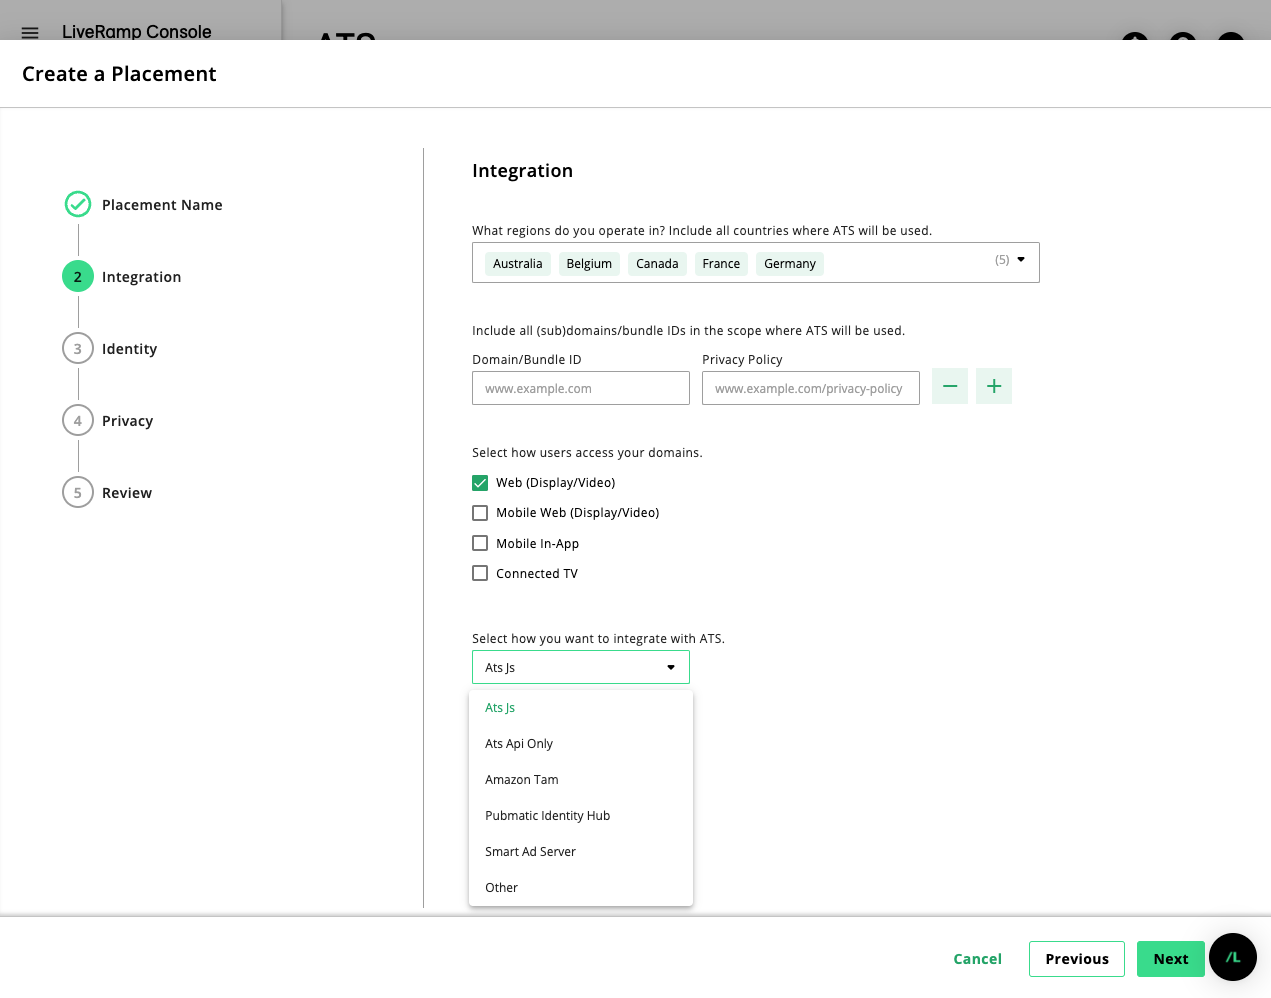
Click .
In the "Identity" section, select all the applicable methods on how authentications (users providing their email addresses or phone numbers) happen on your property. If you do not have any authentication methods set up yet, select the last option.
Select other identity solutions you are working with, if applicable.
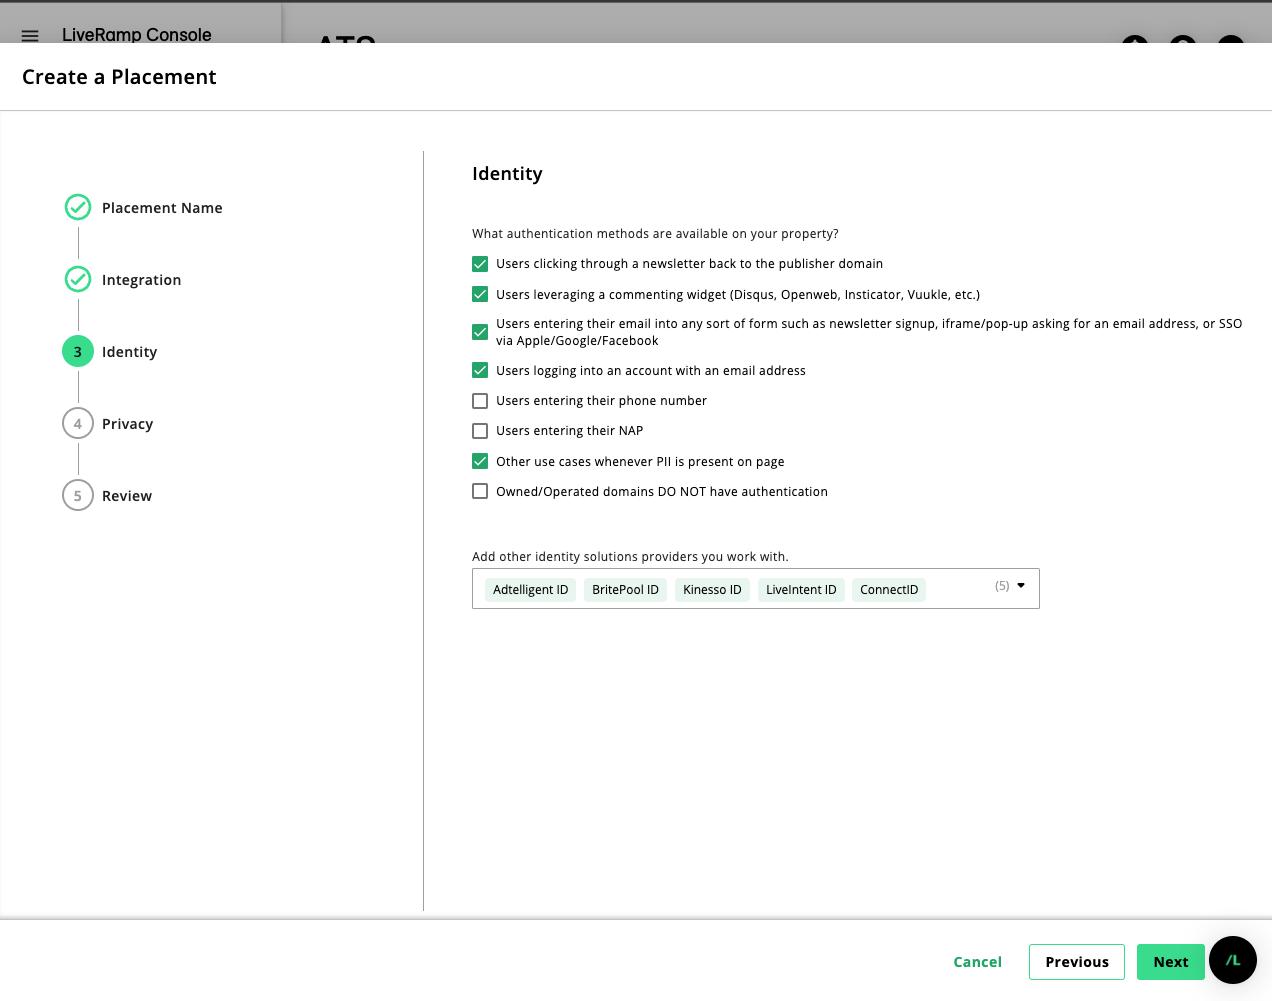
Click .
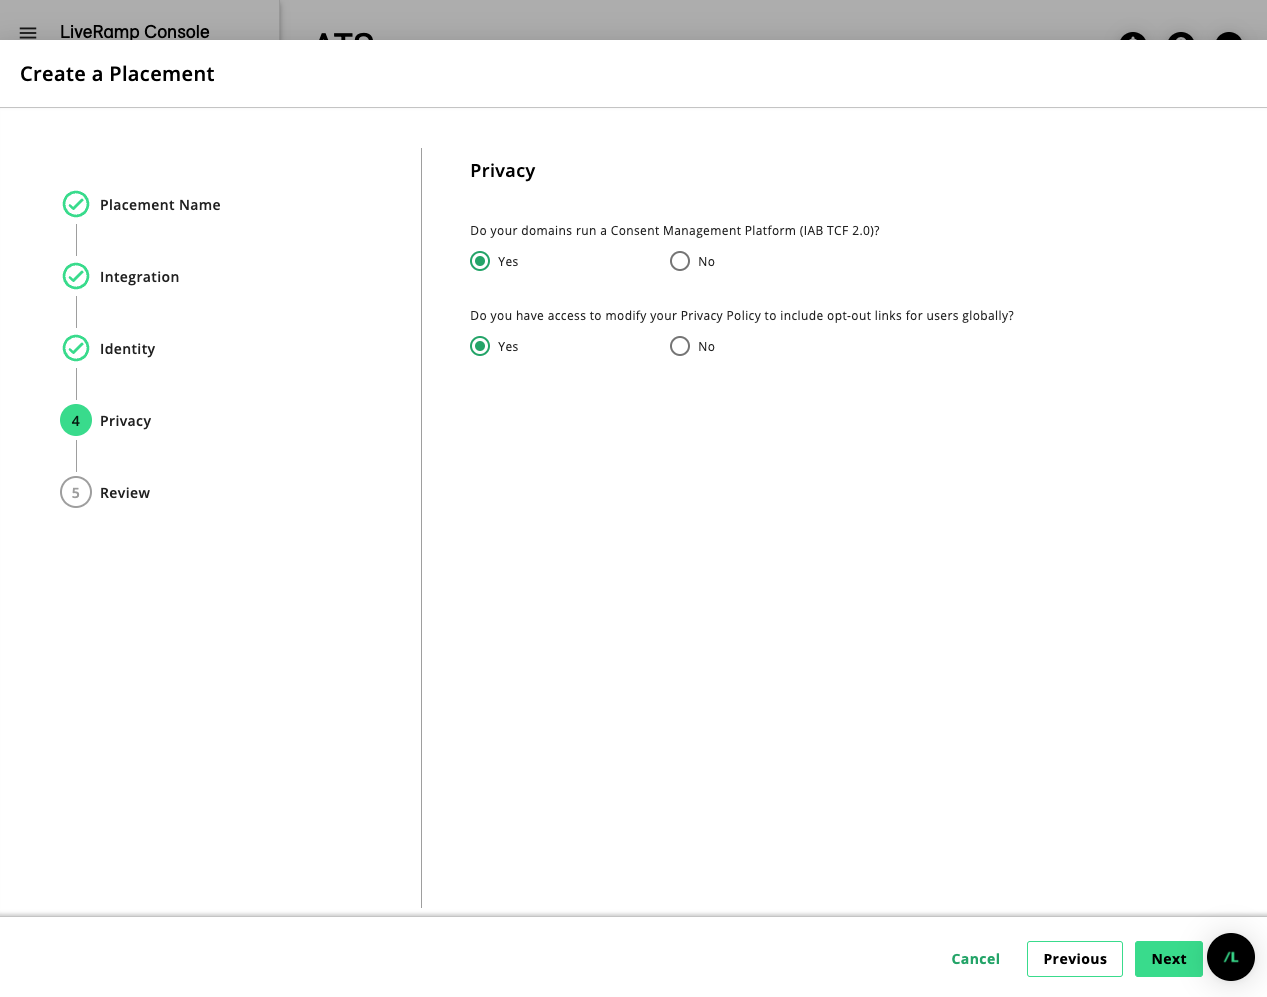
Confirm the privacy questions regarding the Consent Management Platform and whether or not you have access to modify the Privacy Policy related to your domains.
Review all the details about your placement. To edit the placement, click the button until you get to the desired screen.
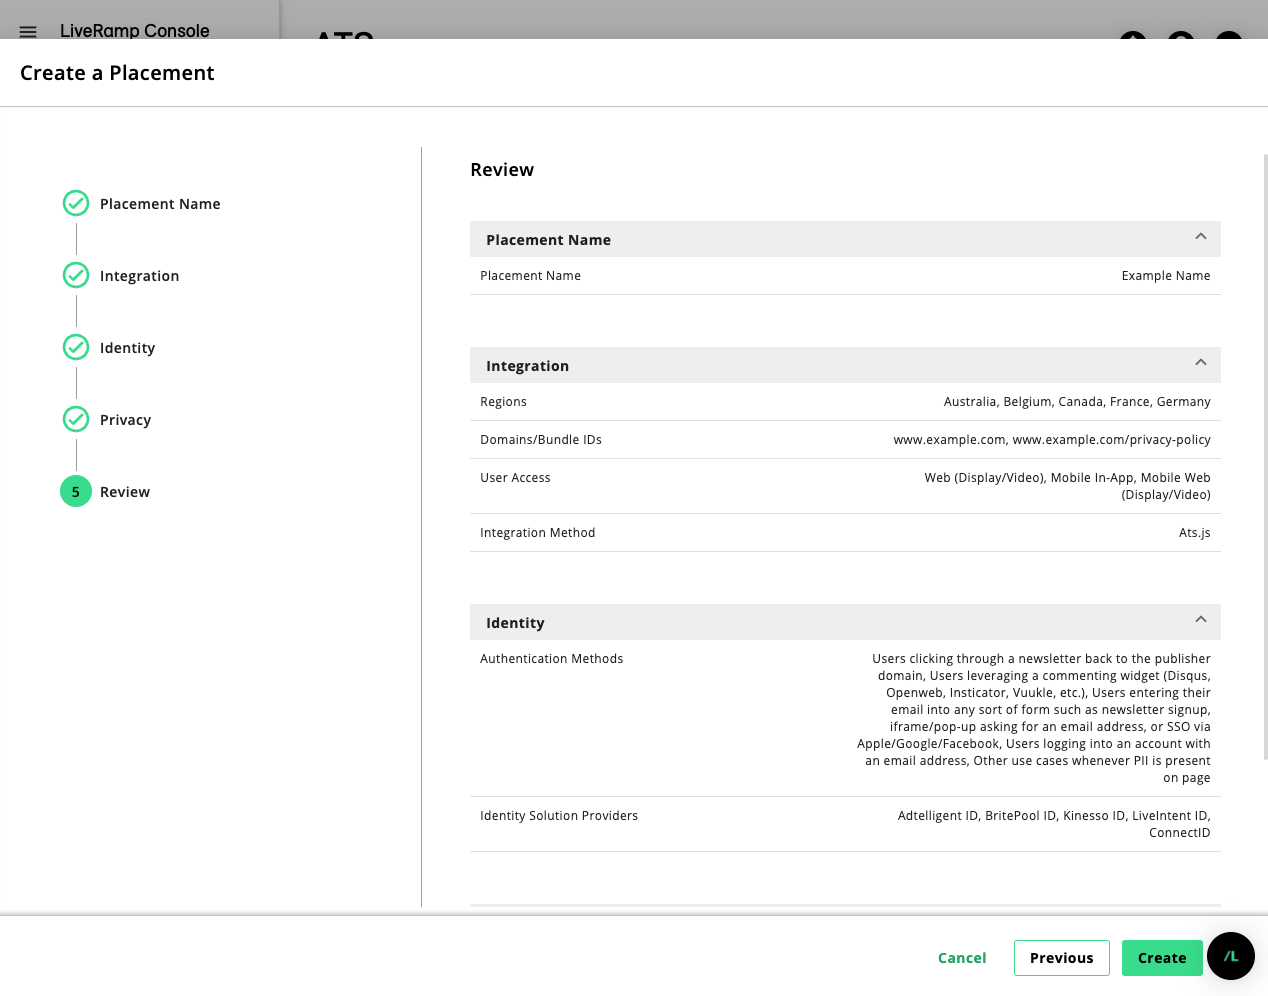
Click .
In the pop-up, you must confirm that you’ve read the recommendations and made the necessary changes, then click .
Once an automated review is done, you will be able to see which criteria you did not meet. Click Download Report to check for any pending actions on your side. You can still submit your placement for a manual review even if you did not meet all the criteria.
Click Submit to submit your placement for a manual review.
Note
When a Placement is already approved, the button will be disabled until you make an adjustment to the Placement settings.
The status of the placement changes to "Pending Review". LiveRamp must review and approve or reject your request before you can make further changes. Once your placement request has been approved, the approval state changes to "Approved".
To adjust your ATS placement after it has been approved (for example; to include more domains or countries), see Configure ATS Placement.
What's Next
You don't have to wait until your placement is approved to set up ATS. If you're ready to get started with ATS configuration, See Create an ATS for Web Configuration.
If you plan to interact directly with the ATS API, we will be in contact with you after we review your request.