Announcement: Required Action for all Active Bing Destination Accounts (5/26/22)
On June 6, 2022, LiveRamp's OAuth integration with Bing will be updated. If you have active Bing destination accounts that use an OAuth connection that was created before May 1, 2022, you will need to take action as a result of this update. If you do not take action, any Bing destination accounts with active distributions that use a connection created before May 1, 2022, might have their new deliveries fail starting June 6.
We recommend that, as soon as possible after we update the integration on June 6, 2022, you create a new Bing OAuth connection and validate it for all active Bing destination accounts that use a Bing OAuth connection that was created before May 1. This will ensure that there are no disruptions to your Bing distributions. See the sections below for complete instructions.
Note
If you do not have any active Bing destination accounts that use an OAuth connection that was created before May 1, 2022, you do not need to take any action.
If you activate a new Bing destination account and use an OAuth connection that was created after May 1, those distributions will be unaffected.
Create a New Bing OAuth Connection
To create a new Bing OAuth connection:
Note
You must have Super Admin permission level for your Bing account to create a new OAuth connection.
If you have more than one LiveRamp Customer Account, use the account switcher to select the Customer Account you would like to update.
From the navigation menu, select Administration → Company Settings to navigate to the Company Settings page.
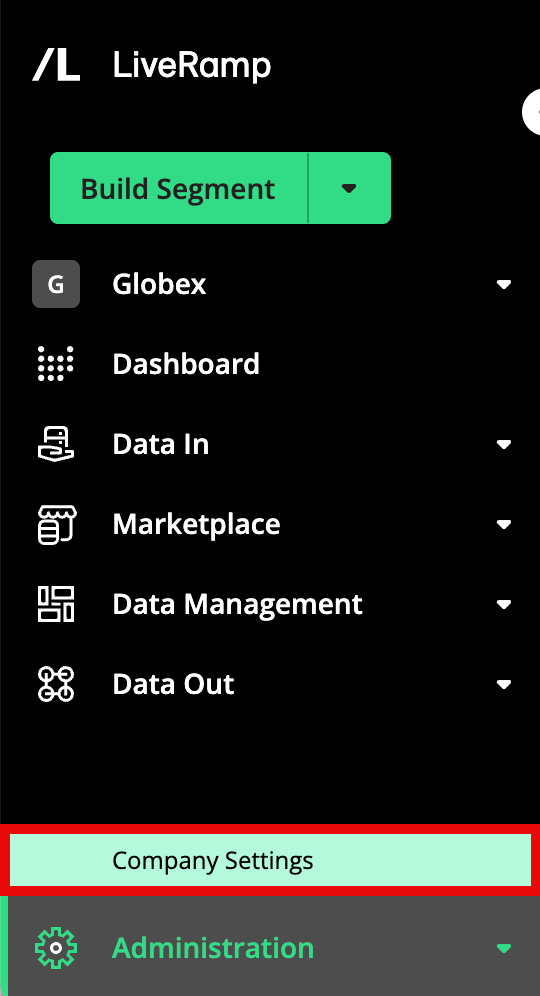
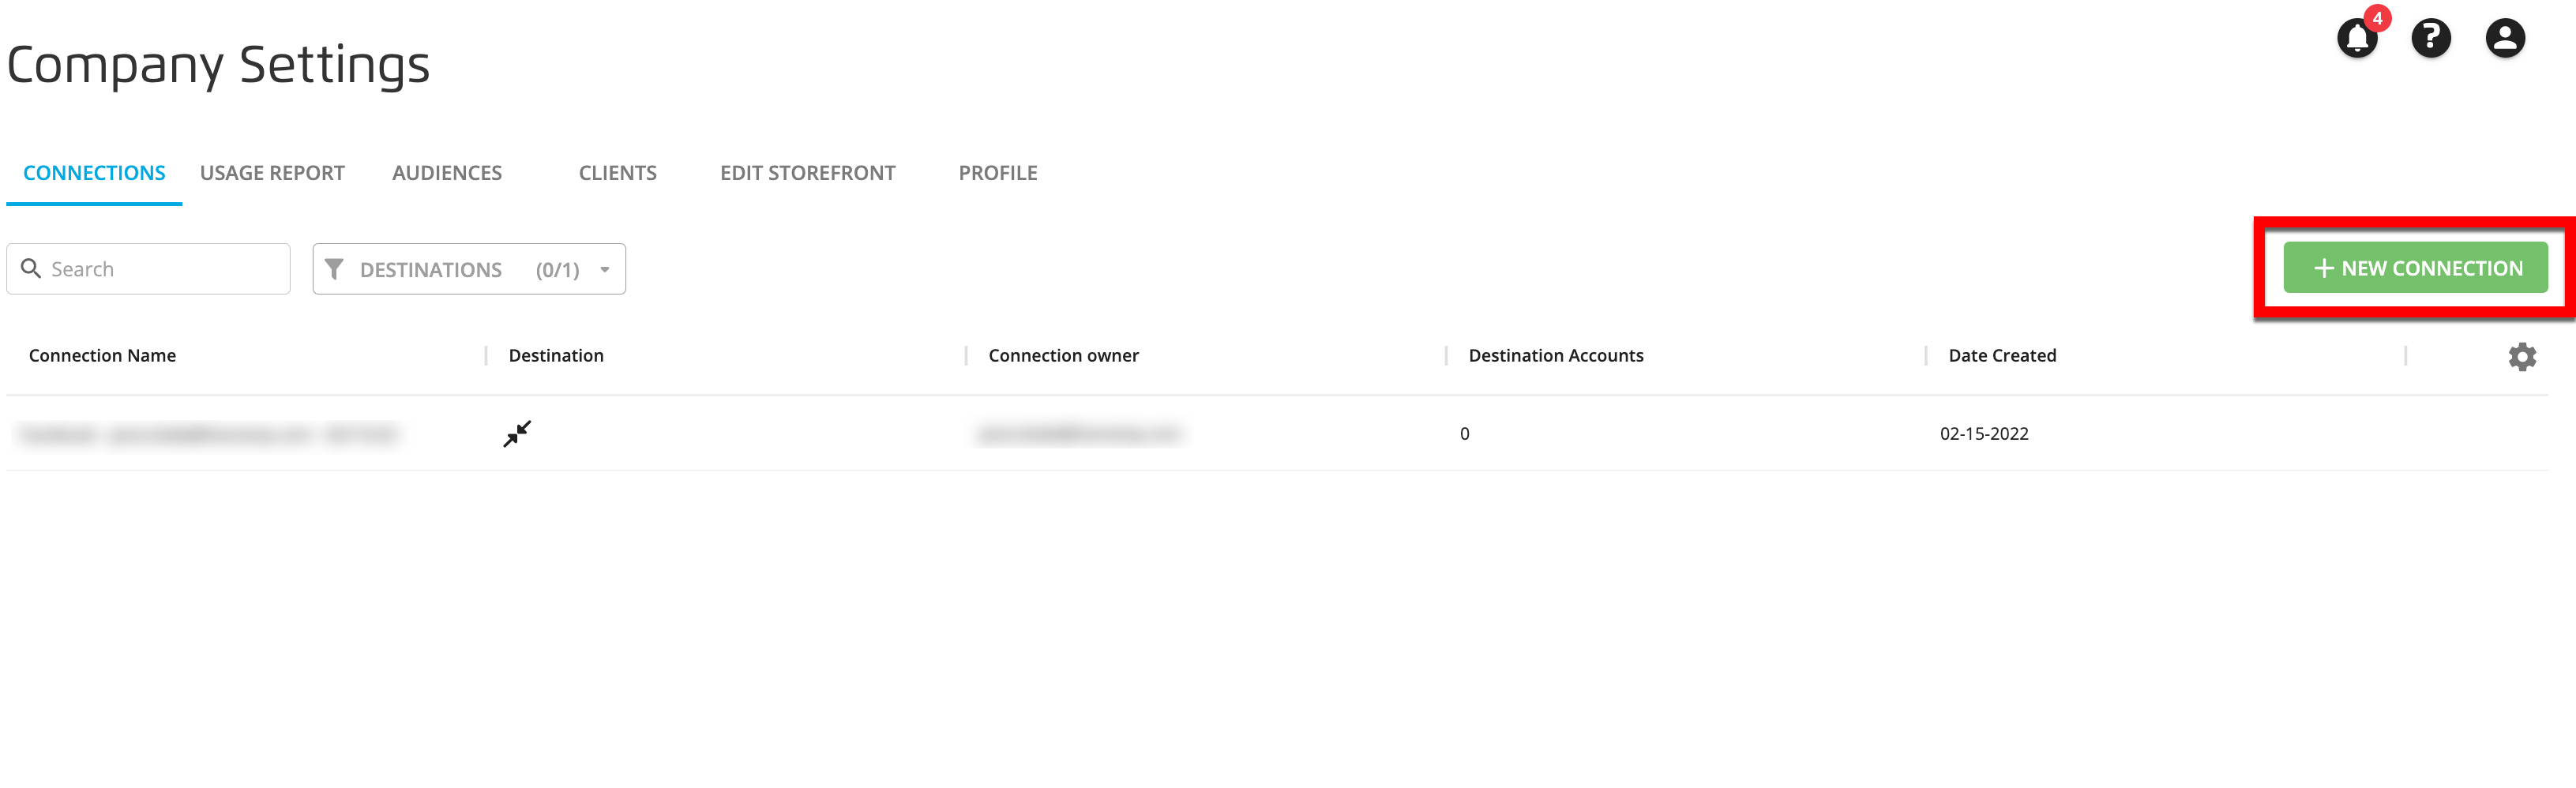
Select the Connections tab.

Click .
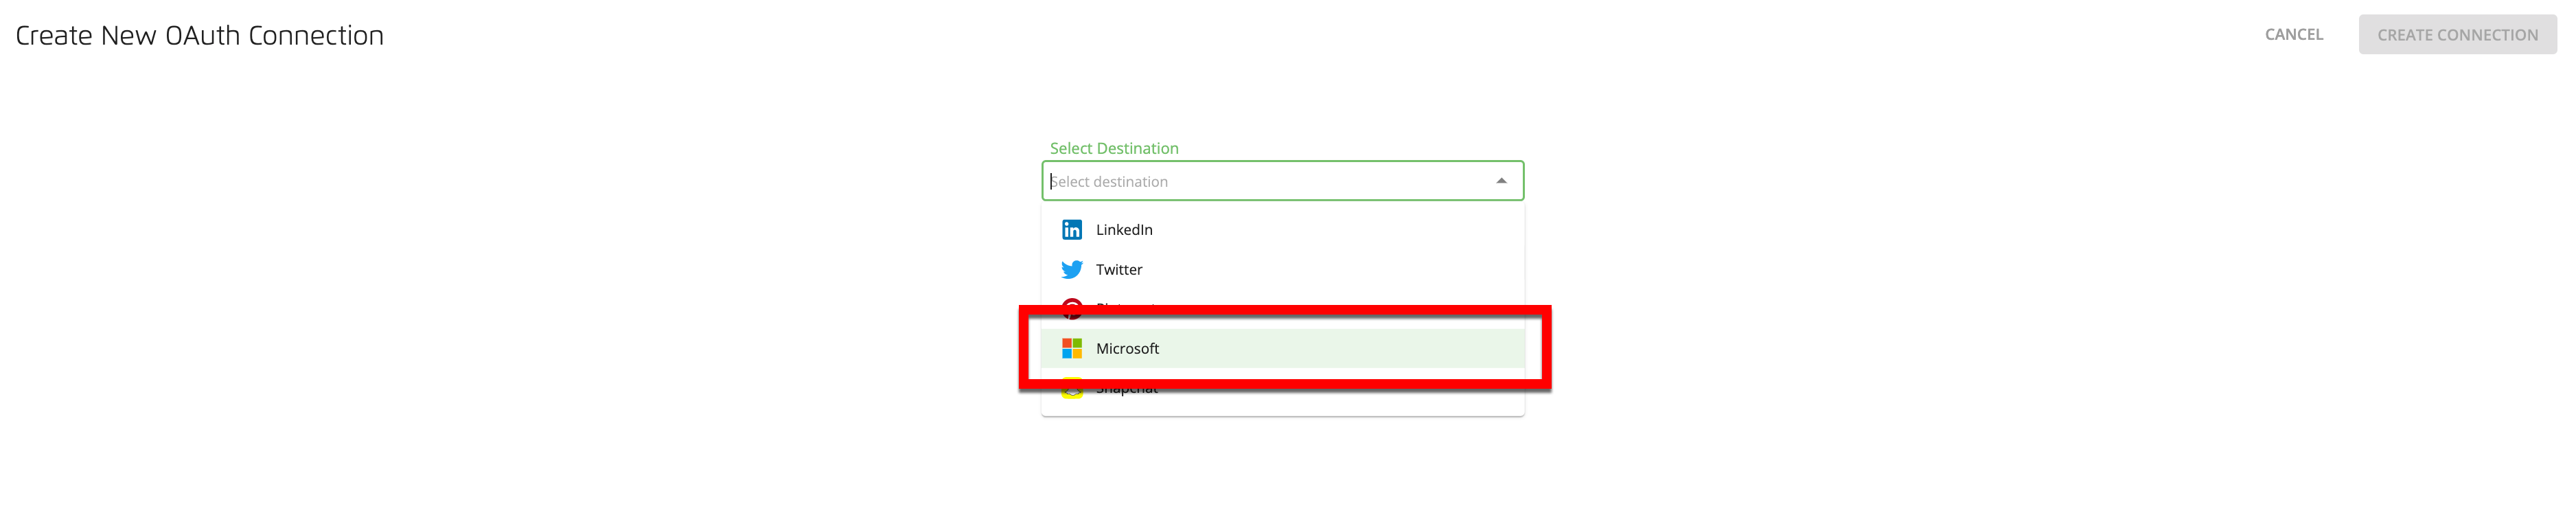
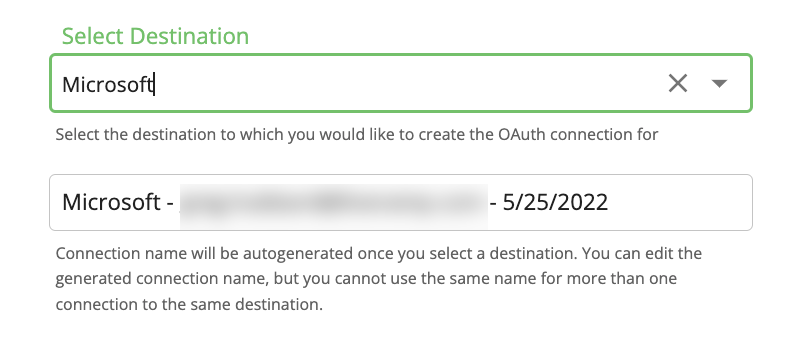
From the Create New OAuth Connection dialog, select Microsoft from the dropdown menu.
If desired, edit the auto-generated connection name.
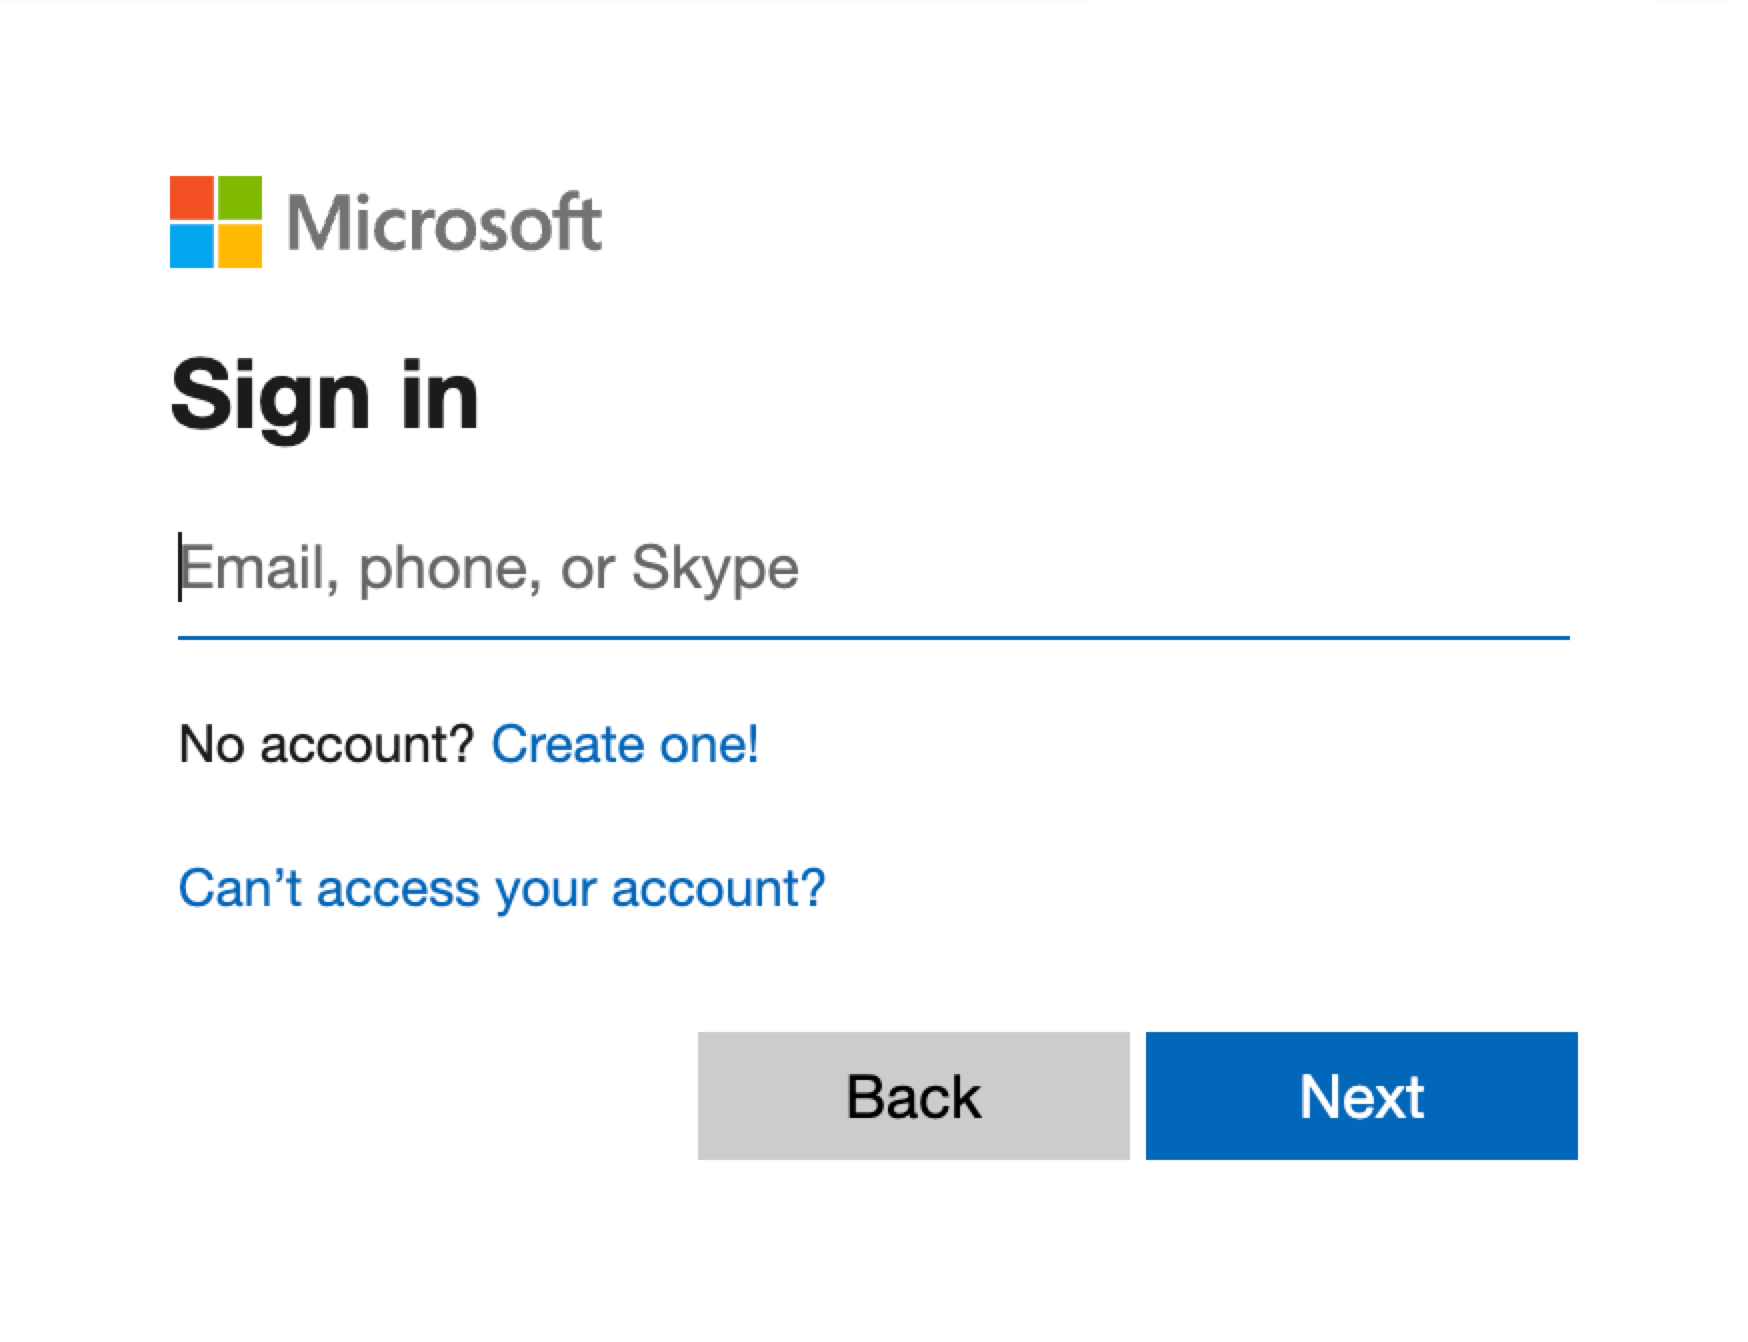
Click . A new window opens with Bing's sign-in screen.

Enter your credentials and then click .
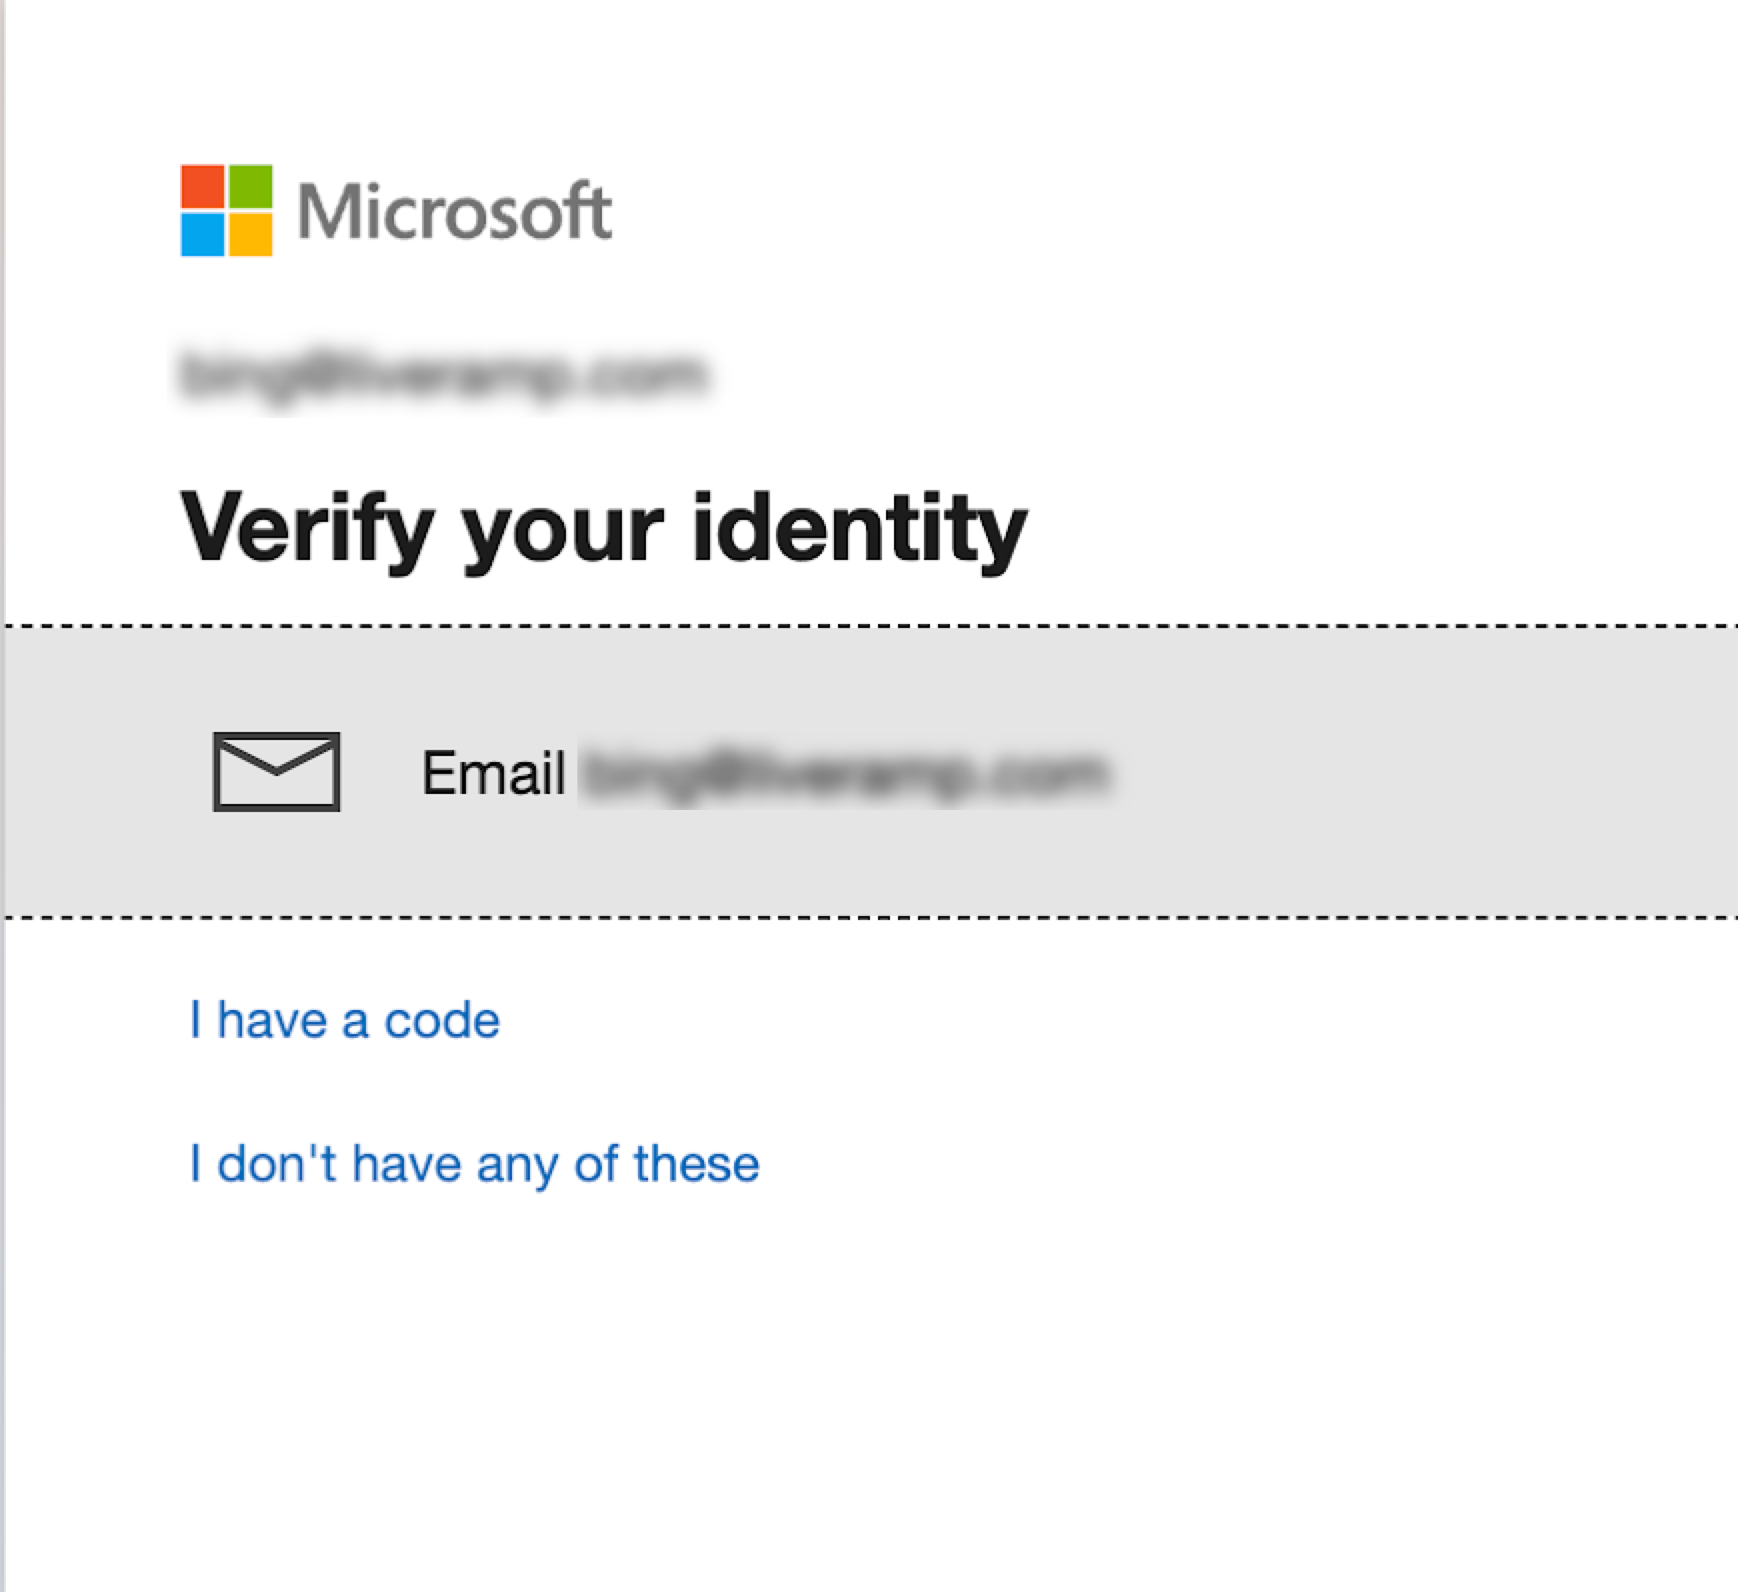
Complete the Multi-Factor Authentication process.
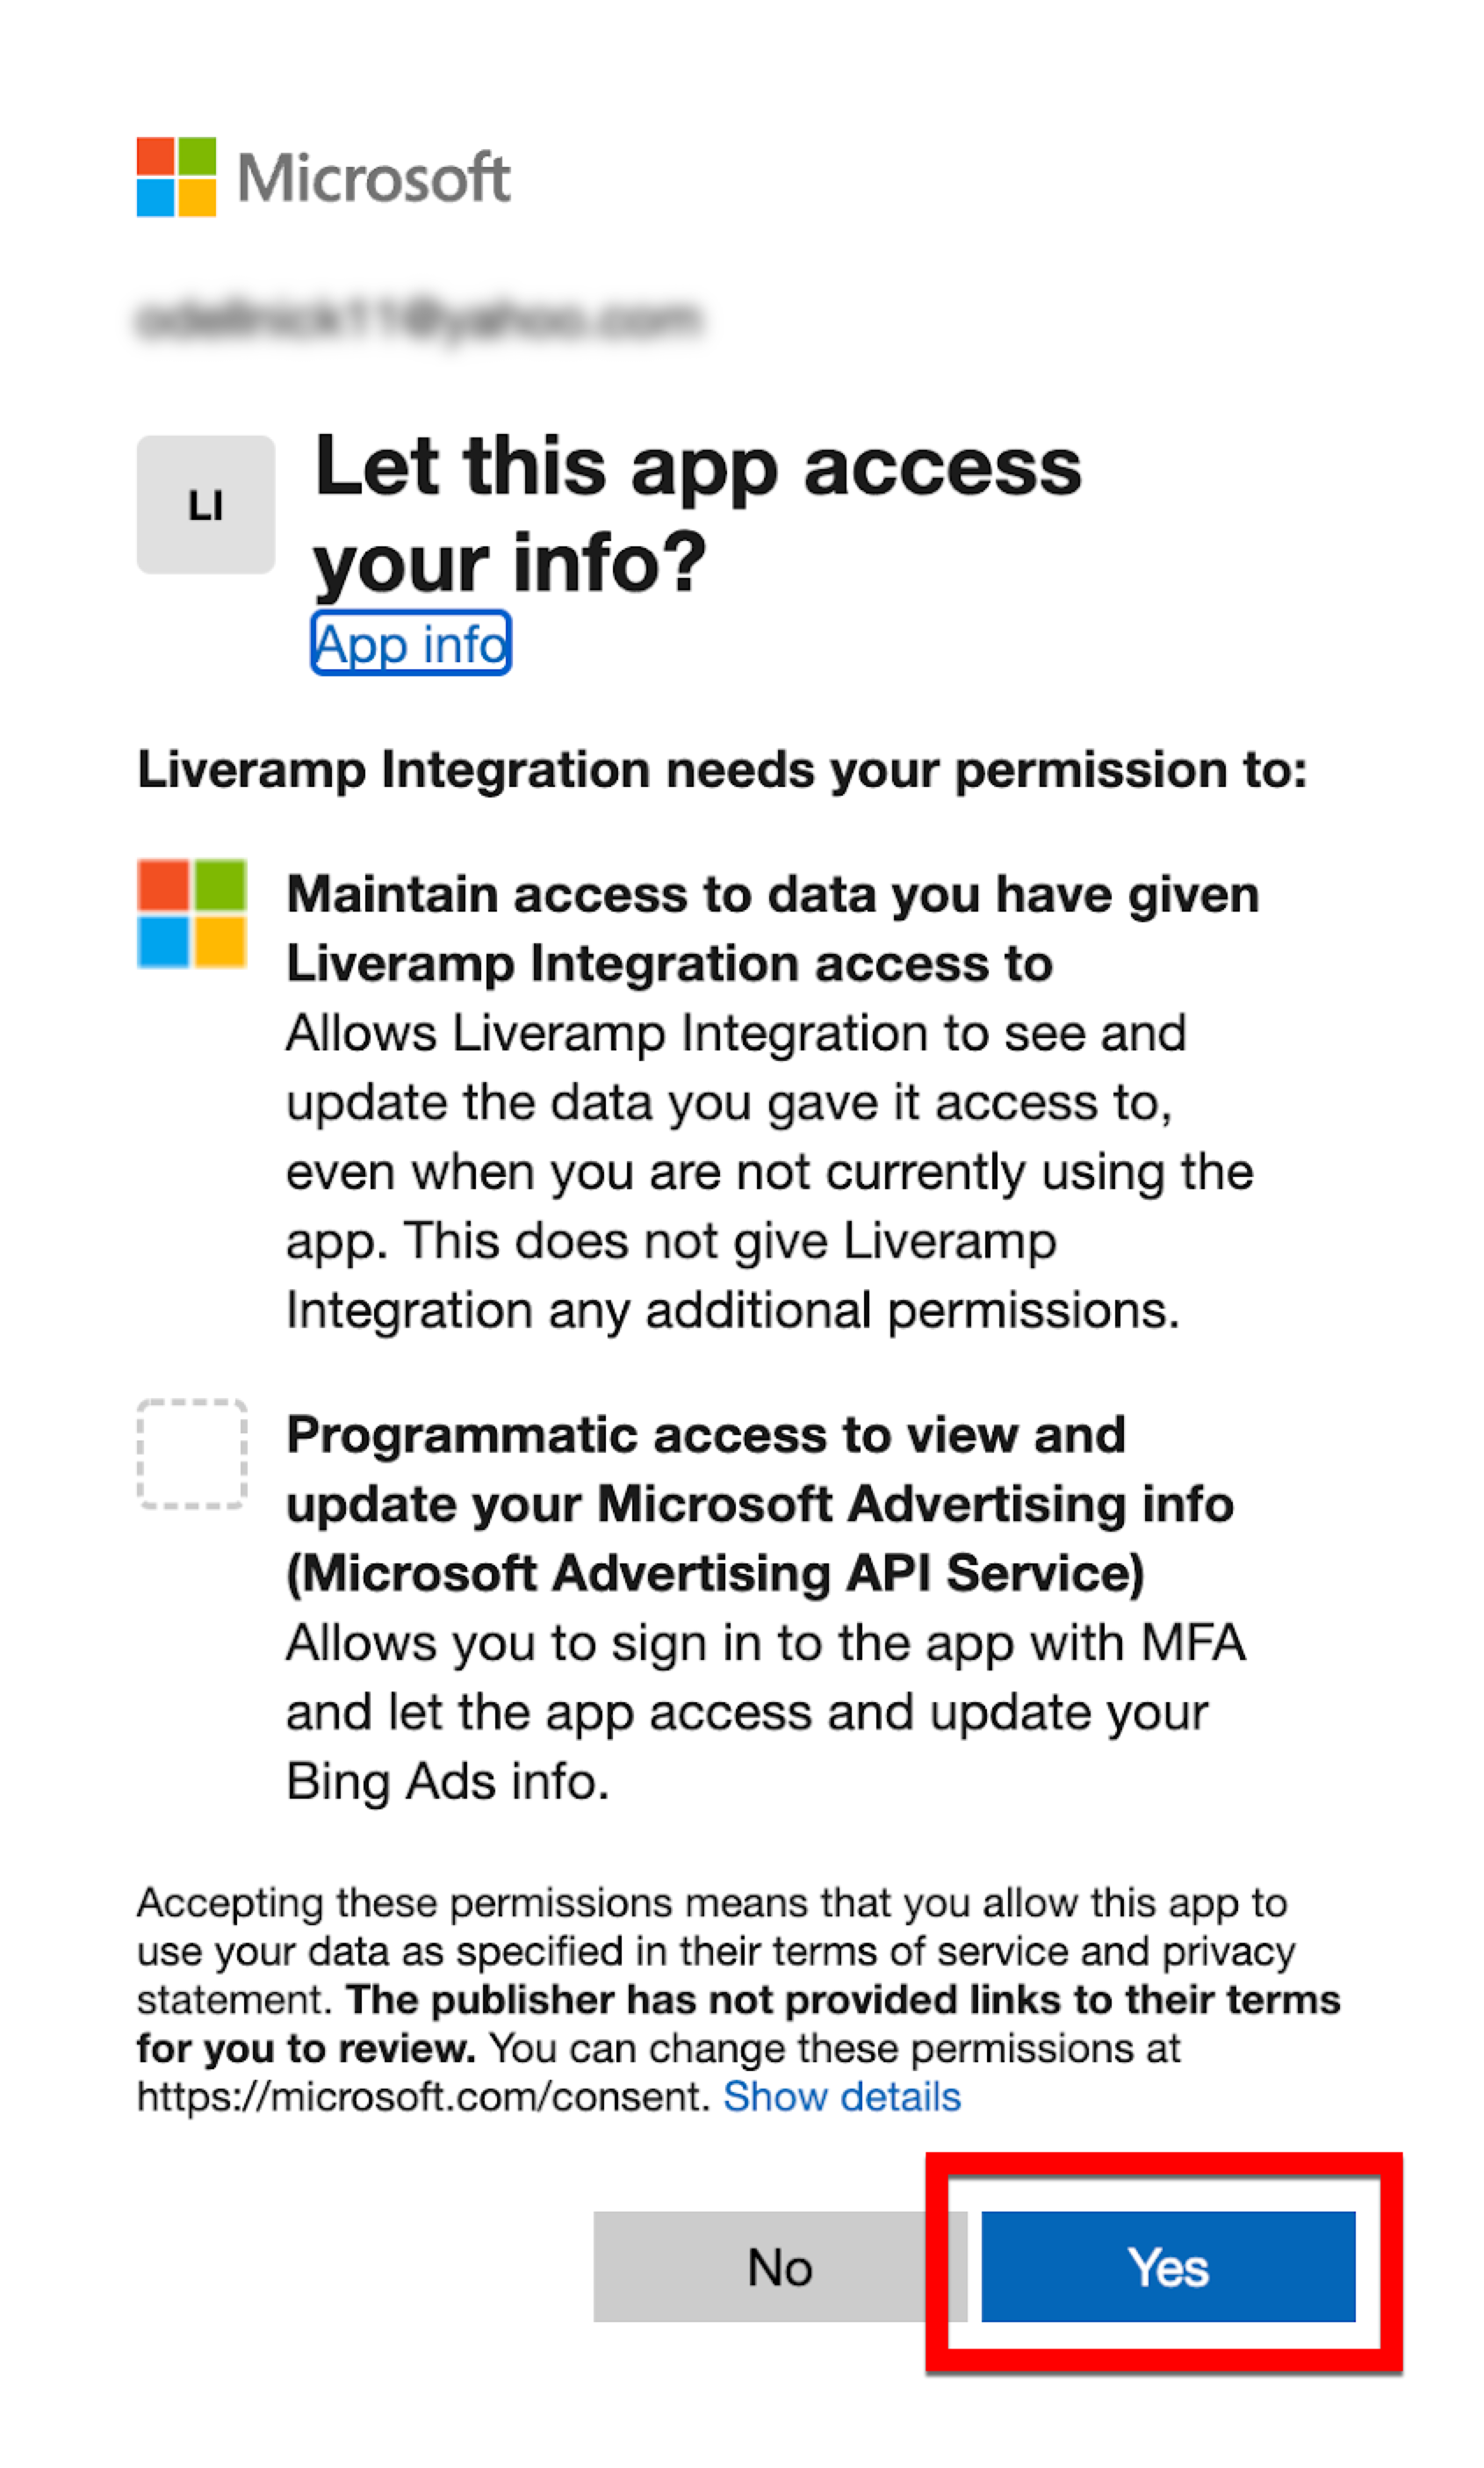
From the Authorize app dialog, review the access granted and click .
A success banner appears at the top of the screen, and the new connection appears in your list of connections.
Validate Your Existing Bing Destination Accounts With Your New OAuth Connection
Once you’ve created a new Bing OAuth connection, perform the following steps for each of your Bing destination accounts that use a Bing OAuth connection that was created before 5/1/22:
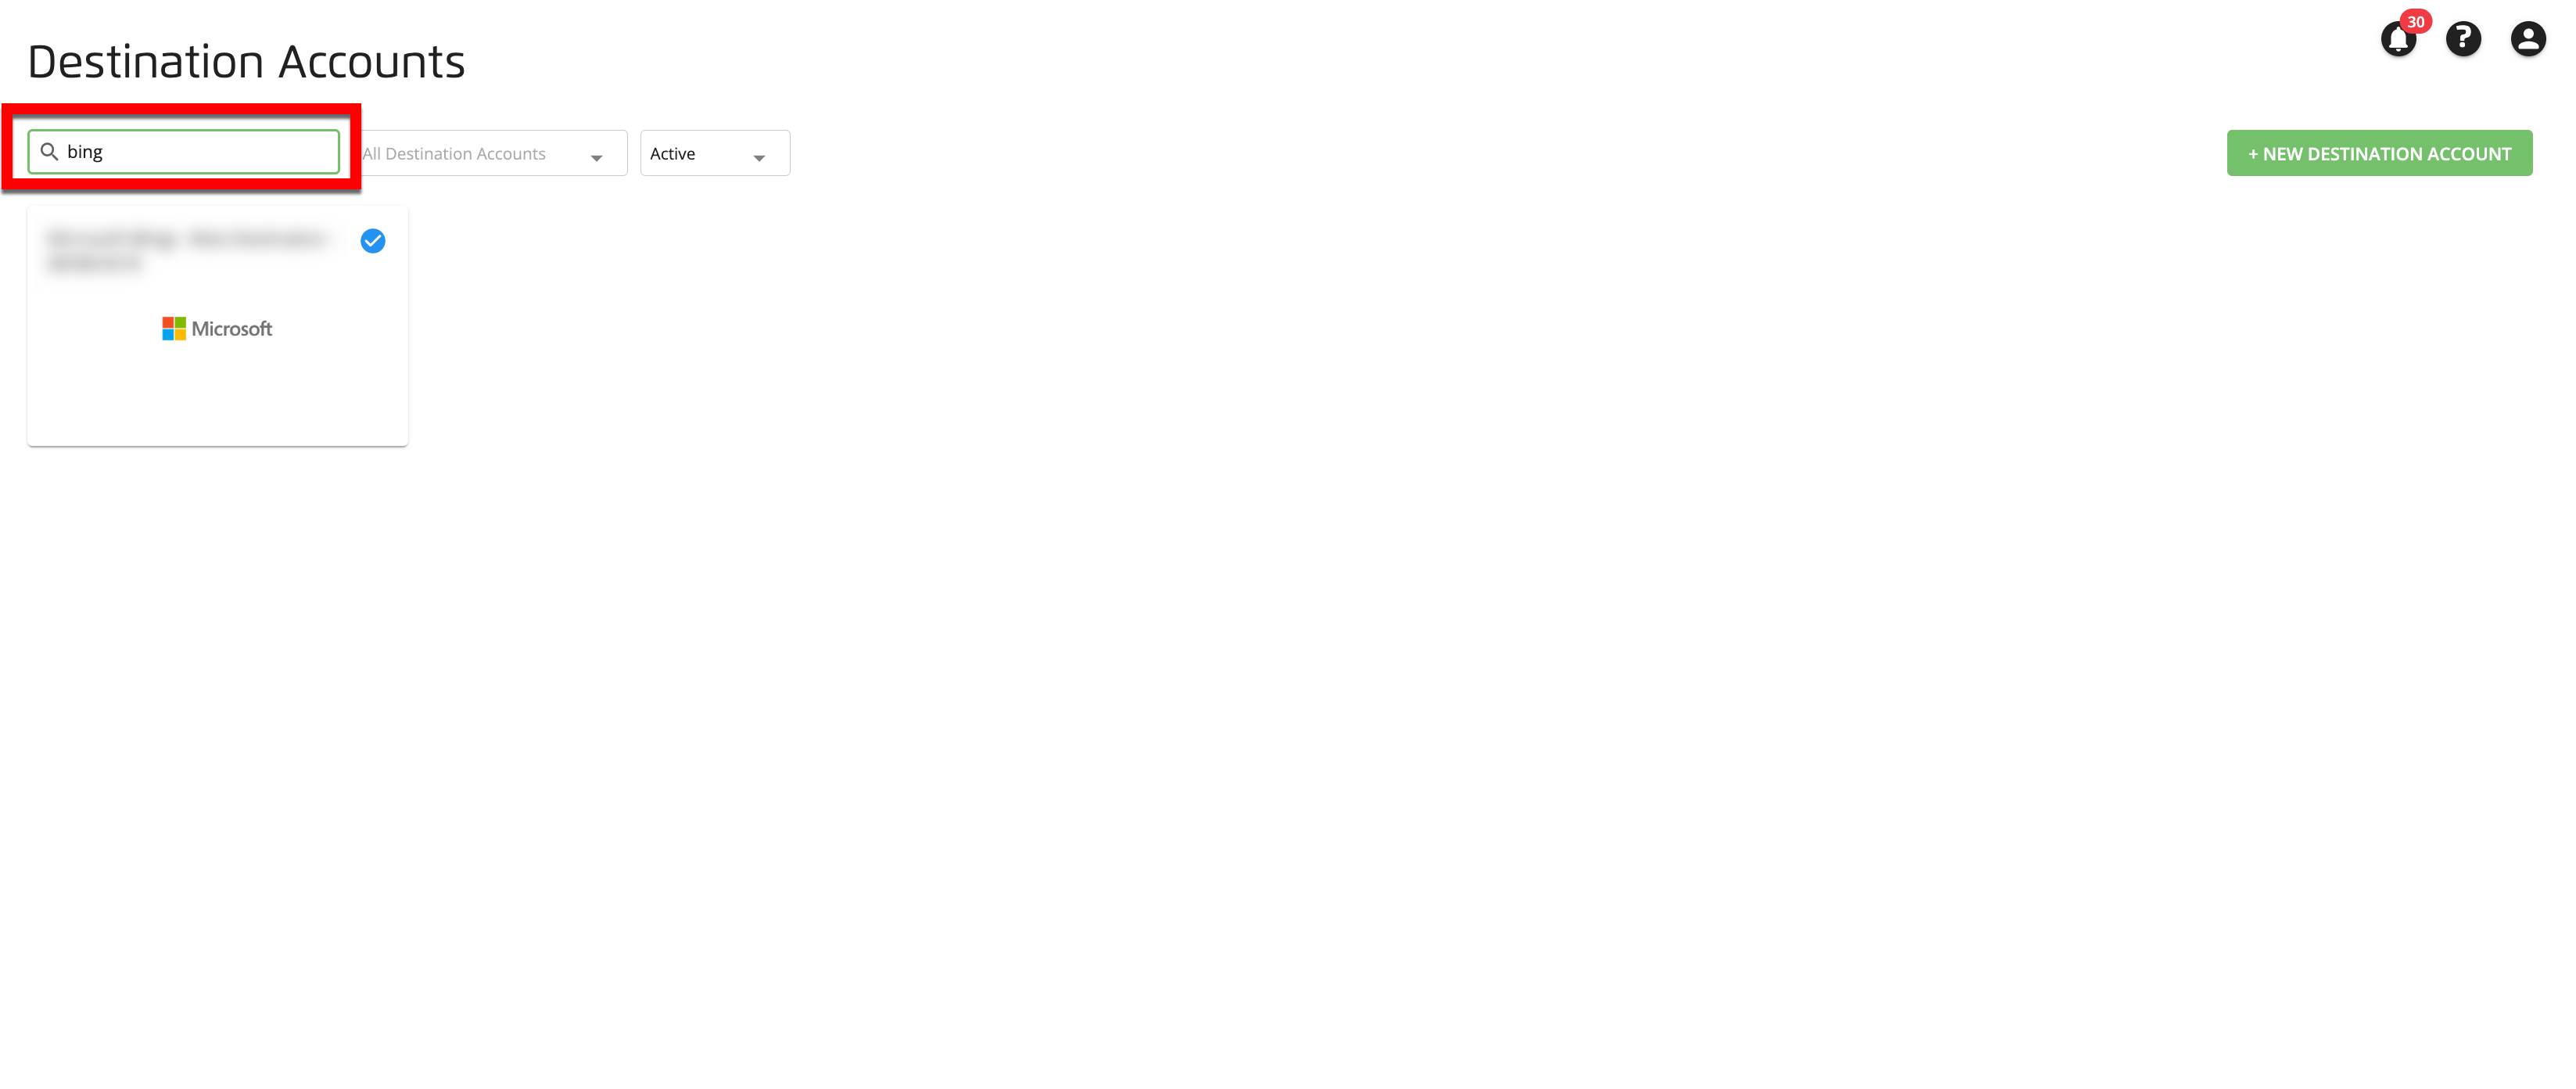
From the Connect navigation menu, click to navigate to the Destination Accounts page.
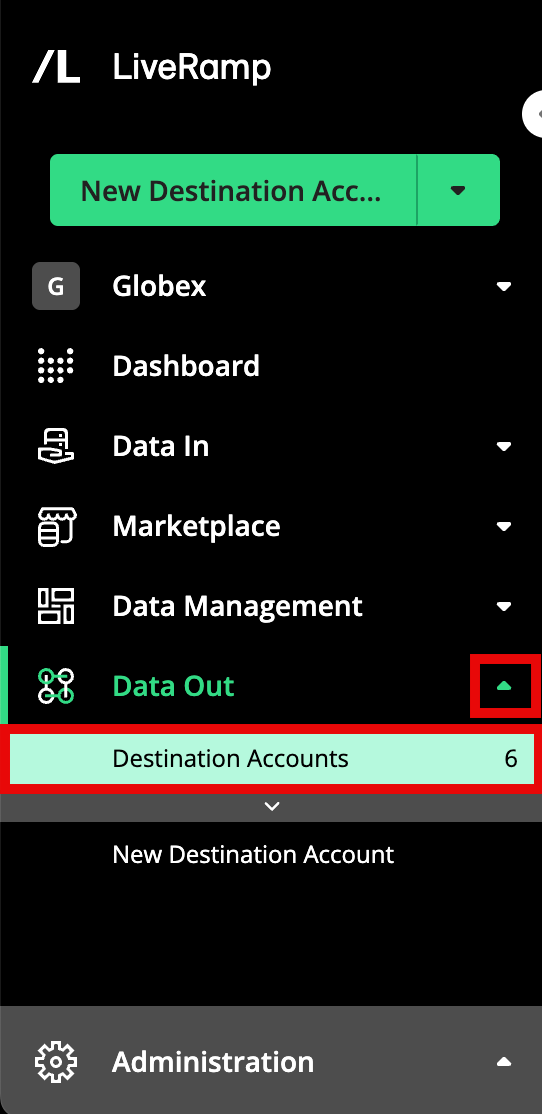
In the search bar, enter "Bing" to filter your destination account tiles to only display your active Bing destination accounts.
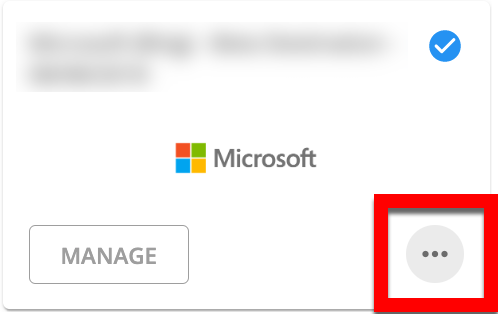
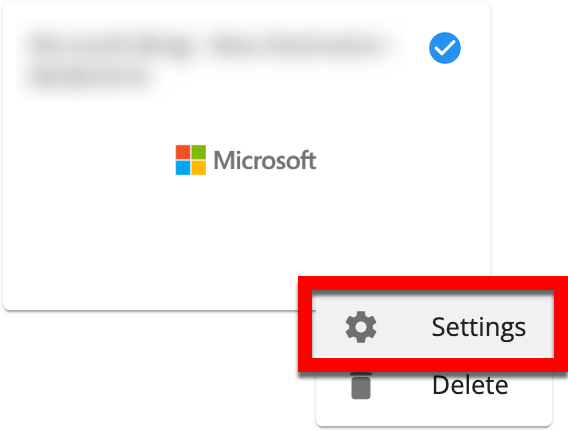
Click the ellipsis (three dots) that appears when you hover over the lower right corner of the tile, and then select Settings to navigate to the Edit Account page.
Select the new Bing OAuth connection you created earlier from the OAUTH CONNECTION FOR MICROSOFT dropdown list.

Click .
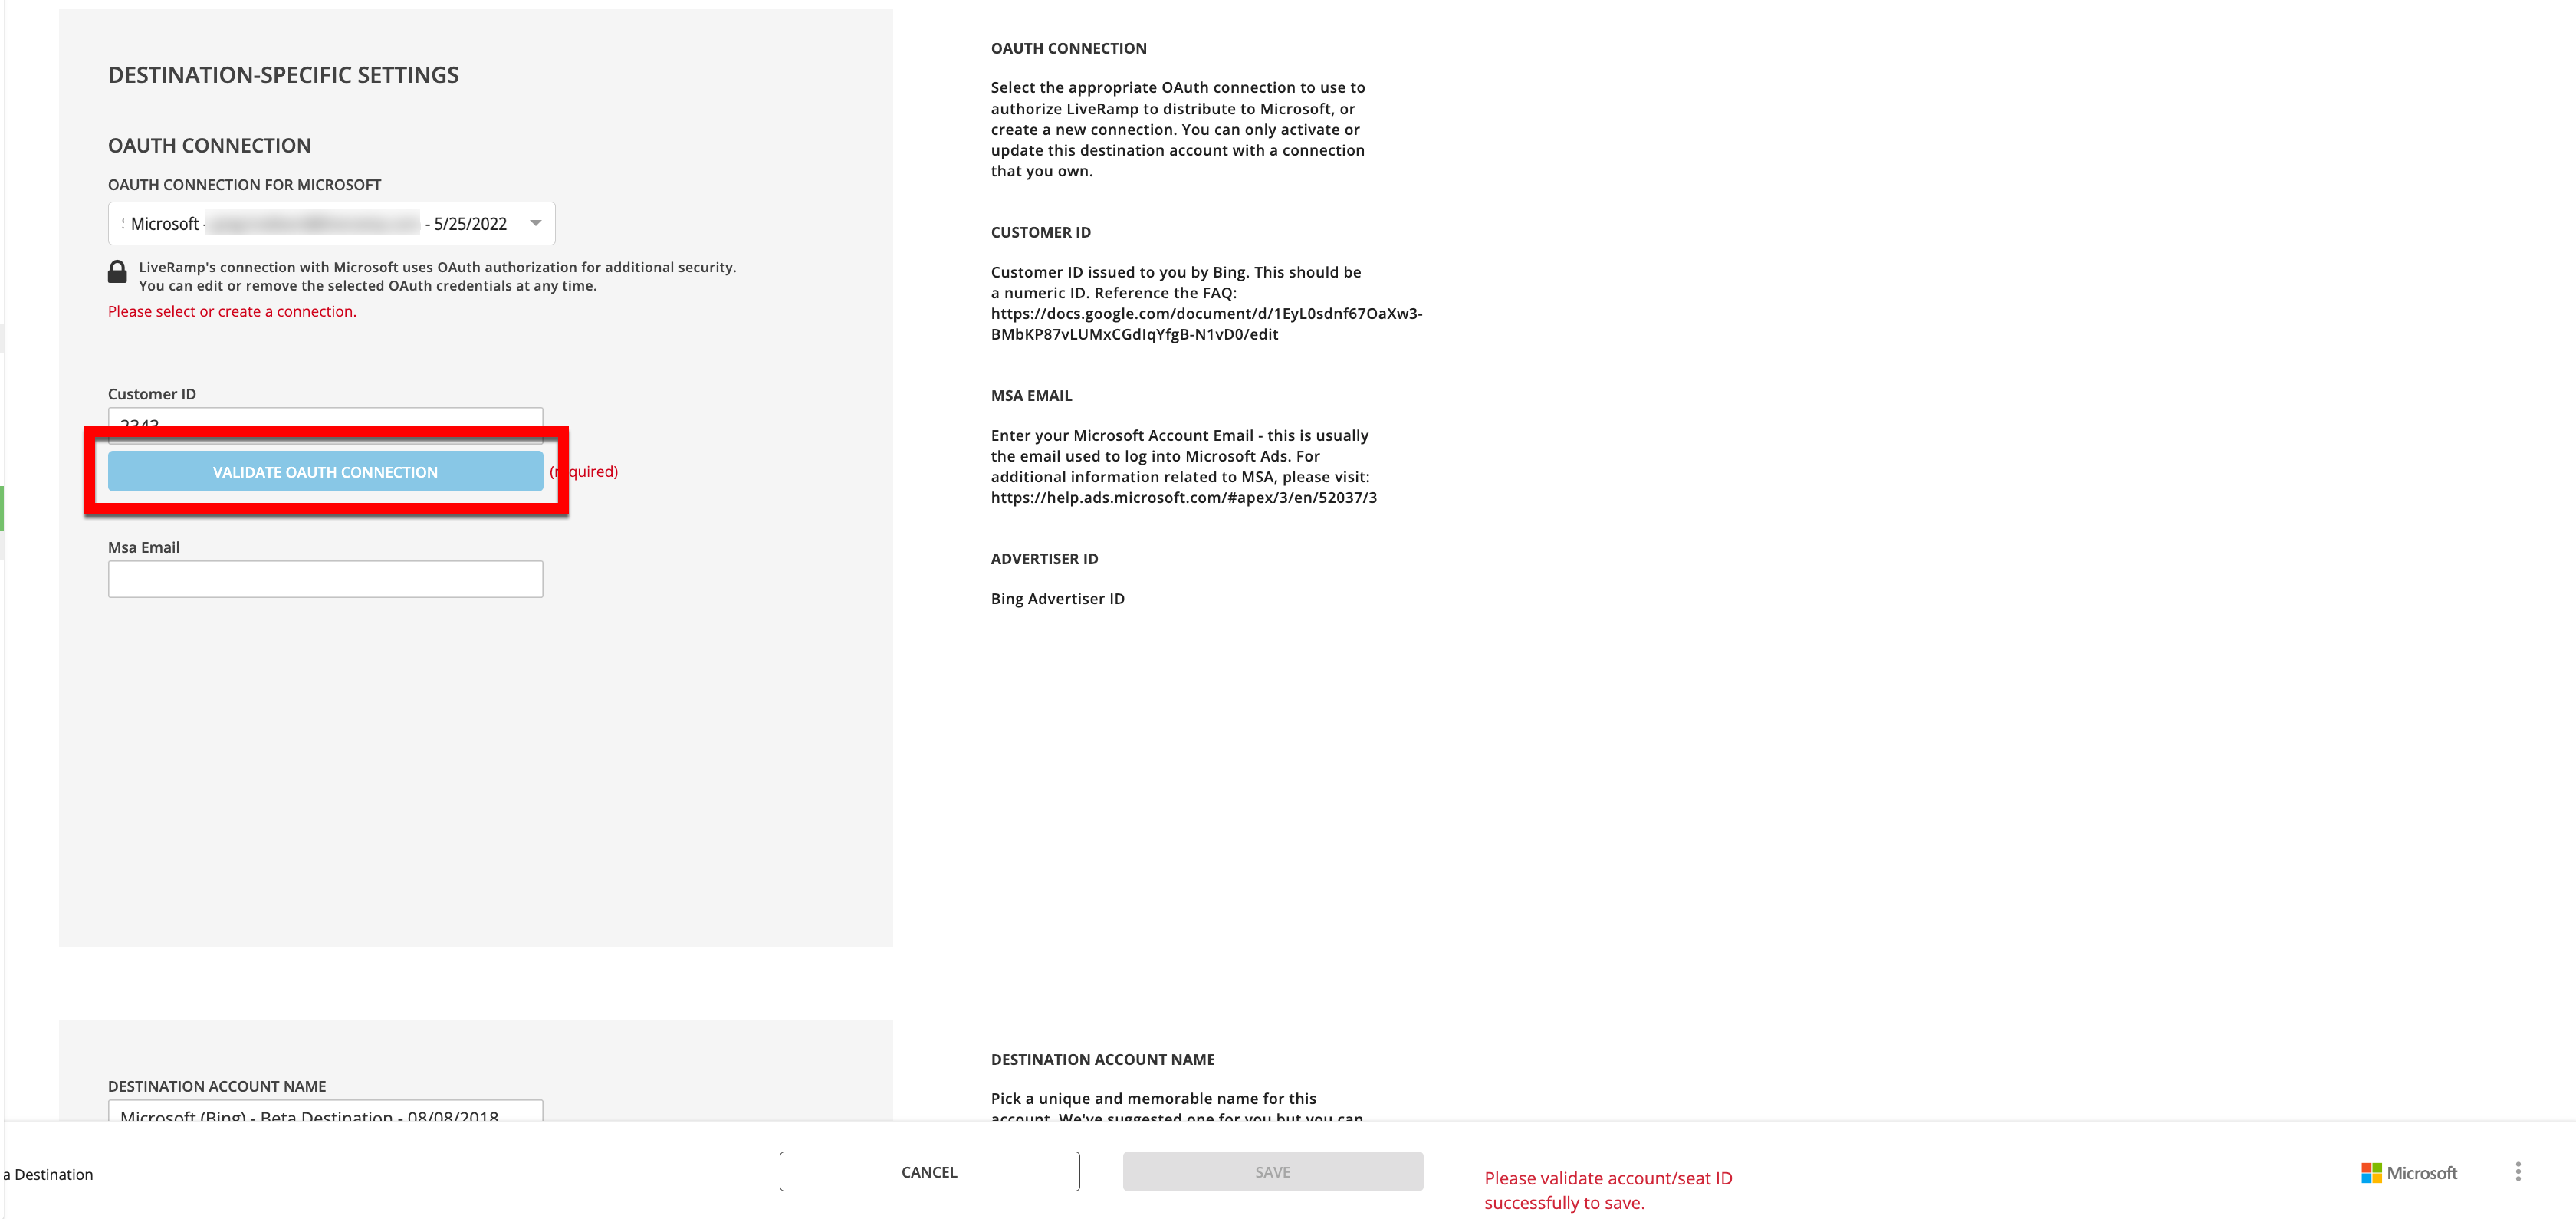
Once validation is complete, click .
Click the back button on your browser to take you back to the Destination Accounts page.
Repeat steps 2-7 for any remaining destination accounts that need to be revalidated.