Tag Management
We’ve made the setup for hardcoded conditional firing as easy as never before with our Tag Management solution.
Tag Management lives separately for our Privacy Manager configurations and therefore, it allows a more modular approach which we couldn’t do before.
With TAG Management you can configure different types of hardcoded conditional firing.
With Function Tag you’re able to conditional fire hardcoded scripts that collect personal data of the end-user. Functional tag will cover 90% of most use-cases and will be your most used solution when it comes down to hardcoded conditional firing.
Creating a new Function Tag
In the TAG Management overview select the ‘NEW’ button and select ‘Function Tag’ afterwards.
Tag Configuration
In Tag Configuration you should first give it a name. Best practice have learned us that a naming convention would help tremendously i.e. Vendor_Purpose.
Example: Facebook_Pageview
In the JavaScript Snippet you paste the script of the vendor that you wishes to hardcode conditional fire.
As the code block will add the <script> element by default it is not needed to include the <script> element yourself.
Please see the example below:
 |
Don’t forget to ‘Save’ once you’re done!
With Content Tag you’re able to conditional fire hardcoded scripts that normally would be shown inside content blogs on the website i.e. Youtube videos.
Creating a new Content Tag
In the TAG Management overview select the ‘NEW’ button and select ‘Content Tag’ afterwards.
Tag Configuration
In Tag Configuration you should first give it a name. Best practice have learned us that a naming convention would help tremendously i.e. Vendor_Purpose.
Example: Youtube_First-content
In the JavaScript Snippet you paste the script of the vendor that you wish to hardcode conditional fire.
As the code block will add the <script> element by default it is not needed to include the <script> element yourself.
Please see the example below:
 |
Once you’re done copy the div generated by LiveRamp Console via the ‘Copy to Clipboard’ button.
Paste the div code on the page where you usually would’ve pasted the Content script i.e. the YouTube video.
This will ensure that if the end-user didn’t gave their consent, a div block will be shown with the message that the end-user didn’t gave consent and in order to watch the video, they need to give their consent.
The message will also contains a button so that the end-user can give their consent to the configured vendor.
Consent On Demand allows you to obtain consent for specific use cases without the need of loading the Privacy Manager UI. The customer can be presented with a message that content has been blocked and has the possibility to unlock this content by providing consent.
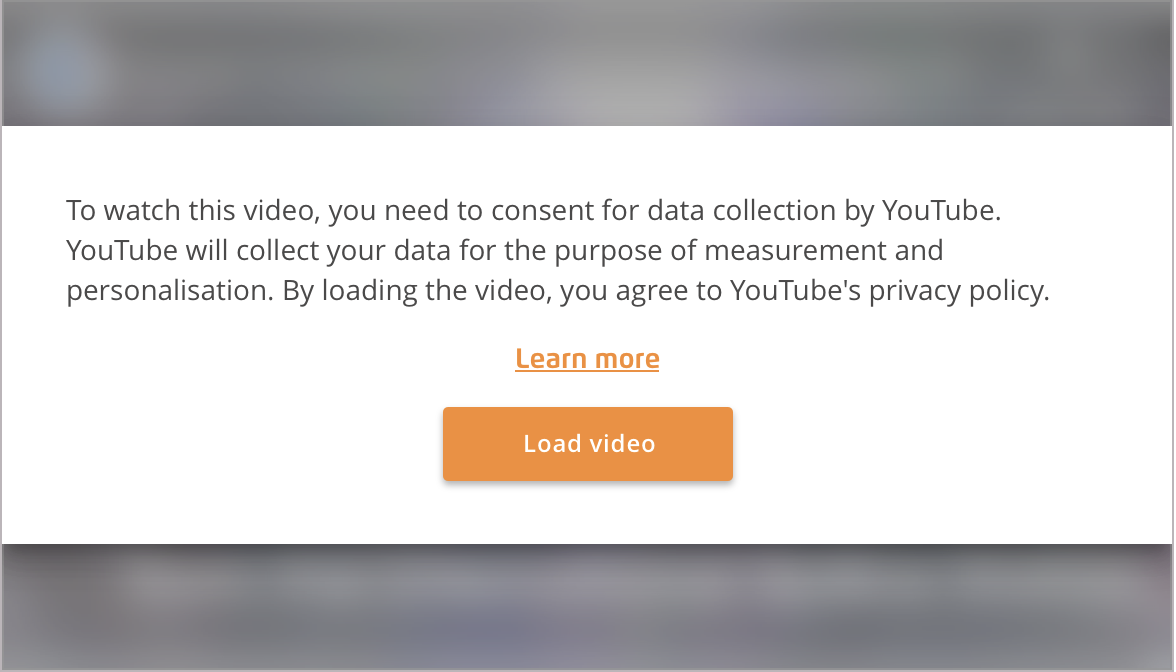
When the end-user loads a page that contains consent on-demand content, our template on top of the content will be visible. To see the content of an article or a video, that is behind the template, the end-user needs to click on the “Load video“ button (YouTube example). By clicking the button, the end-user is giving their consent after which the consent dialog and blurred backdrop layer fades away. The button plus underlying function is connected to the associated trigger. So when the user clicks on the button, they will give consent for the required vendor and purposes.
You can use one of the existing templates and customize the text and design to suit your needs or create your own experience:
Google Maps
Vimeo
YouTube
Instagram
Facebook
Twitter
Generic (provide vendor ID and purpose IDs)