Viewing and Managing Notifications
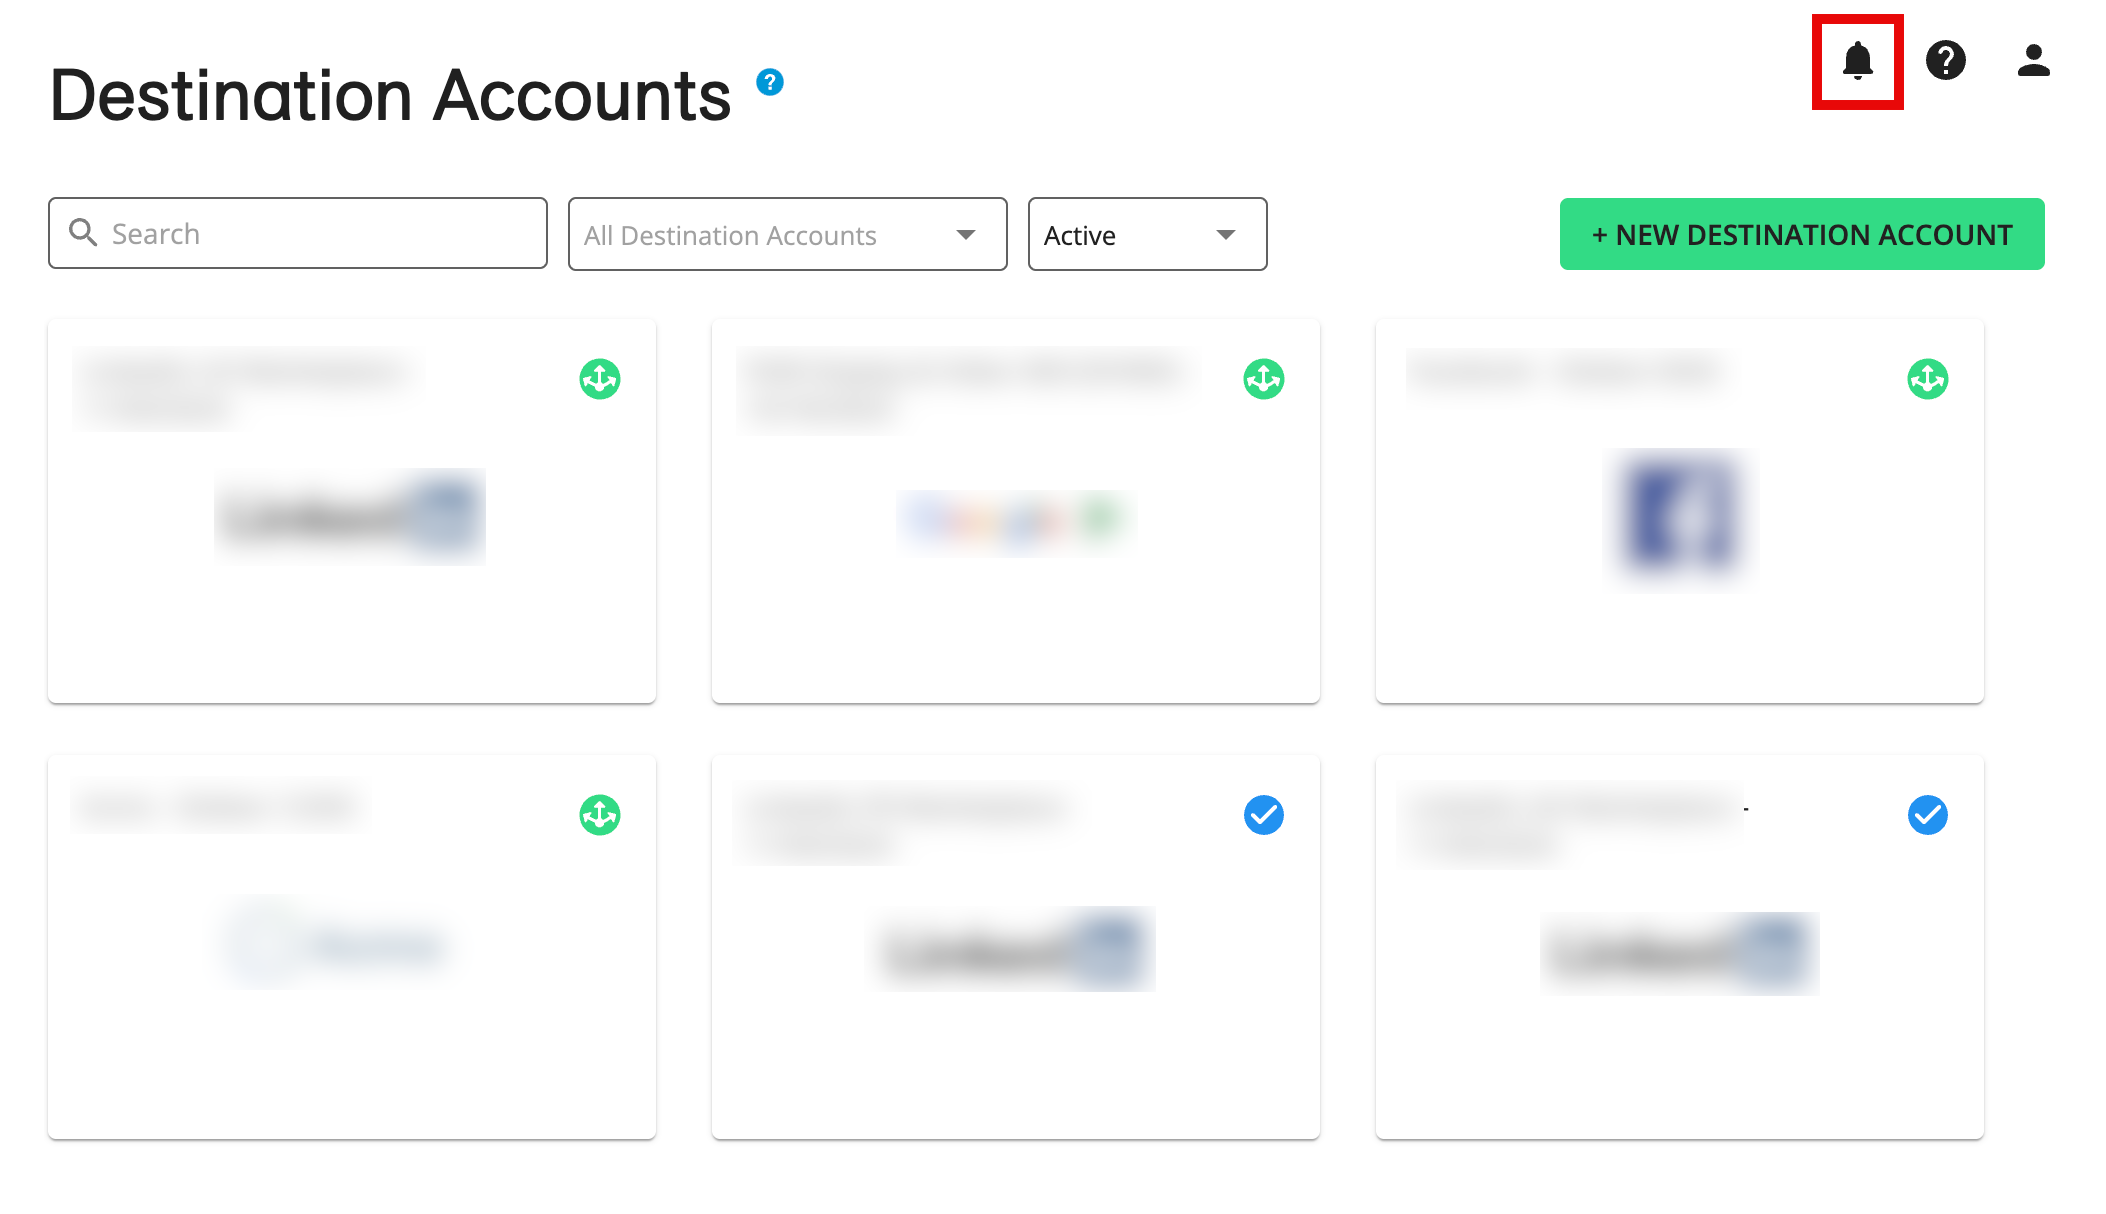
In Connect , the number of unread notifications is displayed as a number in red next to the Notifications icon that appears in the upper right of every page.
In Connect , the number of unread notifications is displayed as a number in red next to the Notifications icon that appears in the upper right of every page.
You can view and manage your notifications in a couple of different ways, as defined below.
You can also change your notification settings.
Viewing Notifications in the Notification Pane
By clicking the Notifications icon from anywhere in Connect, you can view all of your read and unread notifications in the notification pane. You can also mark your notifications as "read".
From anywhere in Connect, click the Notifications icon.
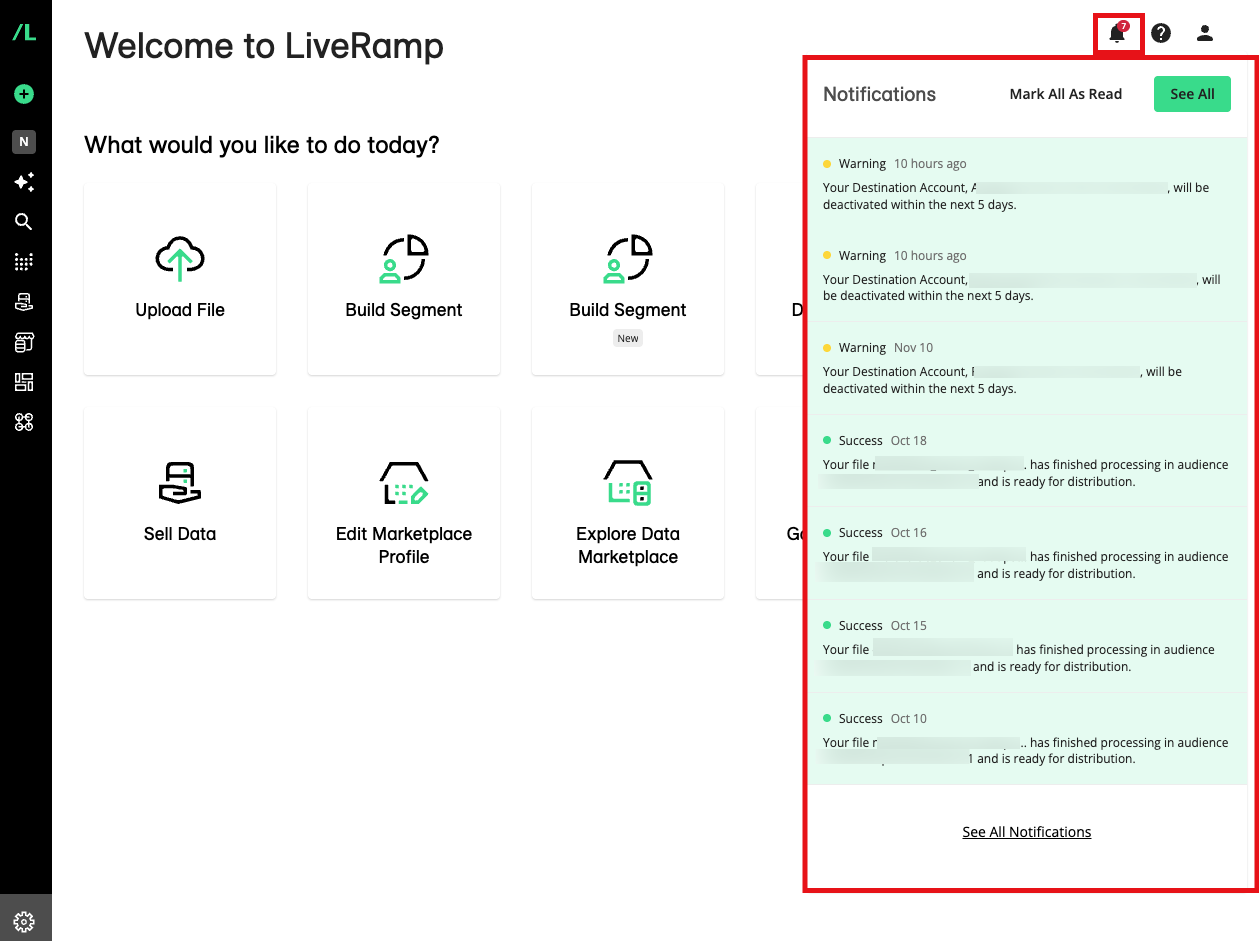
In the notification pane, you can scroll up or down to view notifications that don't appear in the pane.
To mark all notifications as "read", click the "Mark All as Read".
To navigate to the Notifications page, click "See All".

Viewing Notifications on the Notifications Page
In addition to being able to view your notifications on the Notification pane, you can also view them on the Notifications page.
In addition to being able to view your notifications on the notification pane, you can also view them on the Notifications page.
Note
Only notifications from the past 90 days will be displayed on the Notifications page.
From anywhere in Connect, click the Notifications icon.
Click "See All".
Use the dropdowns to filter by notification type ("Success", "Warning", "Error", or "Info") or status ("Read" or "Unread").
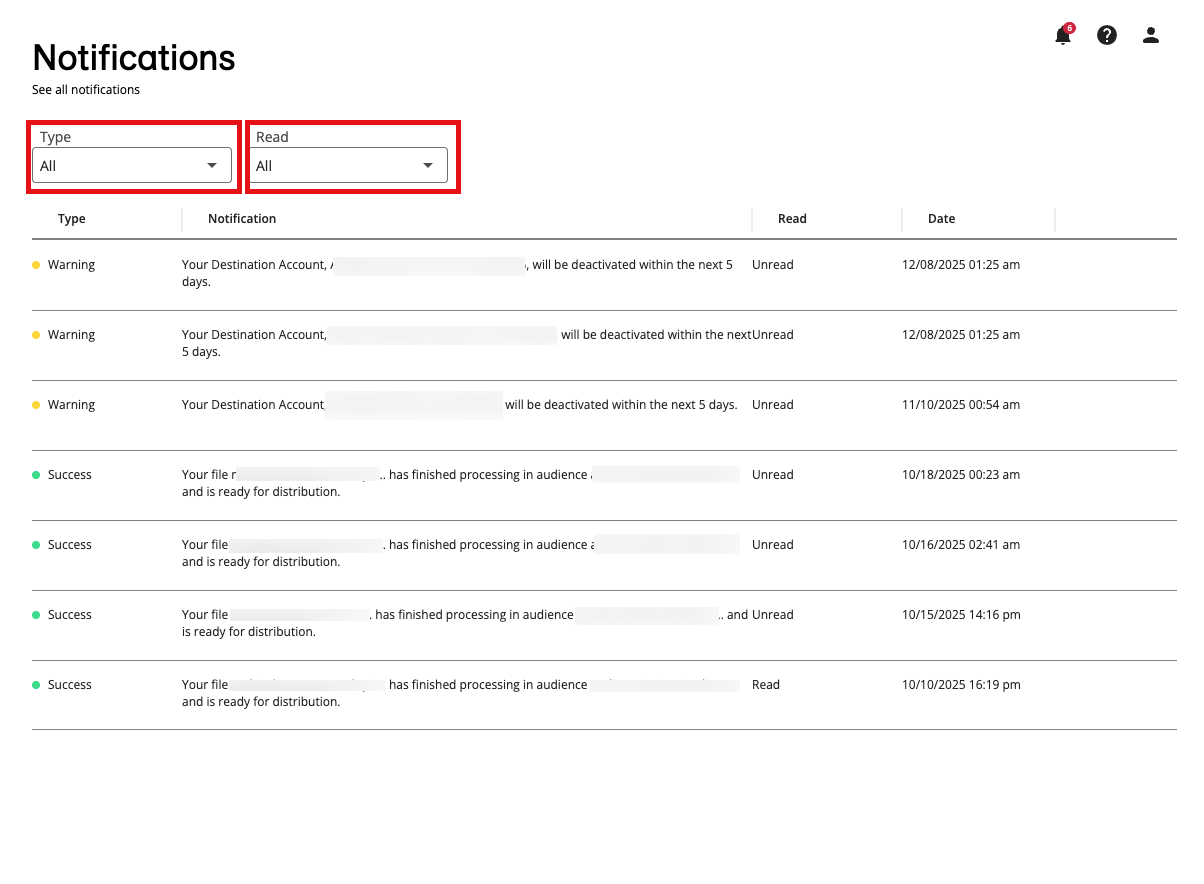
To go to the relevant UI in Connect, click on the row of the notification.
To mark a notification as "read", click the More Options menu of a notification and select "Mark as Read".
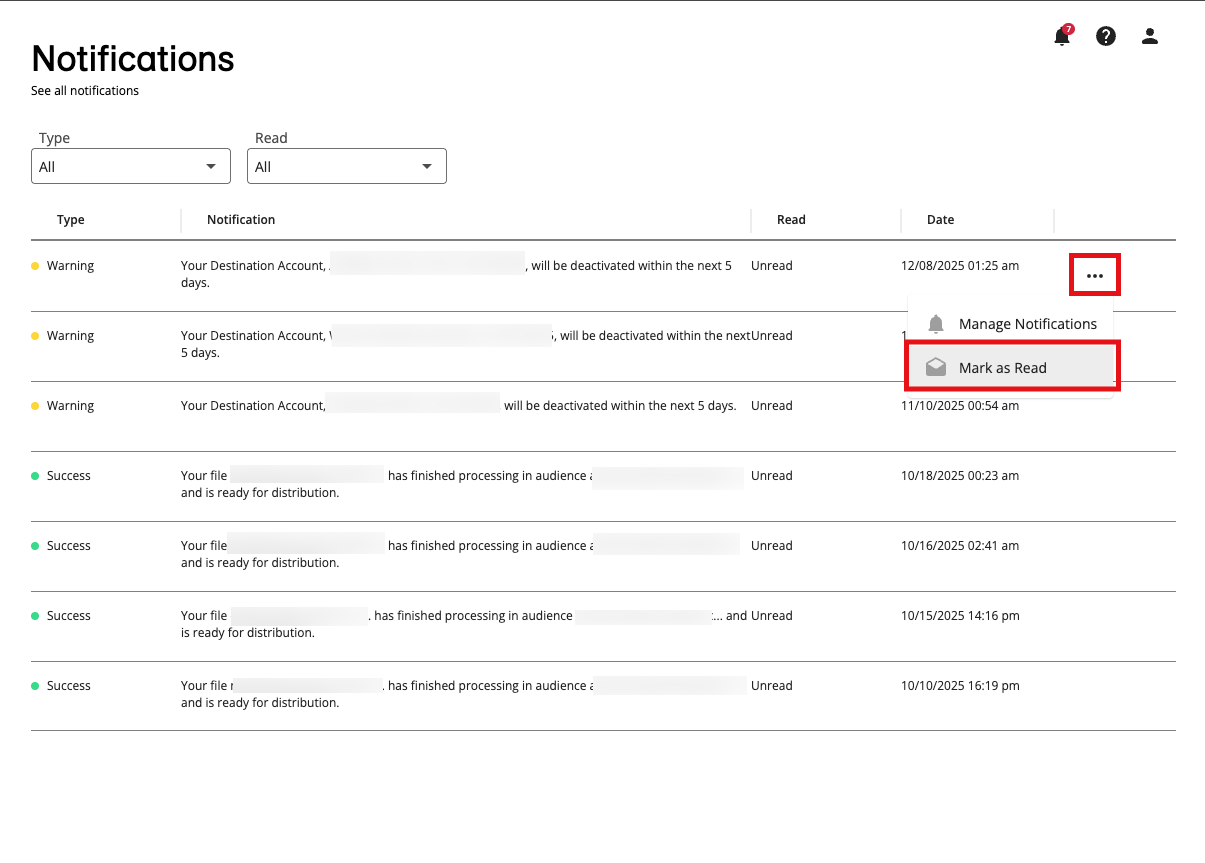
To edit your notification settings, click the More Options menu of a notification and select Manage Notifications, and then follow the instructions in the "Changing Notification Settings" section below.
Available Notification Settings
Note
LiveRamp will continue to add more notifications to this list over time.
See the list of email and in-app notifications you can set for the different LiveRamp products:
System Status (Connect)
New user added to our organization
Ingestion status updates
Ingestion failures
Activation warnings or failures
Measurement file failures (email only)
Segments shared with me
Clean Room
Question run status updates
Data Assets
Asset updates
Asset warnings and failures
Identity Engine
Workflow run started
Workflow run ended
Workflow modified
Workflow cloned
Data Privacy
Data subject request file completion (email only)
Data Marketplace (for data sellers)
Email frequency for Data Marketplace activity, which includes notifications on the following actions:
Segments requested
Segments approved or rejected
Segments distributed
Segment metadata updated
Changing Notification Settings
You can change the types of notifications you receive via email and from within Connect (including Data Marketplace notifications), or turn off notifications altogether.
Note
These notification settings work at the user level and do not affect the notifications other users on your account receive.
You can only set notifications for products you can access and actions you can perform.
To change notification settings:
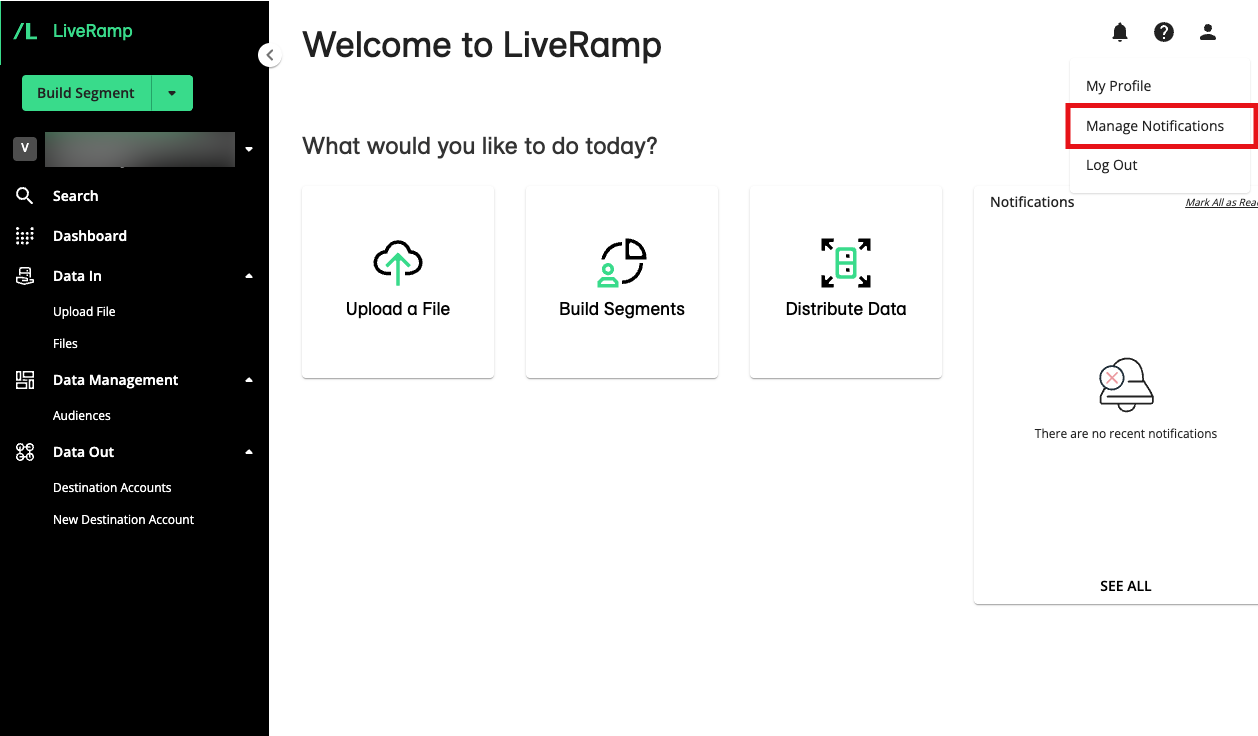
Click the Profile icon in the upper right and then select "Manage Notifications" from the dropdown list.
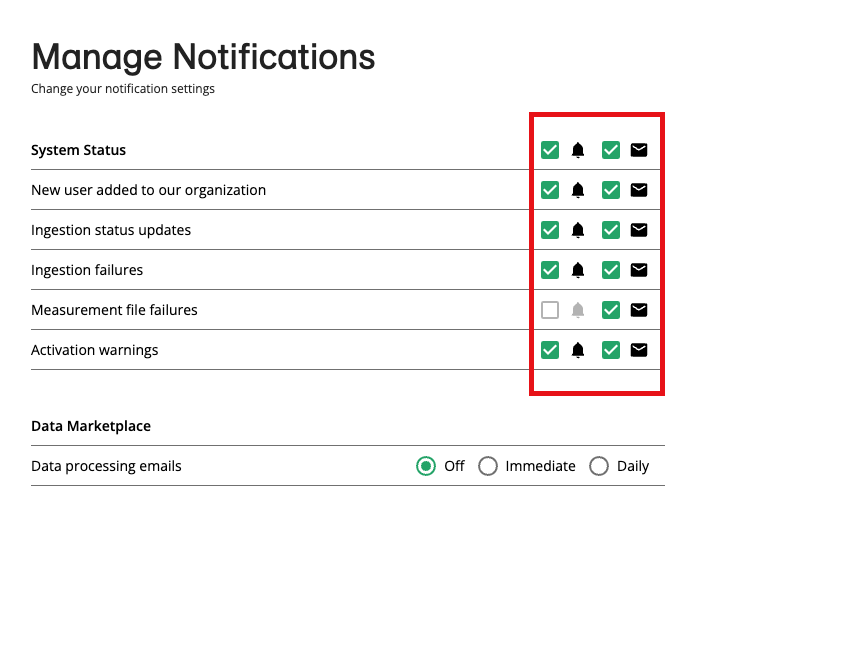
The list of available notifications displays, which may differ depending on the LiveRamp product you have access to. Check or uncheck the appropriate check boxes.
Note
The Bell icon indicates notifications sent from within Connect, and the Email icon indicates notifications sent via email.
To edit Data Marketplace notifications (if you're a data seller), choose one of the radio button selections for Data Marketplace notifications (daily, immediate, or off).
