Schedule Usage Report Deliveries
In addition to being able to view your usage, admin-level users can schedule usage reports to be delivered and edit the current report schedules. You can also delete a report schedule that you no longer need.
Note
If you want to stop receiving reports but you are not an admin-level user, you will need to contact an admin-level user and have them delete your report schedule.
Create a New Usage Report Schedule
To create a new report schedule:
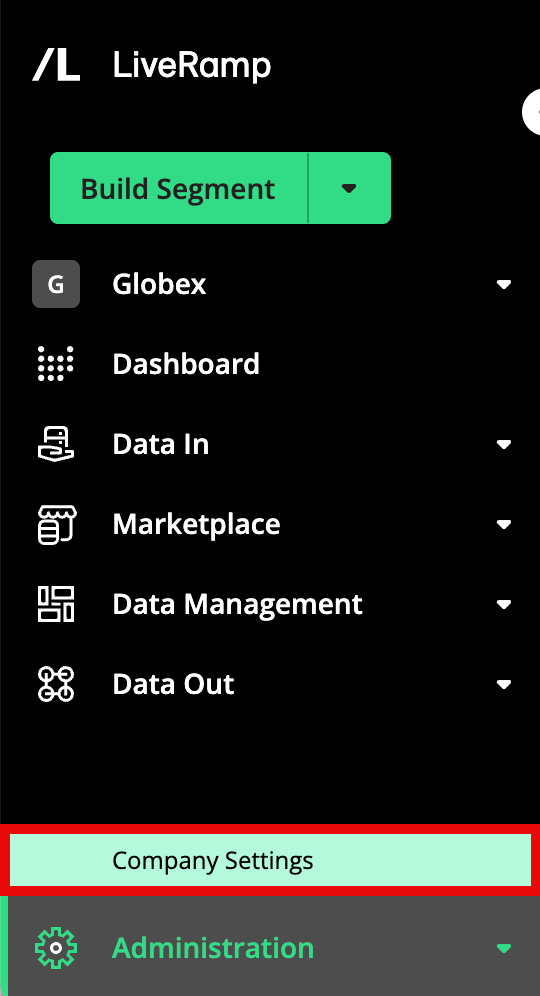
From the navigation menu, select Administration → Company Settings to navigate to the Company Settings page.
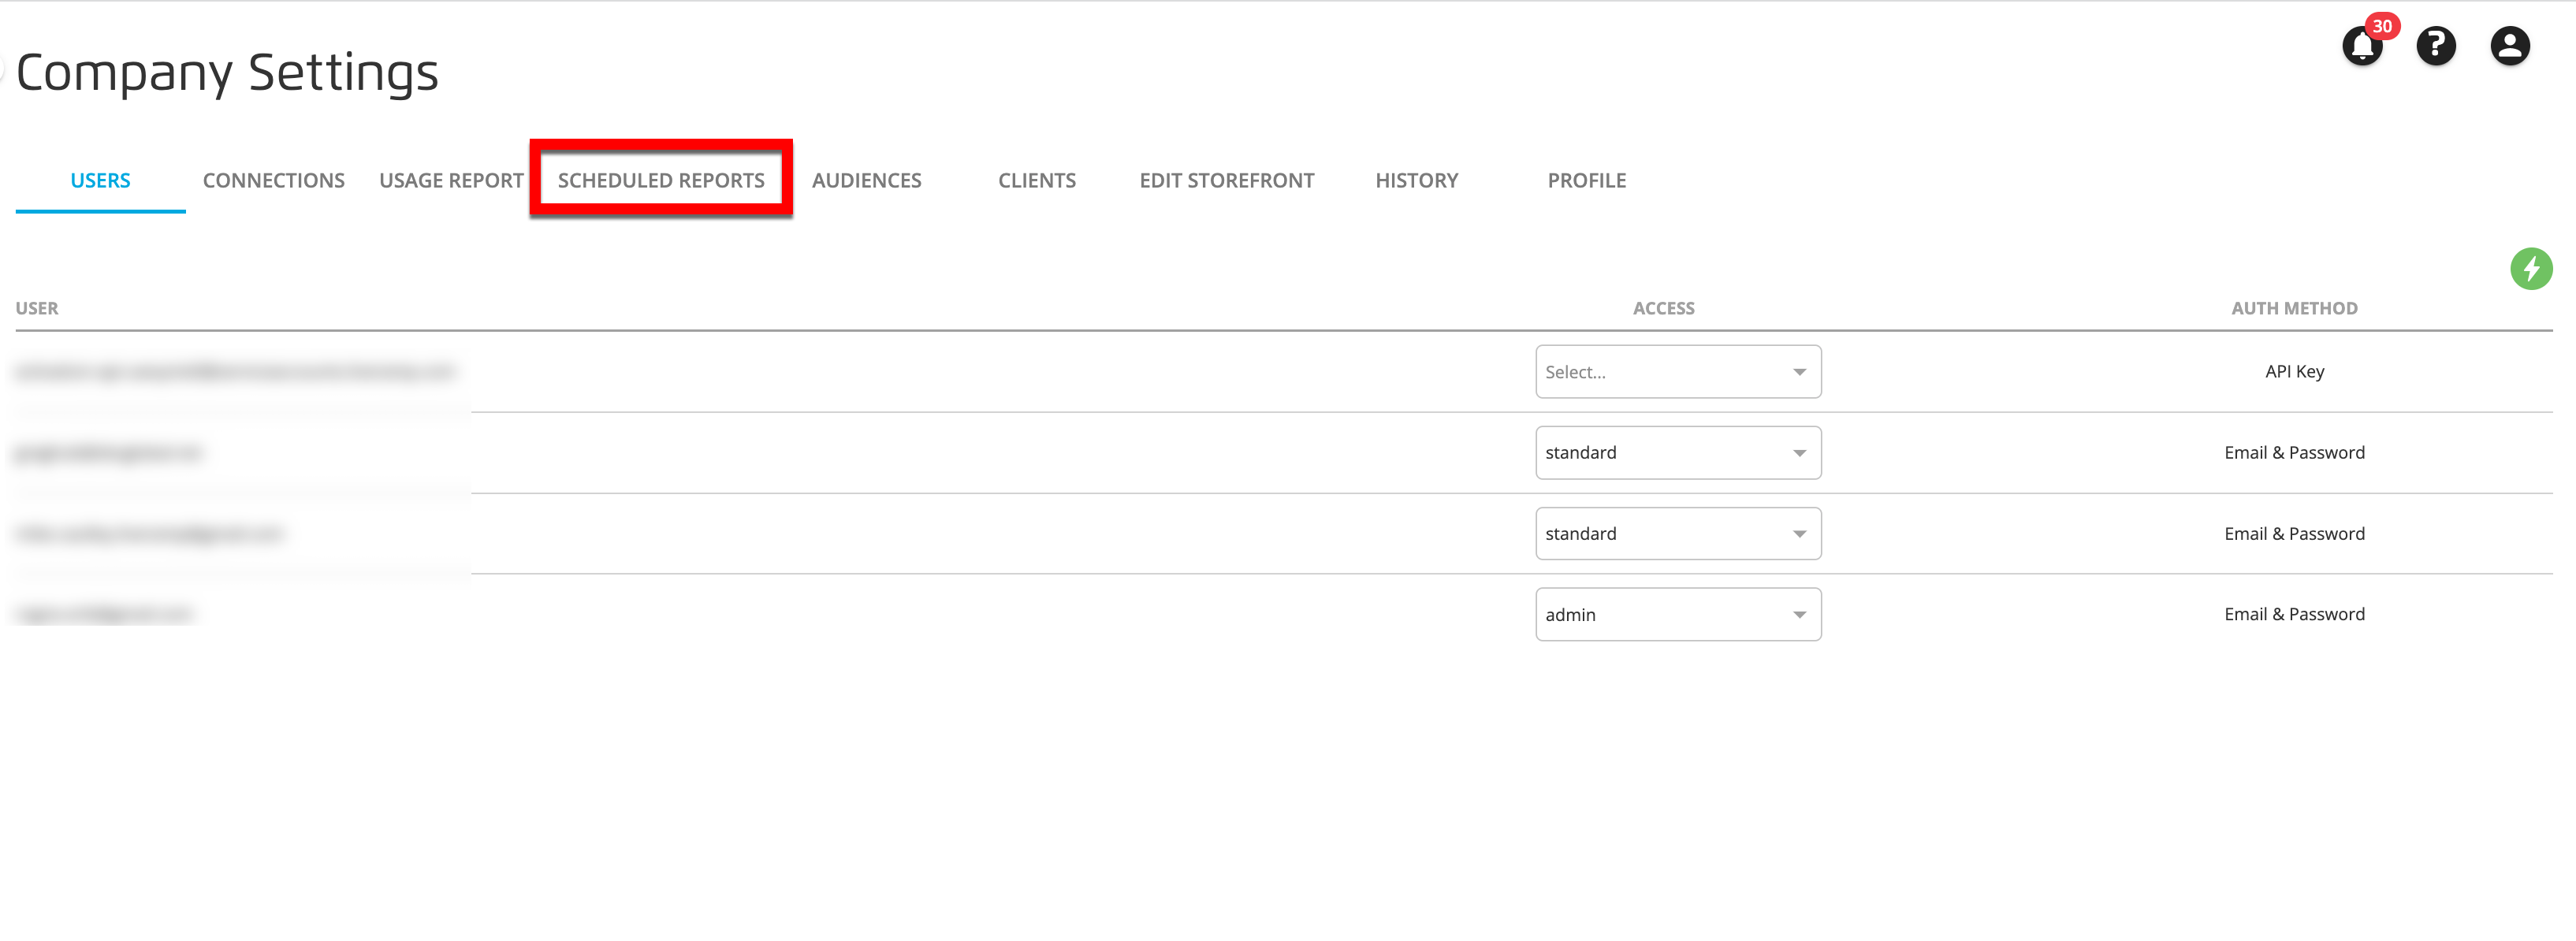
Select the SCHEDULED REPORTS tab.
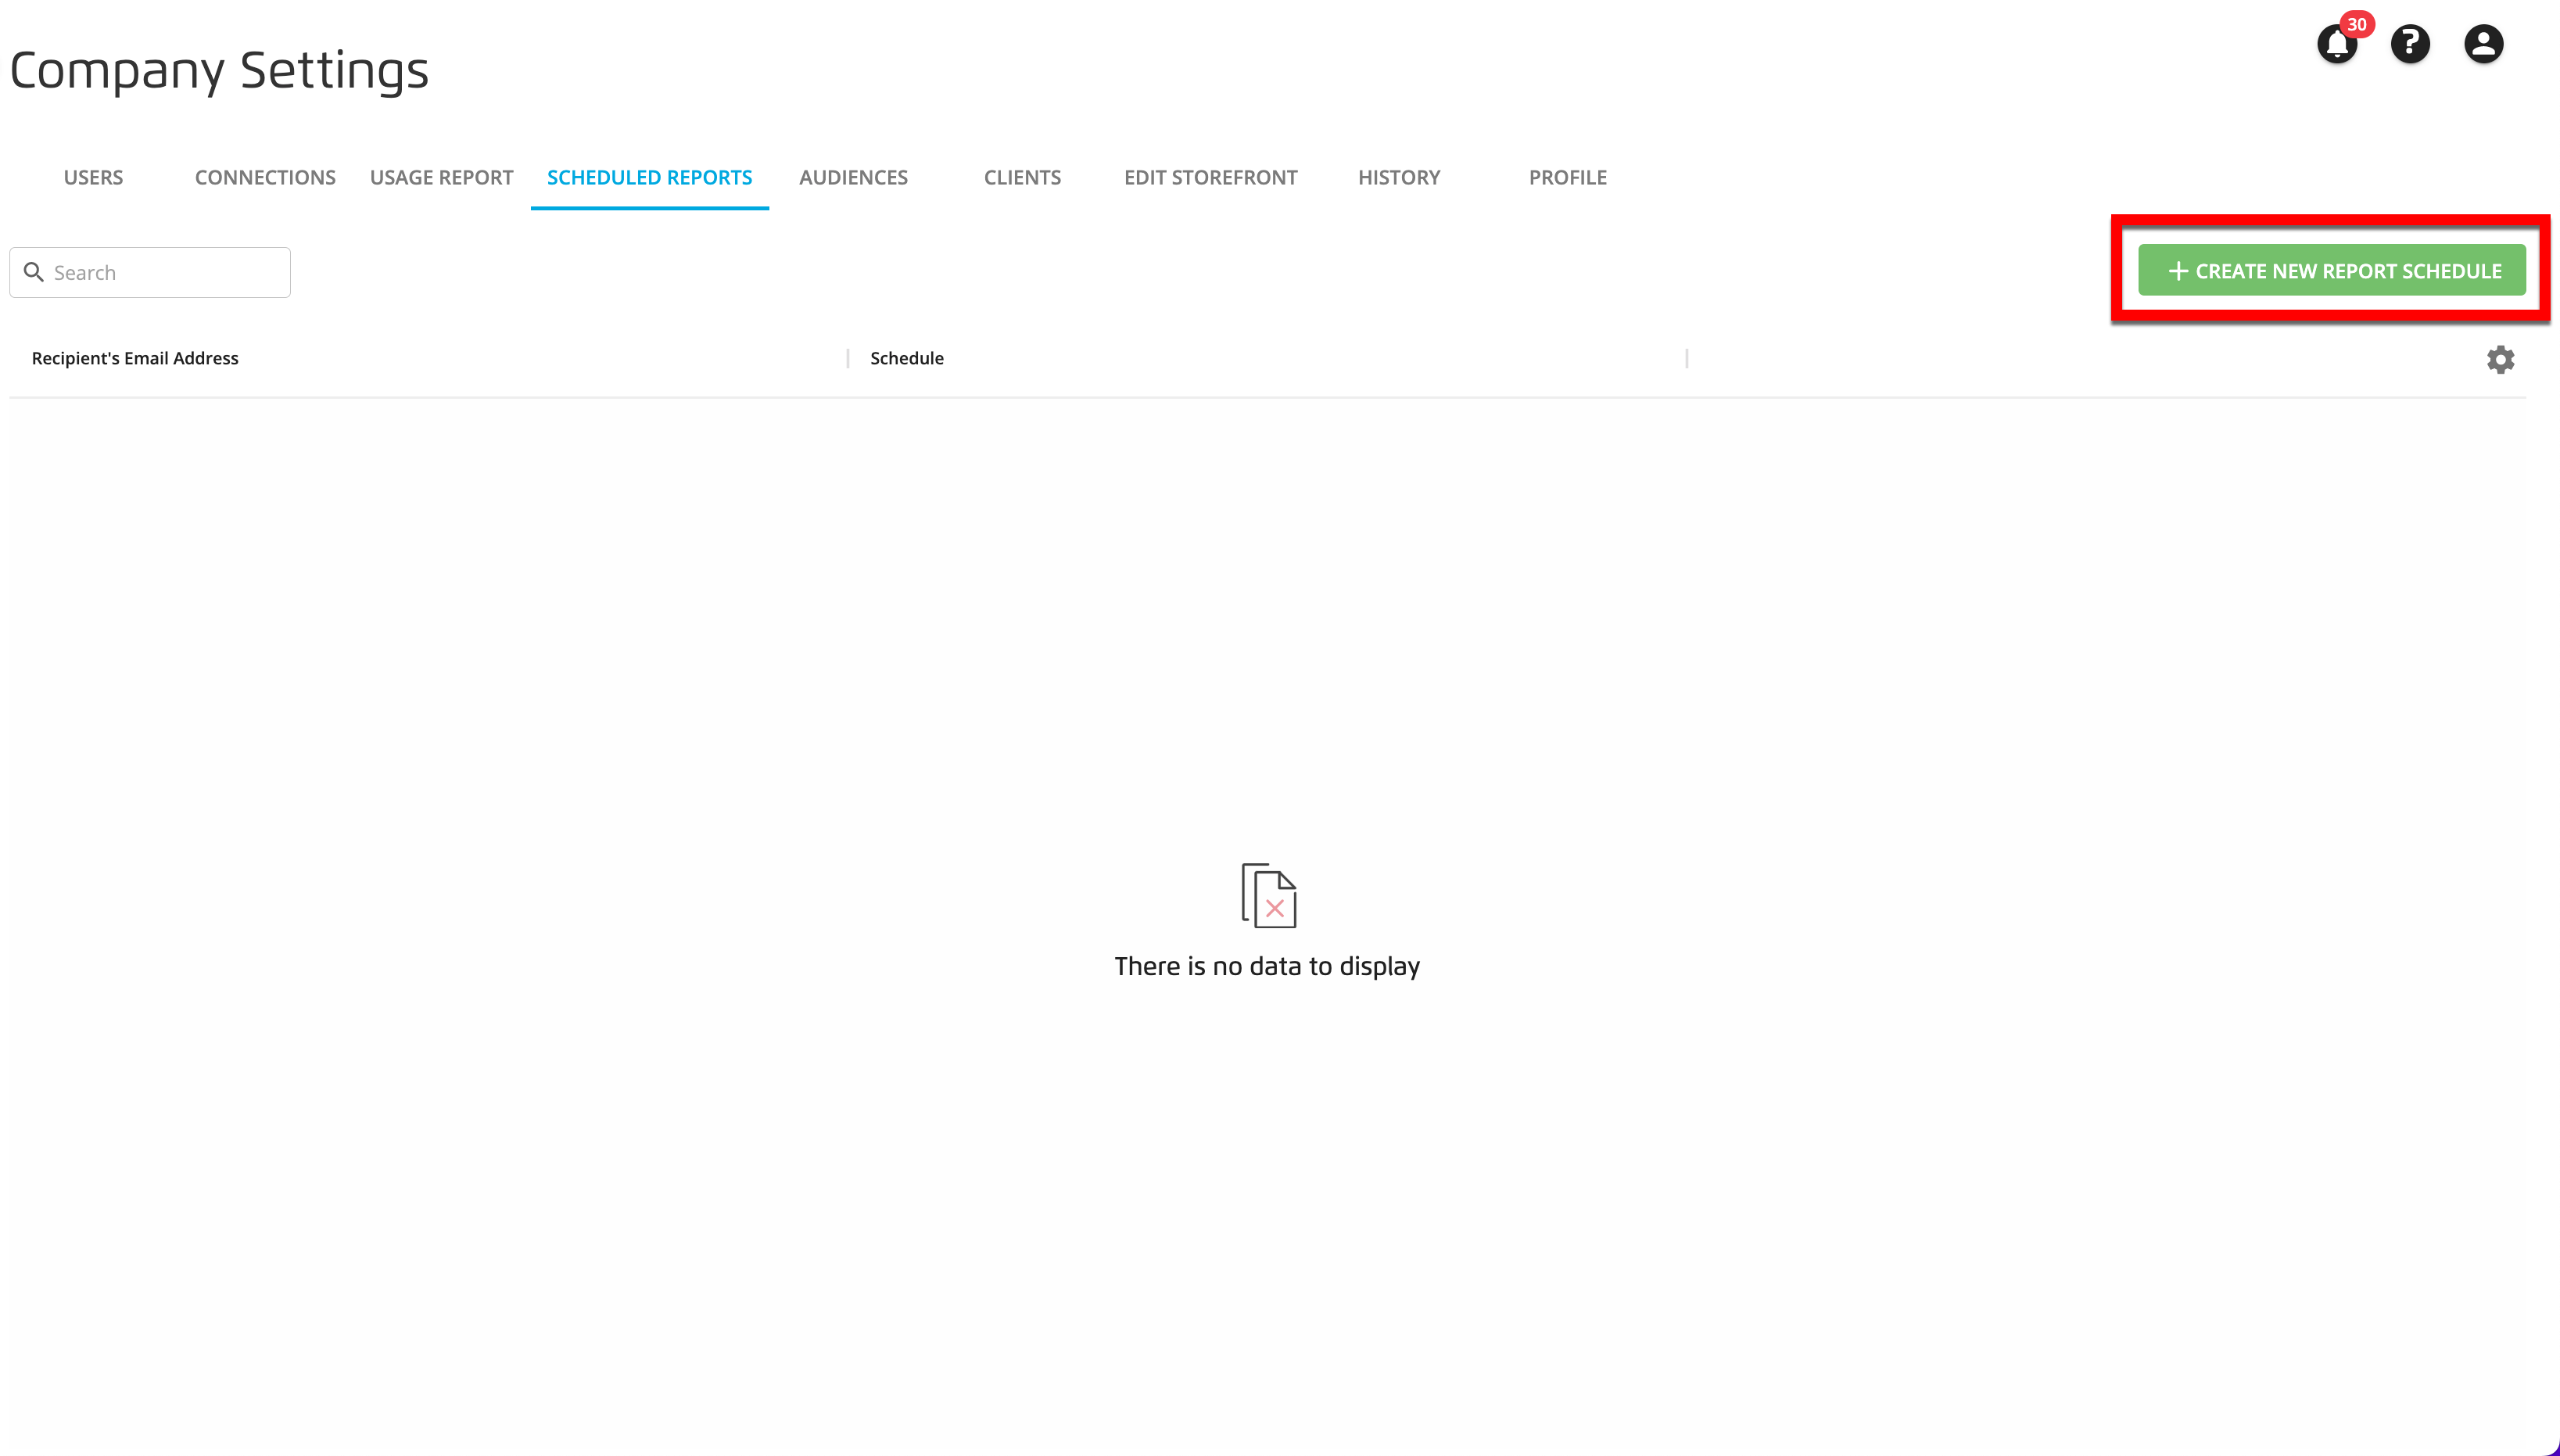
To send usage reports to a new recipient, click .
Enter the email address of the person you want to receive the report.
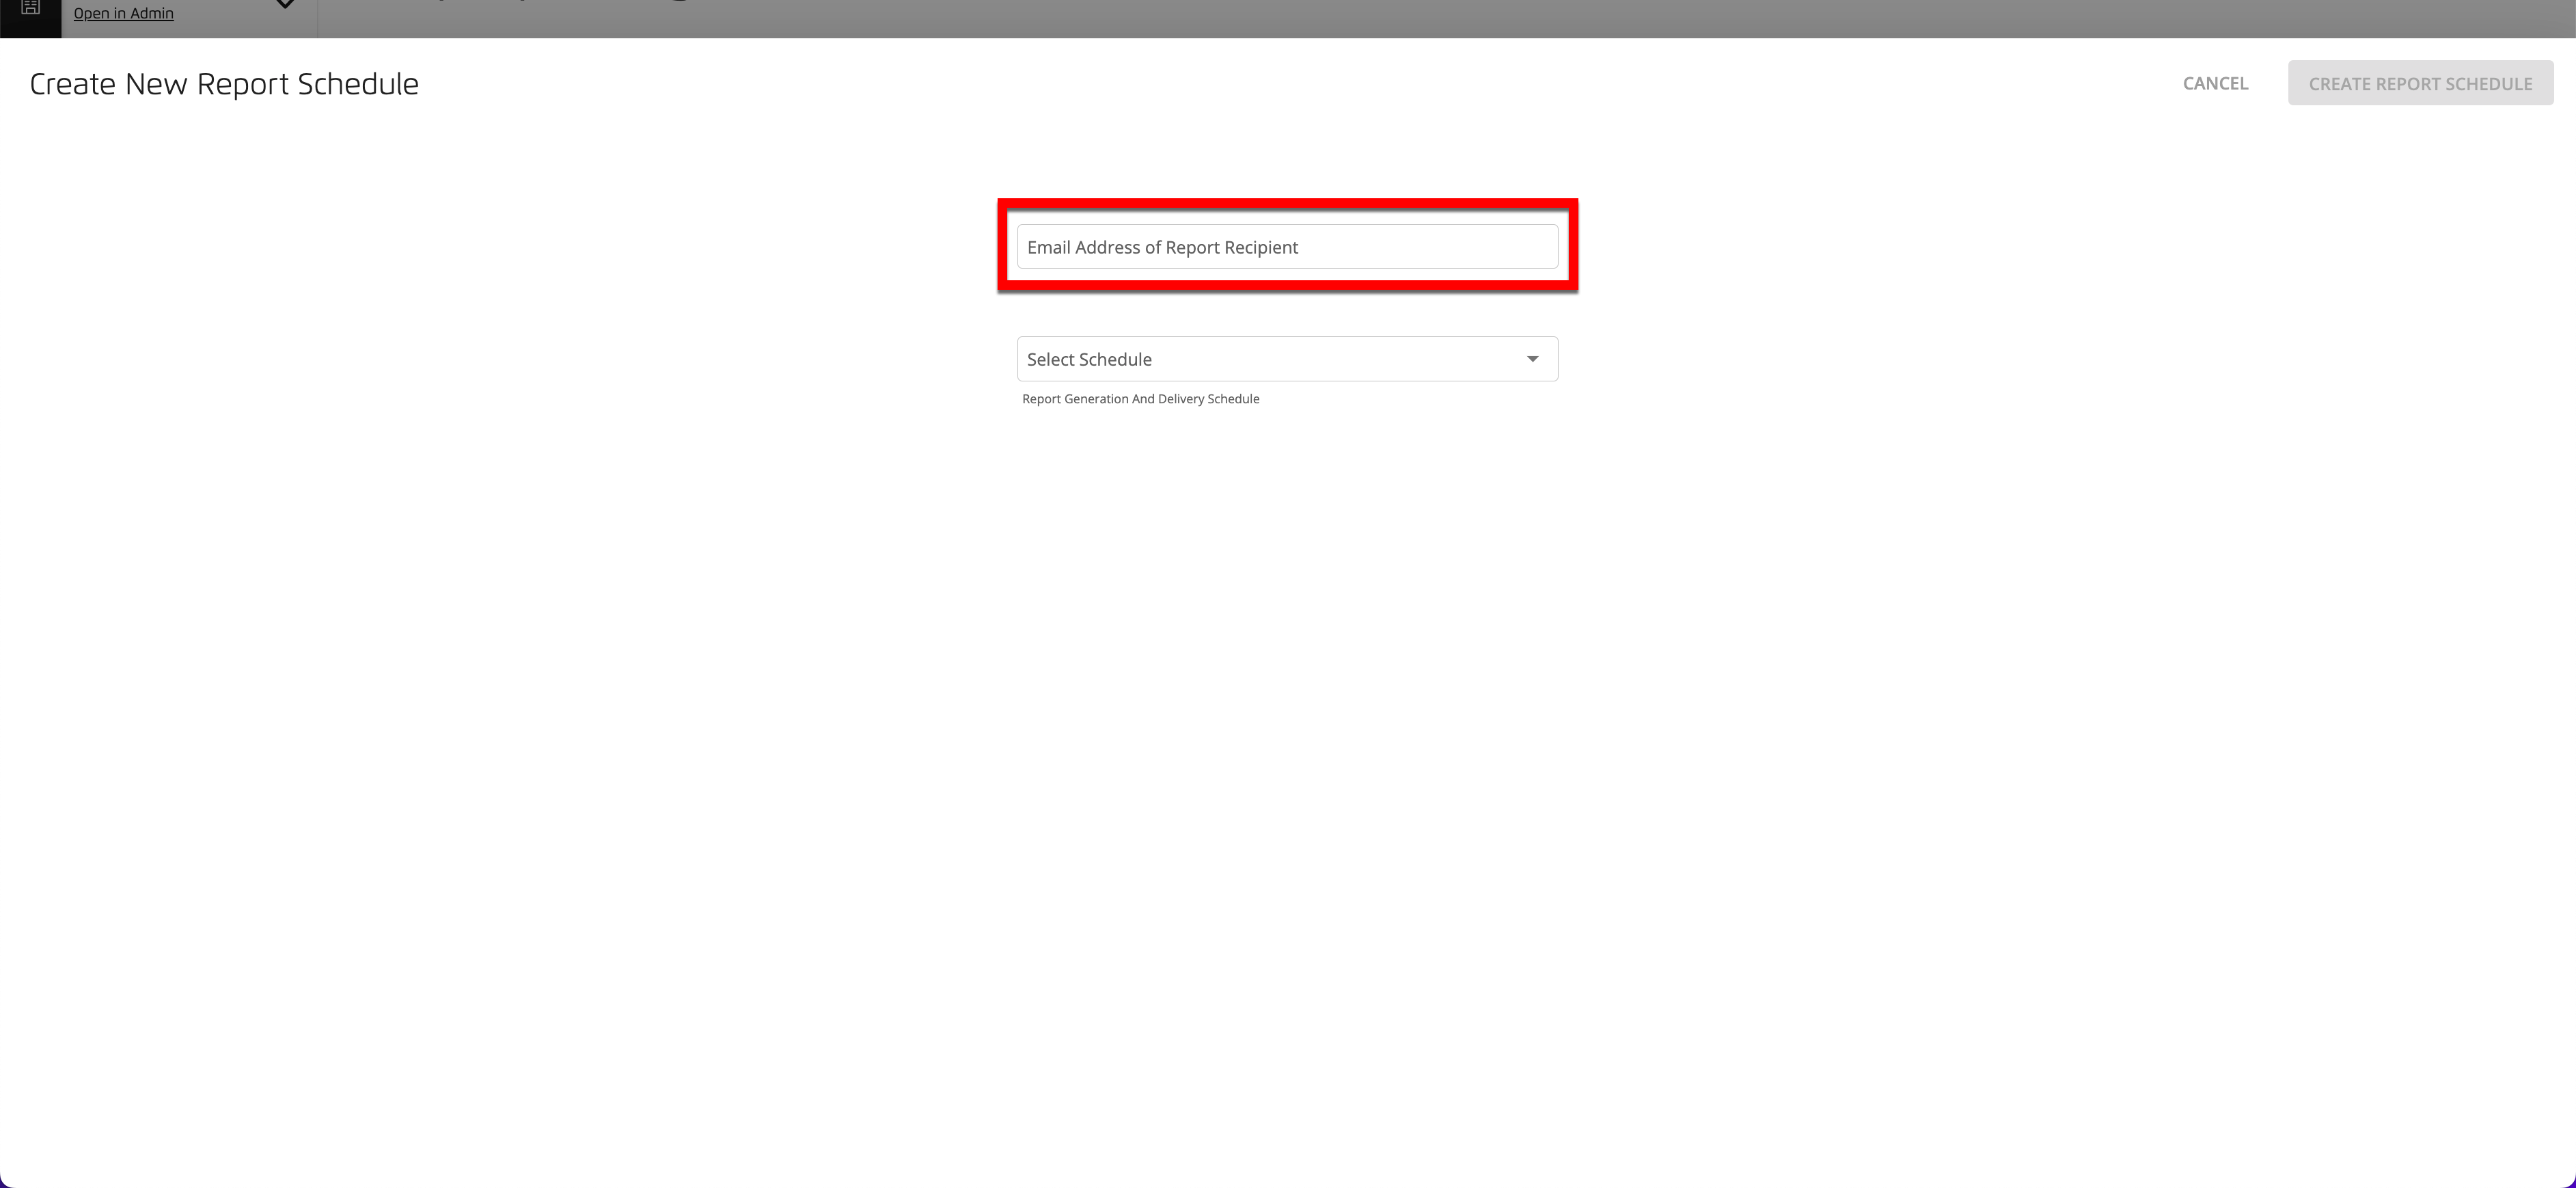
Select the report generation and delivery schedule from the dropdown list options:
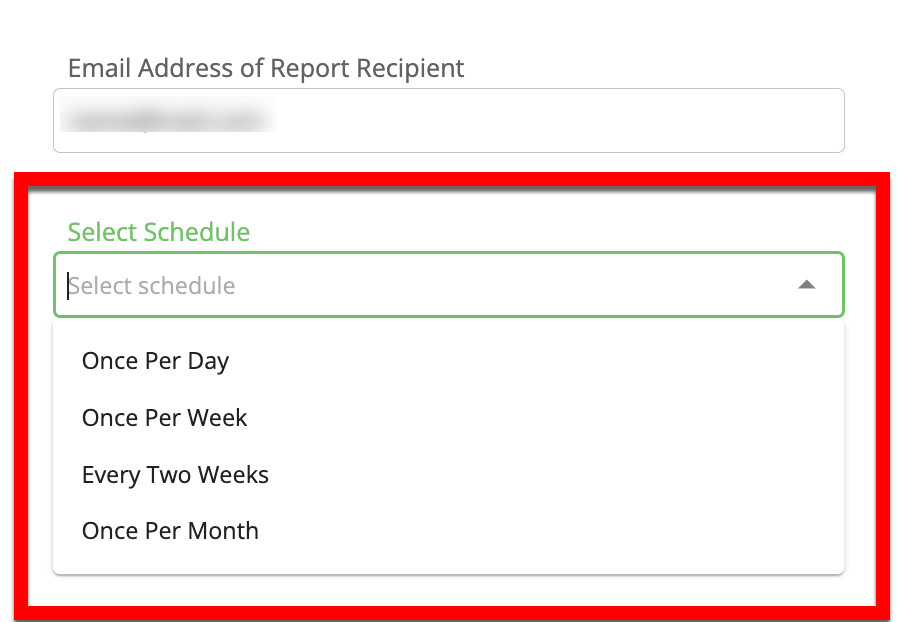
“Once Per Day” sends the report daily, and the report contains usage for the previous day.
“Once Per Week” sends the report on Mondays, and the report contains usage for the month to date for the current month (for example, a report delivered on the 5th contains usage for the 1st to the 4th of the month).
“Every Two Weeks” sends the report on the 1st and 16th days of the month, and the report contains usage for the month to date (for example, a report delivered on the 1st contains usage for the previous month).
“Once Per Month” sends the report on the 1st of the month, and the report contains usage for the previous month.
Click Create Report Schedule.
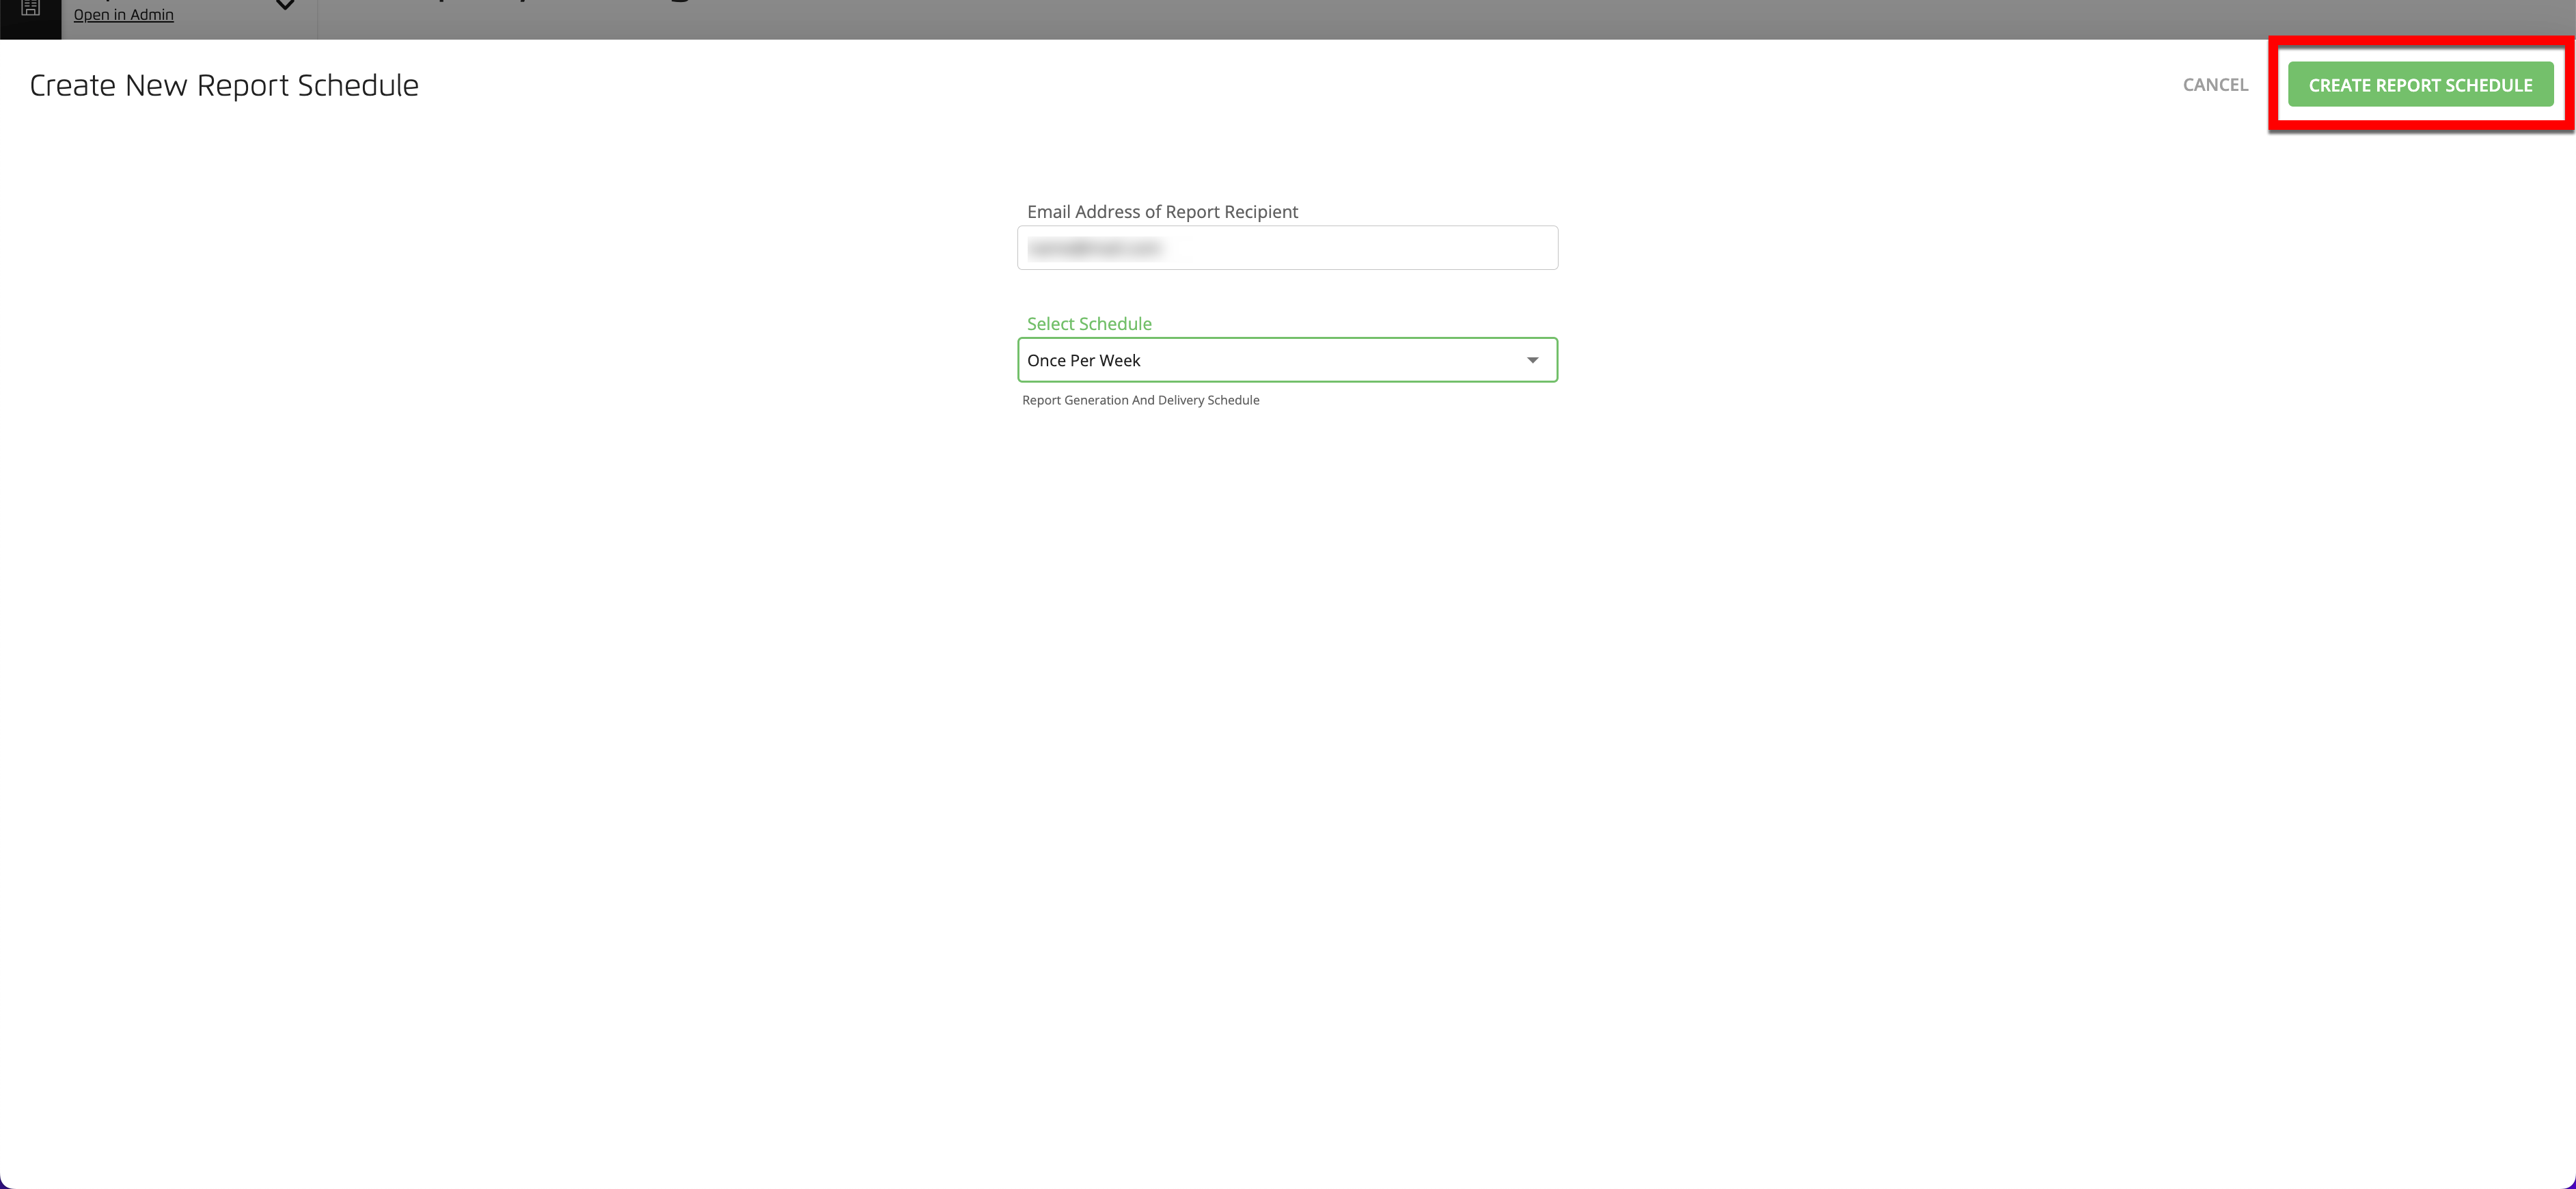
A green success banner appears.

Edit a Usage Report Schedule
To edit a report schedule:
From the navigation menu, select Administration → Company Settings to navigate to the Company Settings page.
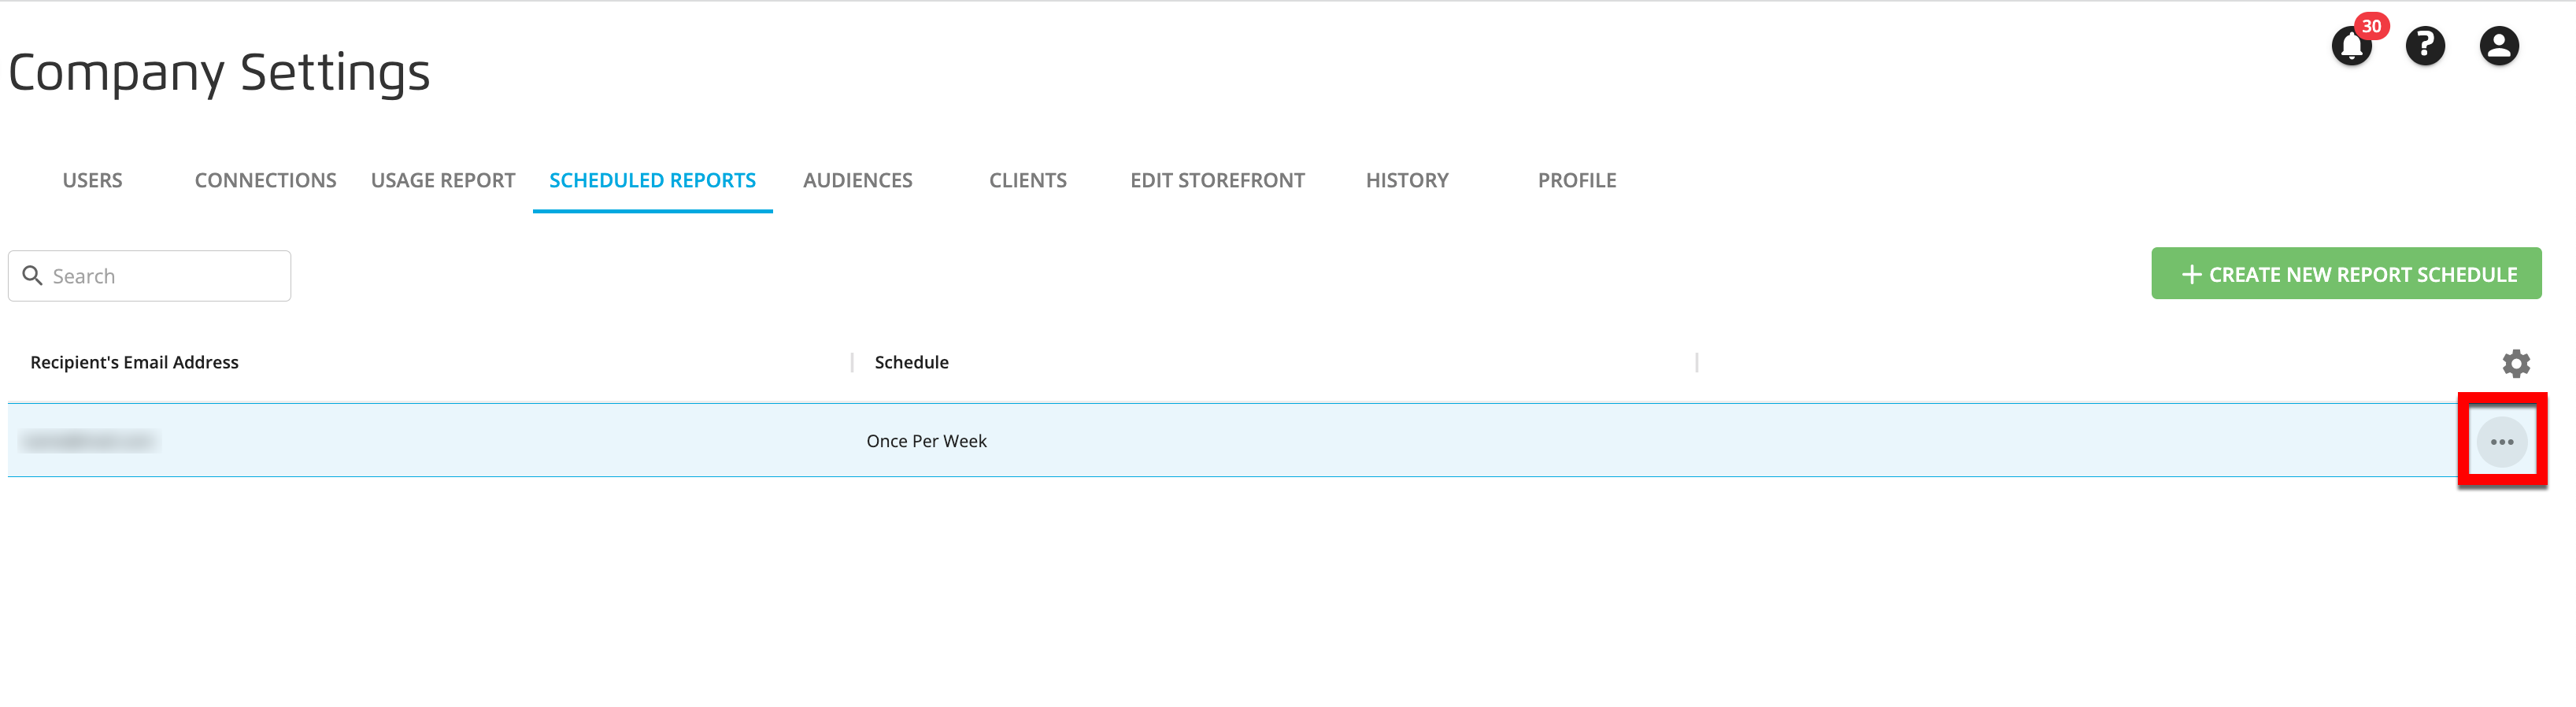
Select the SCHEDULED REPORTS tab.
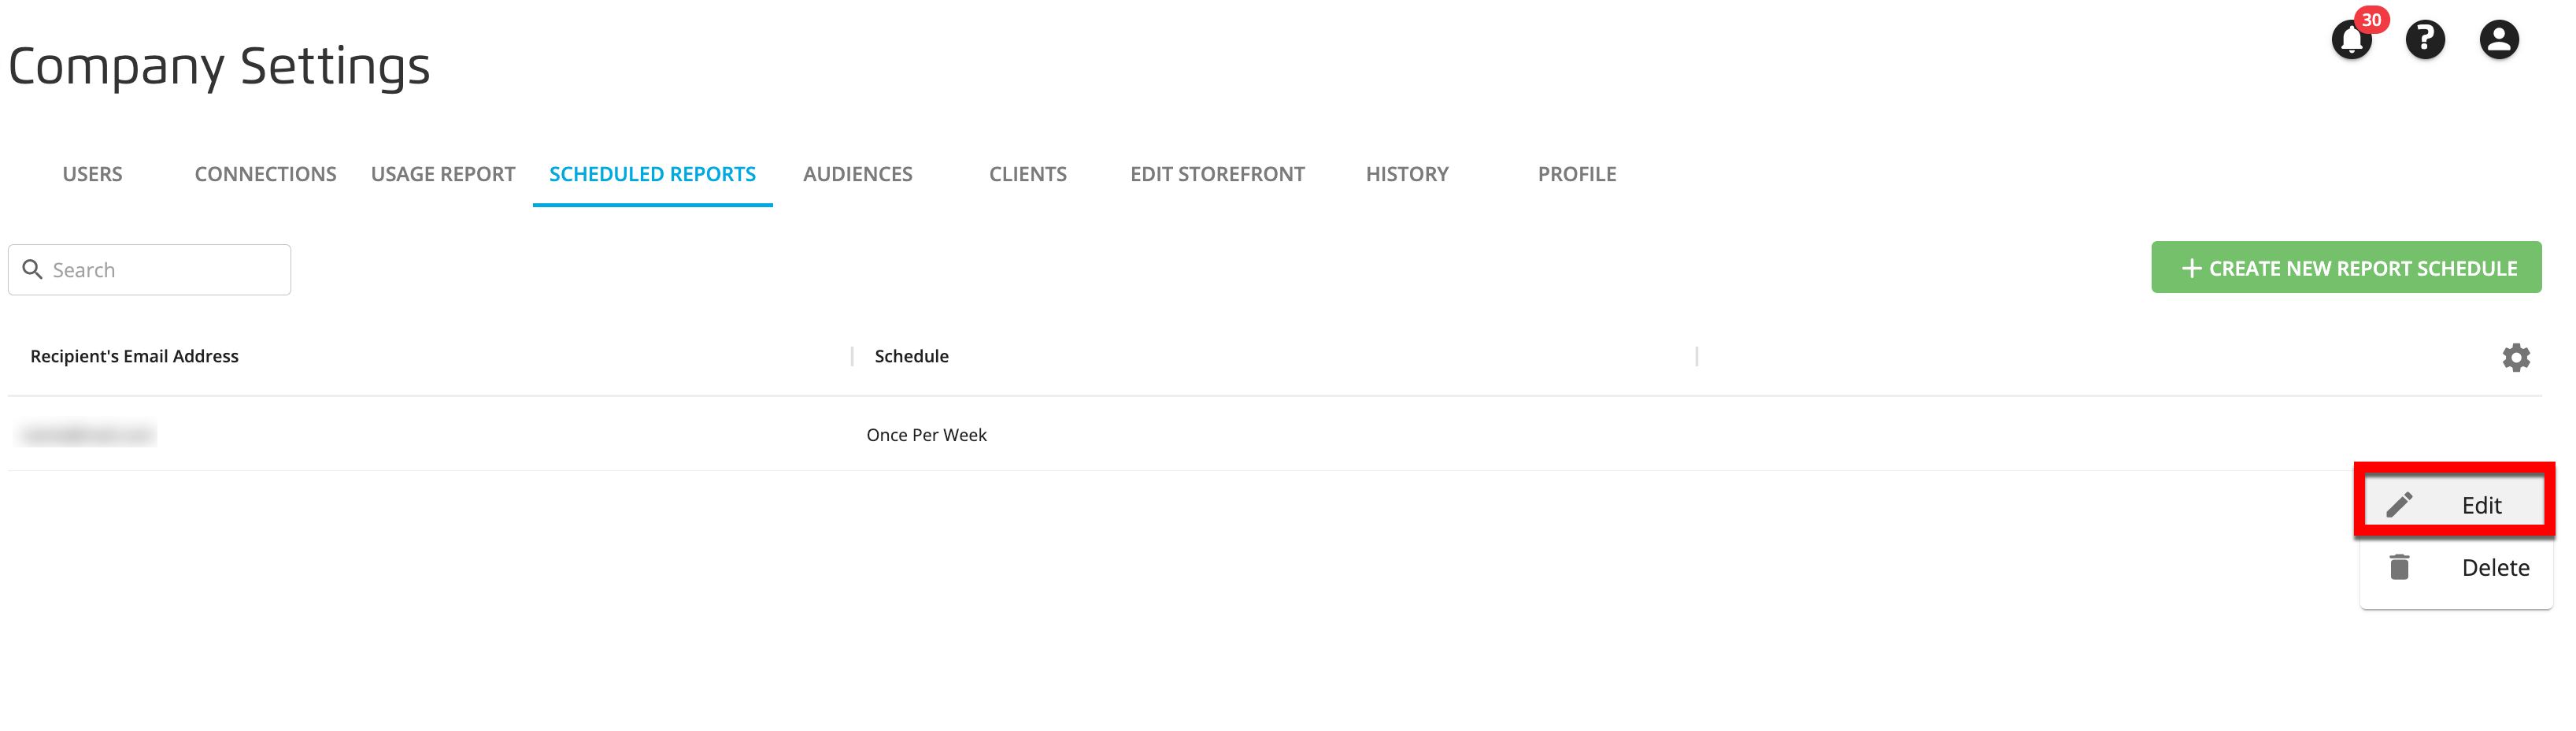
Click the "more actions" icon that appears when you hover over the row of the scheduled report you want to delete, and then select Edit.
From the Edit Report Schedule dialog, make any desired edits:

Edit the recipient’s email address
Adjust the report generation and delivery schedule by choosing a new frequency from the dropdown list
Click UPDATE REPORT SCHEDULE.

A green success banner appears:

Delete a Usage Report Schedule
To delete a report schedule:
From the navigation menu, select Administration → Company Settings to navigate to the Company Settings page.
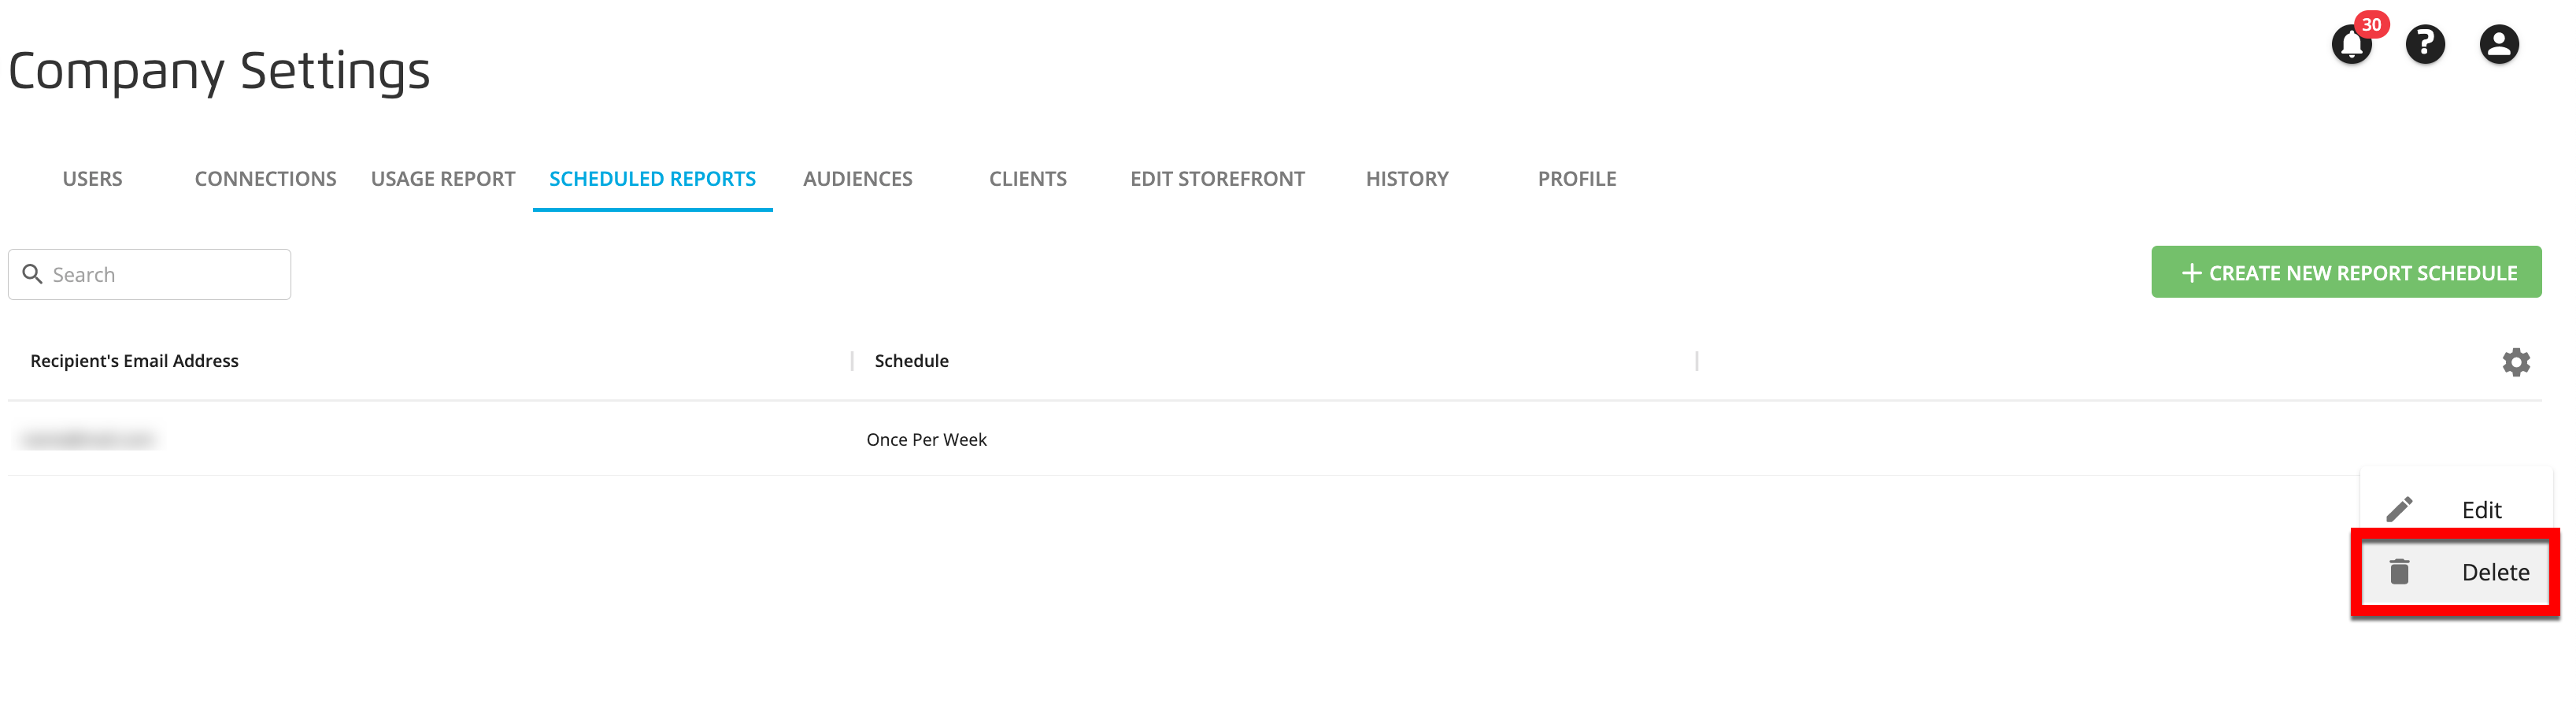
Select the SCHEDULED REPORTS tab.
Click the "more actions" icon that appears when you hover over the row of the scheduled report you want to delete, and then select Delete.
From the confirmation dialog that appears, click .
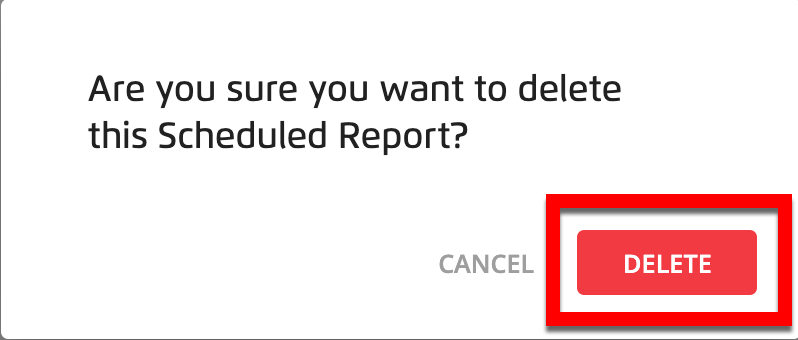
A green success banner appears:
