Customize the Look and Feel (GDPR for Web)
The look and feel of the Privacy Manager can be fully customised to suit your needs. You can adjust a multitude of parameters to make the Privacy Manager match your website design and layout. This guide will walk you through the process.
Getting There
Customizing the look and feel is mostly done on the Editor tab for desired configuration:
Go to the Privacy Manager GDPR Overview page by selecting Privacy Manager > GDPR from the left navigation menu.
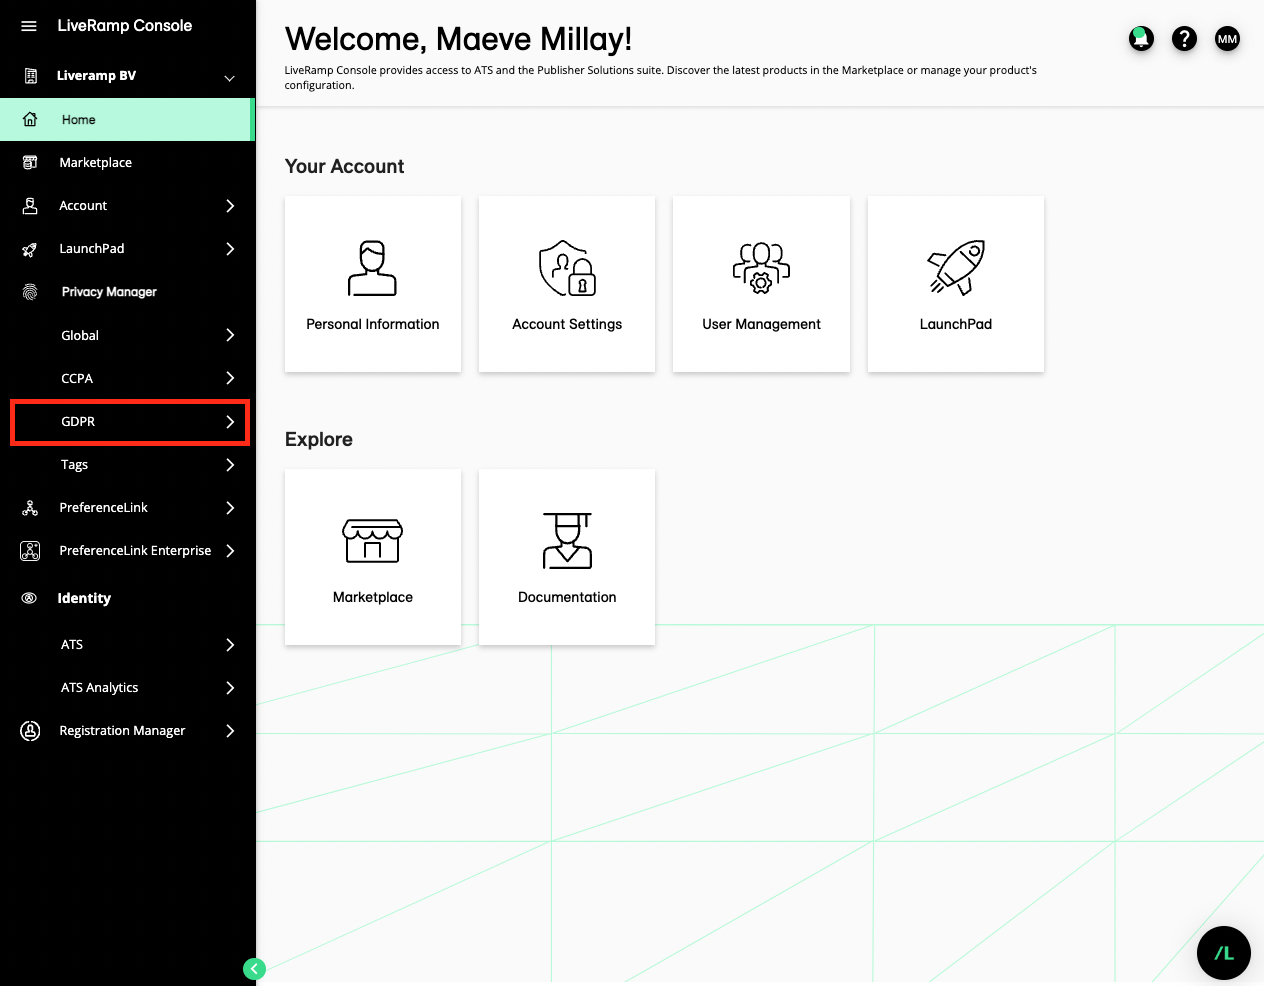
Click the configuration name for the configuration you want to edit.
Select Editor from the left navigation menu.
Configure General Settings
Scroll to the General Settings section to configure the colors and logo in the general branding settings of the Privacy Manager.
If you want to apply an existing template to this configuration, check the Apply Template check box and then select the desired template from the drop-down list that appears. Click .
Note
For more information on using templates, see "Privacy Manager Templates".
Select the notice type: Select “Bar” or “Popup window ”.
Select the notice position:
For Popup Window, the only available option is the center of the screen.
For Bar, select from the top or bottom of the screen.
If this configuration is also being used for mobile web and you want a different notice type for mobile devices, check the Use Different Notice Type for Mobile Devices check box and then make your selections from the options that appear on the right side of the screen.
To have an overlay behind the consumer user interface that requires a selection to be made before interacting with the website, select either “On Manager”, “On Notice”, or “On Manager and Notice” from the Block Content When PM is Shown dropdown. Click the palette icon next to the dropdown to choose the color and transparency of the backdrop.
Select “Never” from the dropdown to not have an overlay behind the consumer user interface.
To have the Logo shown, select “On Manager”, “On Notice”, or “On Manager and Notice” from the Show Logo dropdown.
Select “Never” from the dropdown to not show the logo.
Select your preferred color themes for Privacy Manager:
Default Theme (Color codes : #48484A and #48484A)
Shamrocker (Color codes : #6AC56A and #F88D37)
Bloody Mary (Color codes: #FA4323 and #FA4323)
Blue Lagoon (Color codes: #236DFA and #23B8FA)
Dry Martini (Color codes: #000000 and #000000)
Pina Colada (Color codes: #40E2AF and #D5632B)
Tequila Sunrise (Color codes: #FF5800 and #FF9696)
Fade to Black (Color codes: #333333 and #FFFFFF)
To configure the logo that will be displayed in the header of the Privacy Manager or Privacy Notice or both:,
Click the Edit icon in the upper right of the logo box.
Provide a URL to your logo or upload the file.
Click .
Note
Logo guidelines:
It should be at least 50x50 pixels.
In case the uploaded image exceeds the maximum height it will be scaled down to fit.
Acceptable formats are PNG or JPG.
Configure the Controls
Scroll to the Controls section.
To display an “X” in the top right-hand corner that allows users to close the Privacy Manager or Privacy Notice or both, select “On Manager”, “On Notice”, or “On Manager and Notice” from the Show the "X" Button (Close the App) dropdown.
Select “Never” from the dropdown to not display an “X”.
Configure where you want to display the “Reject All” button (which can be used to reject the consent for all the Vendors, either from the Privacy Manager or Privacy Notice or both) by selecting “On Manager” or “On Manager and Notice” from the Show the "Reject All" Button dropdown.
Warning
To ensure that users can easily withdraw their consent, the Reject All button will be displayed by default when the CMP is resurfaced for that user.
Configure the Call to Action buttons. There are four buttons that can be separately configured:
Accept All
Reject All
Save and Exit
Manage Settings
For each button, you can select from five different pre-defined styles ("Raised", "Text", "Unelevated", "Outlined", and "Semi Transparent") and select the base color from the color picker (the secondary color is always white).
To provide direct access to your privacy policy or imprint documentation, links can be surfaced on the footer of the Privacy Manager Notice and Manager screens (the labels for the links can be edited in the Controls section of the Content editor). Check the check box(es) for the links you want to enable and then enter the URL to be used for the link:
Show Imprint Link
Enable Policy Link
Configure Dialogs and Confirmations
In the Dialogs and Confirmations section:
To choose to have a confirmation dialog display after the visitor presses one of the following buttons or both of the following buttons, check the desired check box(es):
Accept All: This ensures that the End user consent preference for all the Vendors has been accepted.
Reject All: This ensures that the End user consent preference for all the Vendors has been rejected.
Save and Exit: Saves the current state and closes Privacy Manager.
Configure Privacy Manager Button Settings
Choose Icon and Color: To control the icon which is used to resurface the Privacy Manager, select an icon type from the dropdown and adjust the color by clicking the palette icon.
Show the Button: Select one of the options from the drop down (“On Desktop” , “On Mobile”, and “On Desktop and Mobile”) to configure where the “Do Not Sell My Info” button should be shown.
Choose “Never” from the dropdown in order not to show the “Do Not Sell My Info” button.
Caution
Selecting anything other than "On Desktop and Mobile" will cause a possible TCF Policy Compliance breach. To unlock the ability to make a different selection, an attestation or a private CMP ID might be required. Go to the IAB TCF Compliance section in the Admin section to unlock this feature.
Position of the Button: Select where to position the button (“Bottom Left” or “Bottom Right”).
Load Privacy Manage on: Select whether to load the Privacy Manager in the Privacy Information tab or in the Privacy Settings tab.
In some cases you might want to toggle Privacy Manager from a text link instead of the button. In the admin section within your configuration you can find a code snippet to toggle Privacy Manager.
Display Options
The Notice is resurfaced when a purpose is added in to one of your selected vendors in the global vendor list (GVL). Additionally, you can control when the notice is resurfaced to ask for consent again using the controls below:
Select the number of days after the end user has given consent to redisplay the Notice from the After visitor gave consent, redisplay after: dropdown (30 days, 90 days, 120 days, 180 days, or 365 days).
Select the number of days after the end user has not given consent to redisplay the Notice from the After visitor did not give consent, redisplay after: dropdown (30 days, 90 days, 120 days, 180 days, or 365 days).
To control when the Notice is redisplayed if a new vendor is included in the vendor list and the end-user did not give consent yet for this vendor, or when there is a change in the GVL, select the desired number of days from the After adding a new vendor or a change in GVL, show after: dropdown ("1 day", "7 days", "30 days", "90 days", "120 days", "180 days", or "365 days").
To control when the Notice is redisplayed after any new configuration is published, select the desired number of days from the After publishing a new version, show after: dropdown ("1 day", "7 days", "30 days", "90 days", "120 days", "180 days", or "365 days").
To auto-hide the Privacy Notice after a predetermined time period or predetermined number of page loads if the consumer does not interact with it, select an option from the Auto hide Privacy notice dropdown:
To auto-hide the Privacy Notice after a predetermined time period, select "After time period" and then select the desired time period ("30 seconds", "45 seconds", or "60 seconds").
To auto-hide the Privacy Notice after a predetermined number of page lodas, select "After number of page loads" and then select the desired number of page loads (3, 4, 5, 6, or 7).
Note
Auto hiding the Privacy Manager could have an impact on the Consent rates, as the Consent preference can be “Deny All” when the Privacy Manager auto hides.