Manage Accounts and Their Roles
If you have the User Manager or Super User - Admin role, you can create and manage accounts for your organization in LiveRamp.
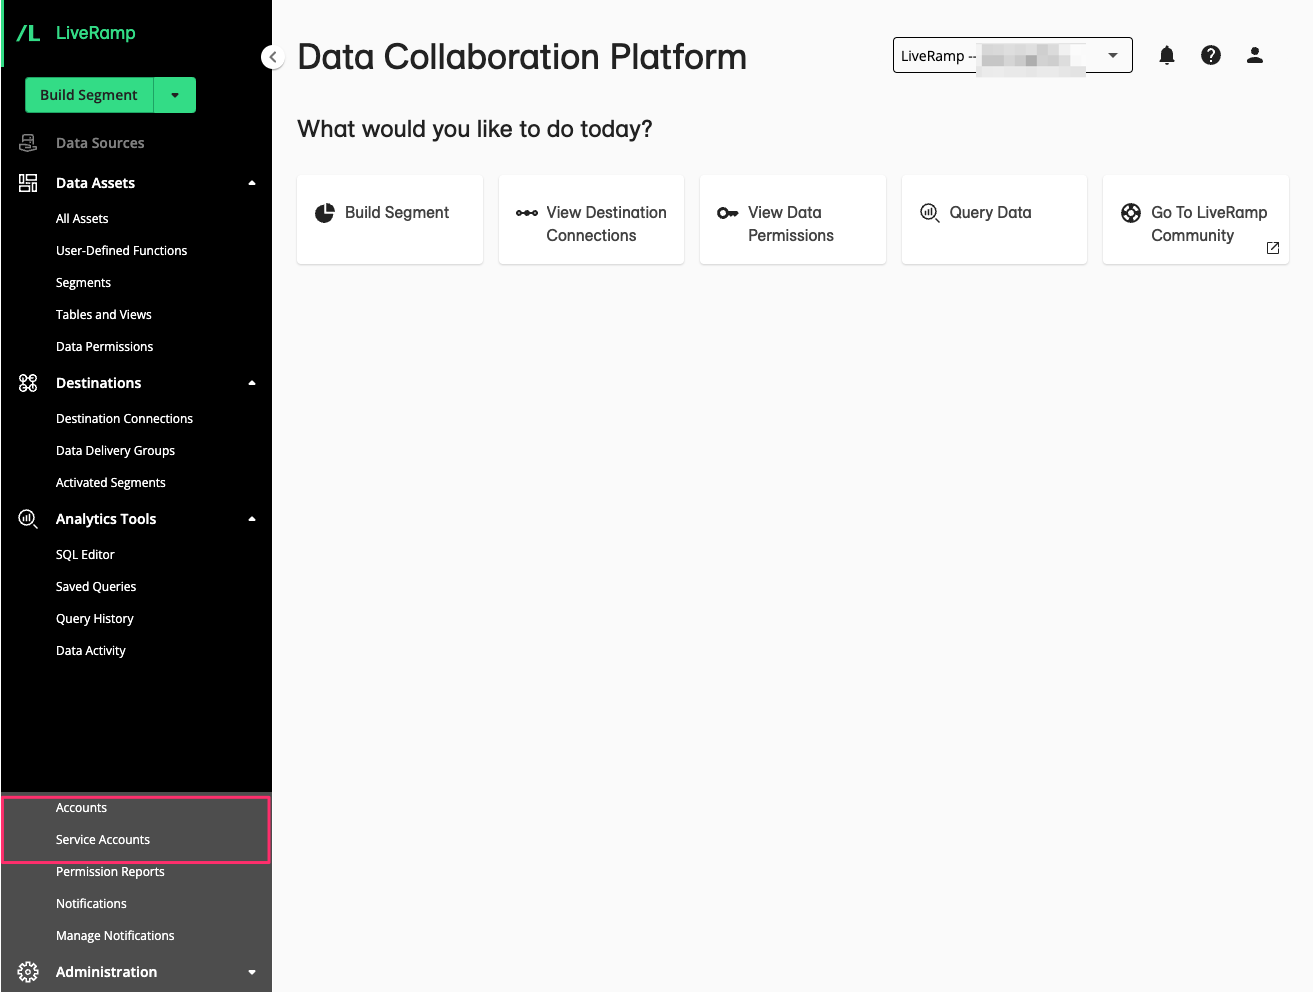
A user with the User Manager or Super User - Admin role will have access to the Accounts and Service Accounts sections located within the Administration menu.
Tip
To see your roles, click the user icon on the top right-hand side of any screen and select My Profile.
There are two types of accounts you can manage in the Data Collaboration Platform:
User accounts: Used by a person to log in and access products in the Data Collaboration Platform
Service accounts: Used to allow programmatic access to LiveRamp APIs
Note
The Service Accounts tab is not available by default. If this product is suitable for your use case, contact a LiveRamp representative to gain access.
Add Accounts with Roles
When you add an account, you grant a person or a service account access to your organization. You might want to think about what roles you want to assign to define their access to your organization. To learn more about all the available roles in the Data Collaboration Platform, see "Roles and Permissions".
Roles can be assigned for:
People in your organization who need to perform tasks in the Data Collaboration Platform
Service accounts for API access that you have created on the Service Accounts page. For more information, see "Manage Service Accounts".
If you are adding user accounts, you need the email addresses of the users you're creating the account for.
To create accounts:
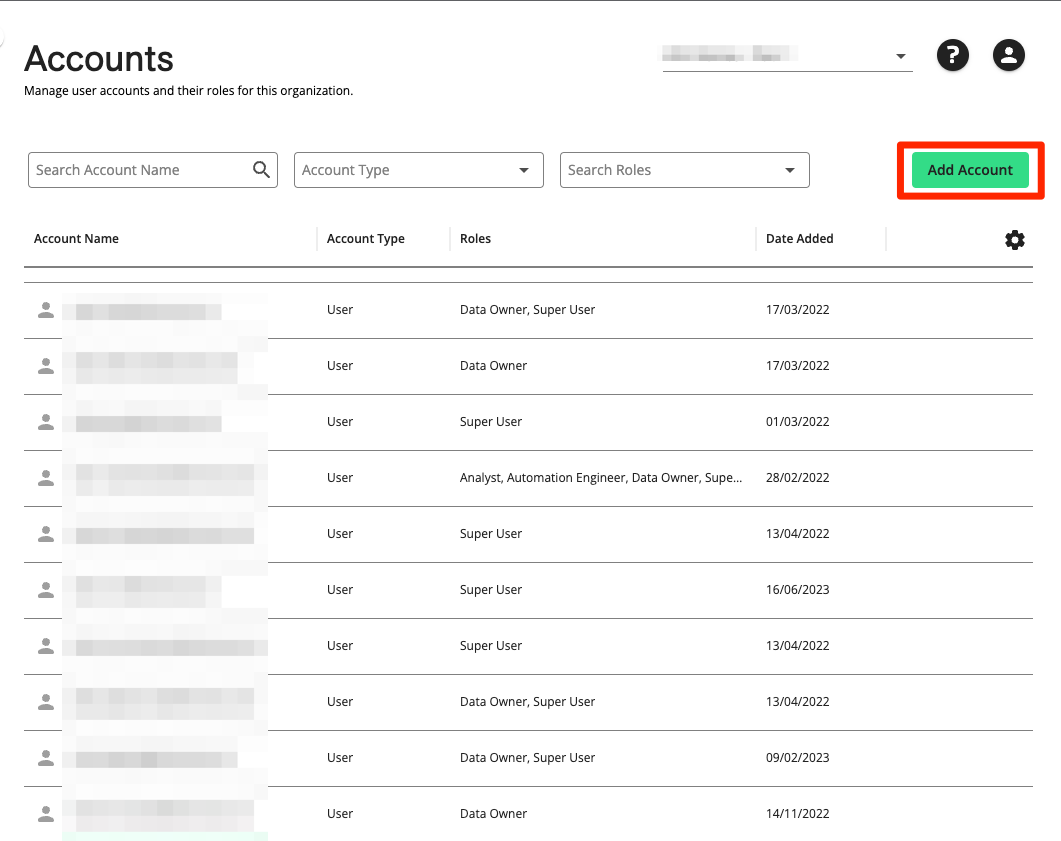
Select Administration → Accounts.
Click . The Add Accounts dialog appears.
Enter the user's email address. If you are granting access to a service account, paste the full name of the service account, which resembles an email address. For example; test_tsapzew4@01HD21781BTH9M7ZG0KRTC8QRZ.v2.serviceaccounts.liveramp.com.
Tip
If you want to add multiple accounts with the same roles, you can do so by separating each email address or service account name with a comma, [Space], or [Enter]. A maximum of 10 accounts can be added at the same time.
Click .
Click the dropdown option under and select one or more roles for the account.
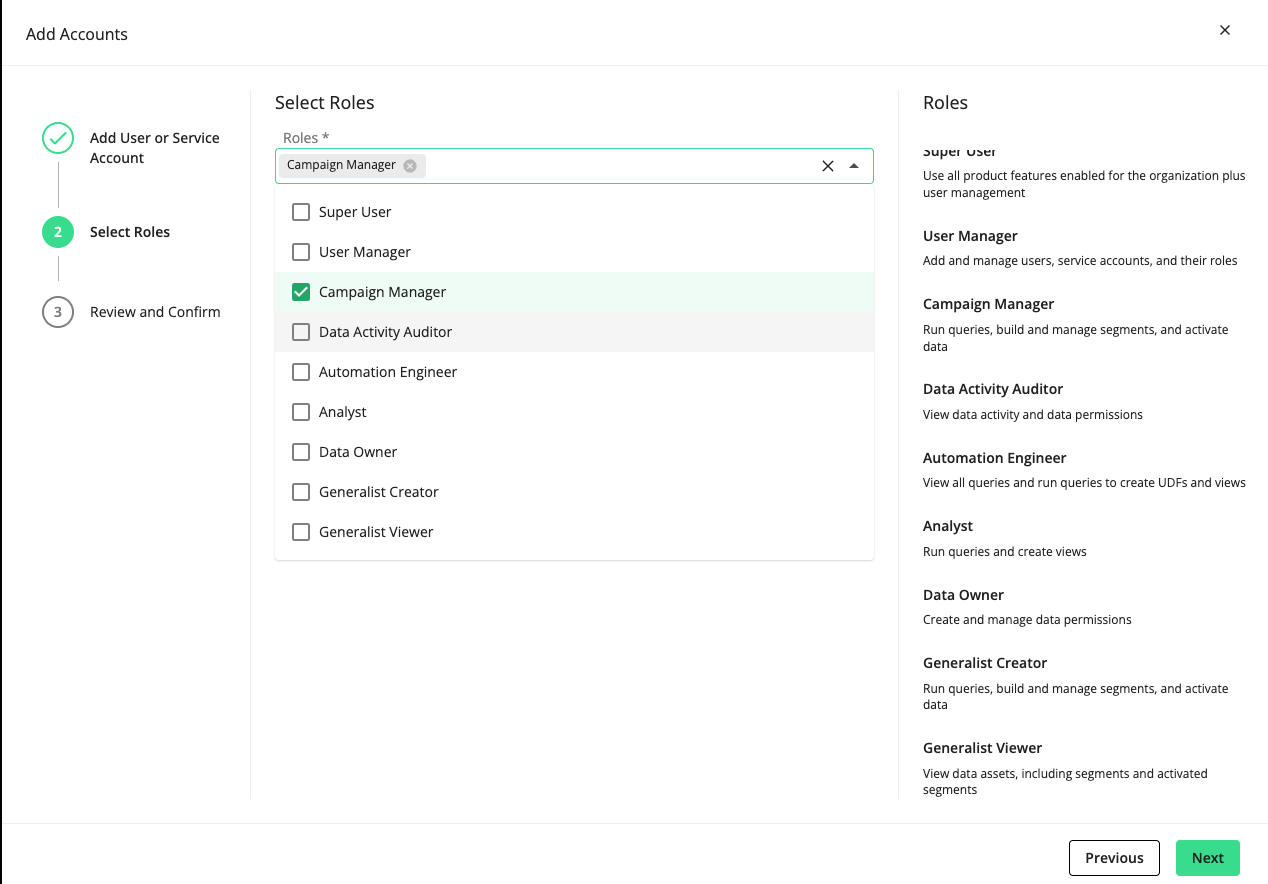
Click .
Review the accounts and click .
Note
When adding multiple accounts, it can happen that some accounts cannot be added and will appear greyed out on the "Review and Confirm" step. If this happens, return to the "Add User or Service Account step" and try adding all the accounts again.
The account is now displayed on the Accounts page. The new users will receive an email. If you add an account for a user who has an existing account in the Data Collaboration Platform (through another organization), they will gain additional access to your organization.
If the user does not have an existing account, they will be prompted to set up an account in LiveRamp.
Note
If you haven't enabled single sign-on and the user does not have an existing account in LiveRamp, the user must click and select to set up their password for the first time. You can also share the following link: https://sso.liveramp.com/signin/forgot-password.
Remove an Account
You can revoke a user or service account's access to your the Data Collaboration Platform organization by removing their account. Note that removing a user does not mean that they will lose access to all organizations in the Data Collaboration Platform. The user can still log in to the Data Collaboration Platform if they have roles assigned to them in other organizations.
To remove a user account:
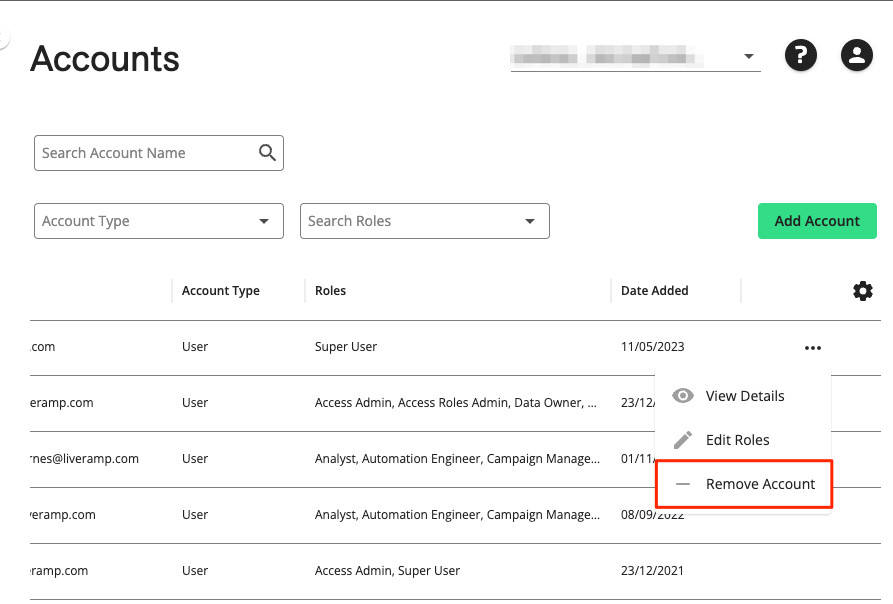
Go to Administration → Accounts.
Hover on the row for the account you want to remove, and click the
 icon.
icon.Select .
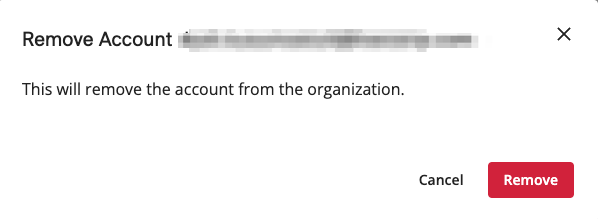
A confirmation pop-up displays. Click
Edit Roles
You can assign user roles during the Add Account flow or edit a role belonging to an existing account.
To change the role of an existing account:
Select Administration → Accounts.
Hover on the row for the user account whose role you want to adjust and click the
icon.Select .
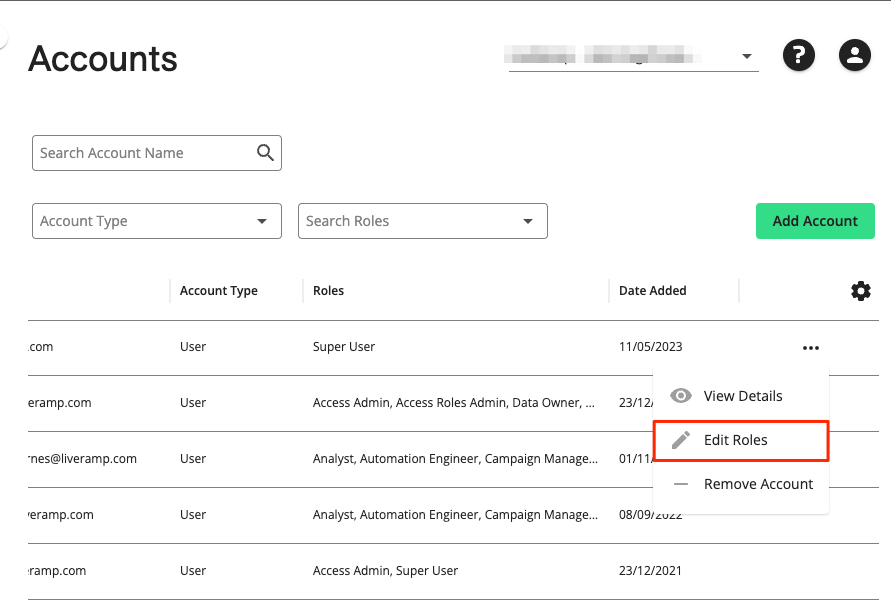
Click the dropdown option under to select the role you want to add to the account. You can also remove an existing role by clicking its check box.
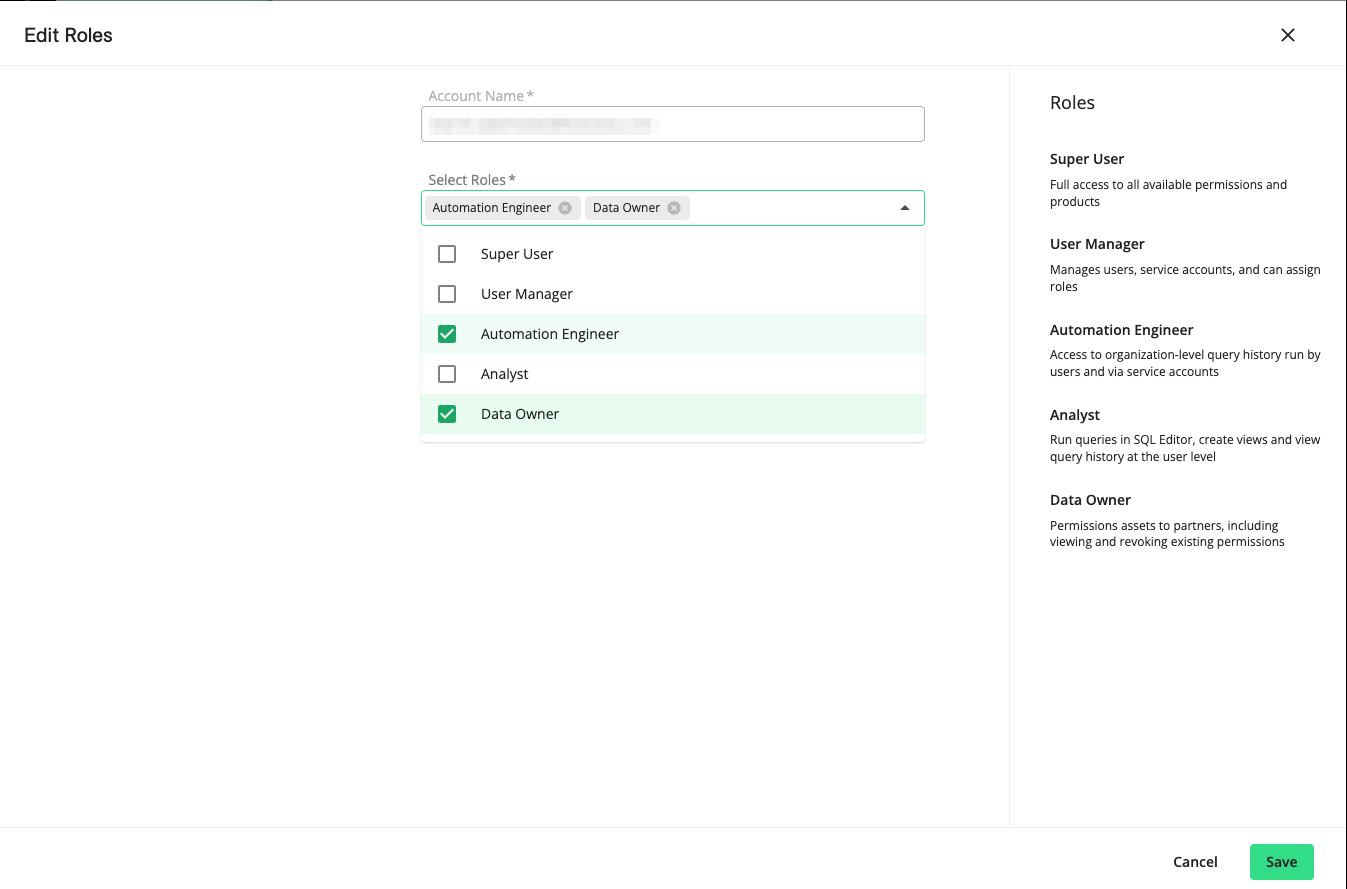
Click .