Create an Account in Console
Before you can add any products to your subscription, you must create an account in Console.
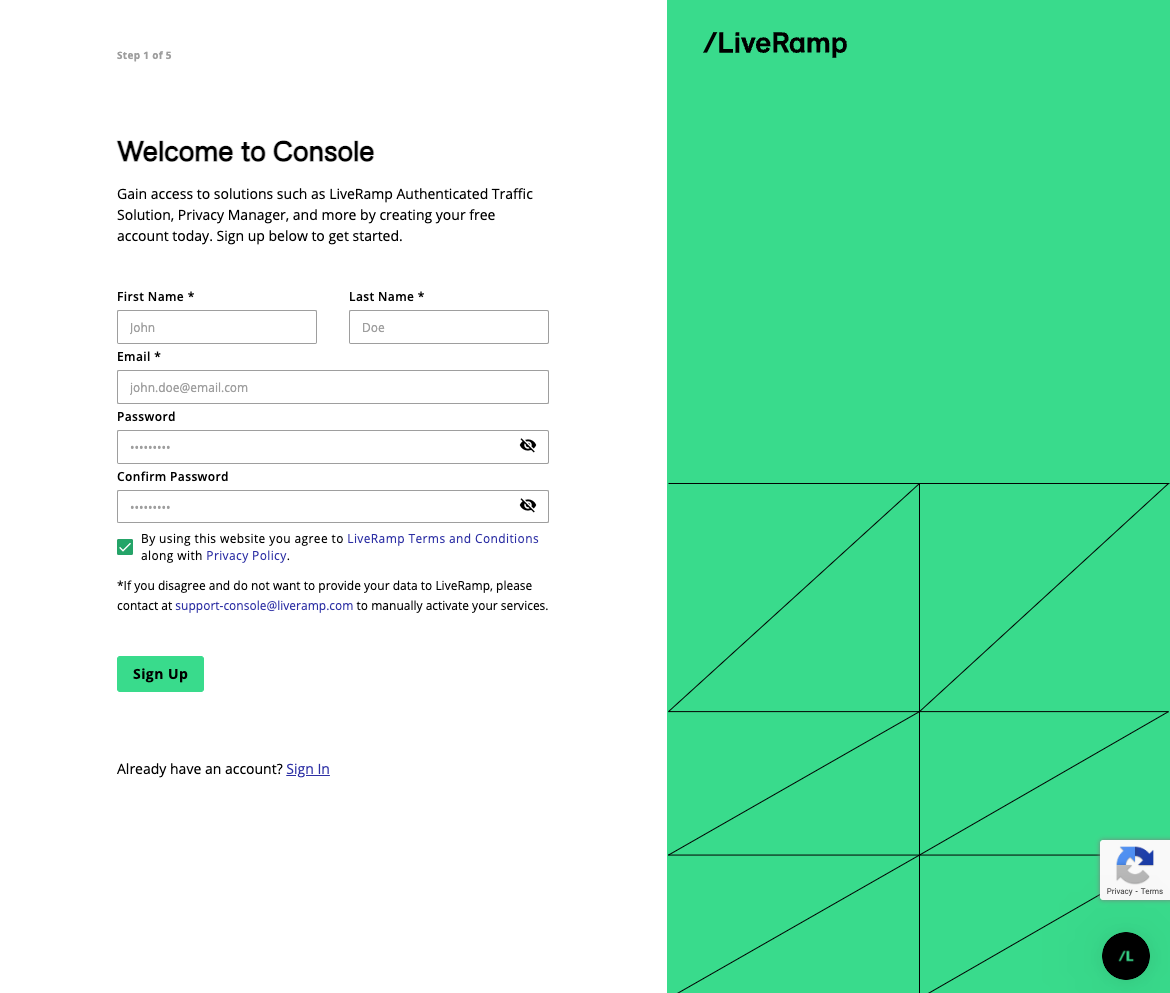
Go to launch.liveramp.com and click .
Enter your personal information and a password. Re-enter the password in the Confirm Password field, and then click .
Note
Passwords must meet the following requirements:
At least ten characters long
Contain one lowercase character
Contain one uppercase character
Contain one number
Contain one special character (~, !, @, #, $, %, ^, &, *, _, -, +, =, `, |, \, (, ), {, }, [, ], :, ;, ", ', <, >, ,, ., or ?)
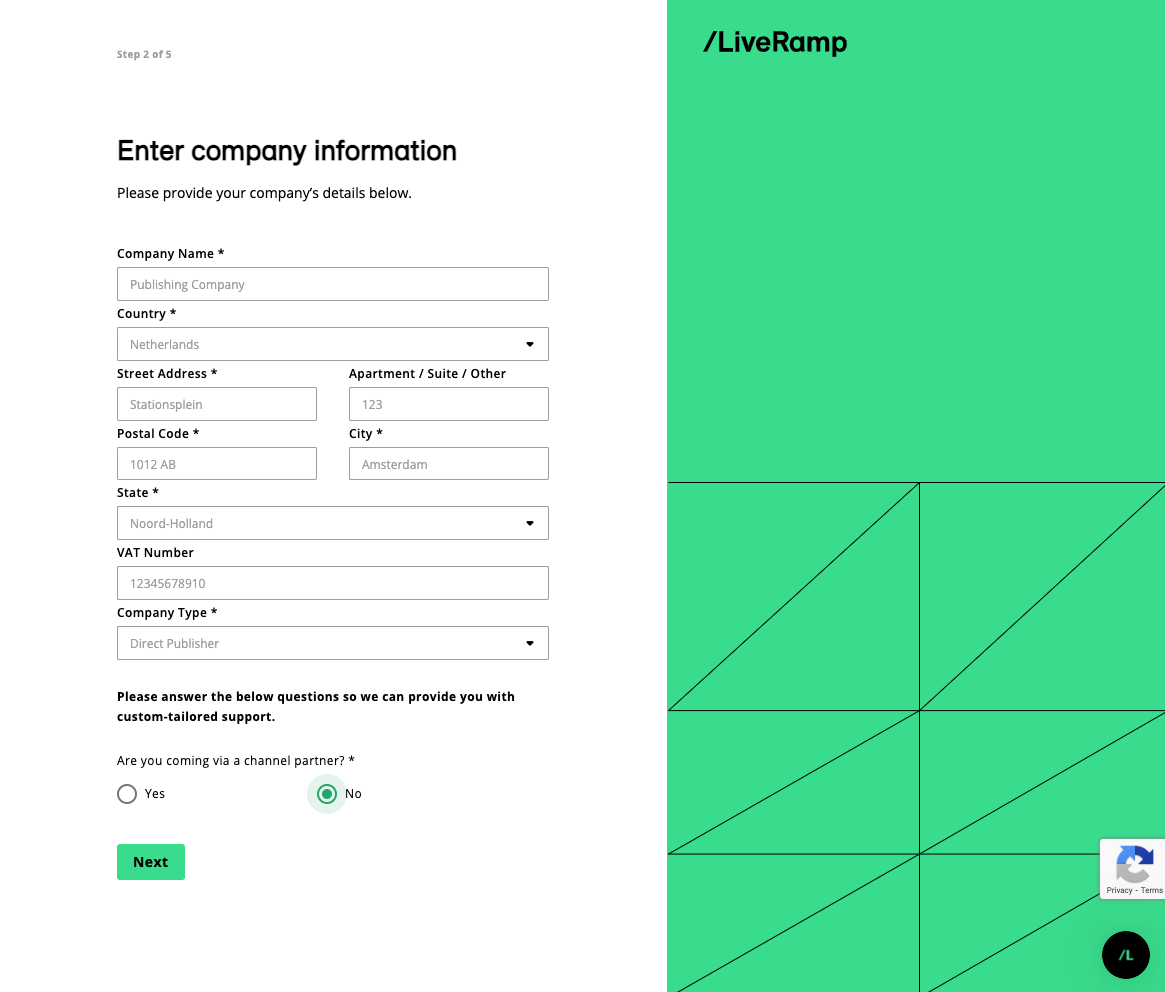
Enter your company’s details. Depending on your company type, you may will asked to provide more details.
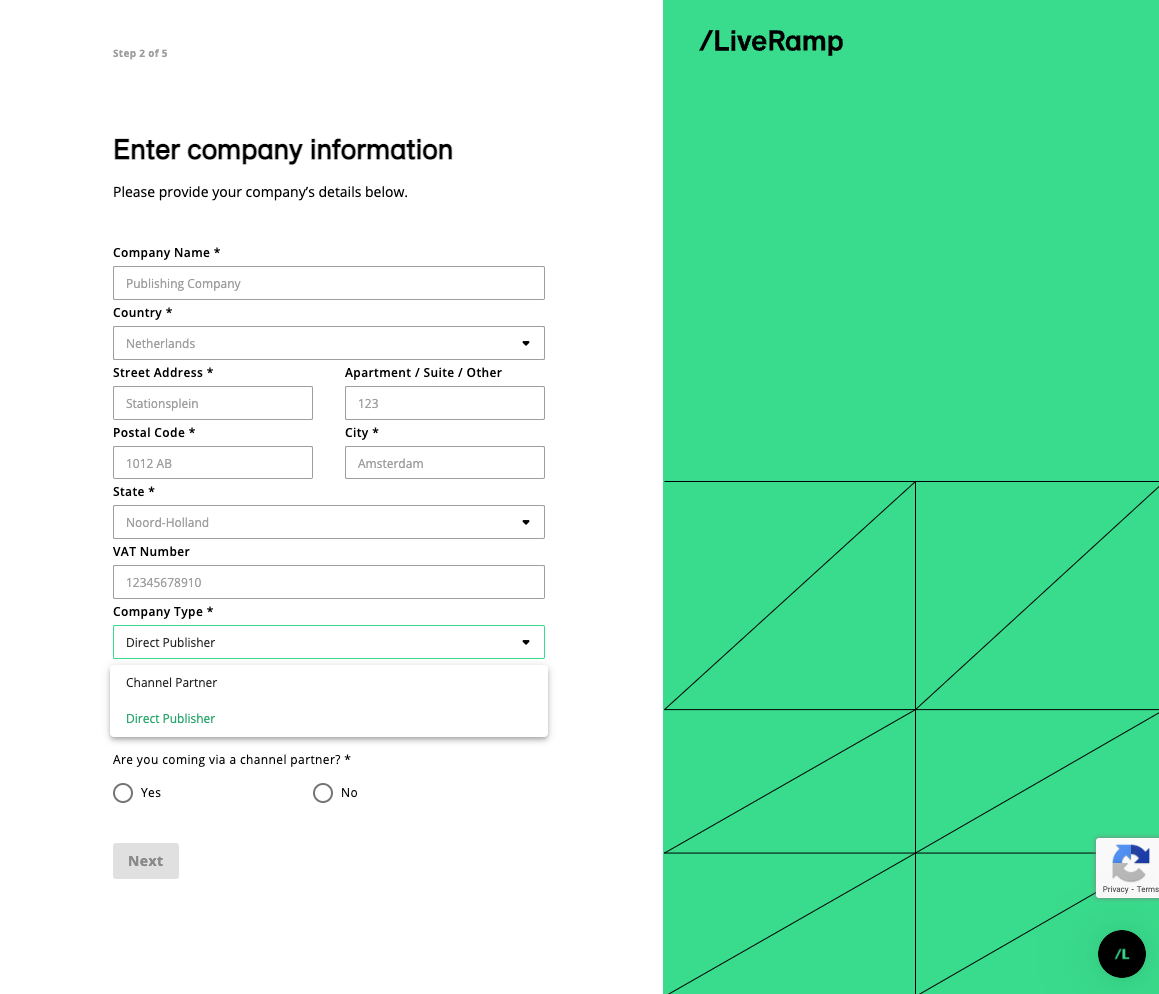
If your company is a publisher working directly with LiveRamp, select Direct Publisher. Then, confirm whether or not you signed up with LiveRamp through a channel partner.
If your company is working on behalf of one or more publishers, select Channel Partner. Confirm if you have access to code on the publisher's page and if you are working with Prebid. Then, select all the applicable options on how your business work with the publishers.

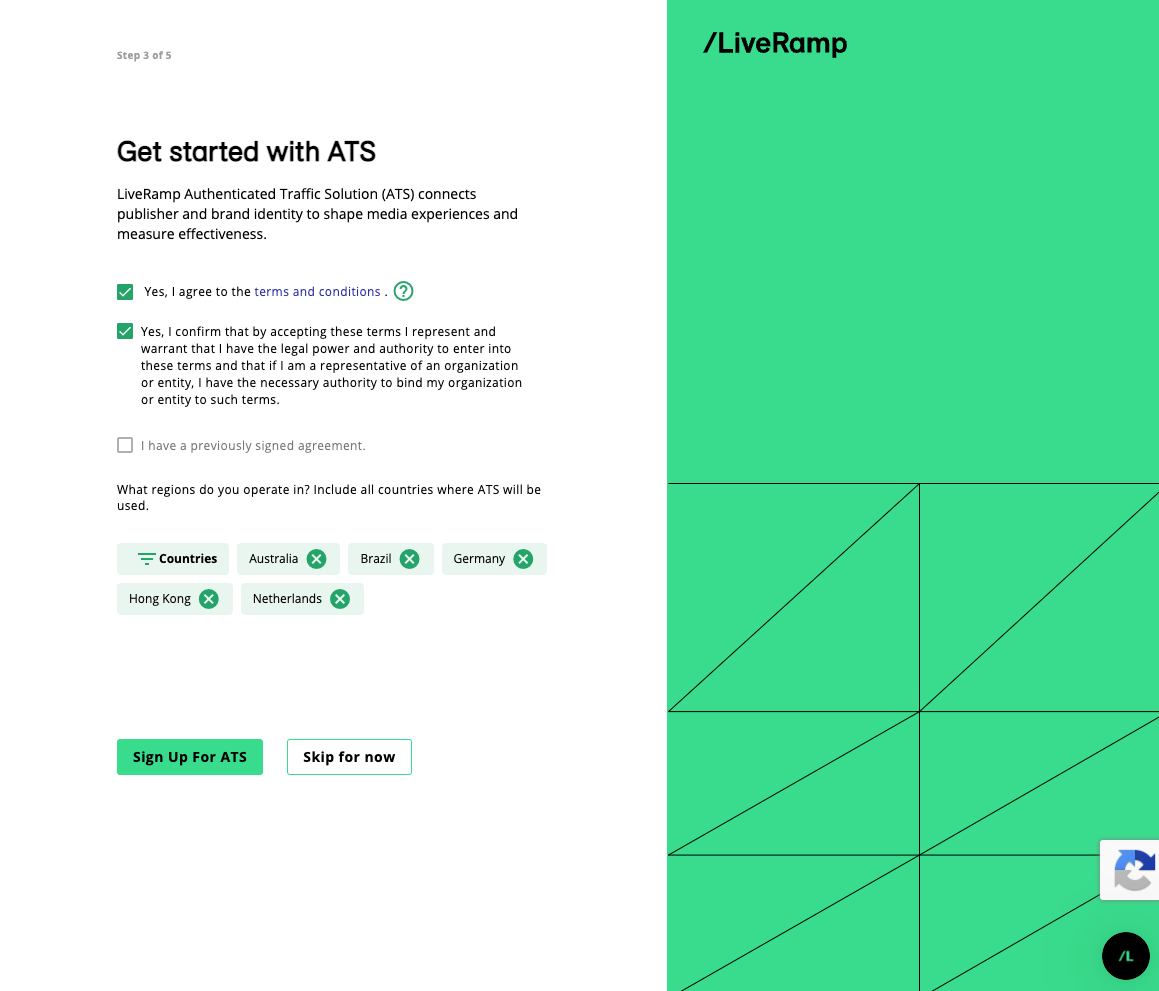
To add ATS (Authenticated Traffic Solution) to your subscription, add the countries where you want ATS to be included and click .
If you have signed an agreement with LiveRamp regarding ATS prior to signing up, select 'I have previously signed an agreement.' Optionally, you can click and add ATS later if you don’t have the legal authority to sign up for ATS.
Caution
You must have ATS in your subscription to take advantage of other products in Console, such as the Online Conversions API connectors. You must also have the legal authority in your company to sign up for ATS.
An activation confirmation appears and an email with an activation link is sent to your email address.
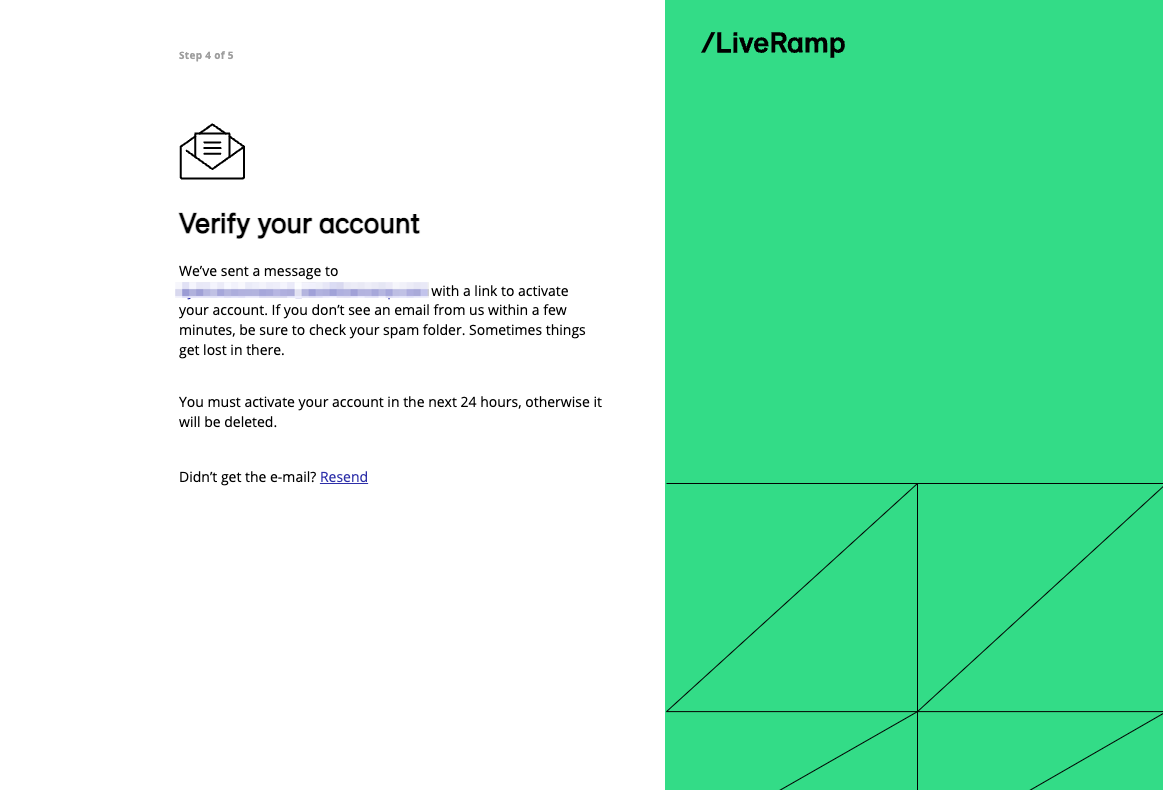
Click the link in the email to activate your account, and then log in with your credentials.
Note
If you don't see the activation email in your inbox, check your spam folder. If you still don't see the email, click in the activation confirmation page.
Log In to Console
After creating your account, you can log in with your credentials to open Console. You can access Console by going to "https://launch.liveramp.com/".
If you were invited by an existing Console user, you must click the link in the invitation email and set up your password to activate your account before logging in.
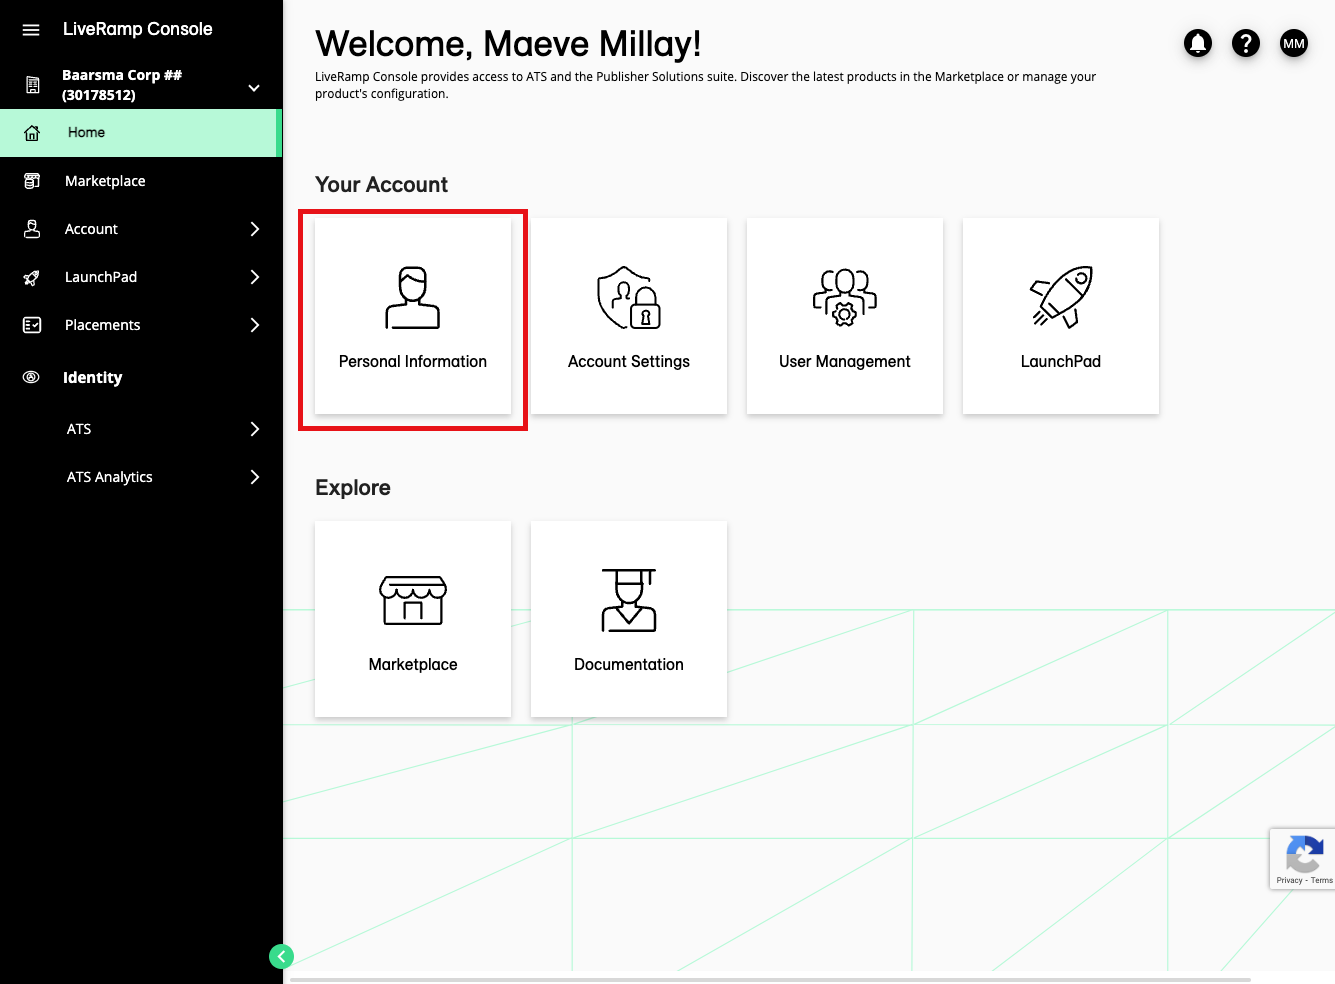
Change Account Details
You can change your account details through the Account settings screen in Console. From the Home screen in Console, click Personal information. You can also navigate to the Account settings screen from the navigation menu by going to Account > Profile.
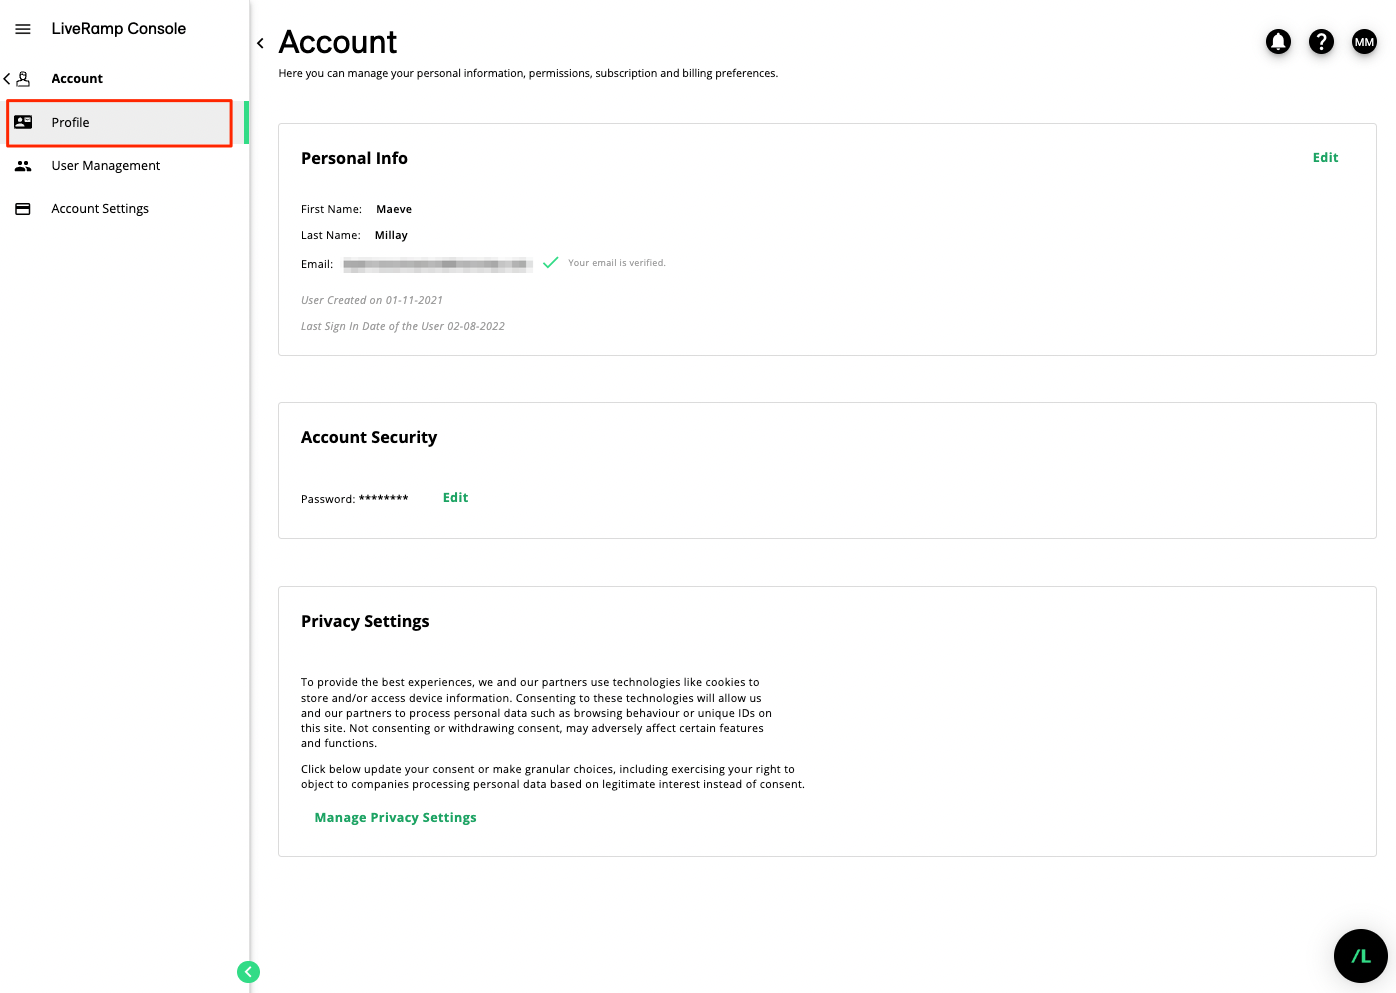
You are able to adjust the following:
Personal Info
First name: Use this field to adjust the first name.
Last name: Use this field to adjust the last name.
Email: This field can be used to change the email address linked to your account. To change the email address, the new email address must be validated. When saving the new email address, a verification email will be sent to the new email address.
Date created: Reflects when the account was created
Last sign in: Reflects last sign-in date.
Security
Password: Password can be changed using the current password.
Privacy Settings
Click to update your consent or make granular choices, including exercising your right to object to companies processing personal data based on legitimate interest instead of consent.