Integrate ATS for Web with LaunchPad
You can conditionally fire the ATS Library based on the trigger conditions you set within each ATS configuration.
You can add multiple ATS configurations for a single LaunchPad wrapper. You might want to do this if you are a Channel Partner who wants to distribute only a limited number of LaunchPad wrappers for the publishers to simplify the implementation process.
Caution
You can only install ATS using LaunchPad if the domains where you are running ATS are SSL-certified (https).
Connect ATS for Web to LaunchPad
There are two ways to connect ATS for Web to LaunchPad:
From LaunchPad
From an ATS for Web configuration
See the instructions for each method below.
Connecting From LaunchPad
From the LaunchPad area in Console, open the LaunchPad configuration you want to integrate ATS for Web with.
Select the ATS tab.
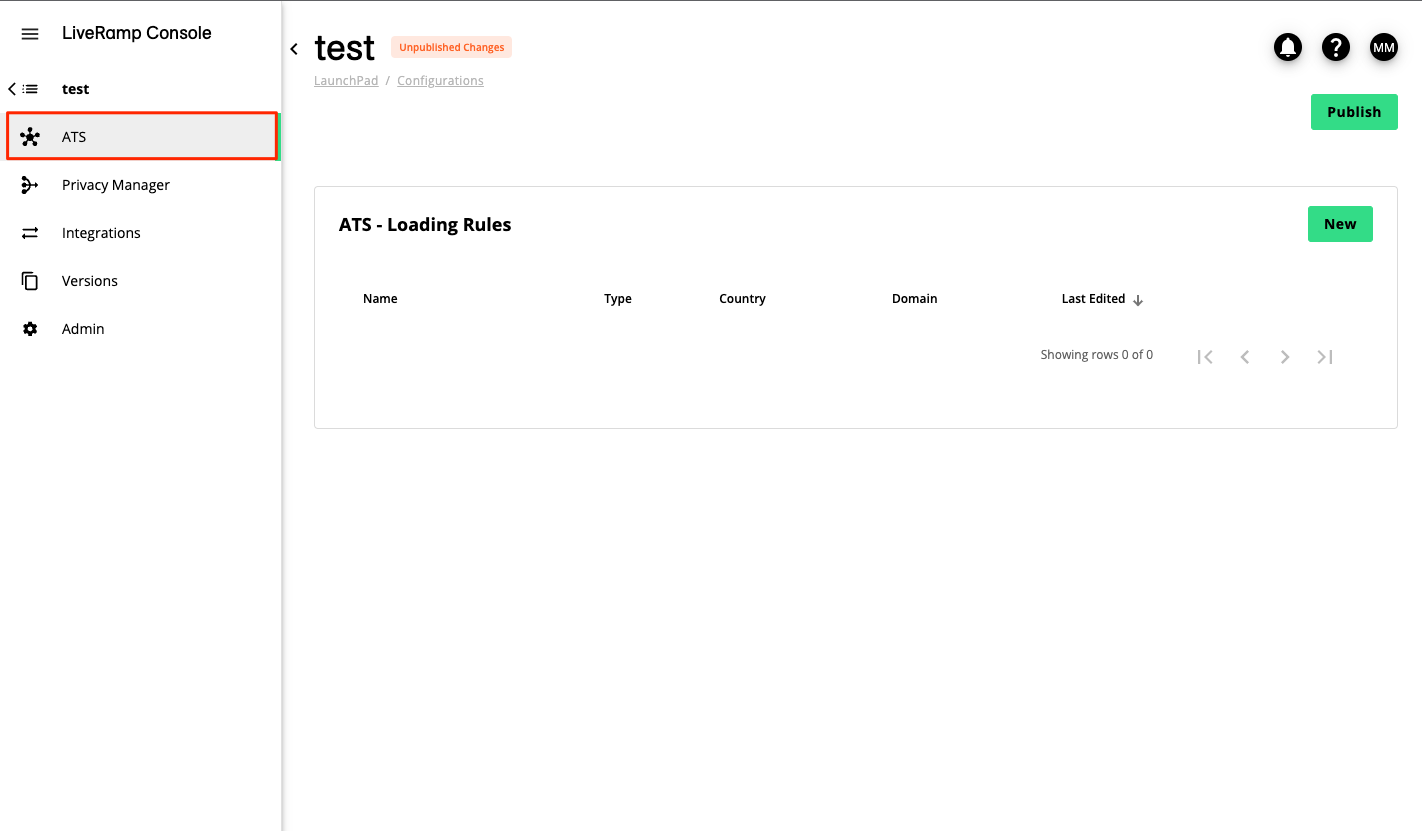
Click .
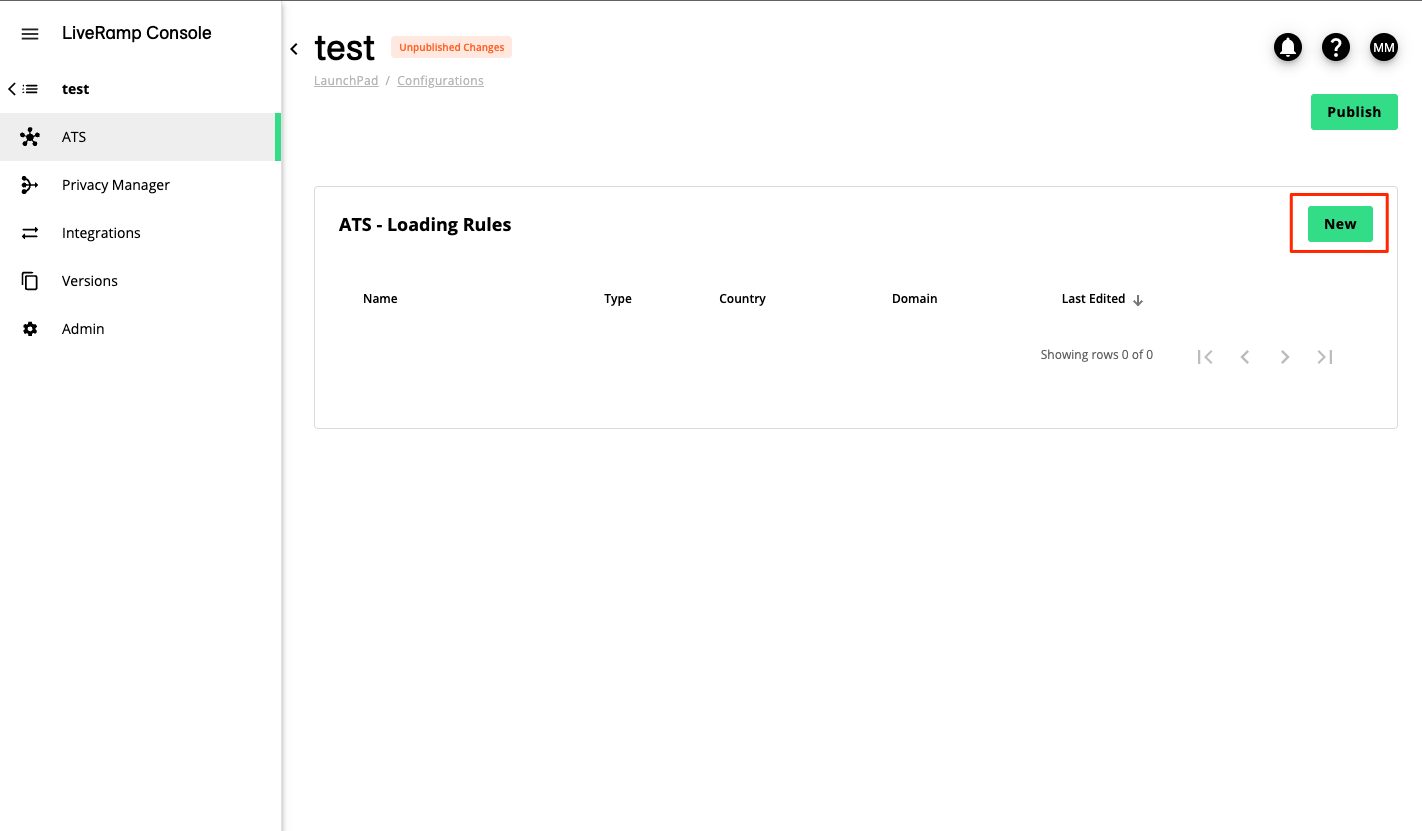
Enter a name for the configuration
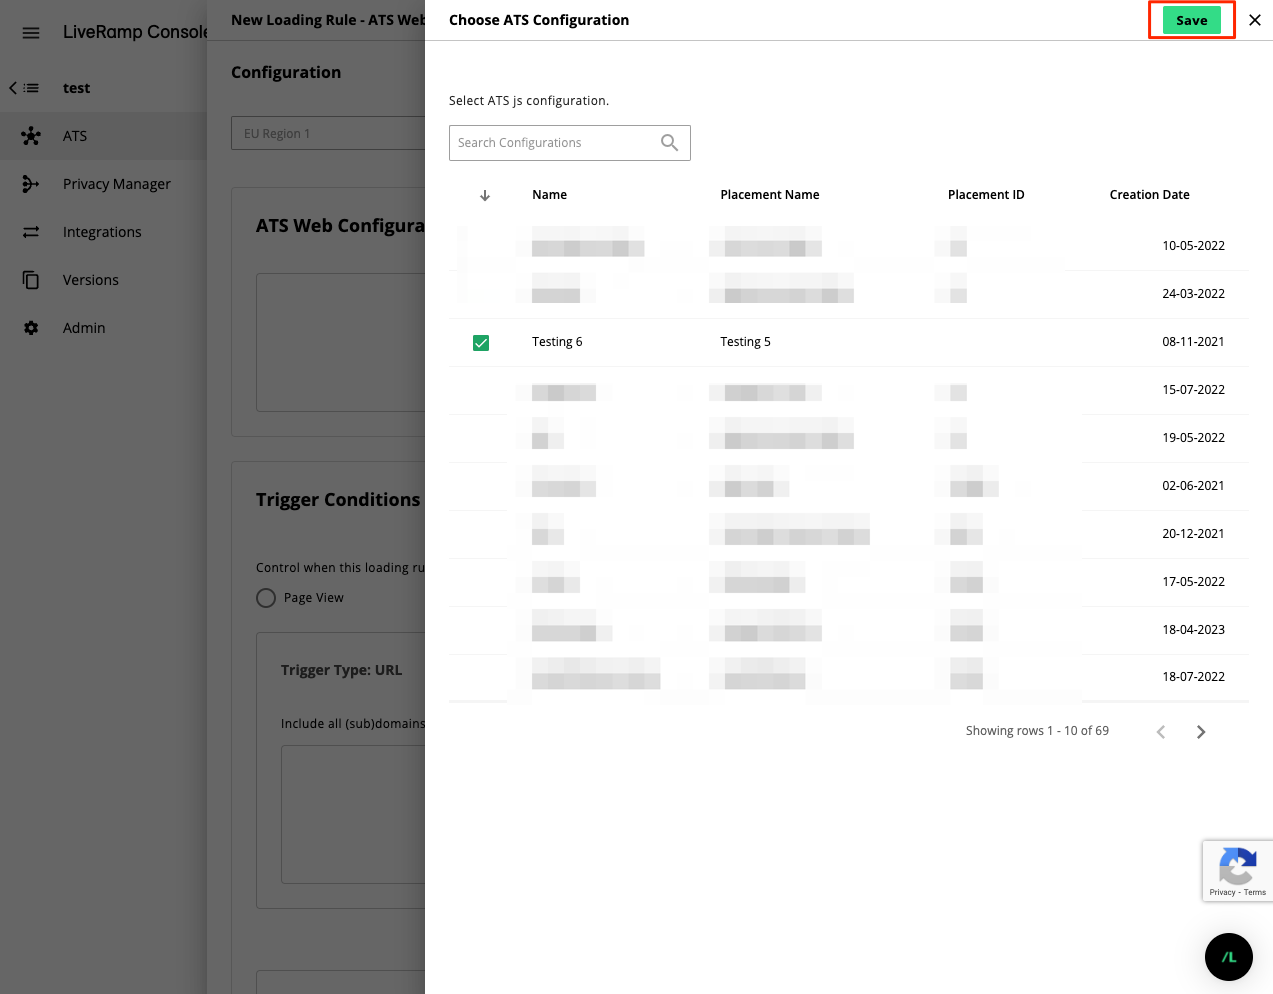
In the New Loading Rule - ATS Web window, click Choose ATS configuration to begin setup.
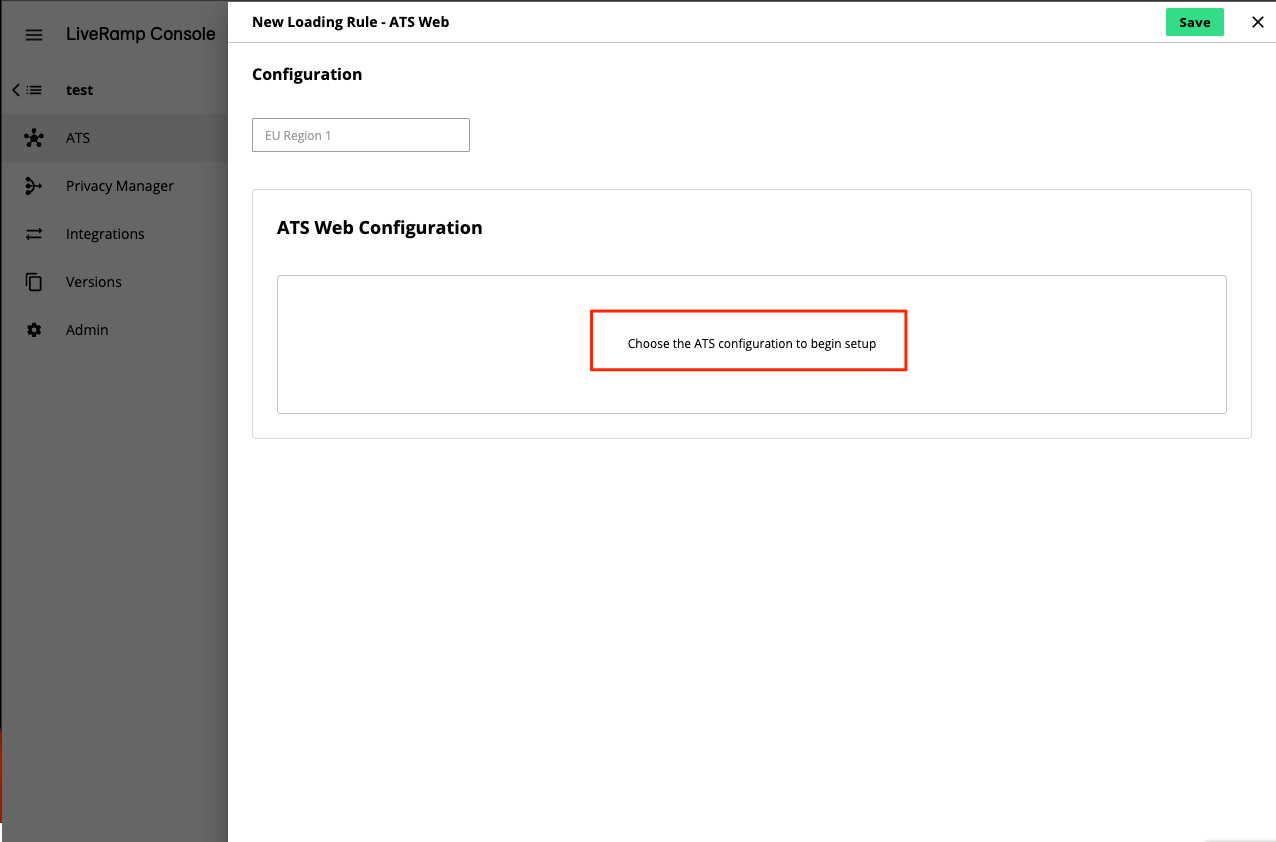
Select the desired ATS.js configuration and then click .
Note
It is only possible to select ATS configurations that are connected to approved placements. If you do not see your ATS.js configuration listed in the LaunchPad integrations section, it can be that the ATS placement status is still pending review.
You can now configure the loading rules for this ATS configuration. See Configure the Loading Rules for ATS for Web section below to continue.
Connecting From an ATS for Web Configuration
When connecting from ATS for Web configurations, it’s possible to connect an existing LaunchPad or create a new LaunchPad to connect.
Go to ATS > Web.
Open the configuration you want to connect to a Launchpad.
Select the Admin tab.
Go to .
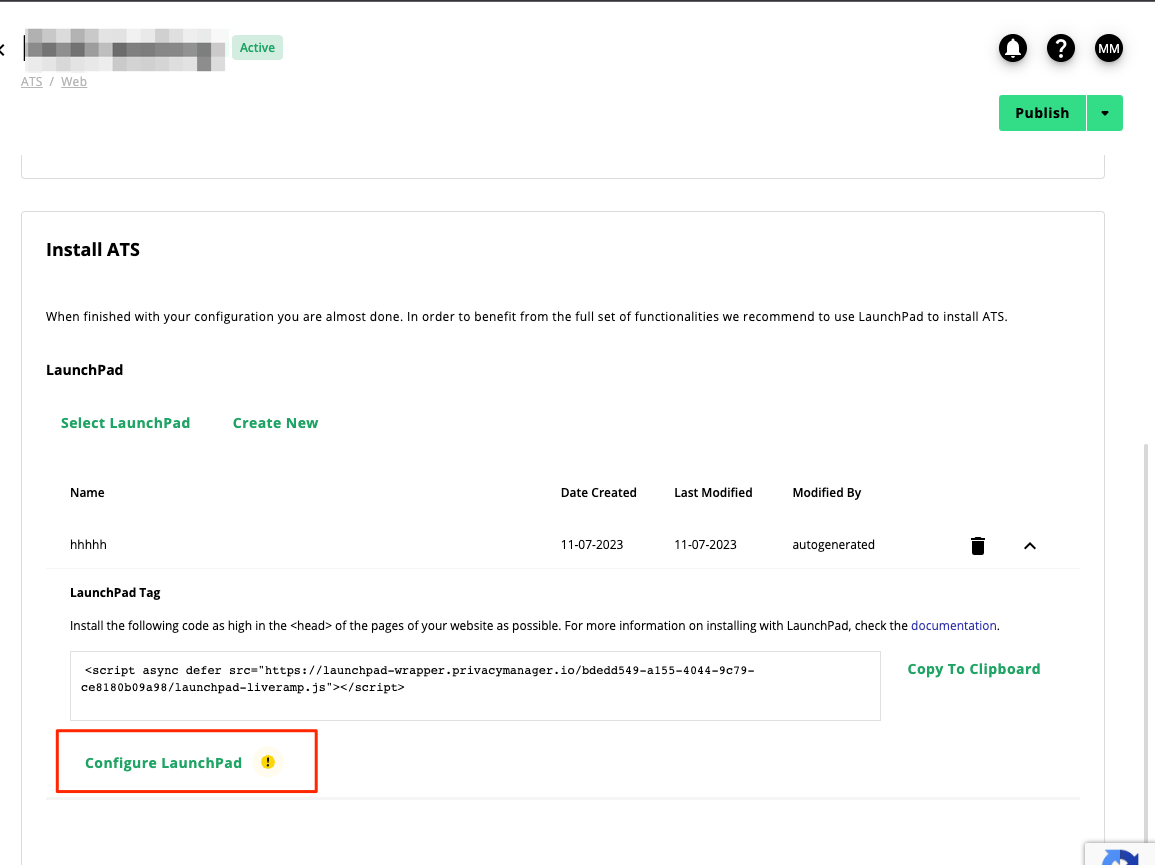
Connect to an existing LaunchPad or create a new LaunchPad to connect to:
To connect to an existing LaunchPad, click Select Launchpad. Check the check box for the LaunchPad that you want to connect to your ATS configuration and then click .
To create a new LaunchPad, click , enter a new LaunchPad name, and then click . When the LaunchPad tag is displayed, click to set up your loading rules.
Configure the Loading Rules for ATS for Web
Once you have connected an ATS configuration to LaunchPad through one of the methods above, you must set up the loading rules to define the conditions for when the ATS library should load for this LaunchPad instance.
Caution
To respect user privacy and align with GDPR requirements, ATS.js or LaunchPad should be loaded in the EU only after consent has been obtained. Ensure it is loaded based on the output of your Consent Management Platform (CMP) — for example, by checking for the required consent signals before loading the tag.
In the New Loading Rule - ATS Web window:
(Optional) Enable Enhanced Client-Side Tag (eCST). If you are a marketer, you can use eCST to log user activities to create or update segments. To learn more, see Enhanced Client-Side Tag for ATS for Web.
Caution
The enhanced Clint-Side Tag (eCST) integration with ATS for Web is currently in beta. Contact your LiveRamp representative to get this product enabled for you.
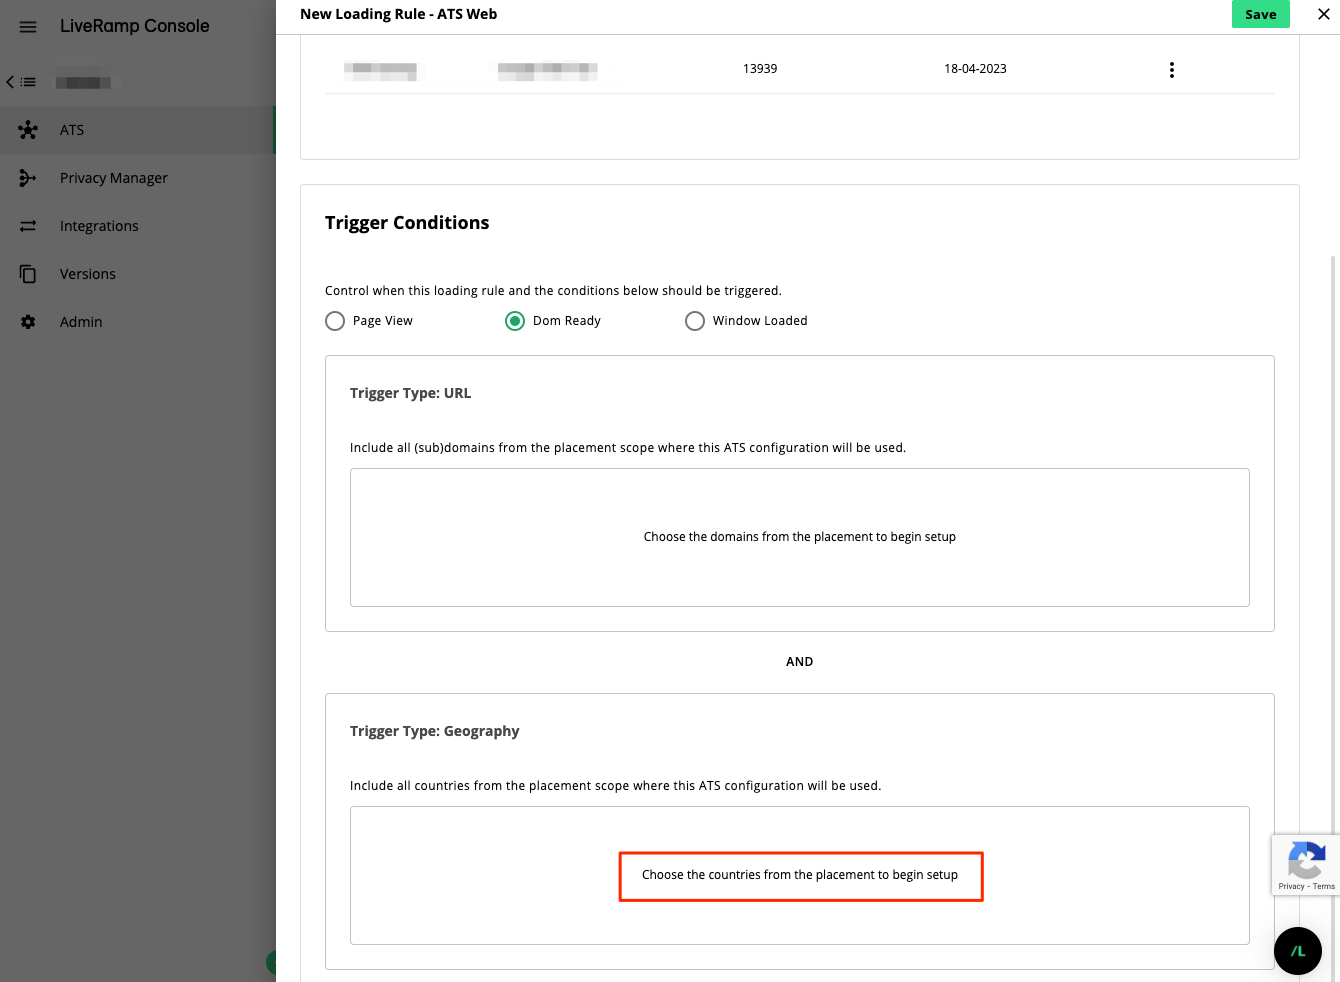
In Trigger Conditions, select the conditions for when the loading rules should be triggered. There are three different trigger types based on page load events. Each type has different criteria to determine when the trigger should fire. The order of precedence for page view triggers is as follows:
Page View: Fires immediately when the web browser begins to load a page. Use this option if you only need data generated from page impressions.
DOM Ready (Default): Fires after the browser has finished constructing the full page in HTML and the Document Object Model (DOM) is ready to be parsed. Tags that interact with the DOM to populate variables should use this trigger type to ensure that the correct values are available to Tag Manager.
Window Loaded: Fires after the page has fully loaded, including any embedded resources such as images and scripts.
In Trigger Type: URL, select which domains you want to include for this loading rule by clicking 'Choose the domains from the placement to begin setup'. A list of the domains included in this ATS placement will display for you to select from.

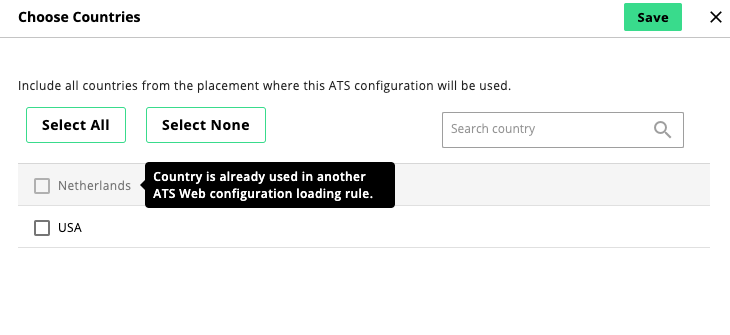
In Trigger Type: Geography, select which regions you want to include for this loading rule by clicking 'Choose the countries from the placement to begin setup'. A list of the countries included in this ATS placement will be displayed for you to select from.
If you select US, a list of US states will display. By default, all states in the US will be included. To remove some states, click on the states you wish to exclude from the configuration.
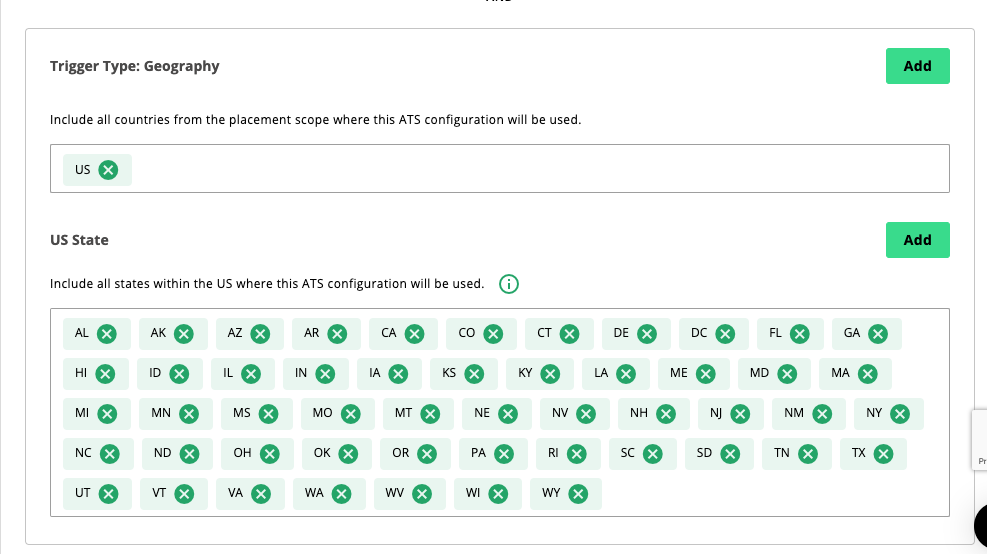
Click .
The settings from your ATS Placement will now appear. To add another ATS for Web configuration, click and repeat the process.
Geography Trigger Conditions
You can add multiple ATS configurations for a single LaunchPad wrapper under the condition that the countries and domains do not overlap. For example, you have added ATS configuration A, and set up the trigger conditions to include www.liveramp.com for Netherlands. Then, you want to add ATS configuration B to the same LaunchPad which includes www.liveramp.com with USA and Netherlands as trigger conditions. When this happens, the option to select the Netherlands will be disabled as it has been included as the trigger condition for ATS Configuration A.