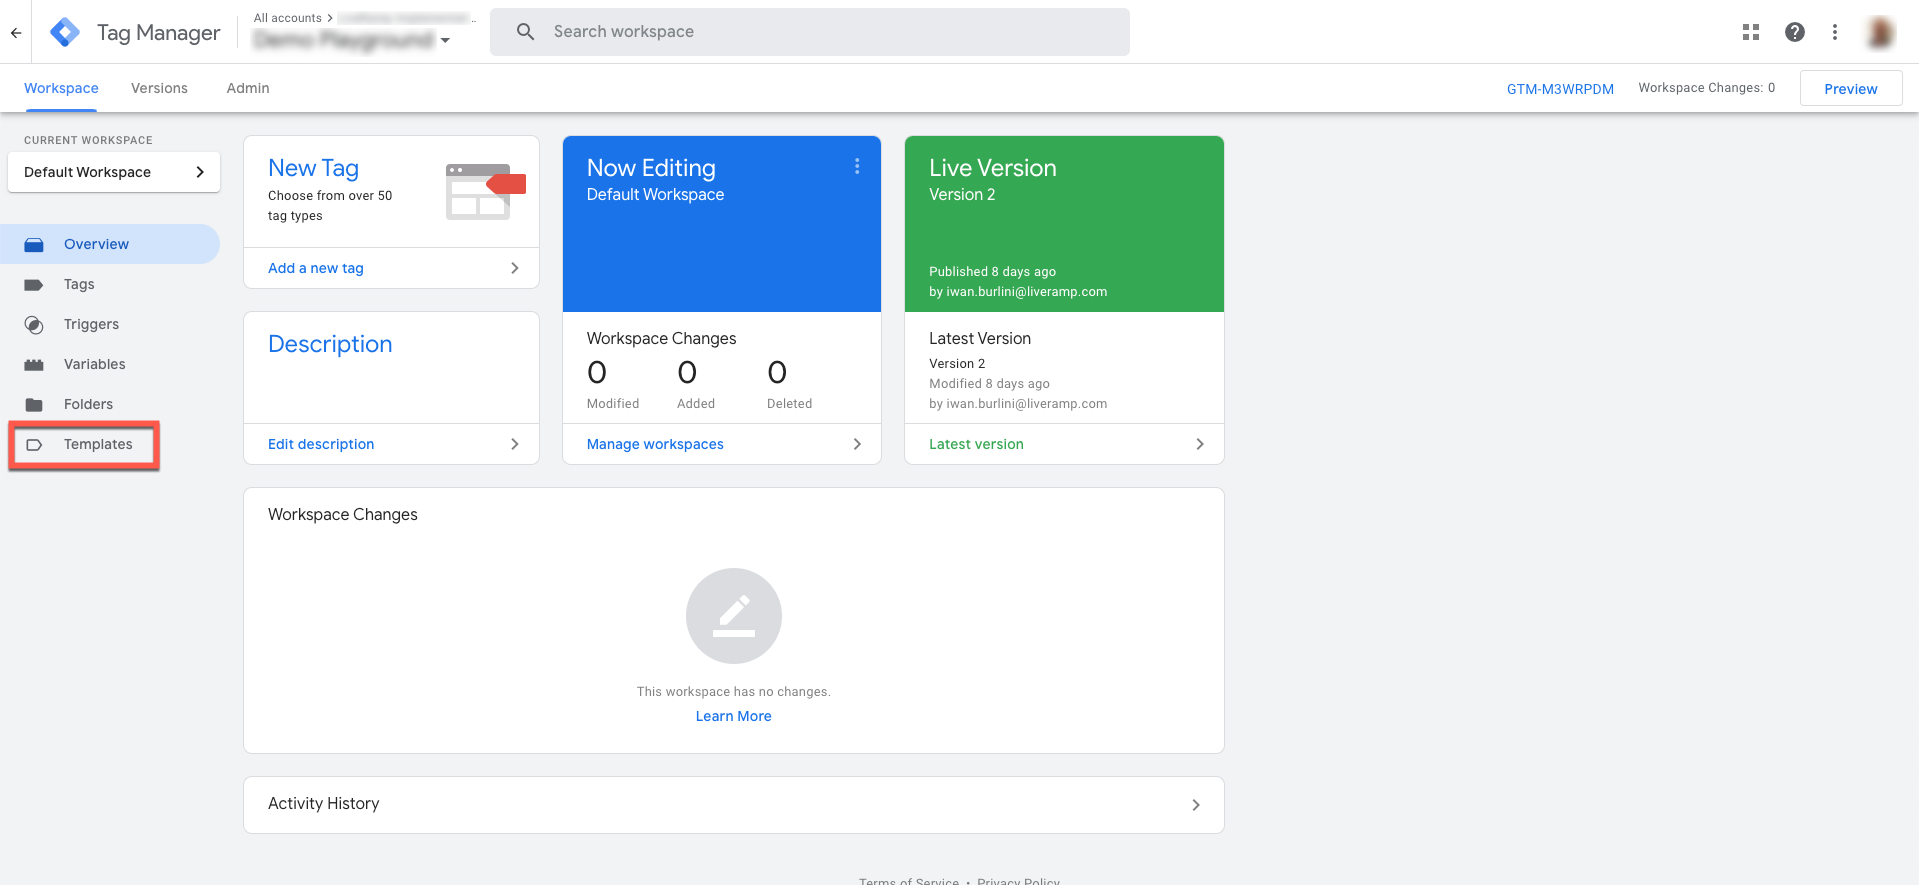
Set Up Conditional Firing via Google Tag Manager (LaunchPad)
“Conditional firing” is a way to trigger scripts when a certain condition is met.
Conditional firing is used to prevent data collection before a visitor provides consent by blocking tags until a trigger signal (the condition) is met. Conditional firing should be used any time consent is the legal basis to justify data processing.
See the diagram below for an overview of the role of conditional firing in the consent process.

Conditional firing is crucial to ensure privacy compliance even within the IAB TCF.
Data collection is not allowed until the end-user gives explicit consent to have their data collected and for TCF the consent has to be given specifically to the vendor in question.
In order to help our clients, we’ve automated the technical part in this equation so that no development resources are needed to set everything up. By following our guide below, you’ll be able to take care of the less technical part that is needed for conditional firing.
Overview of Setup Steps
Setting up conditional firing via Google Tag Manager consists of these steps:
Creating a Tag Manager trigger in Console
Configuring a variable in Tag Manager
Adding a trigger rule in Tag Manager
See the sections below for complete instructions.
Here is an overview of the different objects involved:
Data layer: A JavaScript object that is used to pass information from your website to your Tag Manager container. You can then use that information to populate variables and activate triggers in your tag configurations.
Variable: A way to store information that is passed by the data layer.
Tag: A piece of code on a website that fires based on certain conditions and sends data from the end-user to a system.
Trigger: The mechanism that determines when a tag is fired.
Rules: The specific conditions within a trigger that determine when the trigger tells the tag to fire.
See Google’s Tag Manager documentation for more information.
In Console, select the LaunchPad tab.
Click the name of the LaunchPad you want to edit.
Select the Integrations tab.
Click .
From the side panel that opens, click the Tag Manager vendor you want to use in the “Tag Manager Triggers” section.
The new Tag Manager trigger is now displayed in your list of integrations.
Note
Enabling triggers functionality with Tag Manager will automatically push a data layer variable "liverampGdprConsent" with an array which contains the names of the vendors that have been consented. This array will include IAB and Non-IAB vendors that you have configured in the Privacy Manager.
It will also push an event "liverampGdprConsentChanged" to the data layer once the array has been populated with the consented vendors.
Setting up the configuration in Tag Manager involves importing the LiveRamp variable template into your workspace and then creating the imported variable.
Note
Google Tag Manager does not automatically create the variable when you import it.
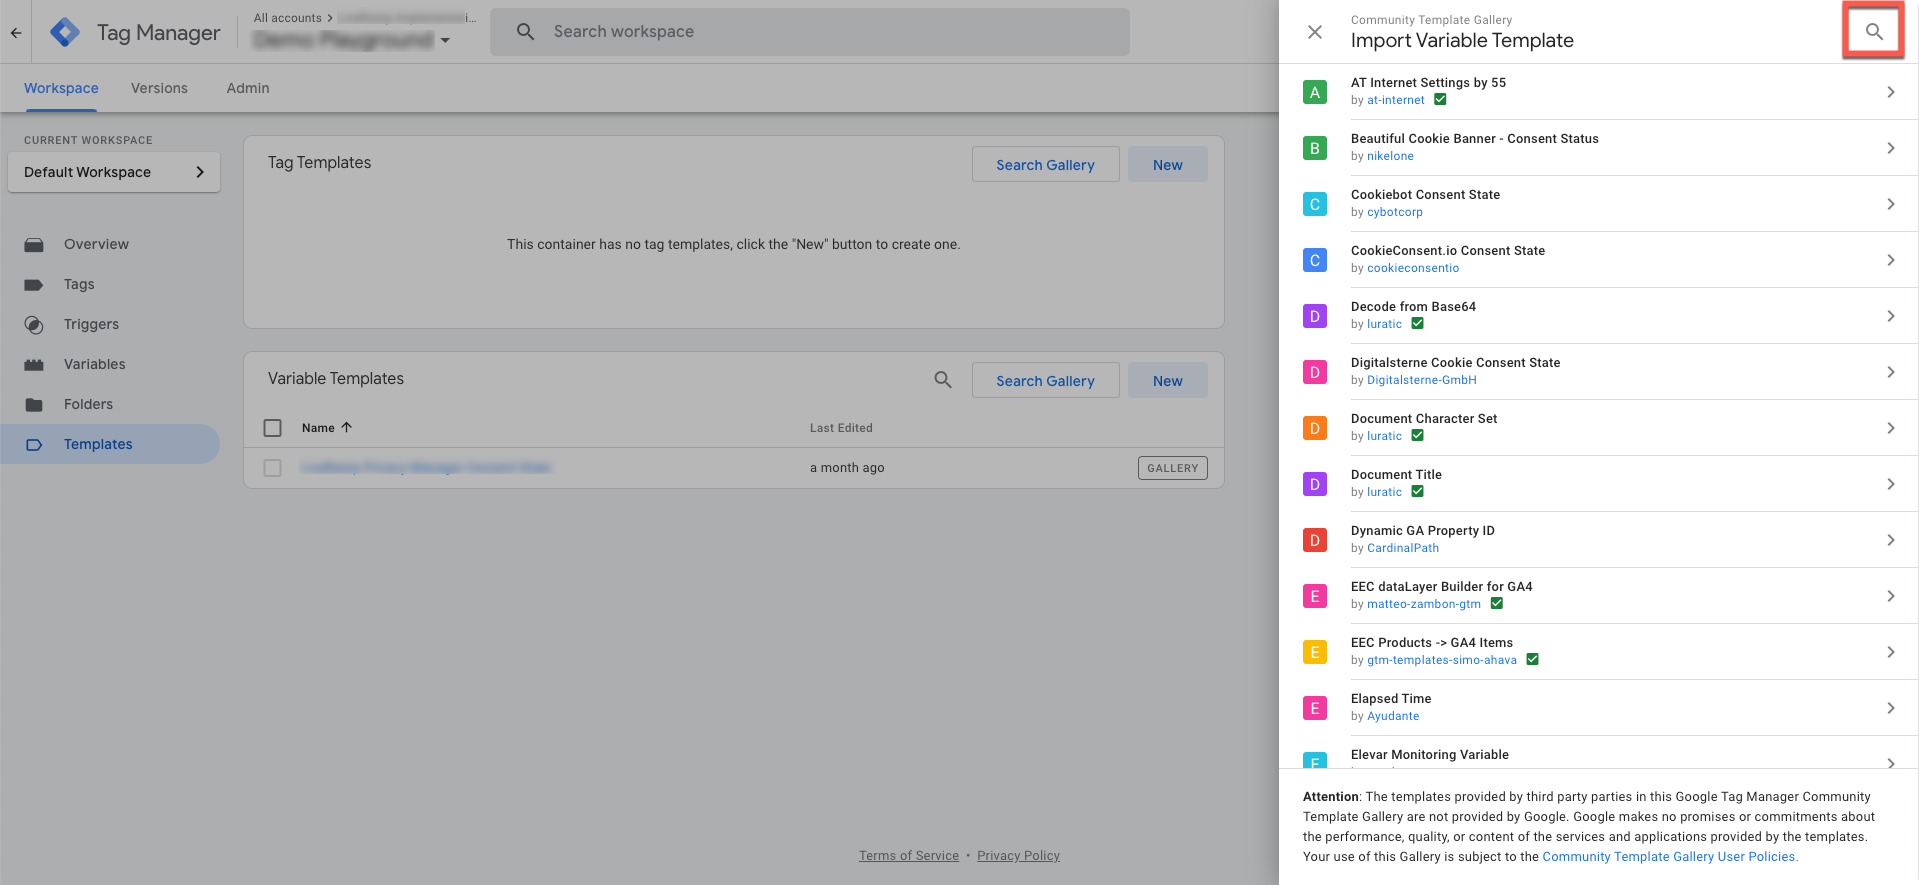
In your Google Tag Manager Container, select the Templates menu and click under the Variable Templates section.
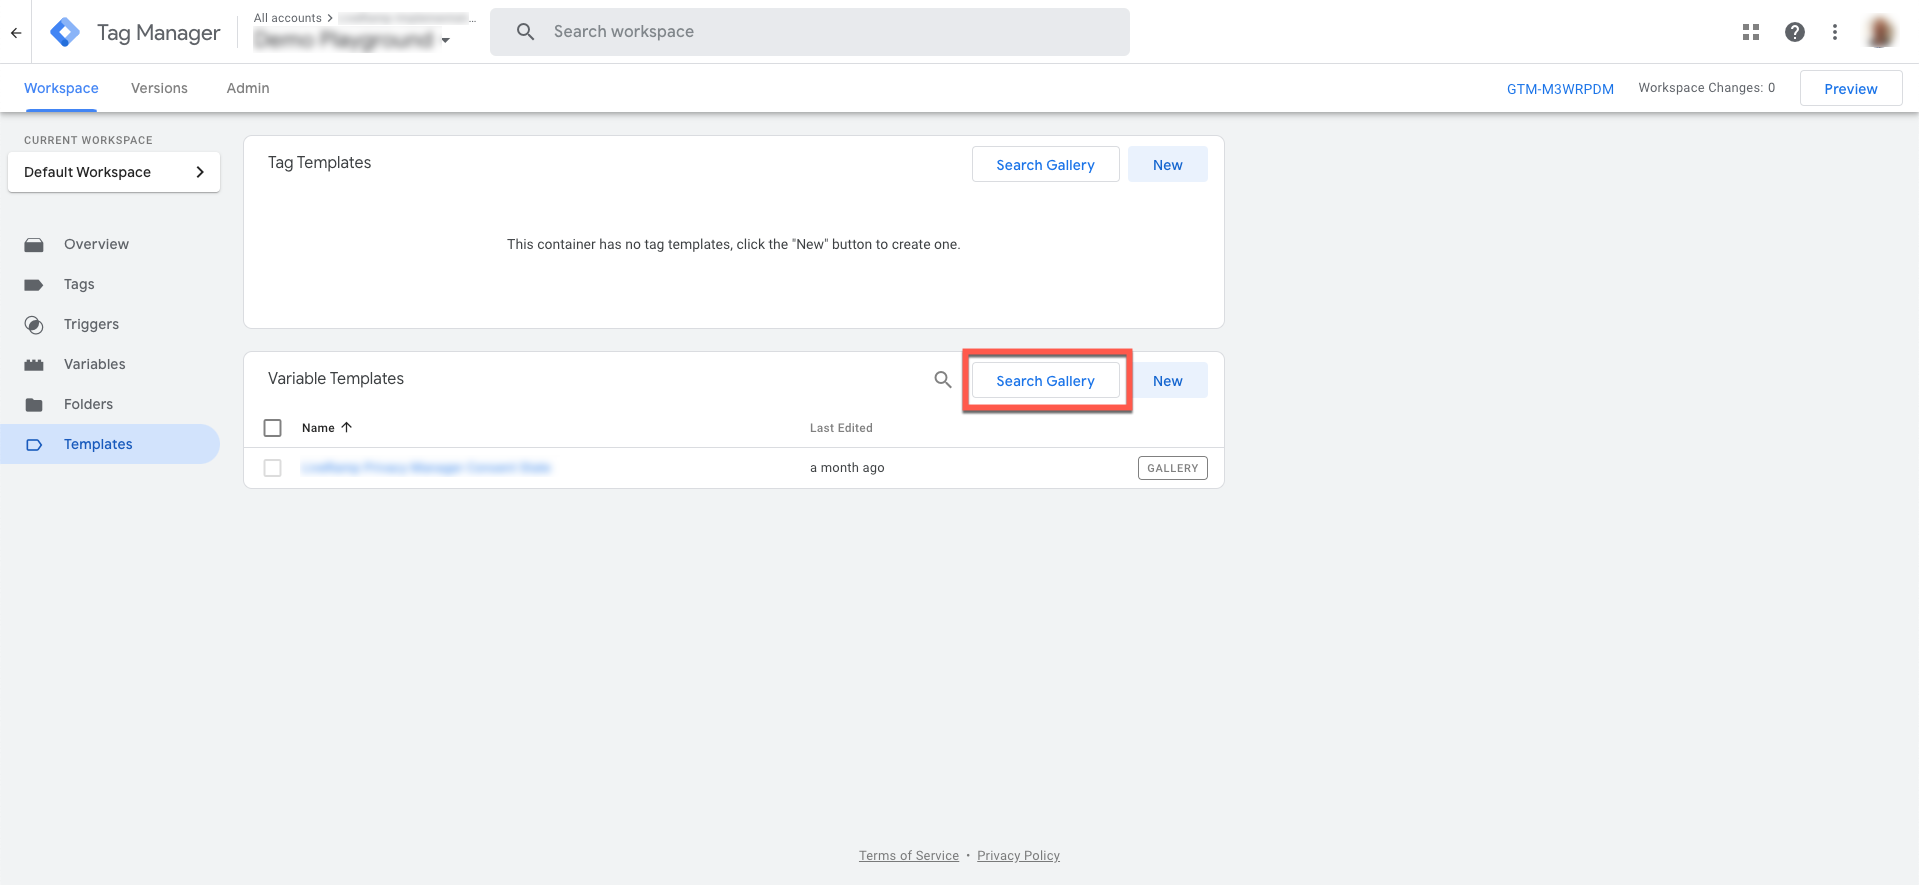
Search for “LiveRamp Privacy Manager Consent State” and add the variable template to your workspace by clicking Add to Workspace.
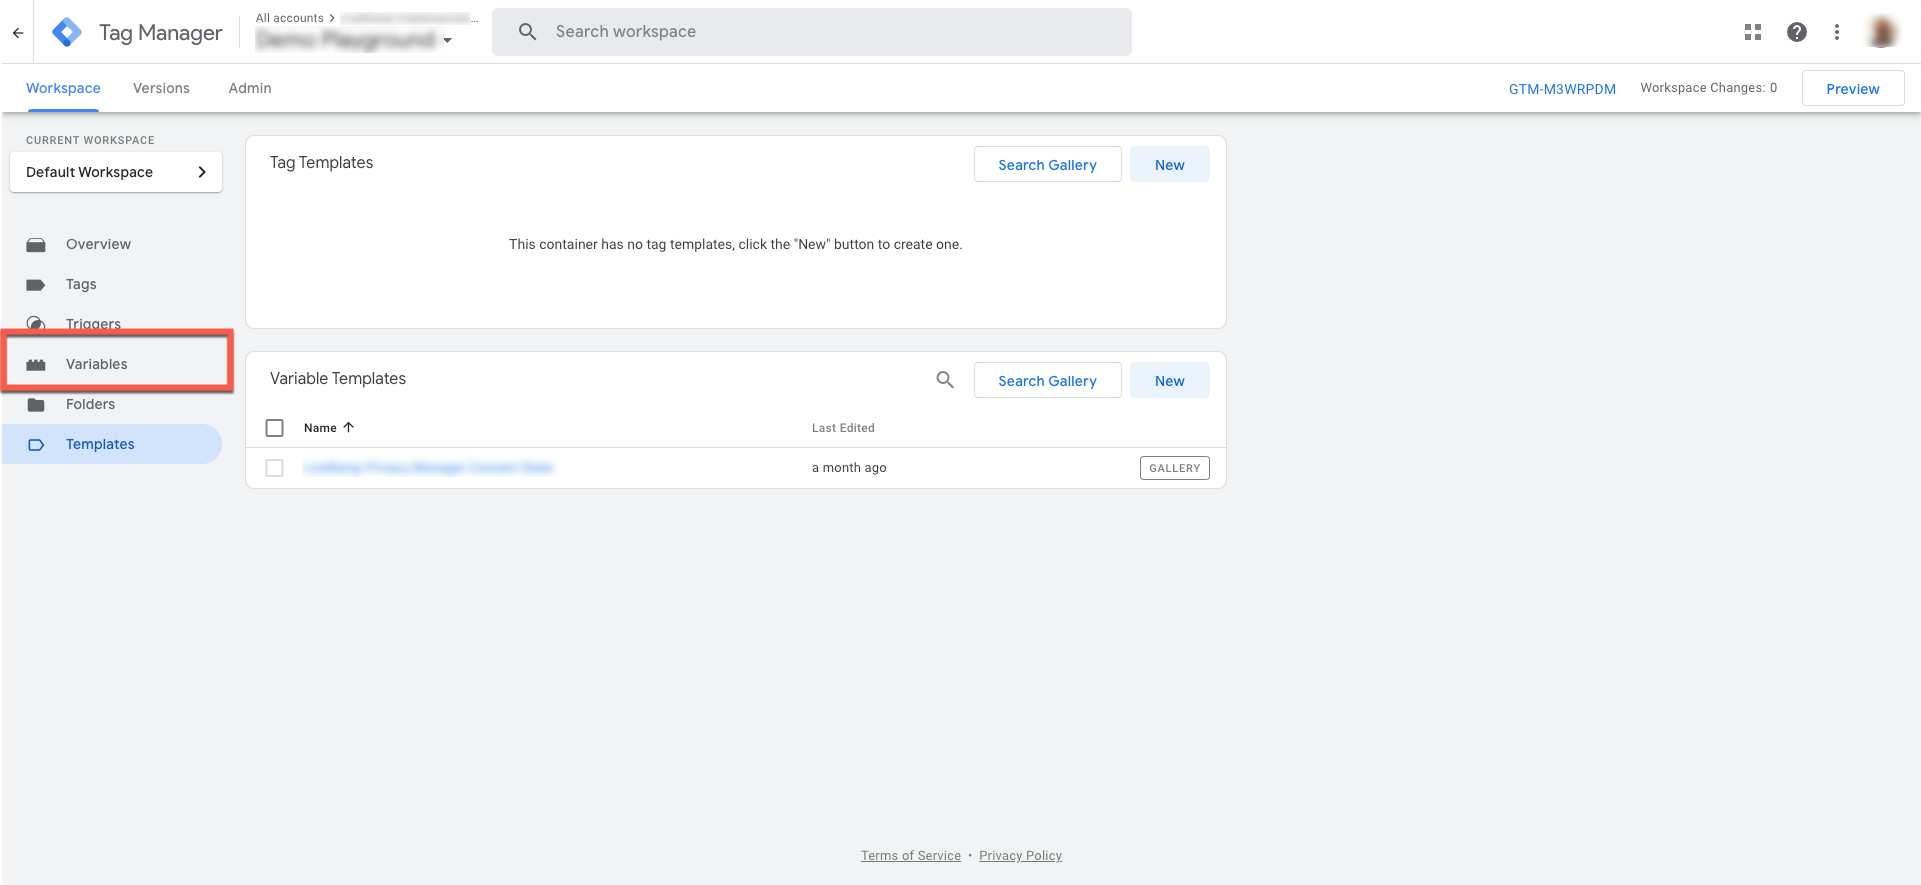
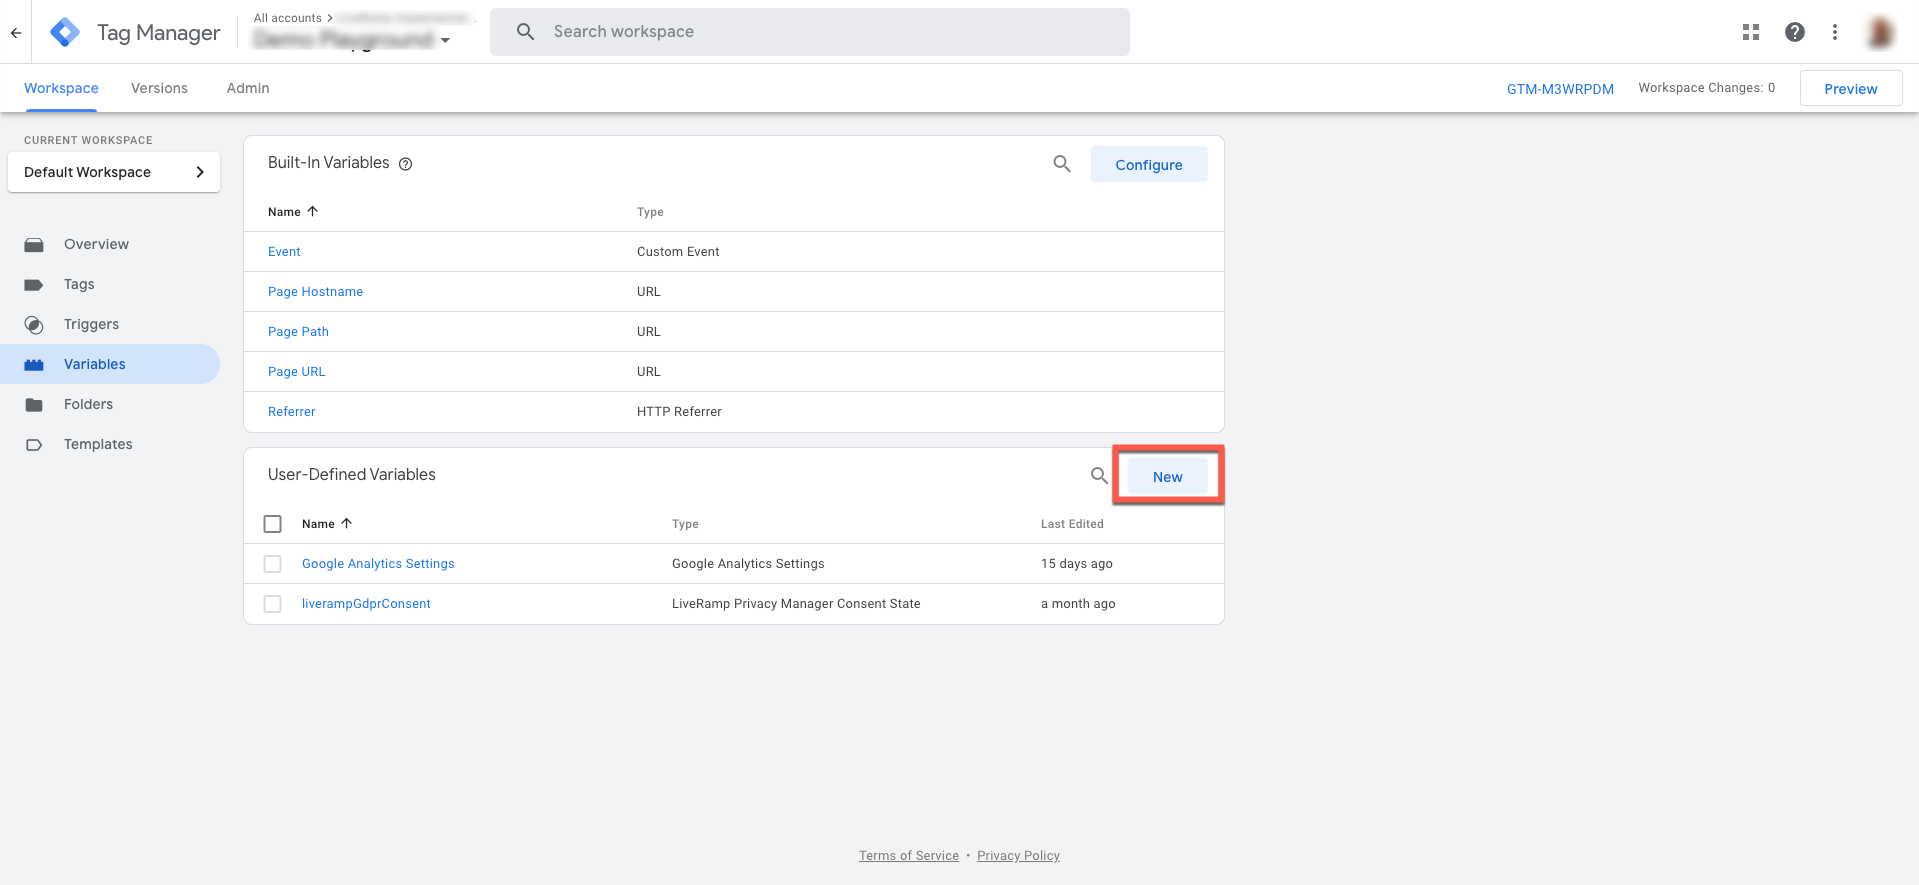
Select the Variables menu.
Under User-Defined Variables, click .
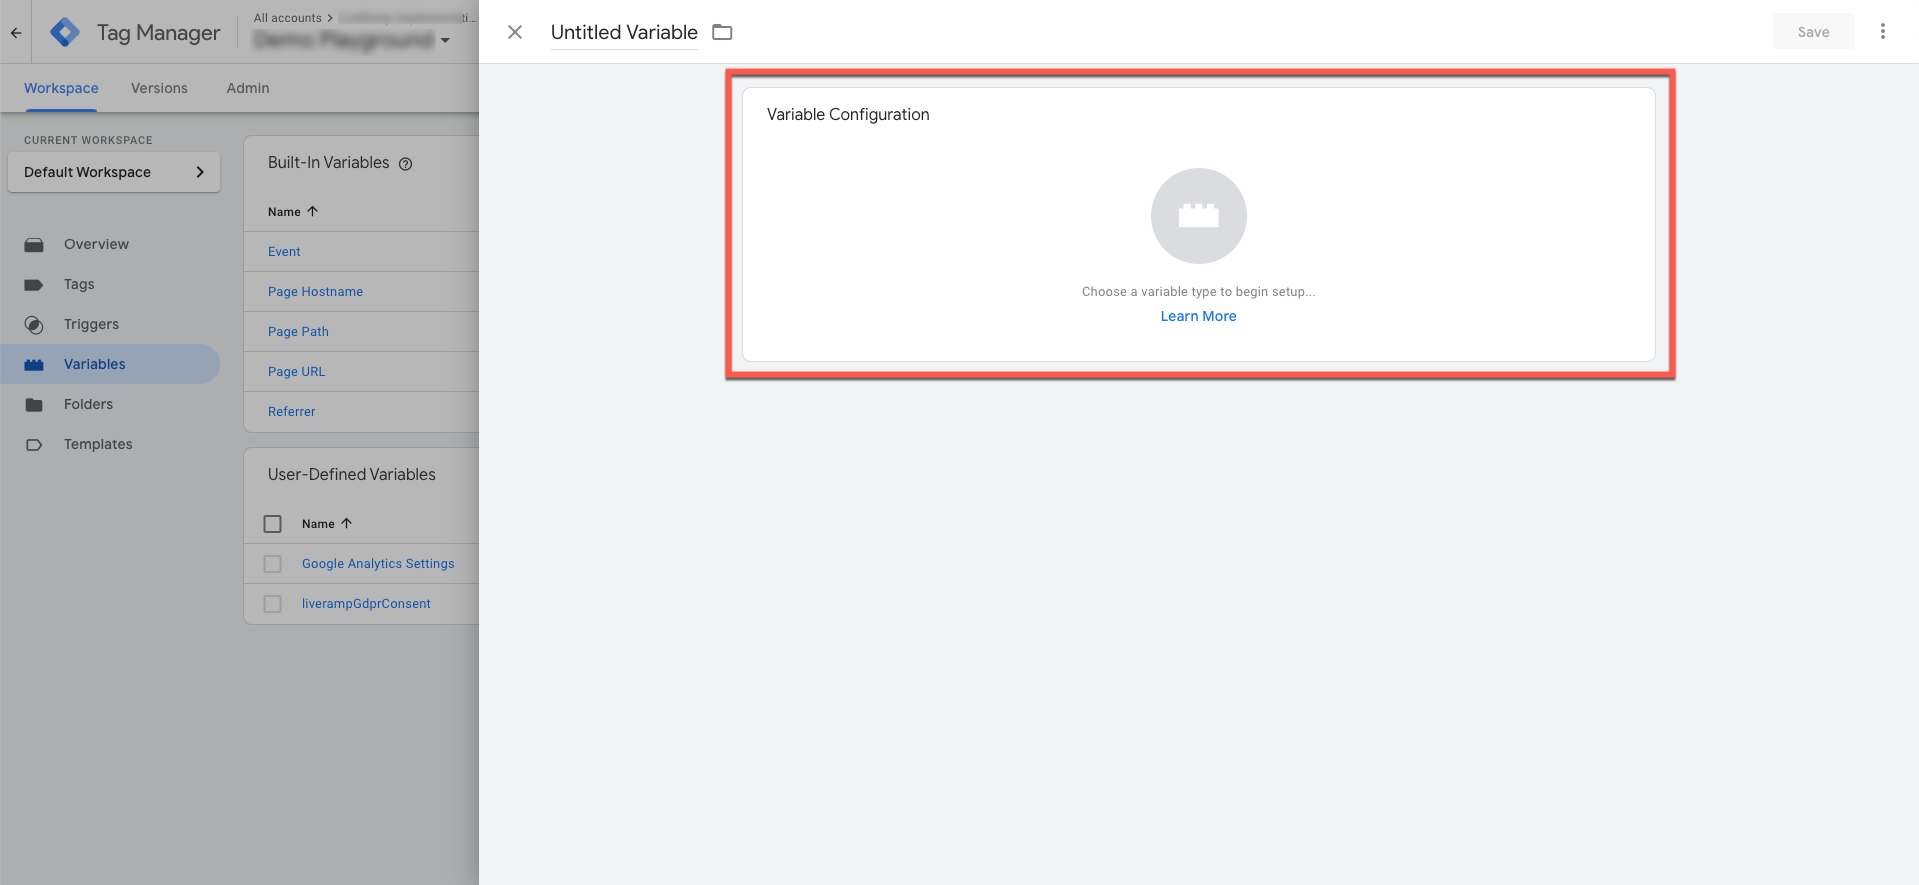
Click on the Variable Configuration area.
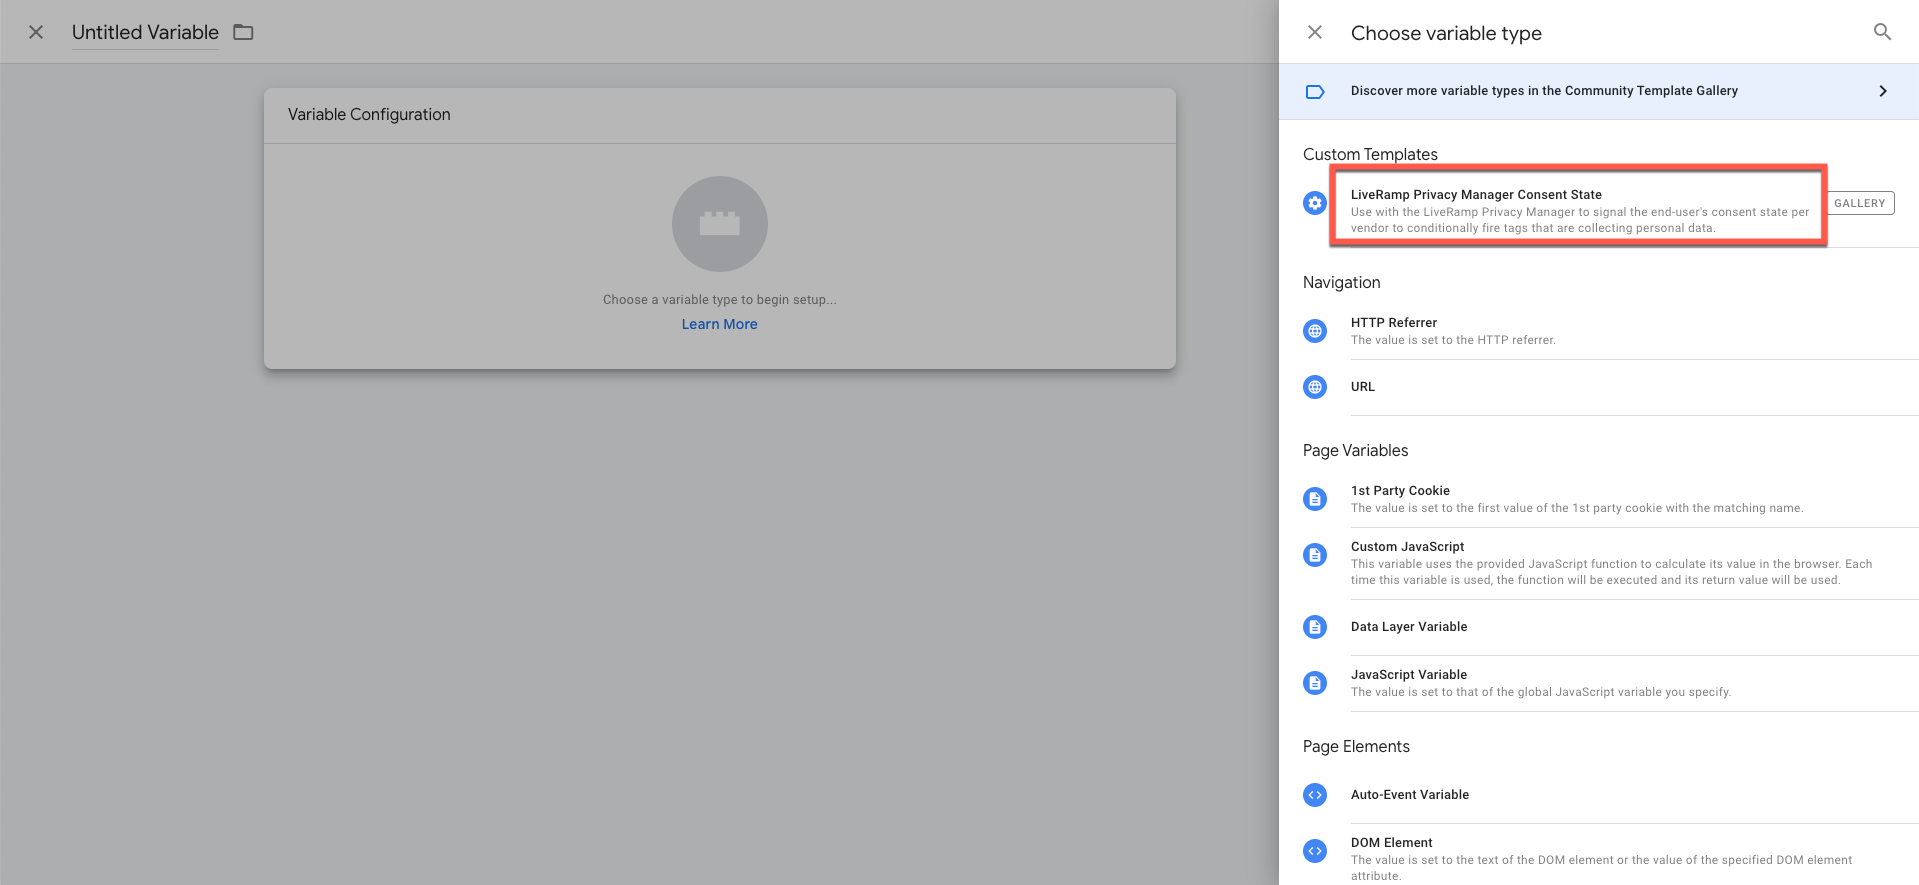
Select the imported LiveRamp Privacy Manager Consent State variable.
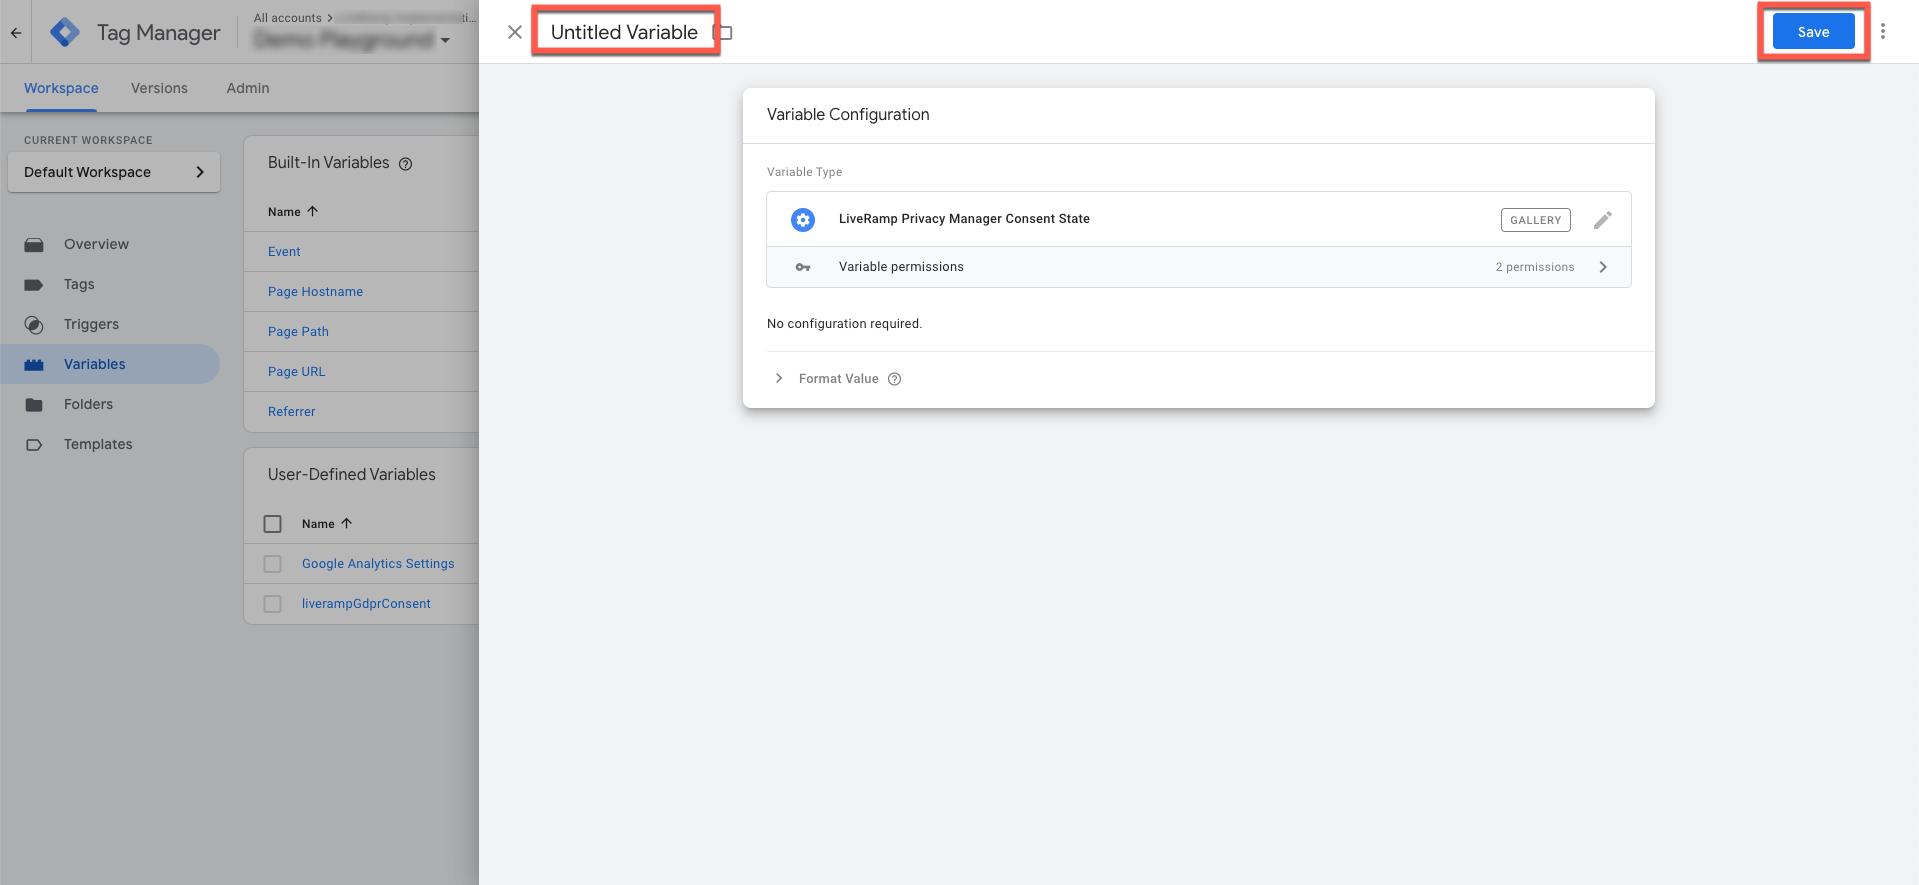
Enter a variable name and then click .
After creating the variable in Tag Manager, you can modify your existing triggers to include an additional rule.
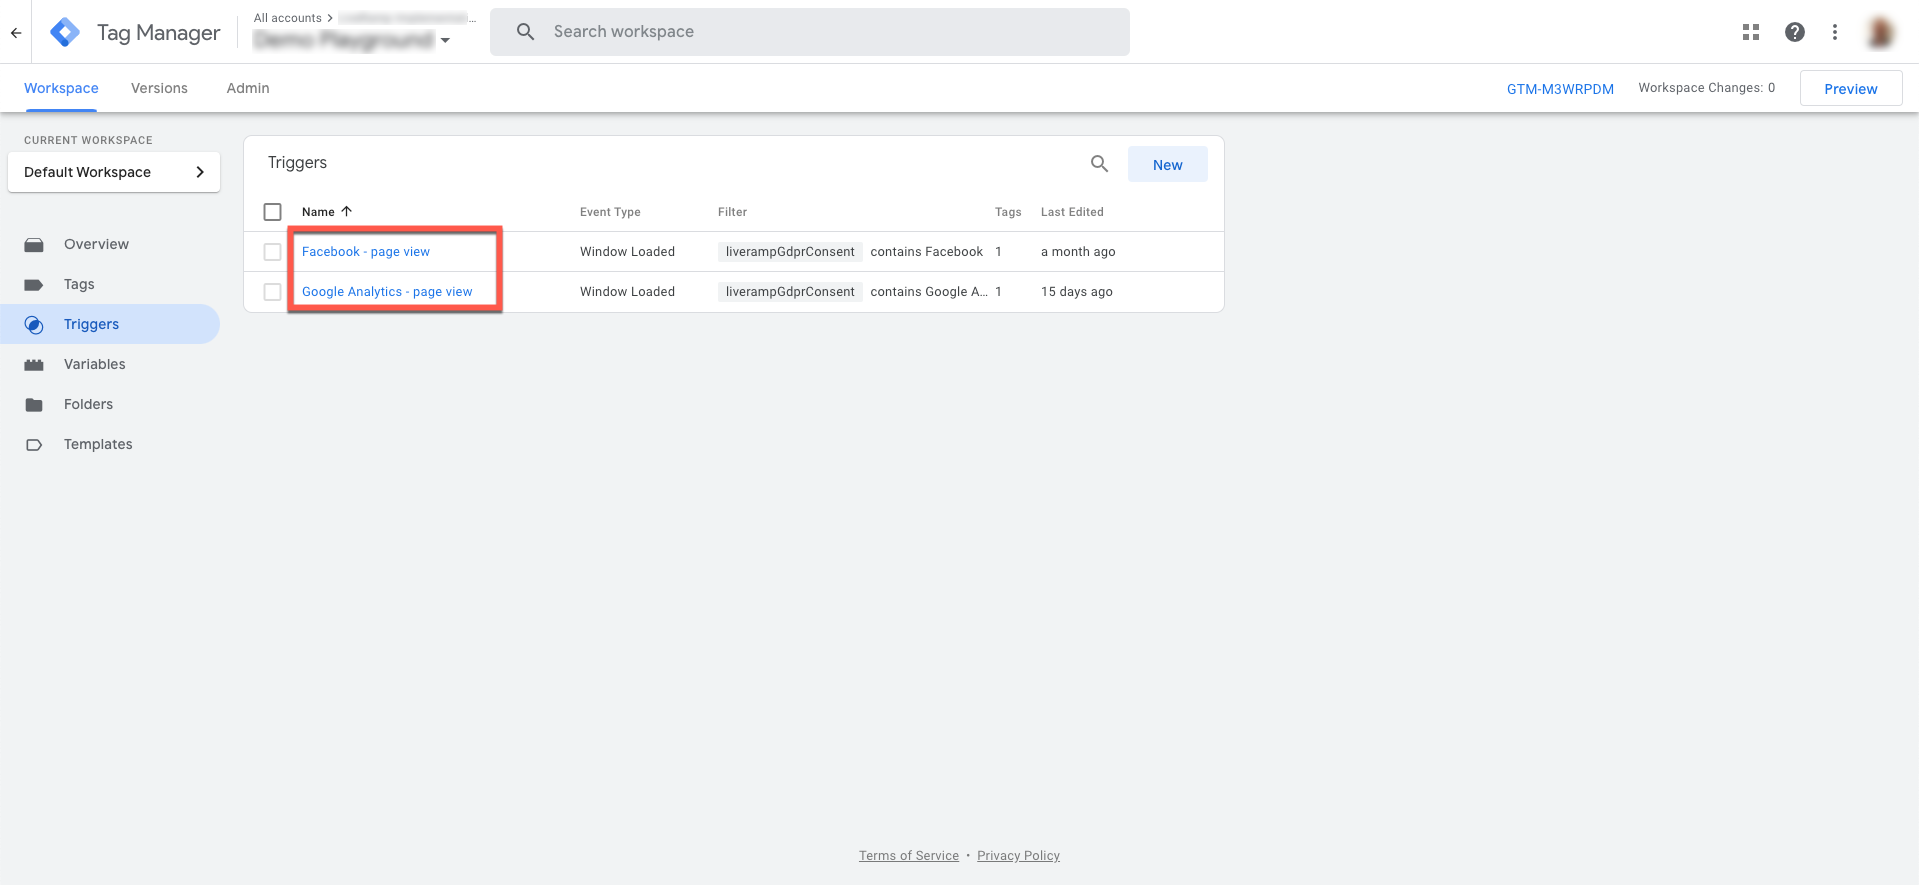
In your Google Tag Manager Container, select the Triggers menu.
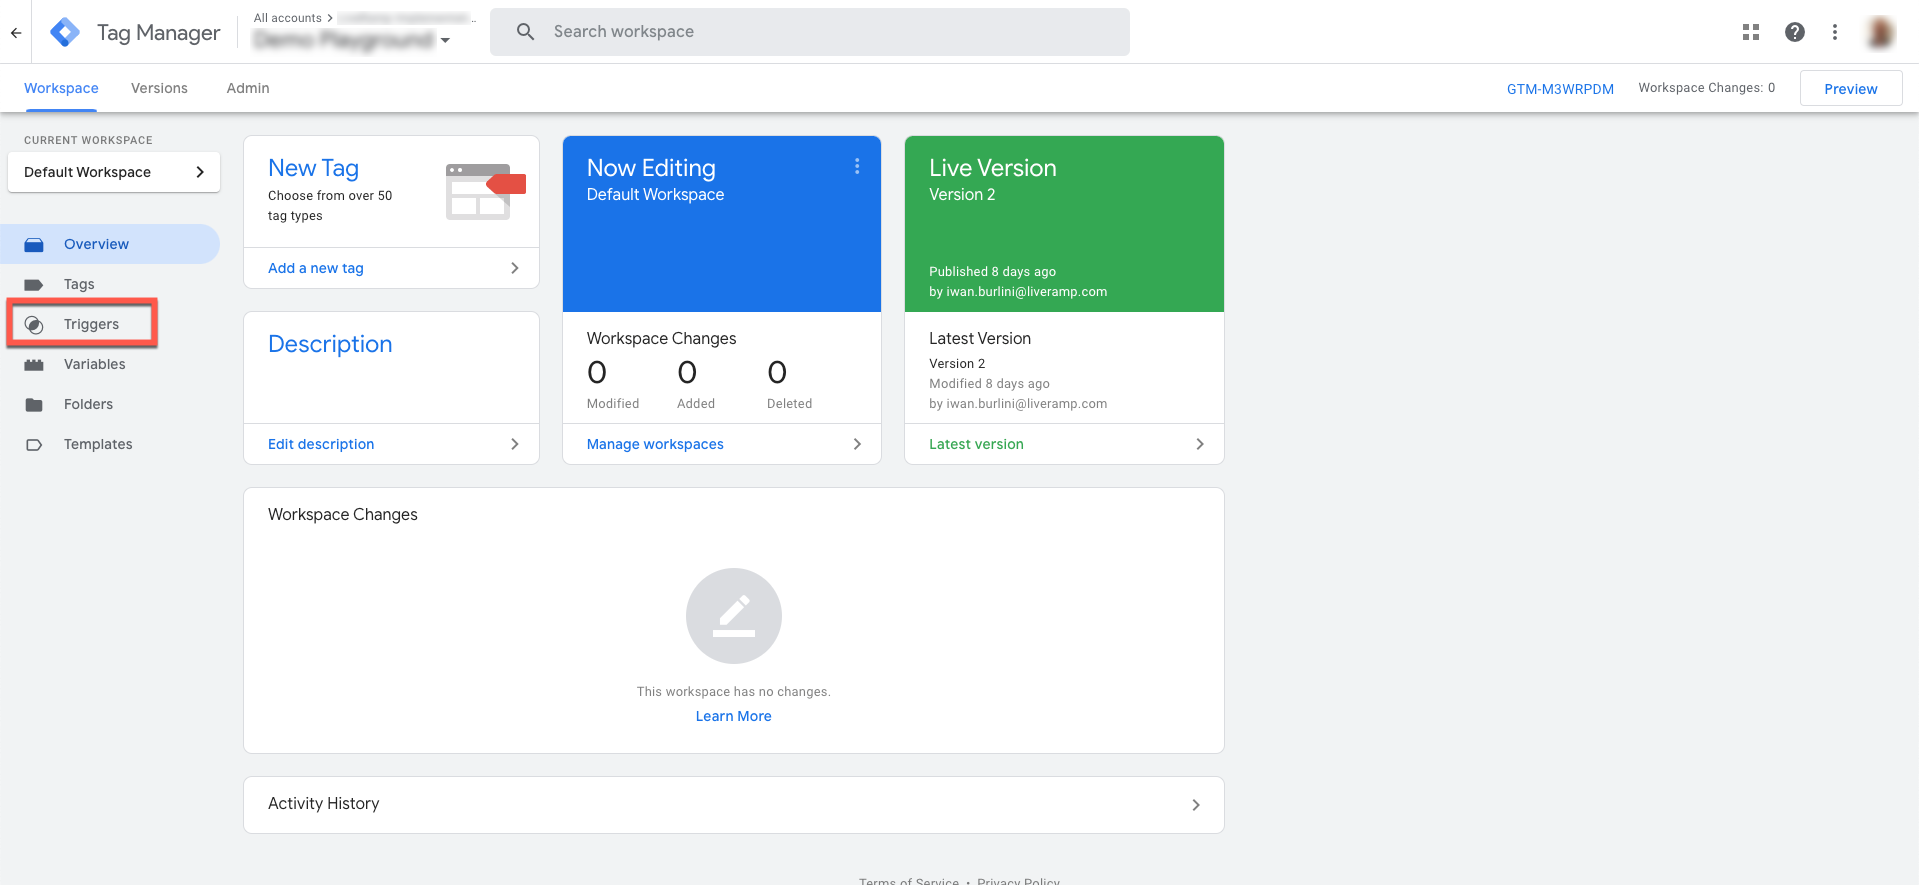
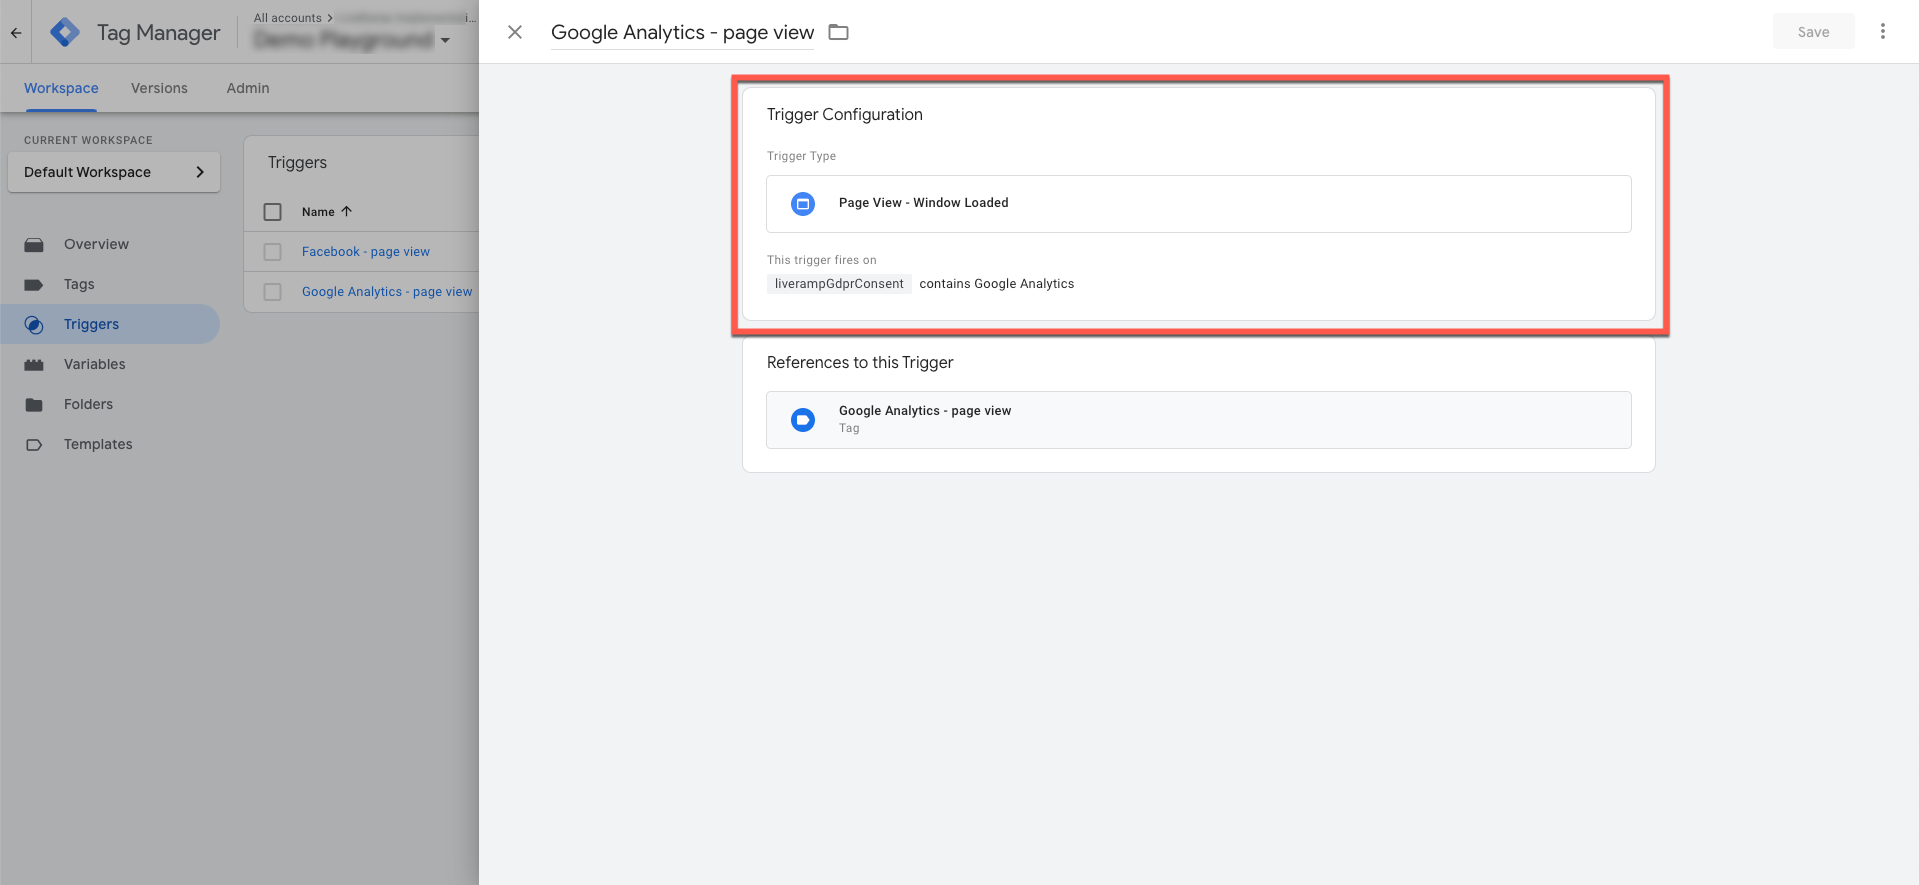
Click the name for the trigger you want to modify.
Click anywhere on the Trigger Configuration area to enable editing.
Click “+” to add a new rule row.
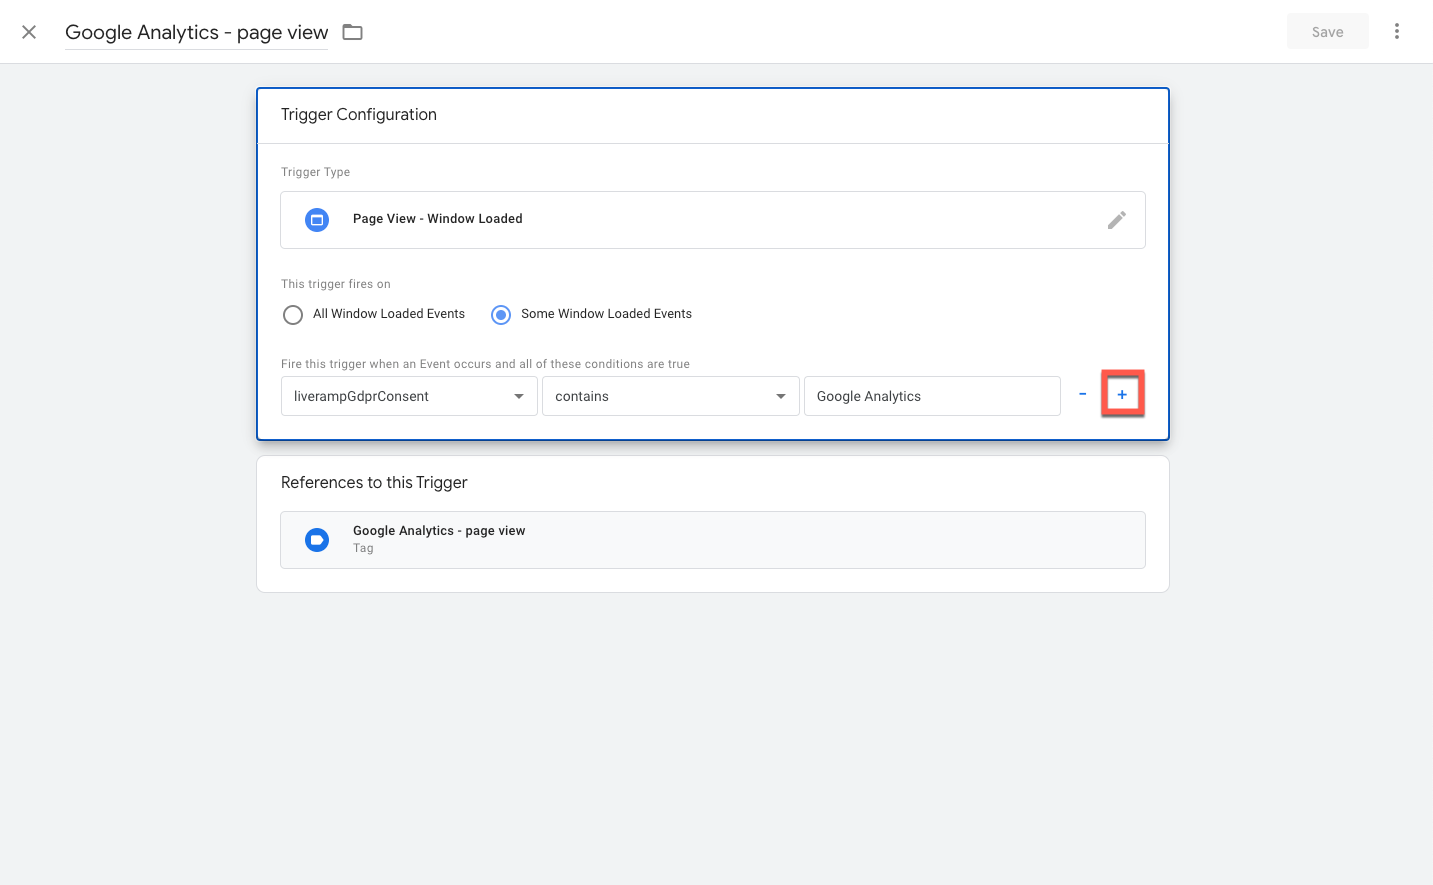
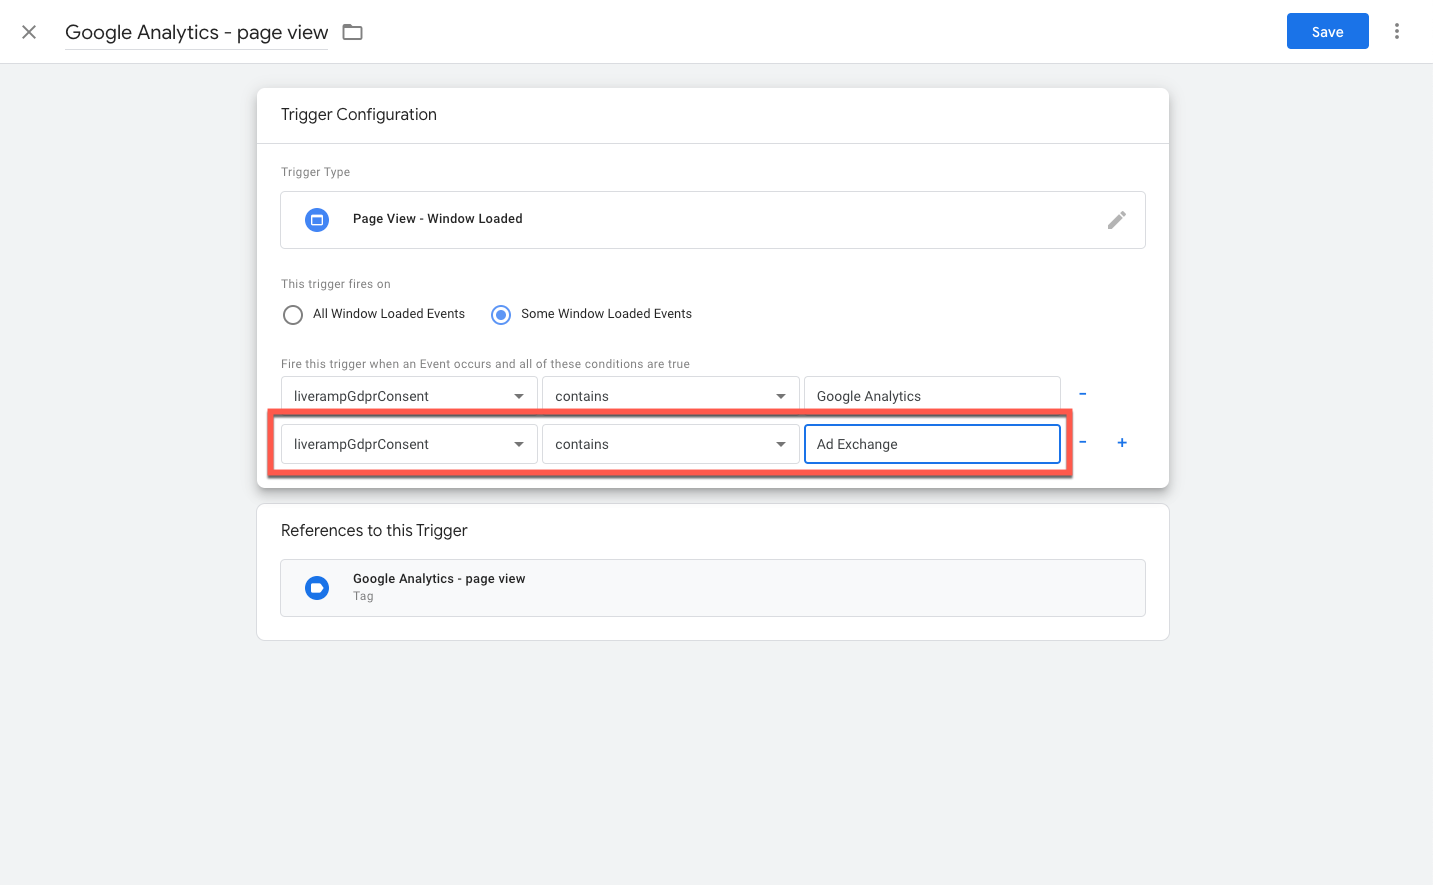
Create a rule that follows the format “[name LiveRamp variable] contains [vendor name]”.
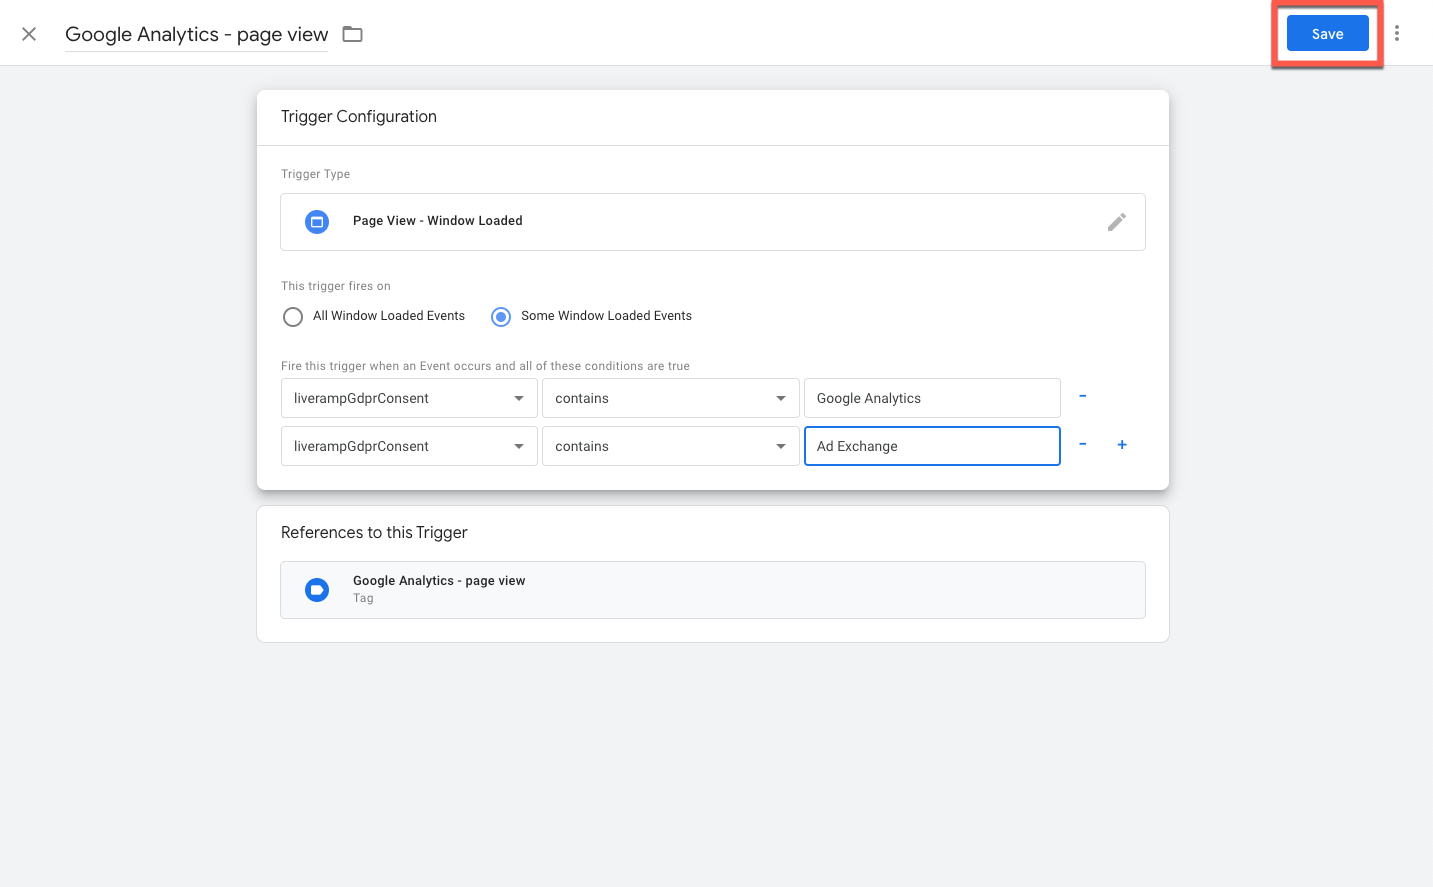
Click .
Caution
Make sure that the trigger is only associated with the vendor in question. Do not share triggers between different vendors. If a trigger is shared between different vendors, vendors will get triggered on consent given to a different vendor.
For example, let’s say you have a tag for Google Analytics and a tag for Facebook. And let’s say you have a trigger that you have configured for both the Google Analytics tag and the Facebook tag.
In this case, the Facebook tag will be triggered when the user gives consent for Google Analytics while it may have not given any consent to Facebook. The result is that the user’s consent decision is not being respected.
In order to ensure correct tag behaviour, you need to create a new trigger rule for the Facebook tag specifically. The trigger rule for Facebook will need to be “LiveRampGdprConsent contains Facebook”.
Caution
Do not include multiple vendors in the same trigger. This is considered bad practice and GTM will read this as an AND rule, which means both conditions need to be met before the assigned tag is allowed to fire. Each vendor must have their own trigger, even if this means that the only difference between these triggers is the associated vendor in the [vendor name] element of the rule.
Note
“[Vendor name]” reflects the vendor name which was configured in the console, e.g. Facebook was added to the configurations as a vendor and the tag you are trying to conditionally fire is facebook.
Note that the vendor name must be identical to the names pulled from the Console → Parties section.
Note
If the geo targeting value is set up to be in the EU and the end user is visiting the site from outside the EU, we trigger the event “noGdprApplies”.
If a “noGDPRApplies” event is triggered, we push the corresponding vendor names to the data layer which means that the configured events above will be automatically populated without an interaction with the CMP.