Create a Scheduled Job
From the Job Management page in Safe Haven, you can click to configure a PySpark or Python job that specifies files containing the Python code that you want to schedule or run immediately. Once you create a job, it appears on the Job Management page, where you can view its status, run it, see its next scheduled run time, stop, enable, disable, or delete it.
Before you create a job, do the following:
Create any required Python code files in your code repository bucket that you want to run, for example:
gs://{name_of_your_GCP_bucket}-coderepo/{your_file_name}.pyDetermine any optional arguments.
Decide when the job should run and at what interval if it is a recurring job.
In the left navigation bar, click .
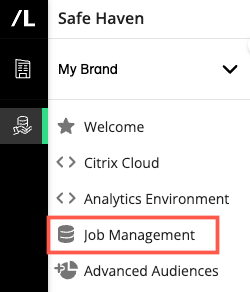
The Job Management page displays, with the Scheduled Jobs tab selected by default.

On the tab, click .
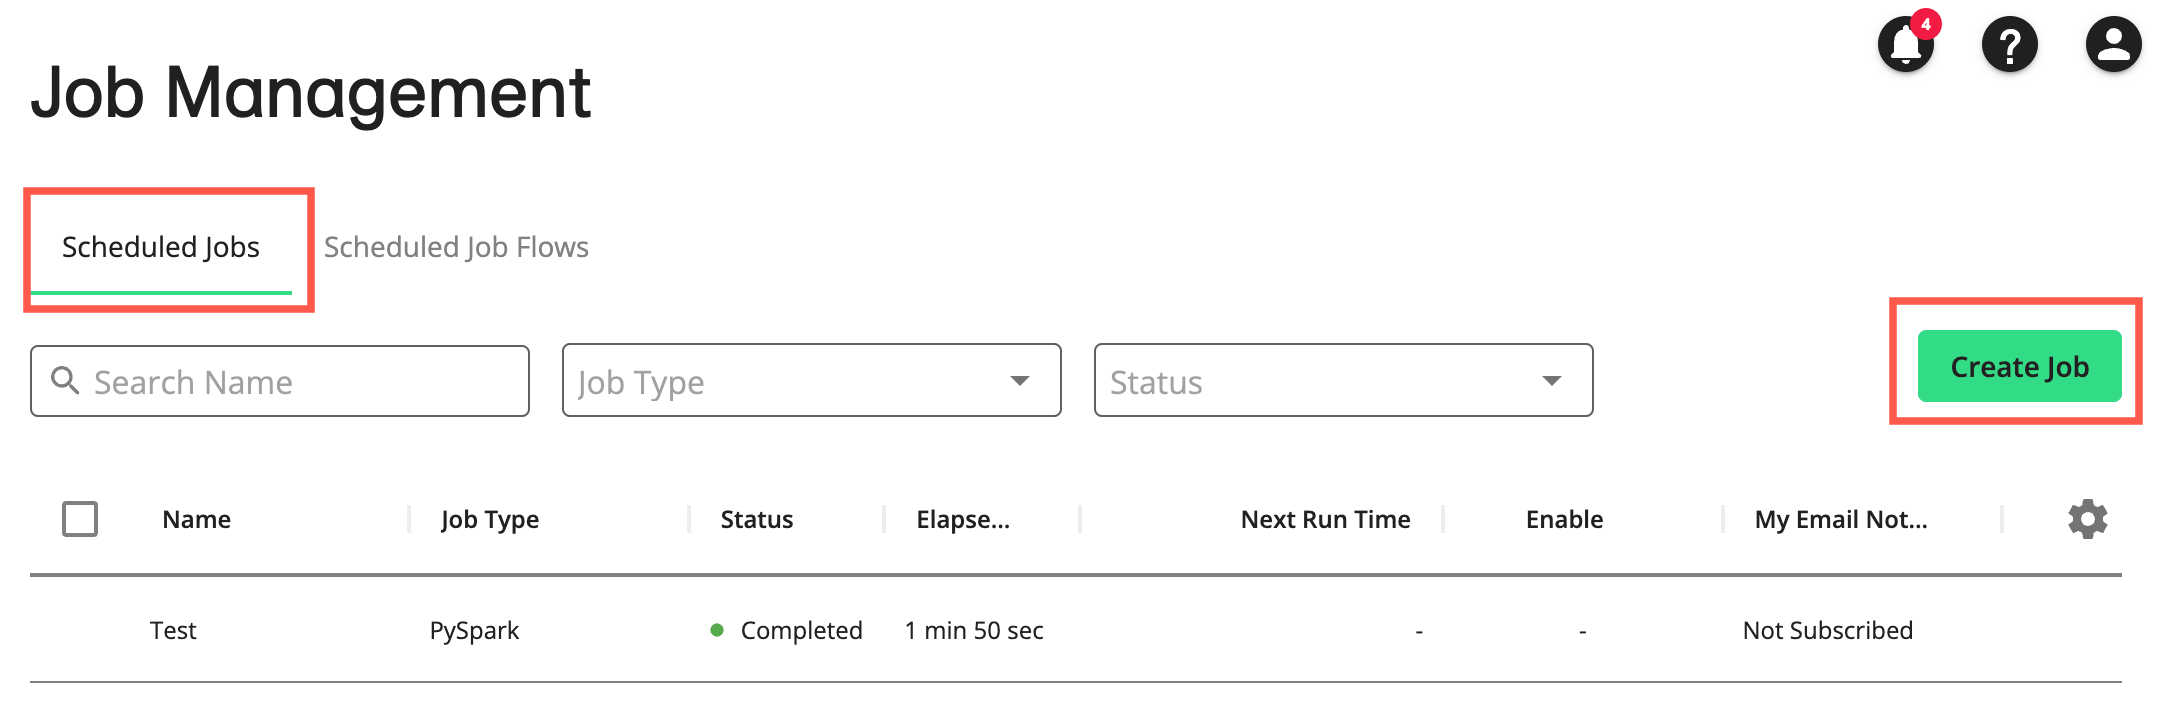
The Create Job page displays the Details step.
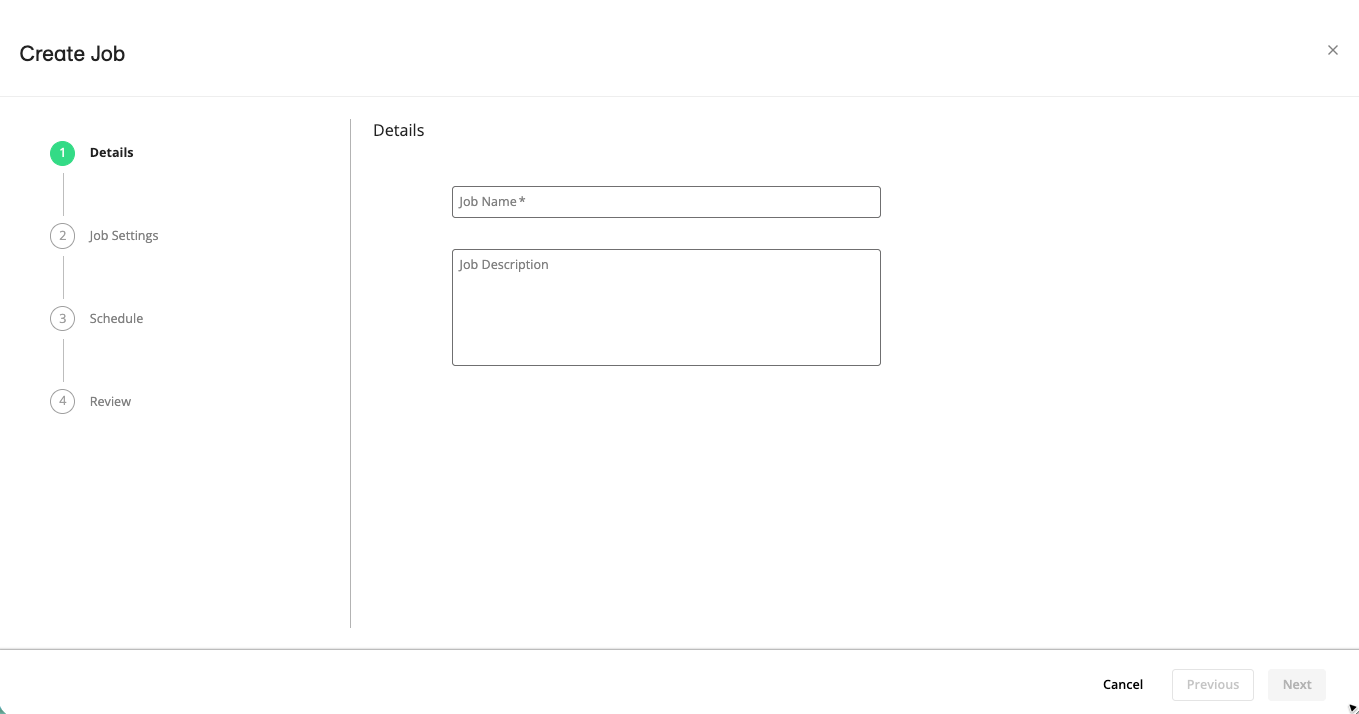
Enter a unique name for the job and a description so that you can remember what the job does and then click .
The Job Settings step appears.
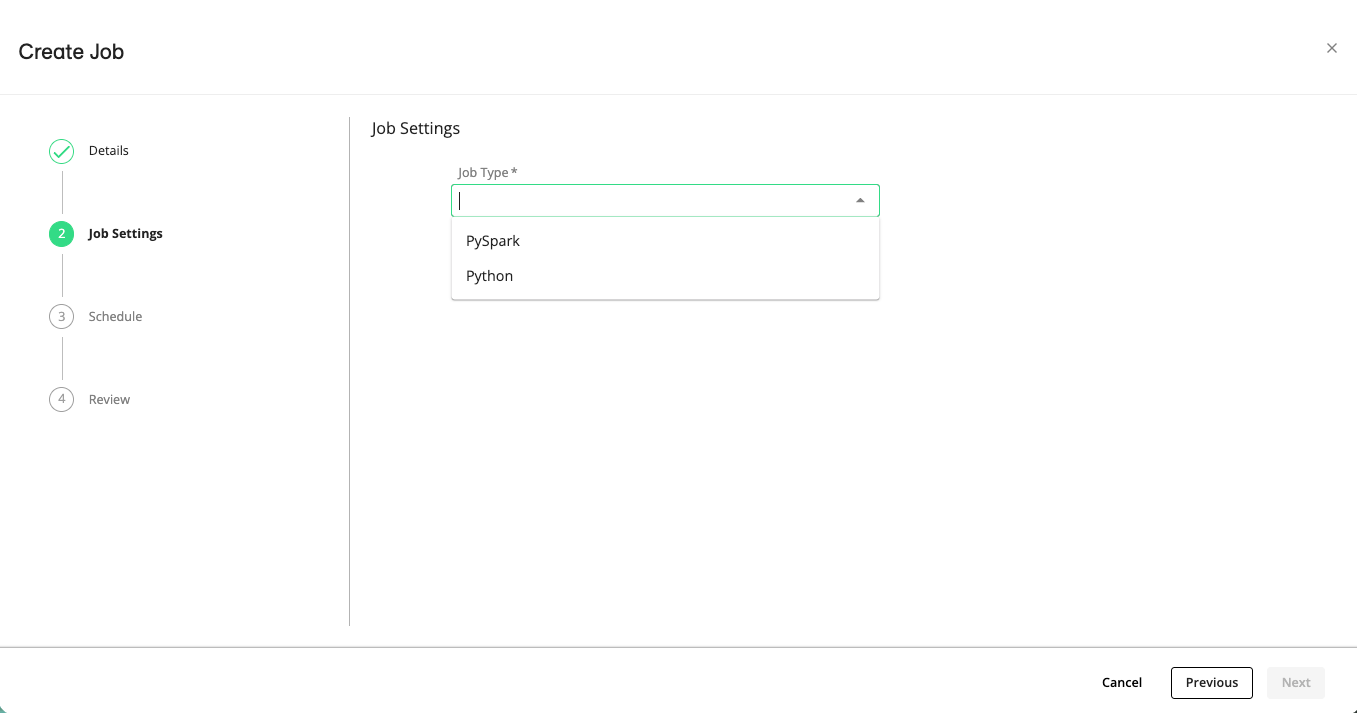
From the Job Type dropdown list, select (the default option) or .
If you selected PySpark:
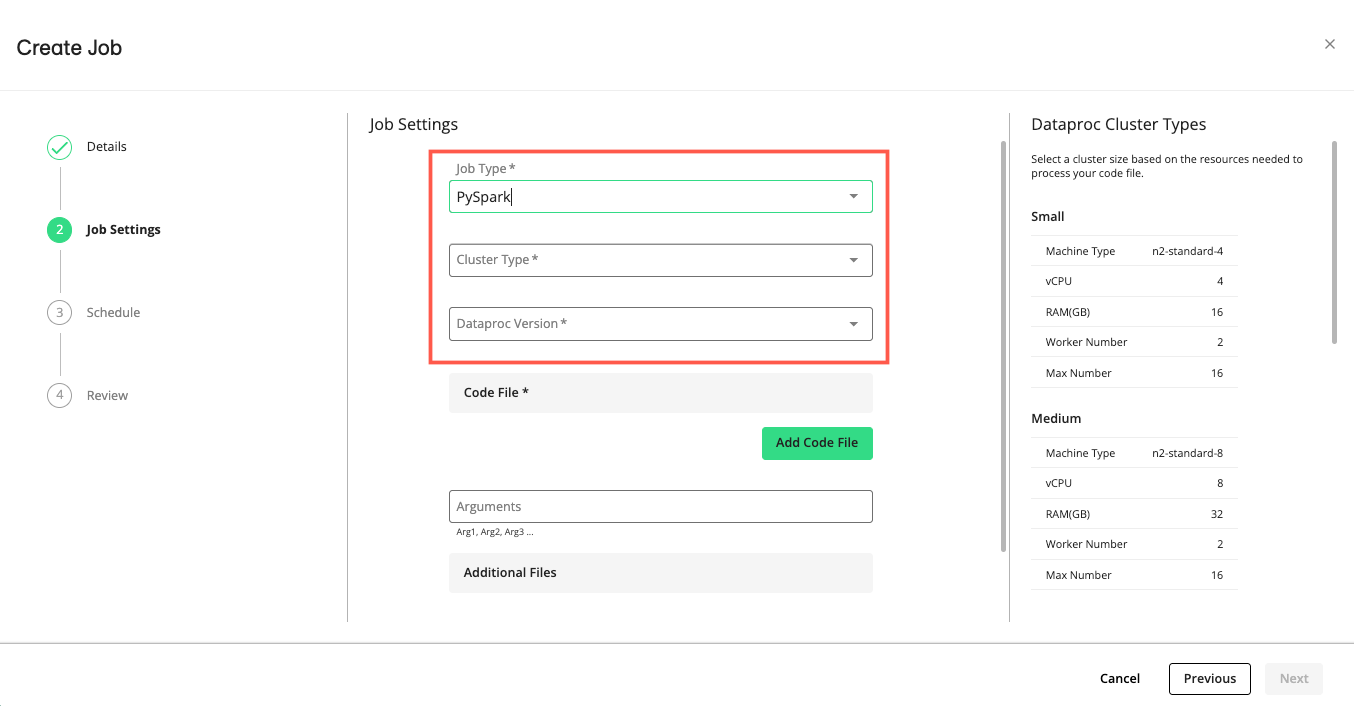
In the dropdown list, select the Dataproc cluster type based on the resource intensity of your PySpark job (see “Python Server and PySpark Dataproc Cluster Sizing” below).
In the dropdown list, select a Dataproc version.
If you selected Python:
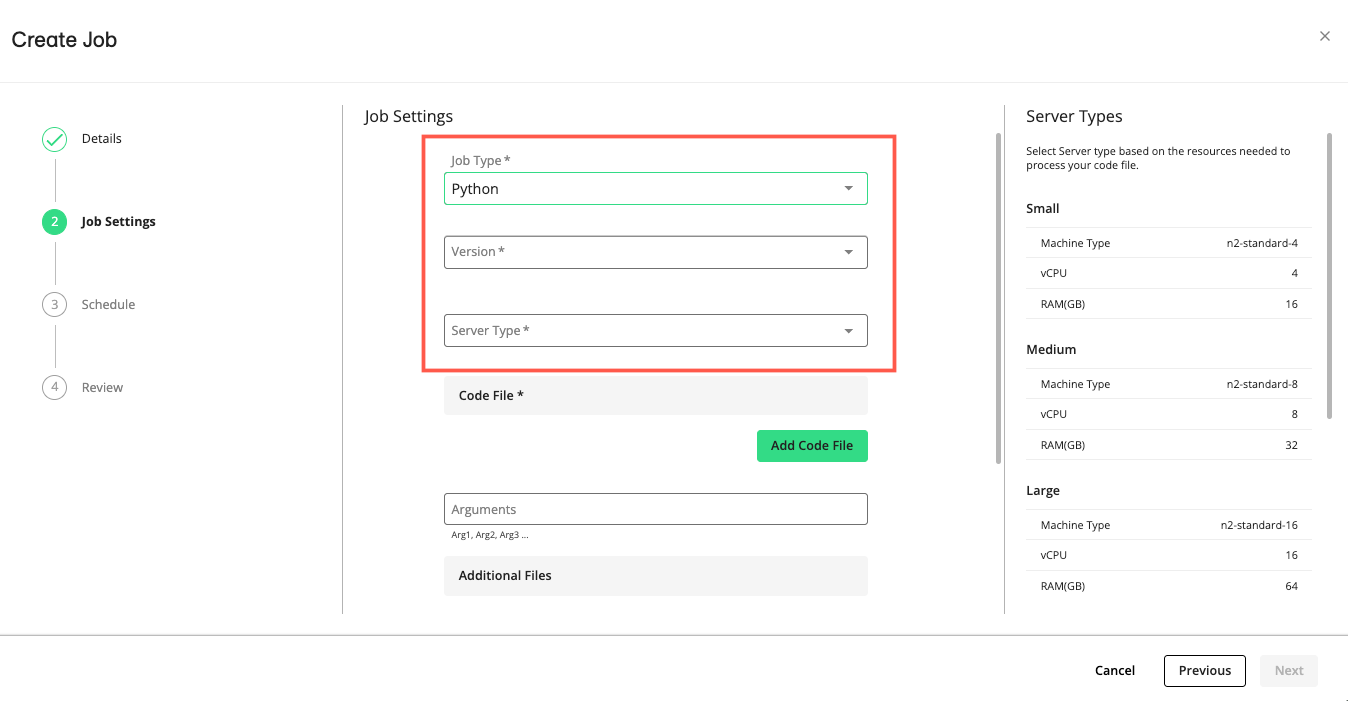
In the dropdown list, select a Python version.
In the dropdown list, select the server size based on the resource intensity of your Python job (see “Python Server and PySpark Dataproc Cluster Sizing” below).
Python Server and PySpark Dataproc Cluster Sizing
Note
“Worker Number” and “Max Number” are only applicable to Dataproc clusters.
For more information, see Google Cloud’s N2 machine series.
Size
Machine Type
vCPUs
RAM
Worker Number
Max Number
Small
n2-standard-4
4
16 GB
2
16
Medium
n2-standard-8
8
32 GB
2
16
Large
n2-standard-16
16
64 GB
2
16
X-Large
n2-standard-32
32
128 GB
2
16
XX-Large
n2-standard-64
64
256 GB
2
16
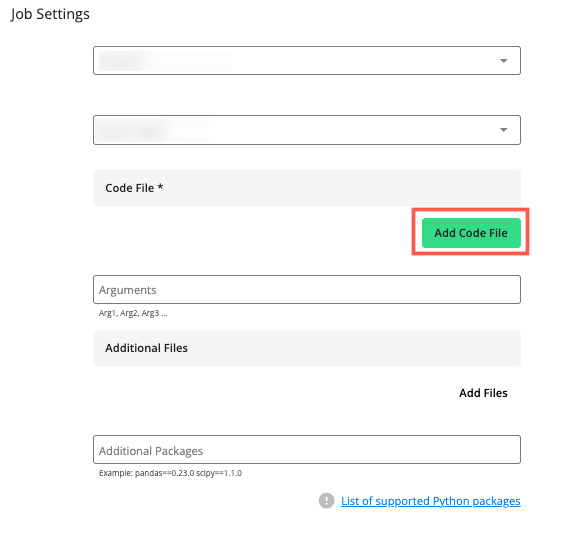
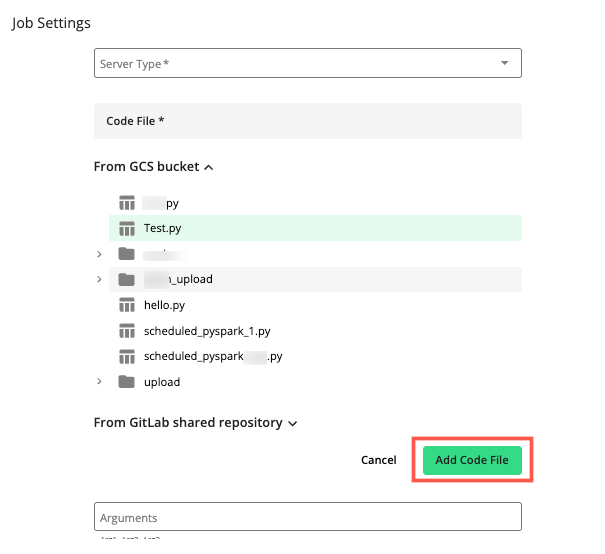
In the section, click to select the code file for the job.
Note
When managing code files for scheduled jobs in the GitLab shared repository, be aware of the following:
Removed files: If your scheduled job's code file is removed from the GitLab repository, the removal will not impact existing scheduled jobs that use the file. These jobs will continue to use the version of the file that existed before its removal. If the removal of the file from the GitLab repository was expected and you no longer want its associated scheduled jobs to run, you must stop or disable the scheduled jobs in the Job Management UI.
Modified files: If your scheduled job's code file is modified in the GitLab repository, modification might affect the running of any scheduled jobs associated with this file. No action is needed if this change was expected, as scheduled jobs will automatically use the latest file version. If the modification was unexpected, you can either revoke the changes to the job in Jupyter or select a previous version of the code file in the Job Management UI.
The and dropdowns display.
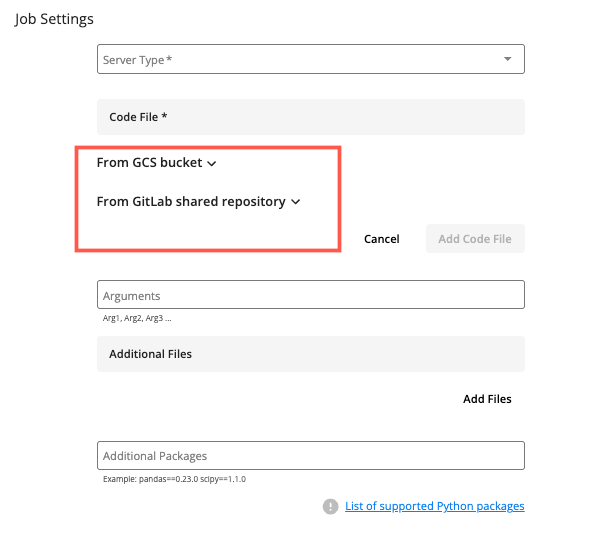
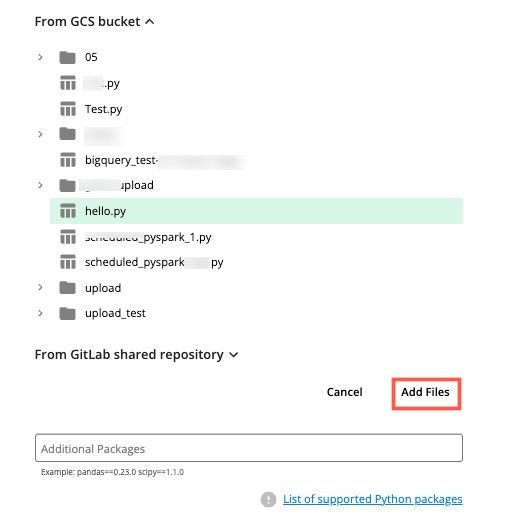
Select the appropriate dropdown list that contains the file you want to use for this job.
Note
The file must exist in the GCS bucket or GitLab repository before it can be selected.
For files in a GCS bucket, click the dropdown list and select the appropriate file.
For files in a GitLab shared repository, click the dropdown list and select the appropriate branch and file.
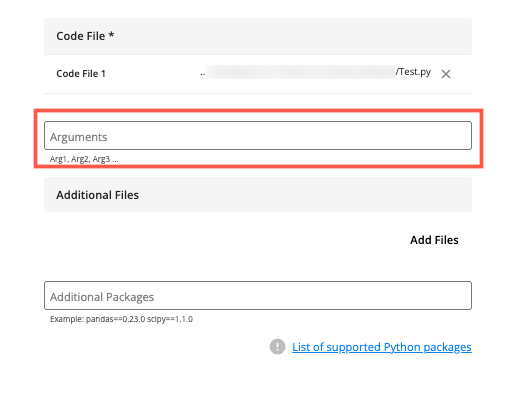
Click to add the selected code file.
(Optional) In the Arguments field, enter a comma-delimited list of job arguments to pass to the main class and to any additional Python files.
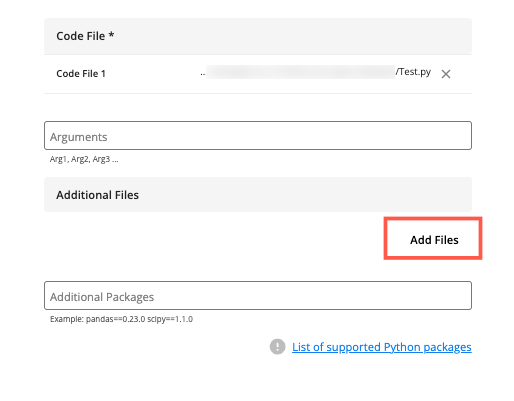
(Optional) To add an additional file needed to run your job:
Click .
The and dropdown lists display.
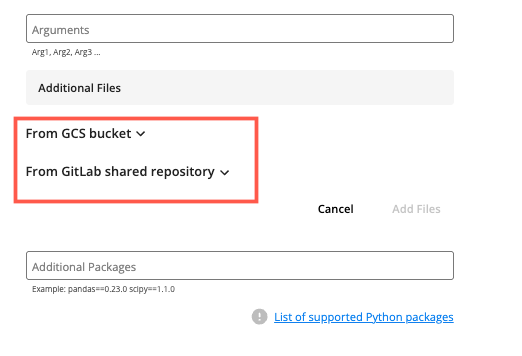
Select the appropriate dropdown list that contains the file you want to use for this job.
Note
The file must exist in the GCS bucket or GitLab repository before it can be selected.
For files in a GCS bucket, click the dropdown list and select the appropriate file.
For files in a GitLab shared repository, click the dropdown list and select the appropriate branch and file.
Click to add the selected file.
To add additional files, repeat Step 9.
(Optional) If your Python job requires any non-standard Python packages to run, enter its <
package_name>==<version_number> syntax in the Additional Packages field. For information, see "Supported Python Packages."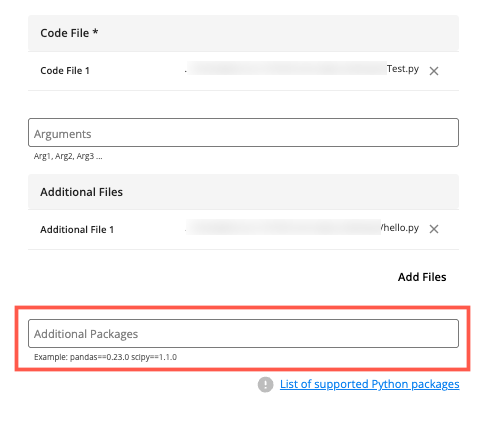
Click . The Schedule step appears.
From the Repeats Every dropdown list, select an interval at which you want to repeat the job.

If you want to specify a custom schedule, you can enter a cron schedule expression to instruct the cron utility to run your job at a specified day, time, and recurring interval. For example, the cron format typically includes a string of space-delimited integers and special characters (e.g.,
, - * /) in the following order:Minute (0−59)
Hour (0−23)
Day of the month (1−31)
Month of the year (1−12)
Day of the week (0−6 with 0=Sunday)
For more information, see Google Cloud's "Configuring cron job schedules."
As needed, enter the start run time and time zone options.
Click , review your job information, and then click .
You are returned to the Job Management page and your job displays the Processing status.
If you want to disable your job at any time, you can click its switch to the off position.