Configure Events
If you have first-party data tables in your account that contain consumer behavior data, such as transactions, conversion events, or impressions, you can configure the data in those tables as "events". Events allow you to create segments based on certain consumer behavior, such as people who made a purchase or visited your website.
You can choose from a list of predefined events or create a custom event. Once you've created events, you can use these events in rules when you build a segment using the Segment Builder.
For example, say you want to target people who might be in market for a high-end home theatre sound system. If you have a transaction data table containing transactions of people who purchased a TV, you can configure that table as a "made a puchase" event. Then during segment building you can use this event to filter your initial target list with the people who spent more than $1,000 on a TV in the last 3 months to find people who are more likely to purchase a high-end sound system.
To configure a table as an event, the table must have a timestamp column. This table becomes the "primary" table for the event.
You can also link additional tables that contain related information, as long as the linked table has a column that you can use to link the records in it to the appropriate records in the primary table. Adding linked tables allows you to use columns from those tables as attributes when defining your event during segment building. You can add multiple linked tables.
Only one version of a particular event can exist at any one time. Once you've configured a table as a particular event, you cannot configure another table as that event. For more information and additional guidelines, see the "Guidelines for Configuring Events" section below.
Guidelines for Configuring Events
When configuring events, keep the following guidelines in mind:
Only tables containing data you own (first-party data) can be configured as an event.
Each specific event (such as "made a purchase") can only exist once in your account.
Each table can only be used as a primary table for one event. Once a table has been configured as an event, it cannot be configured as a second event. If you need to disassociate a table with an event, configure the table again and set the data type either to Other or to a different event.
To configure a table as an event, the table must have a timestamp column.
Once you've configured the primary table as an event, you can link additional tables that contain attribute data for the members of the primary table. The primary table and linked table must contain columns that can be used to link the two tables together so that the correct record in the linked table is associated with the correct record in the primary table.
Configure a Table as an Event
To configure a table as an event:
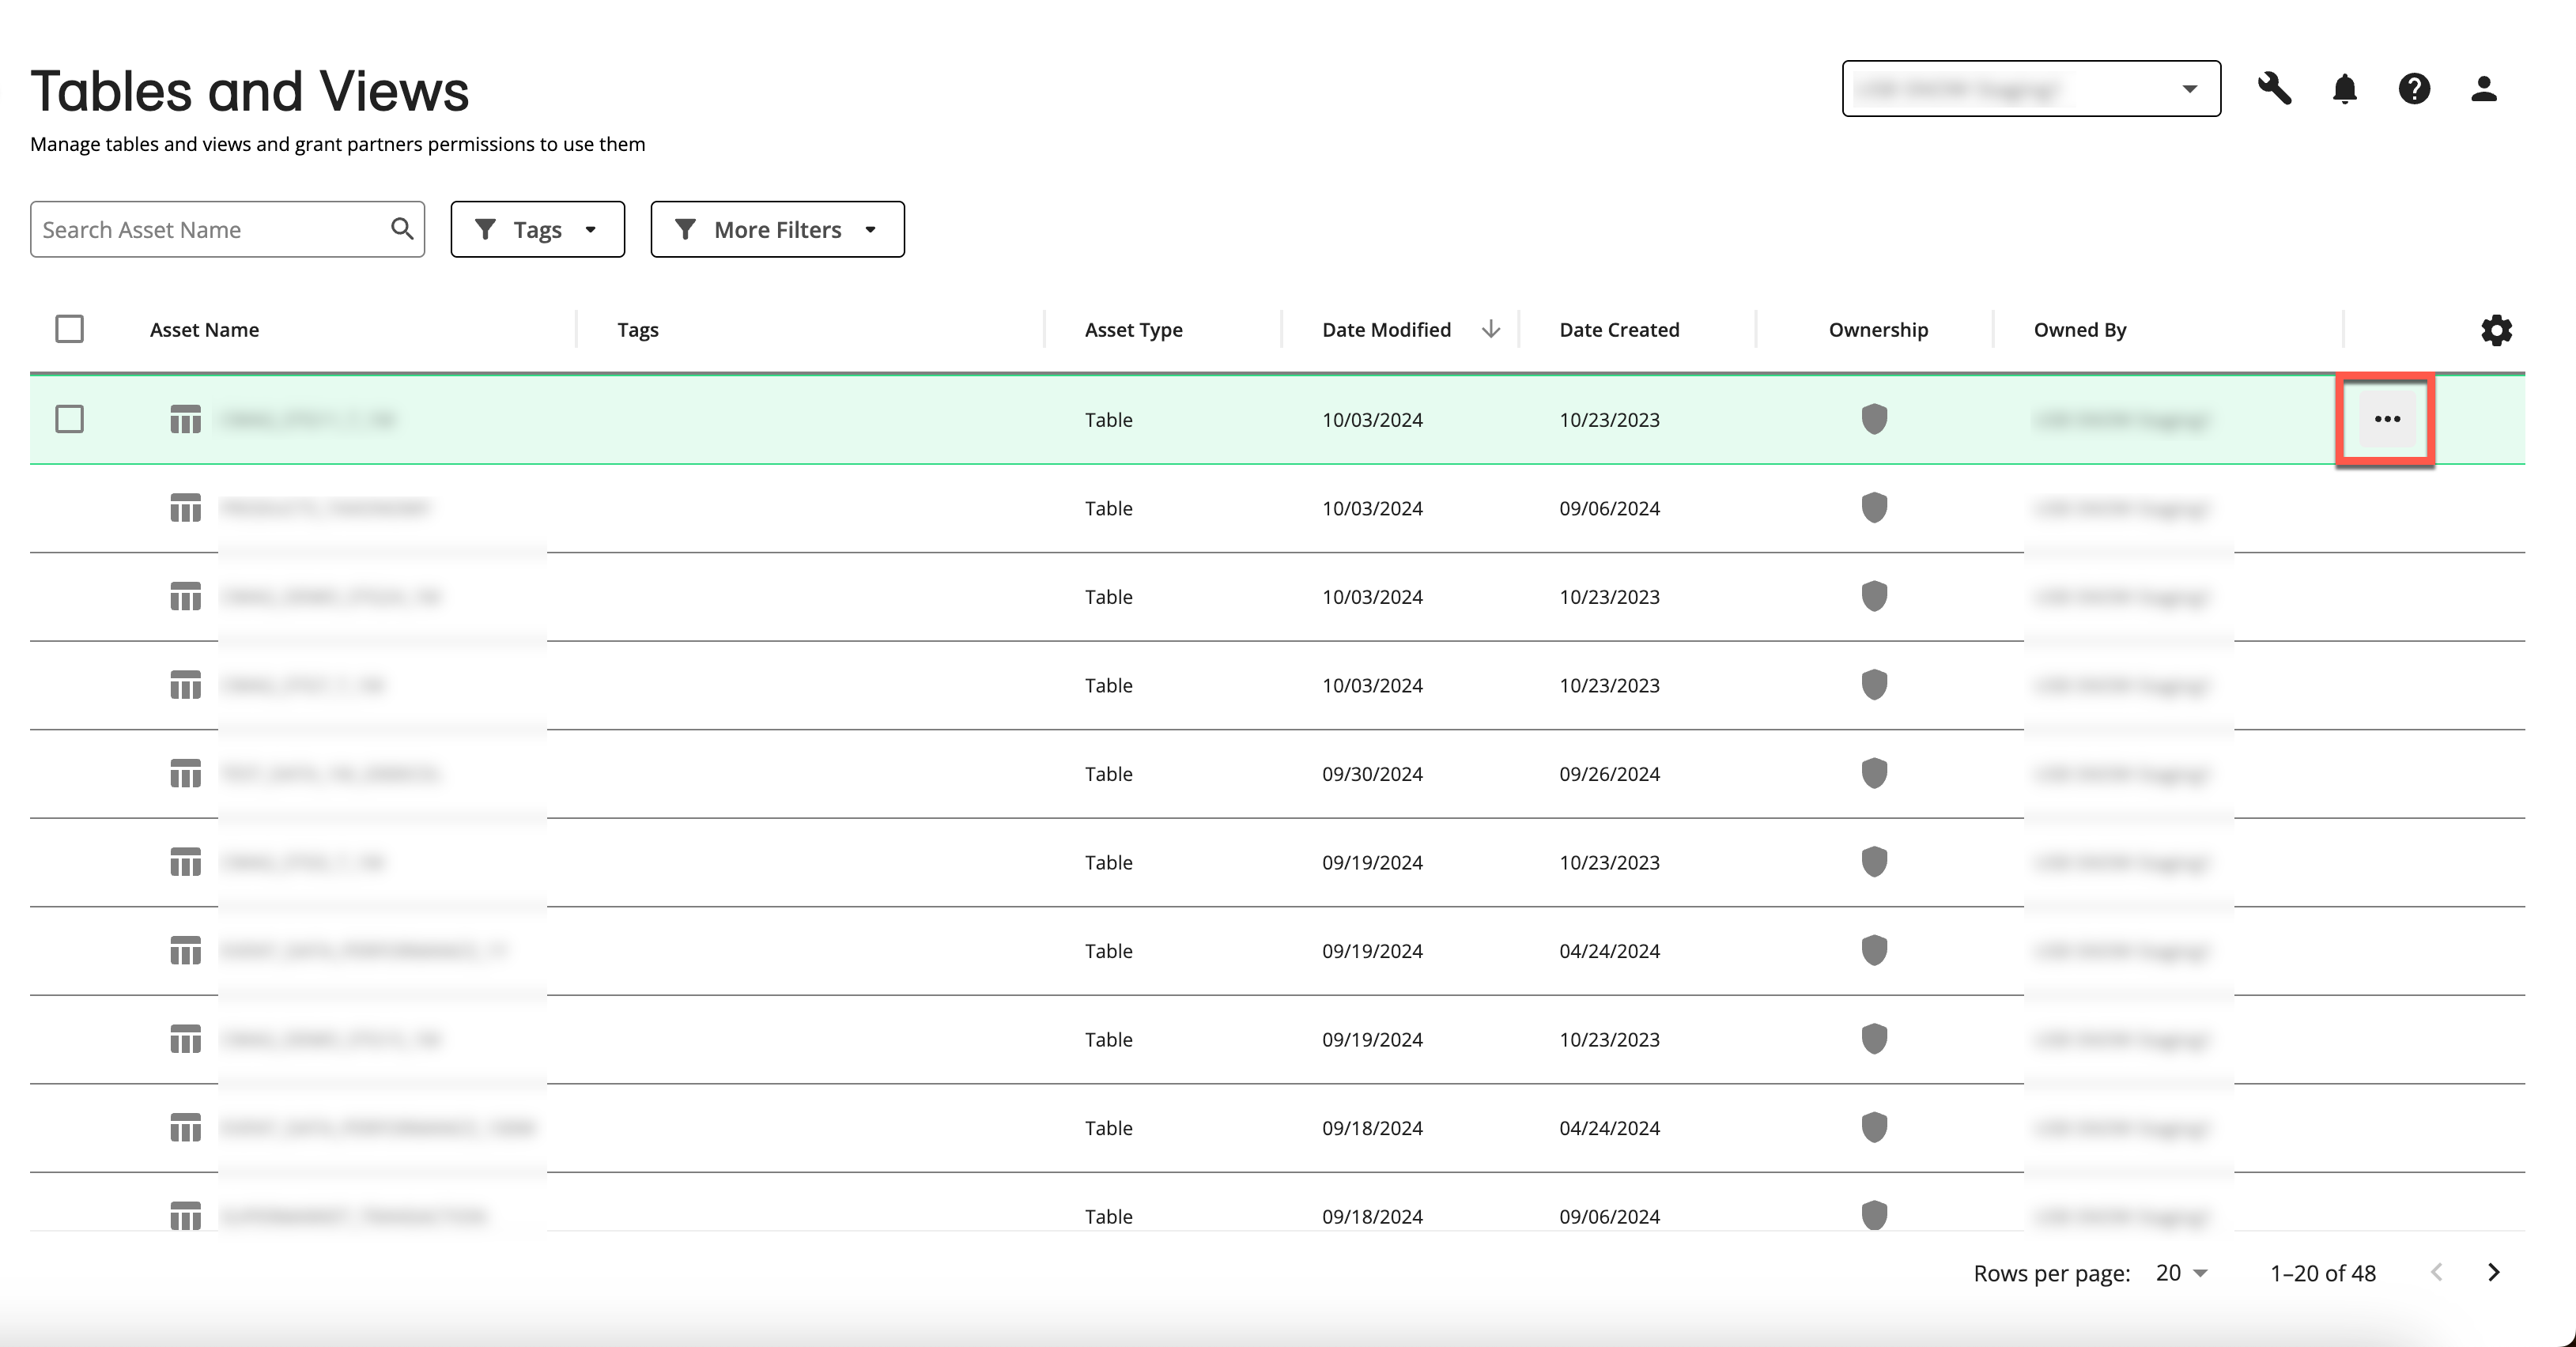
From the Tables and Views page, hover over the row for the table you want to configure and then click the More Options menu (three dots).
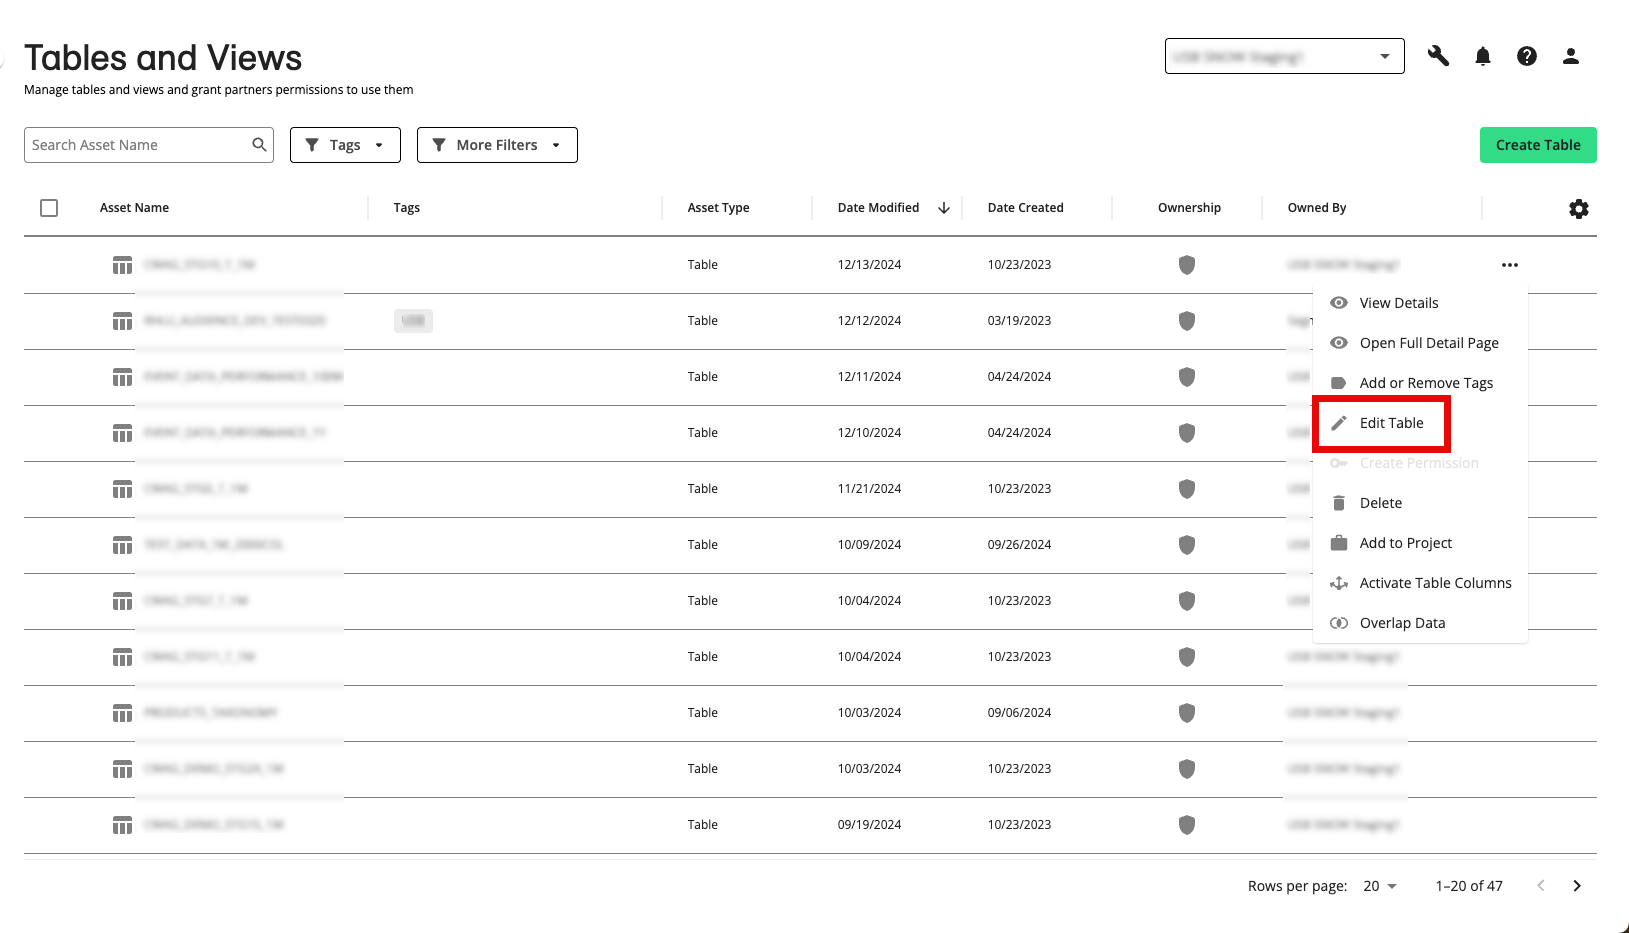
Select Edit Table.
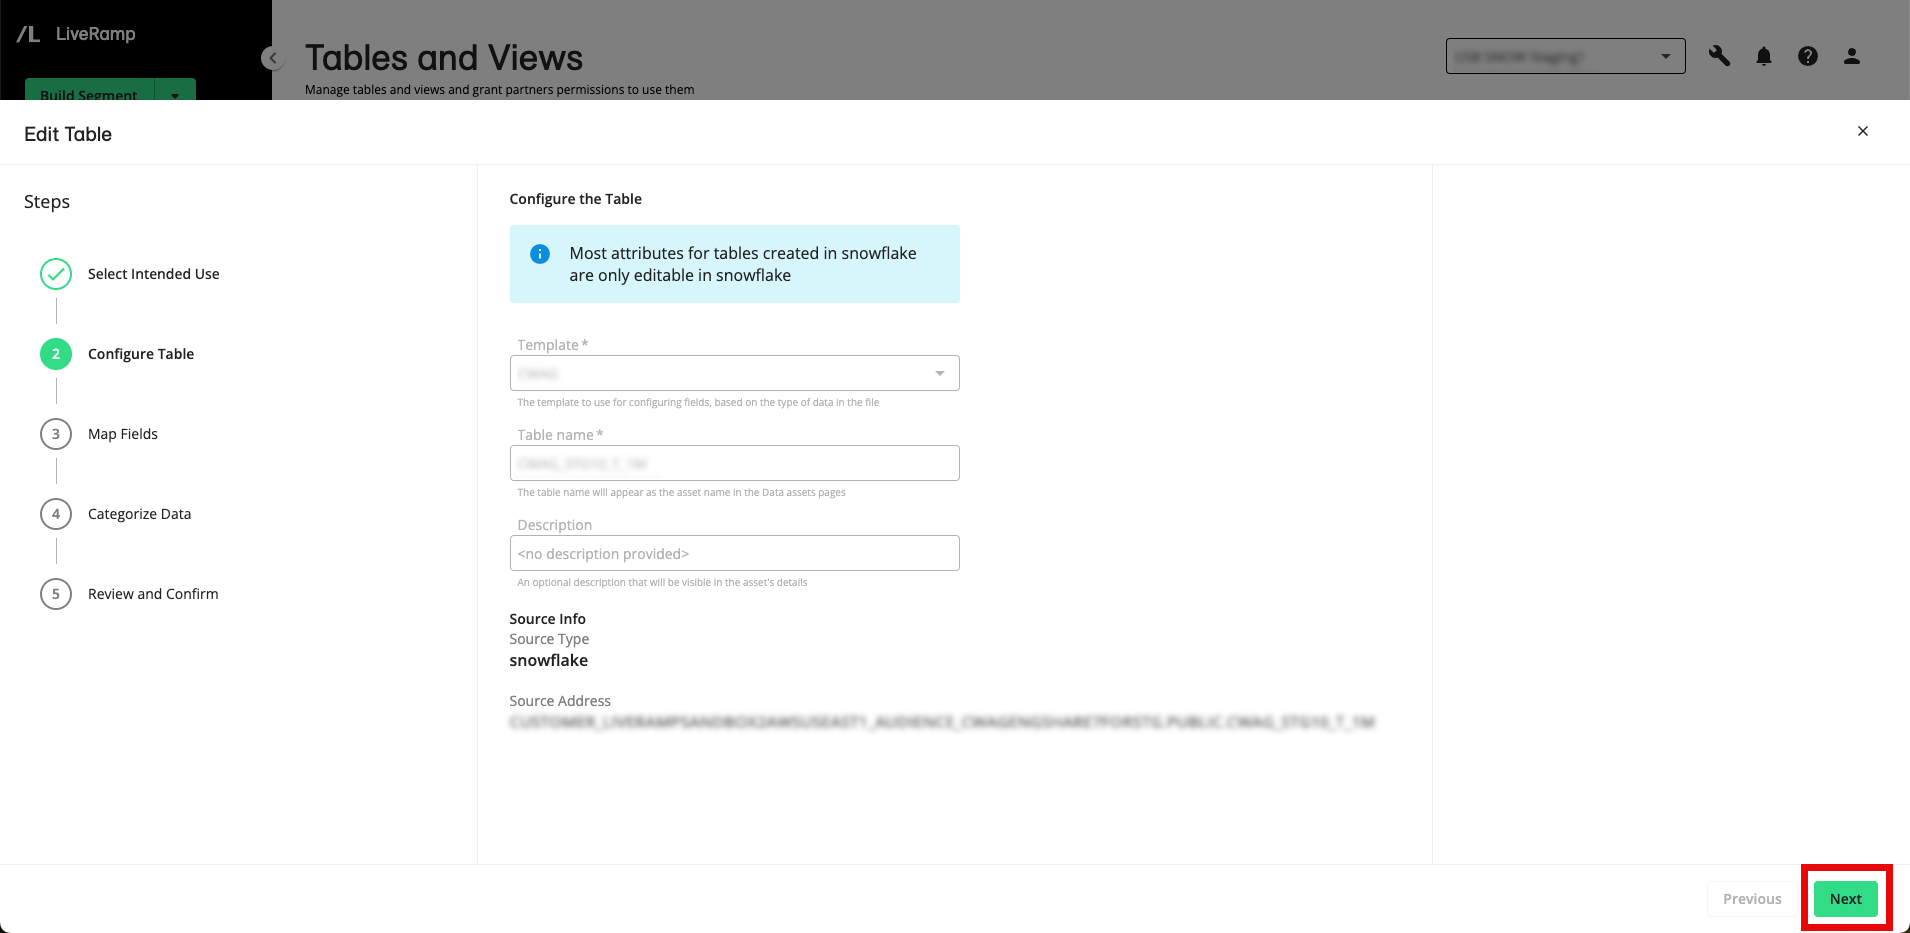
The Edit Table stepper opens at the Configure Table step.
Click to advance to the Map Fields step.
Click to advance to the Categorize Data step.
From the Categorize Data step, select Event as the data category.
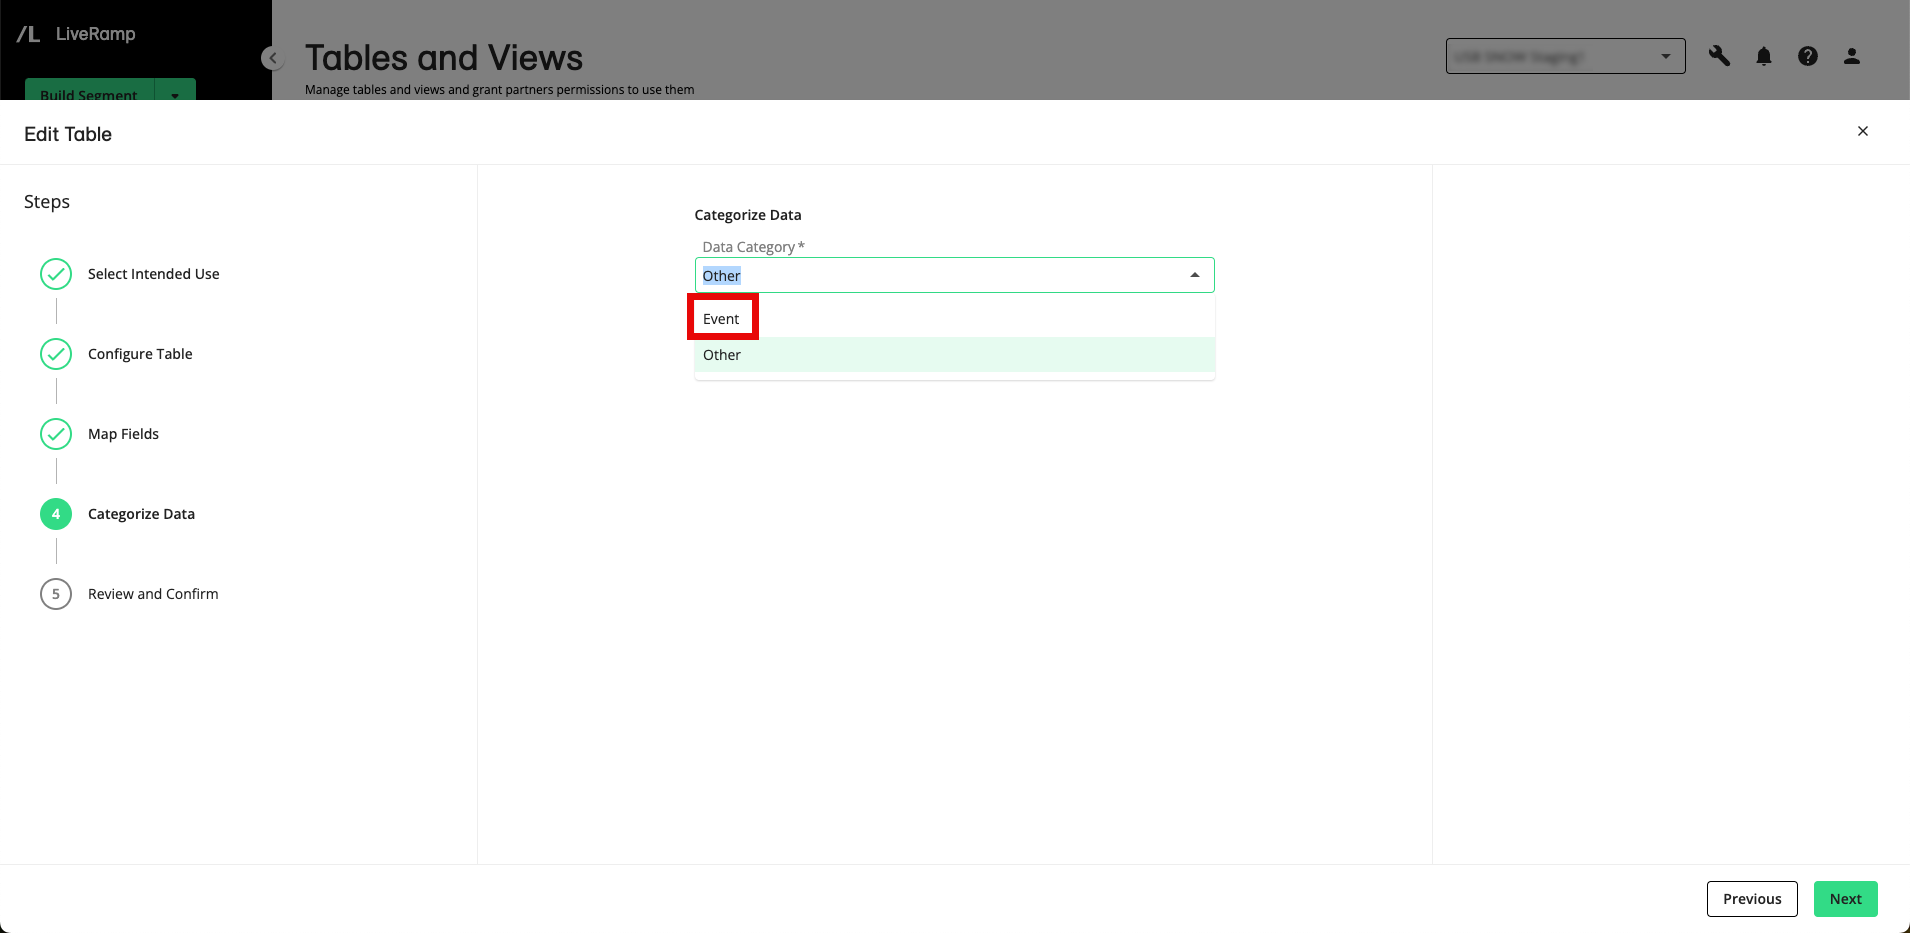
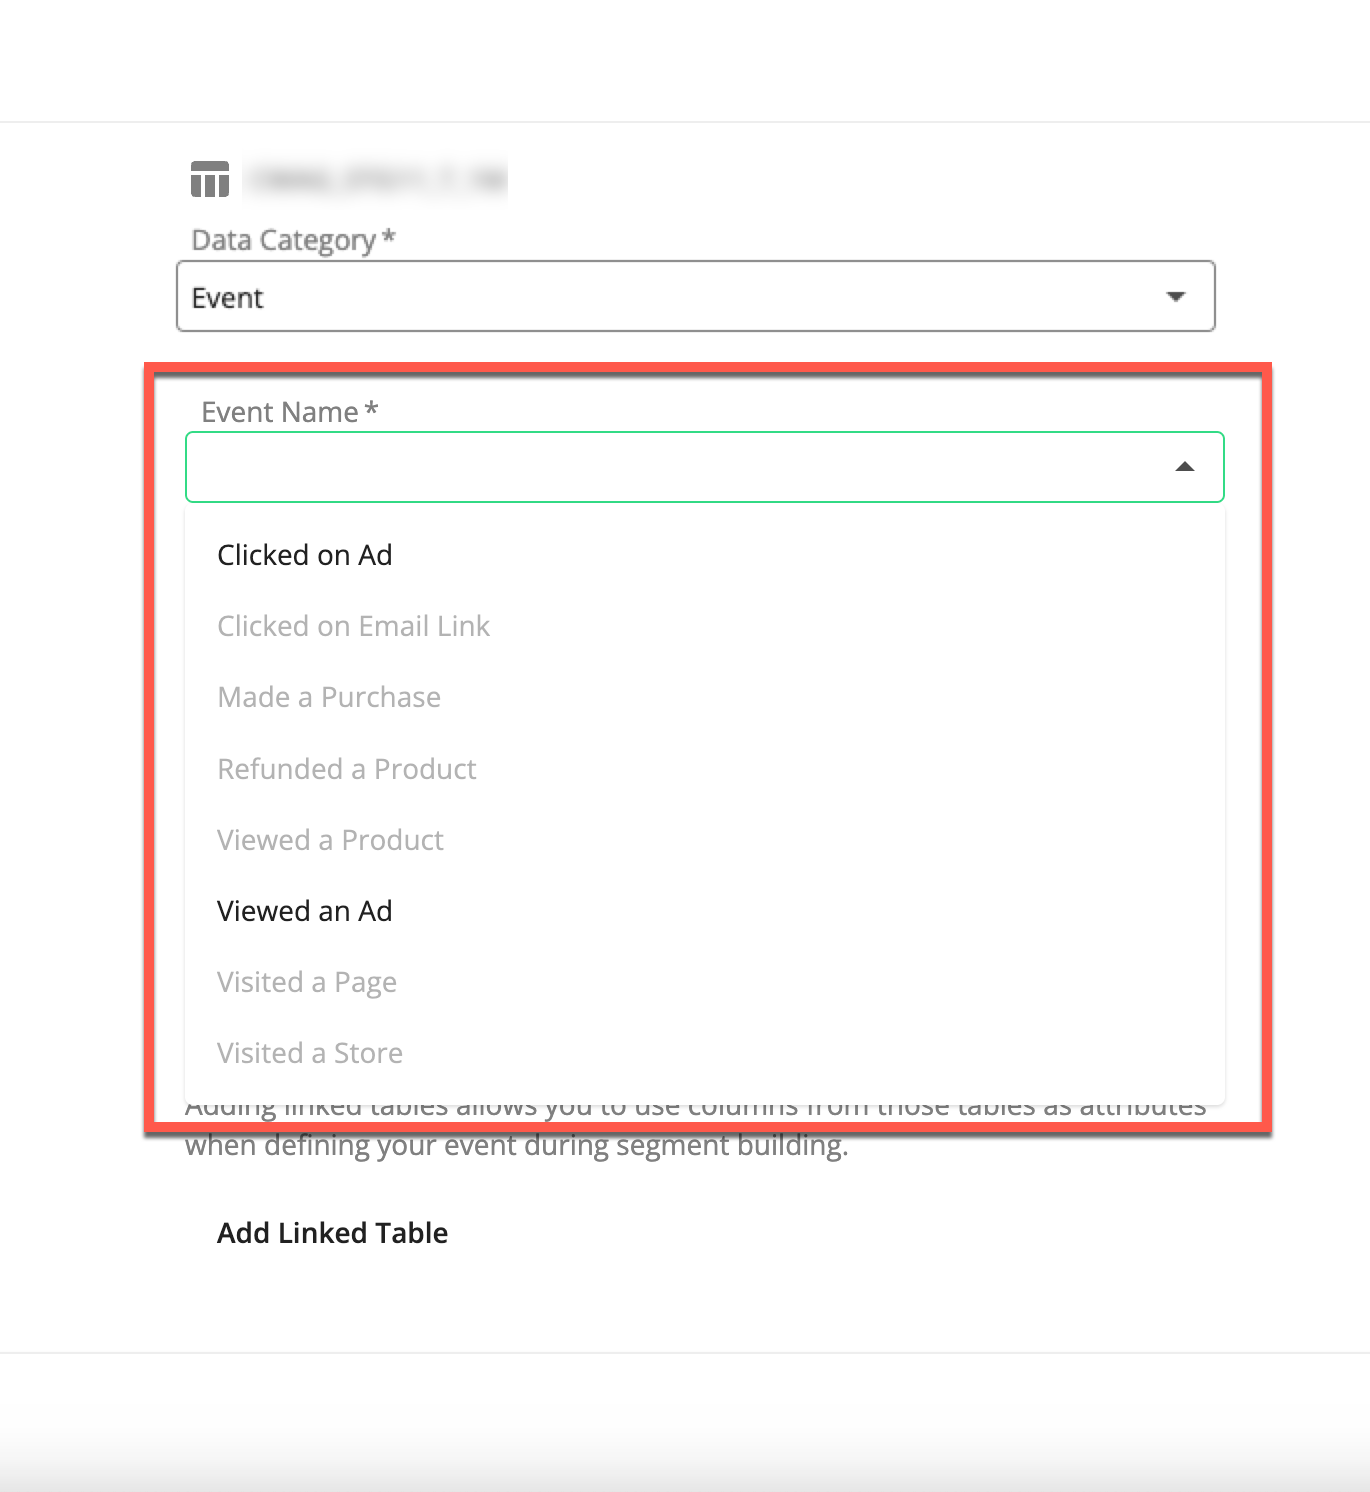
Select the desired event name from the available options in the dropdown (shown below) or enter a custom event name:
Note
Events that you've previously configured will be greyed out and cannot be selected.
Clicked on Ad
Clicked on Email Link
Made a Purchase
Refunded a Product
Viewed an Ad
Visited a Page
Visited a Store
If desired, enter a description for the event (maximum 100 characters).
Select the desired timestamp column to use for date filtering for the event.
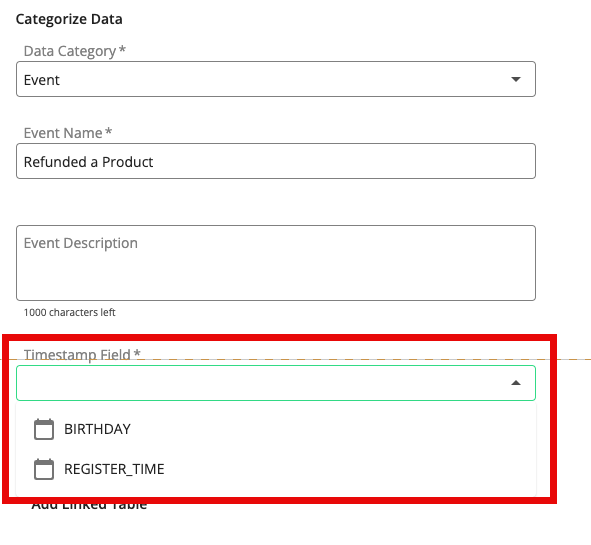
To link additional tables to the primary table:
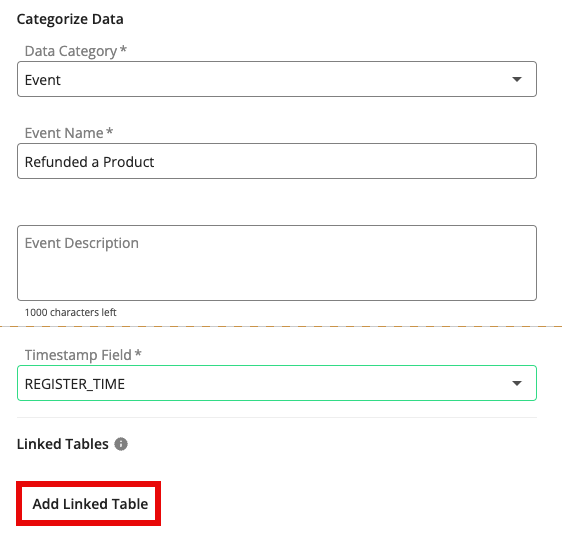
Click Add Linked Table.
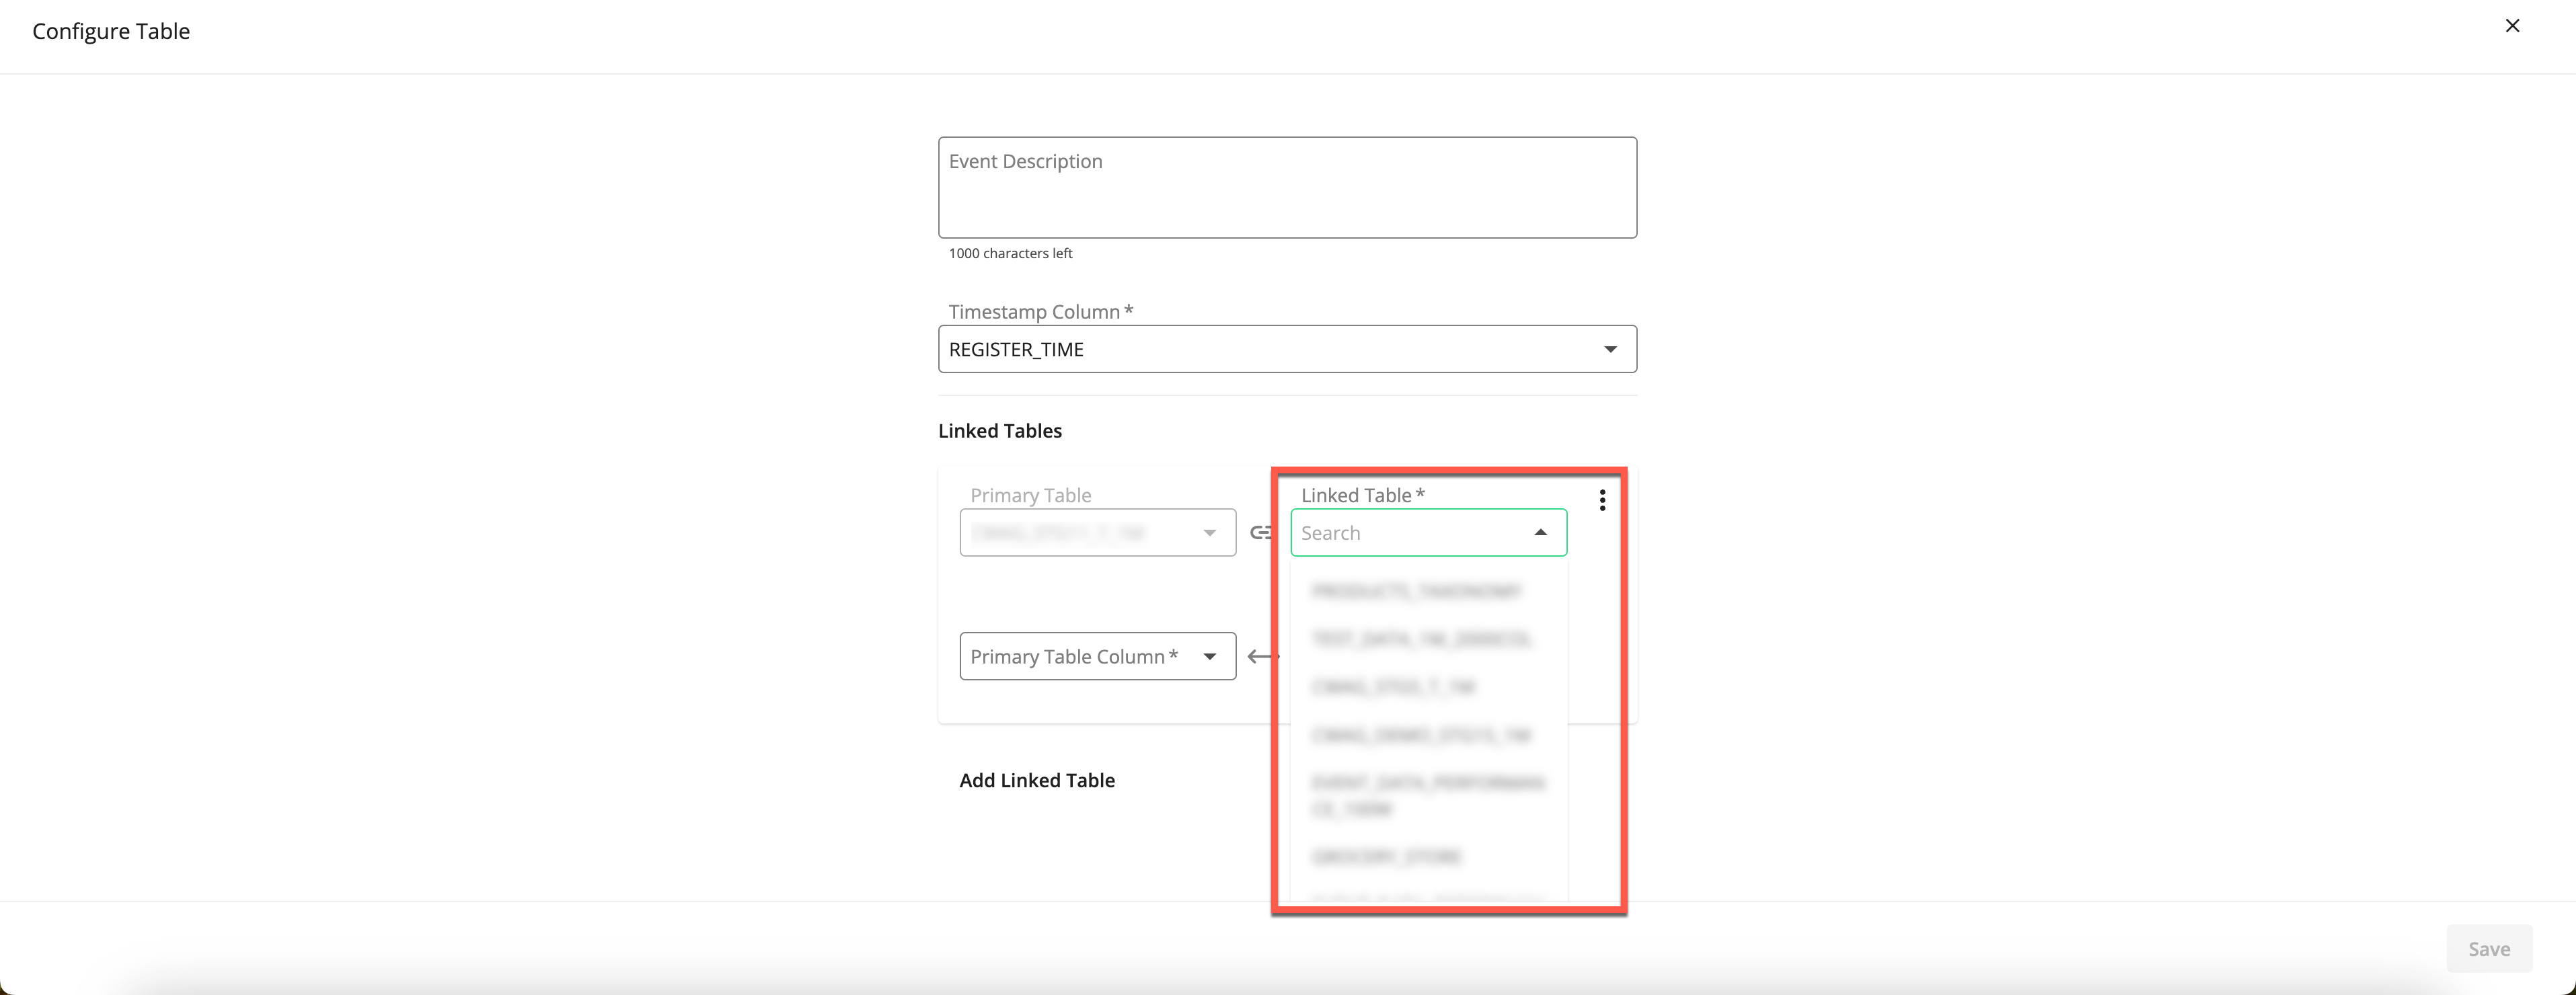
From the Linked Table dropdown, select the table to link.
Note
Tables that have already been linked to other primary tables are greyed out and cannot be selected.
To remove a linked table, click the More Options menu (three dots) and select Remove Linked Table.
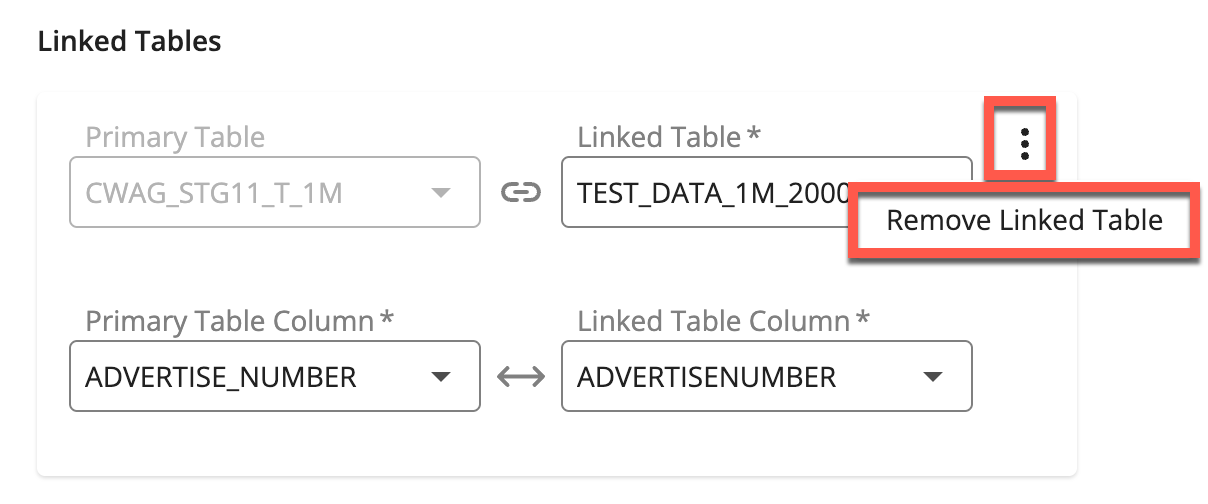
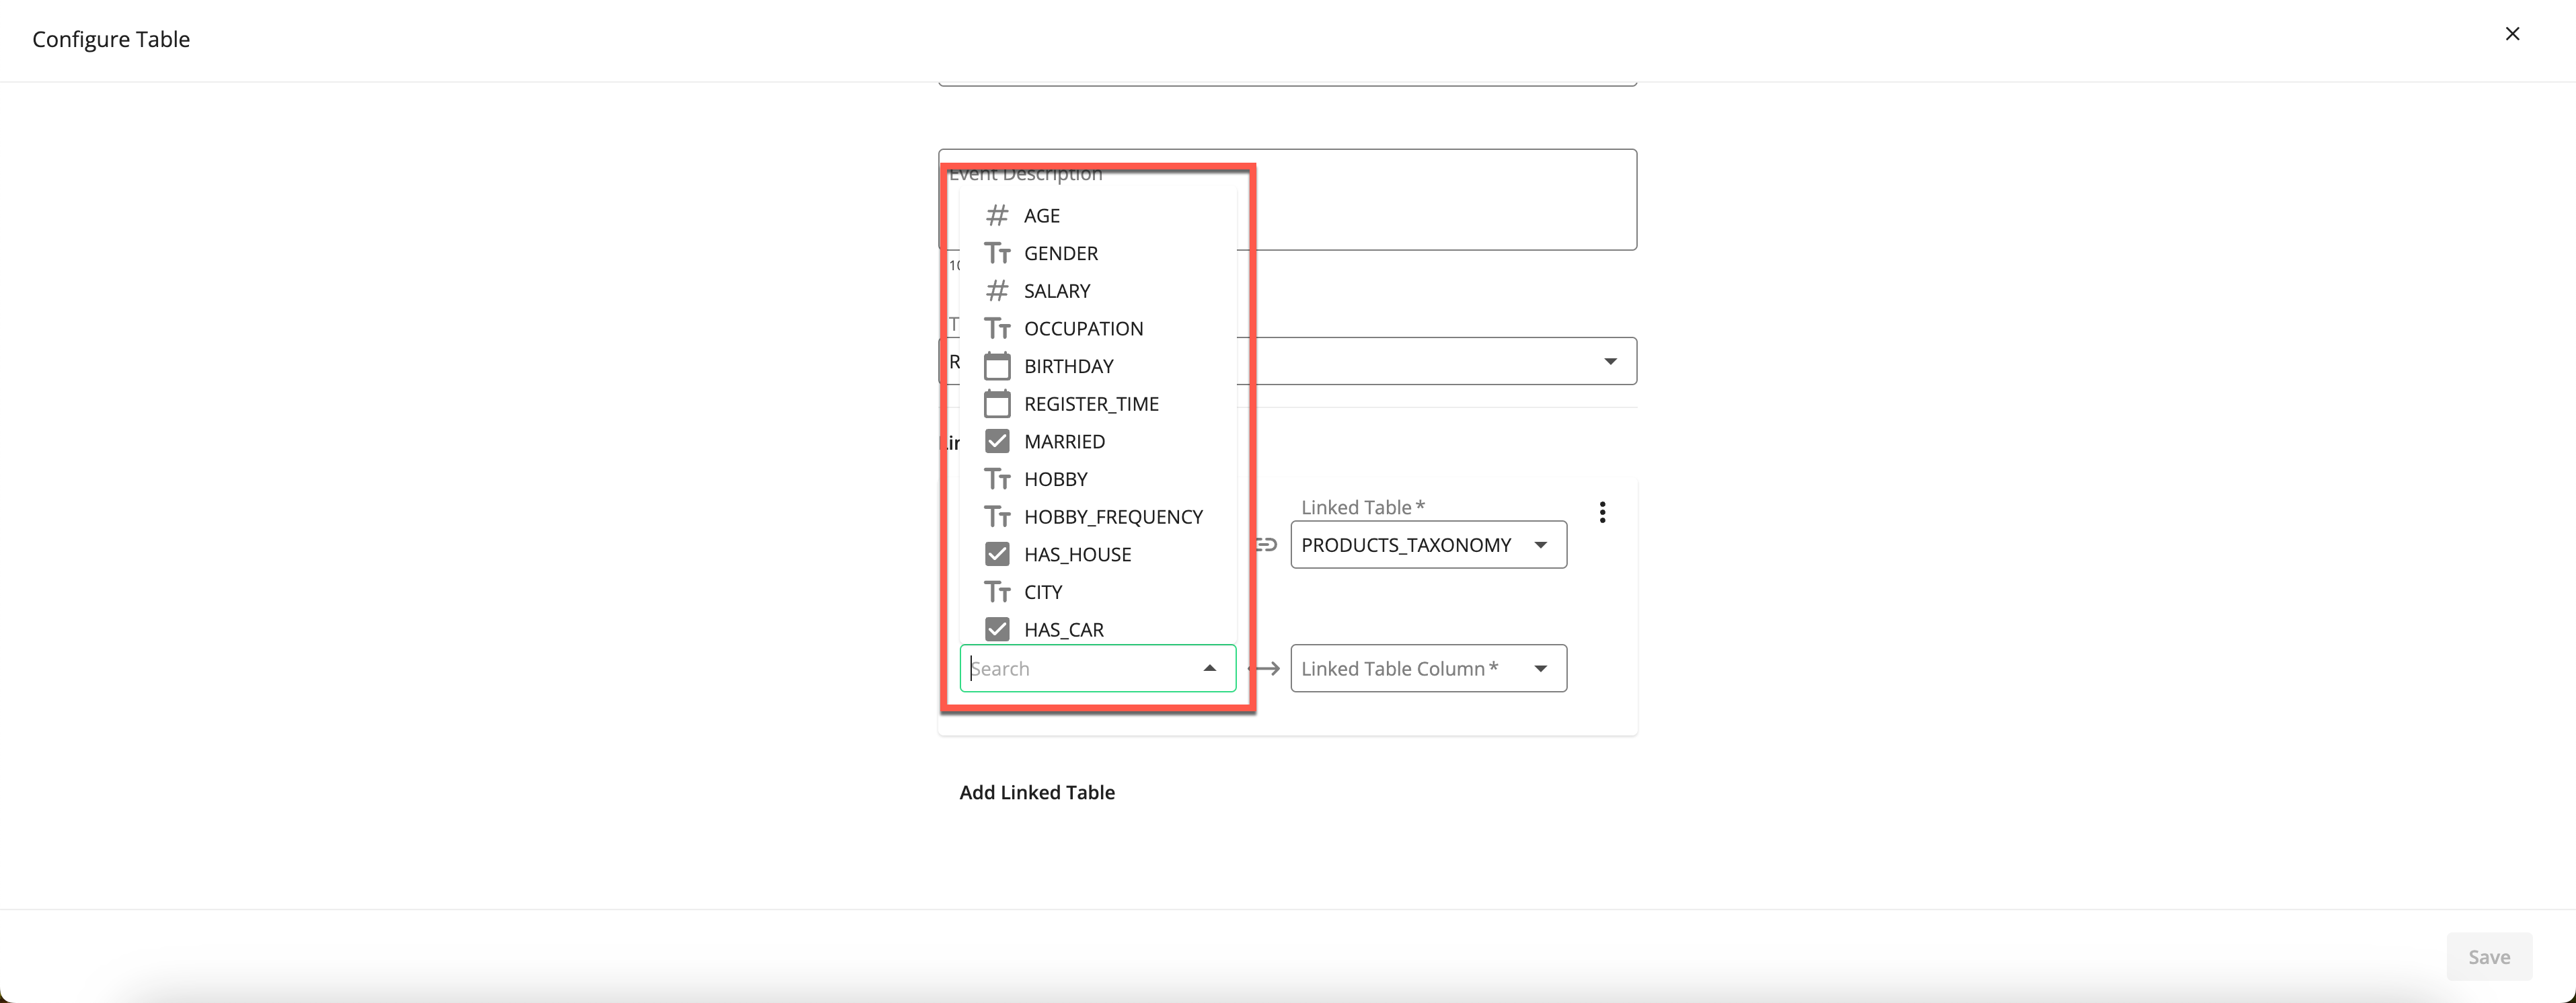
From the Primary Table Column dropdown, select the column from the primary table to use to link to the linked table.
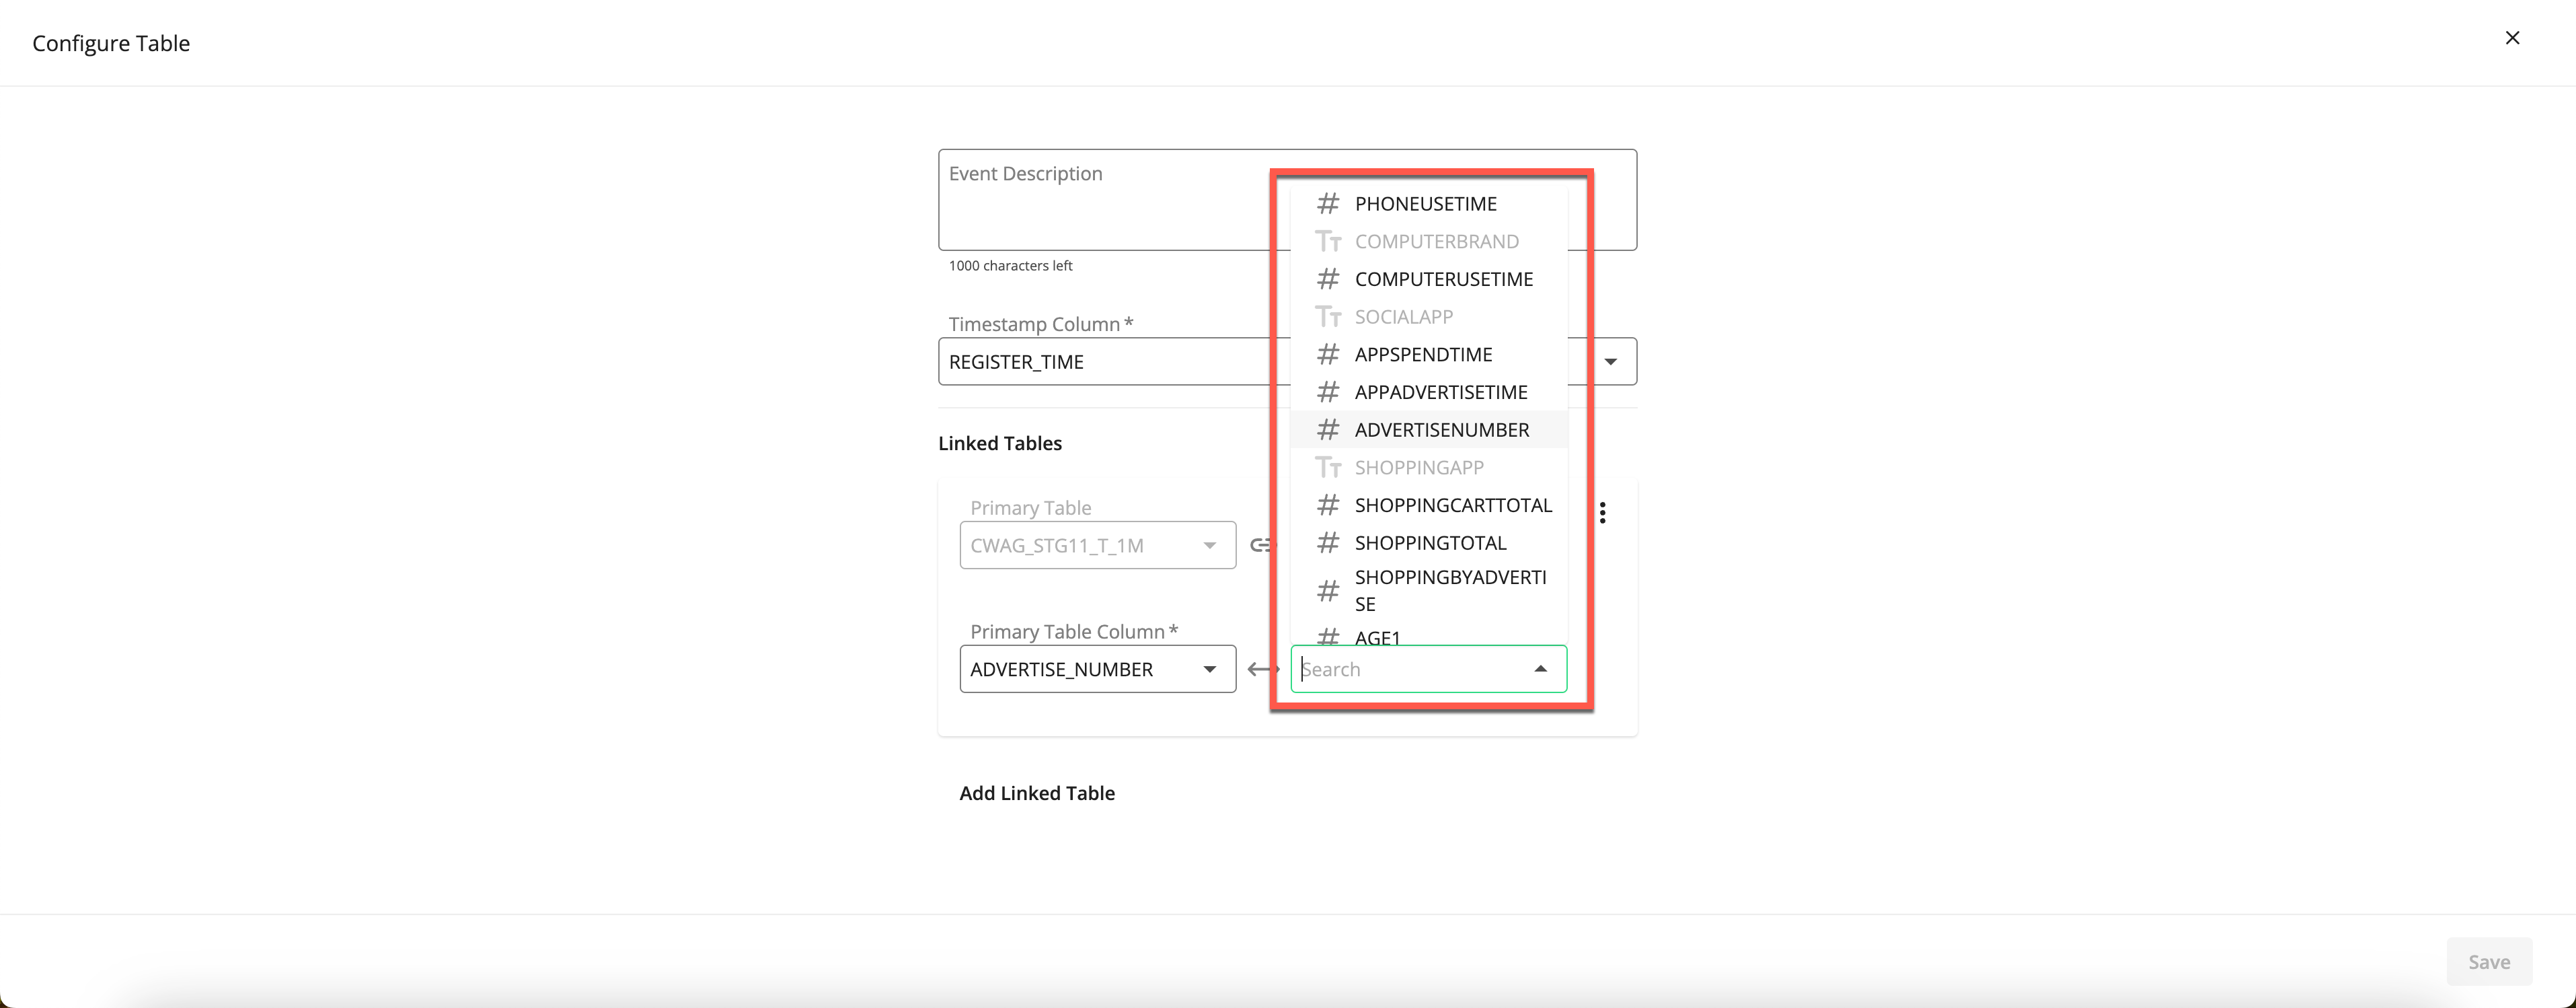
From the Linked Table Column dropdown, select the column from the linked table to use to link to the primary table column selected in the previous substep.
Note
The columns used for linking must be the same field type. For example, you can link tables through two numeric field columns. You cannot link tables through one string field column and one numeric field column.
To add additional linked tables, repeat the steps above.
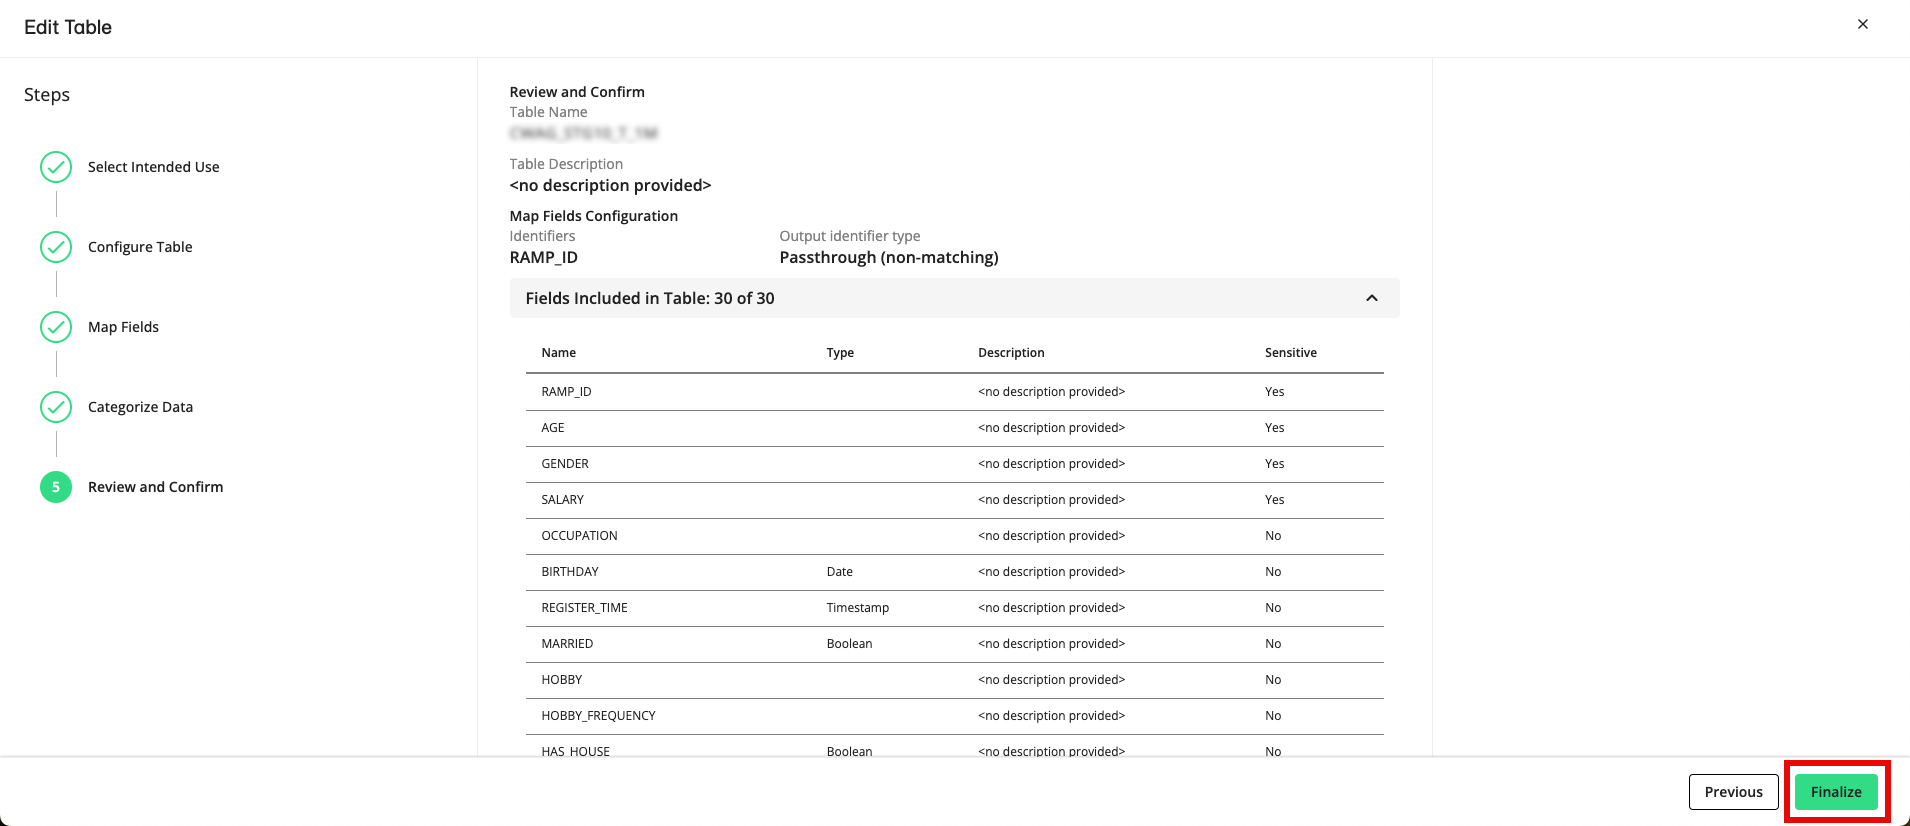
Click to advance to the Review and confirm step.
After you've reviewed the information, click .
A success message appears.
The table continues to be displayed as a table on the All Assets page and the Tables and Views page.
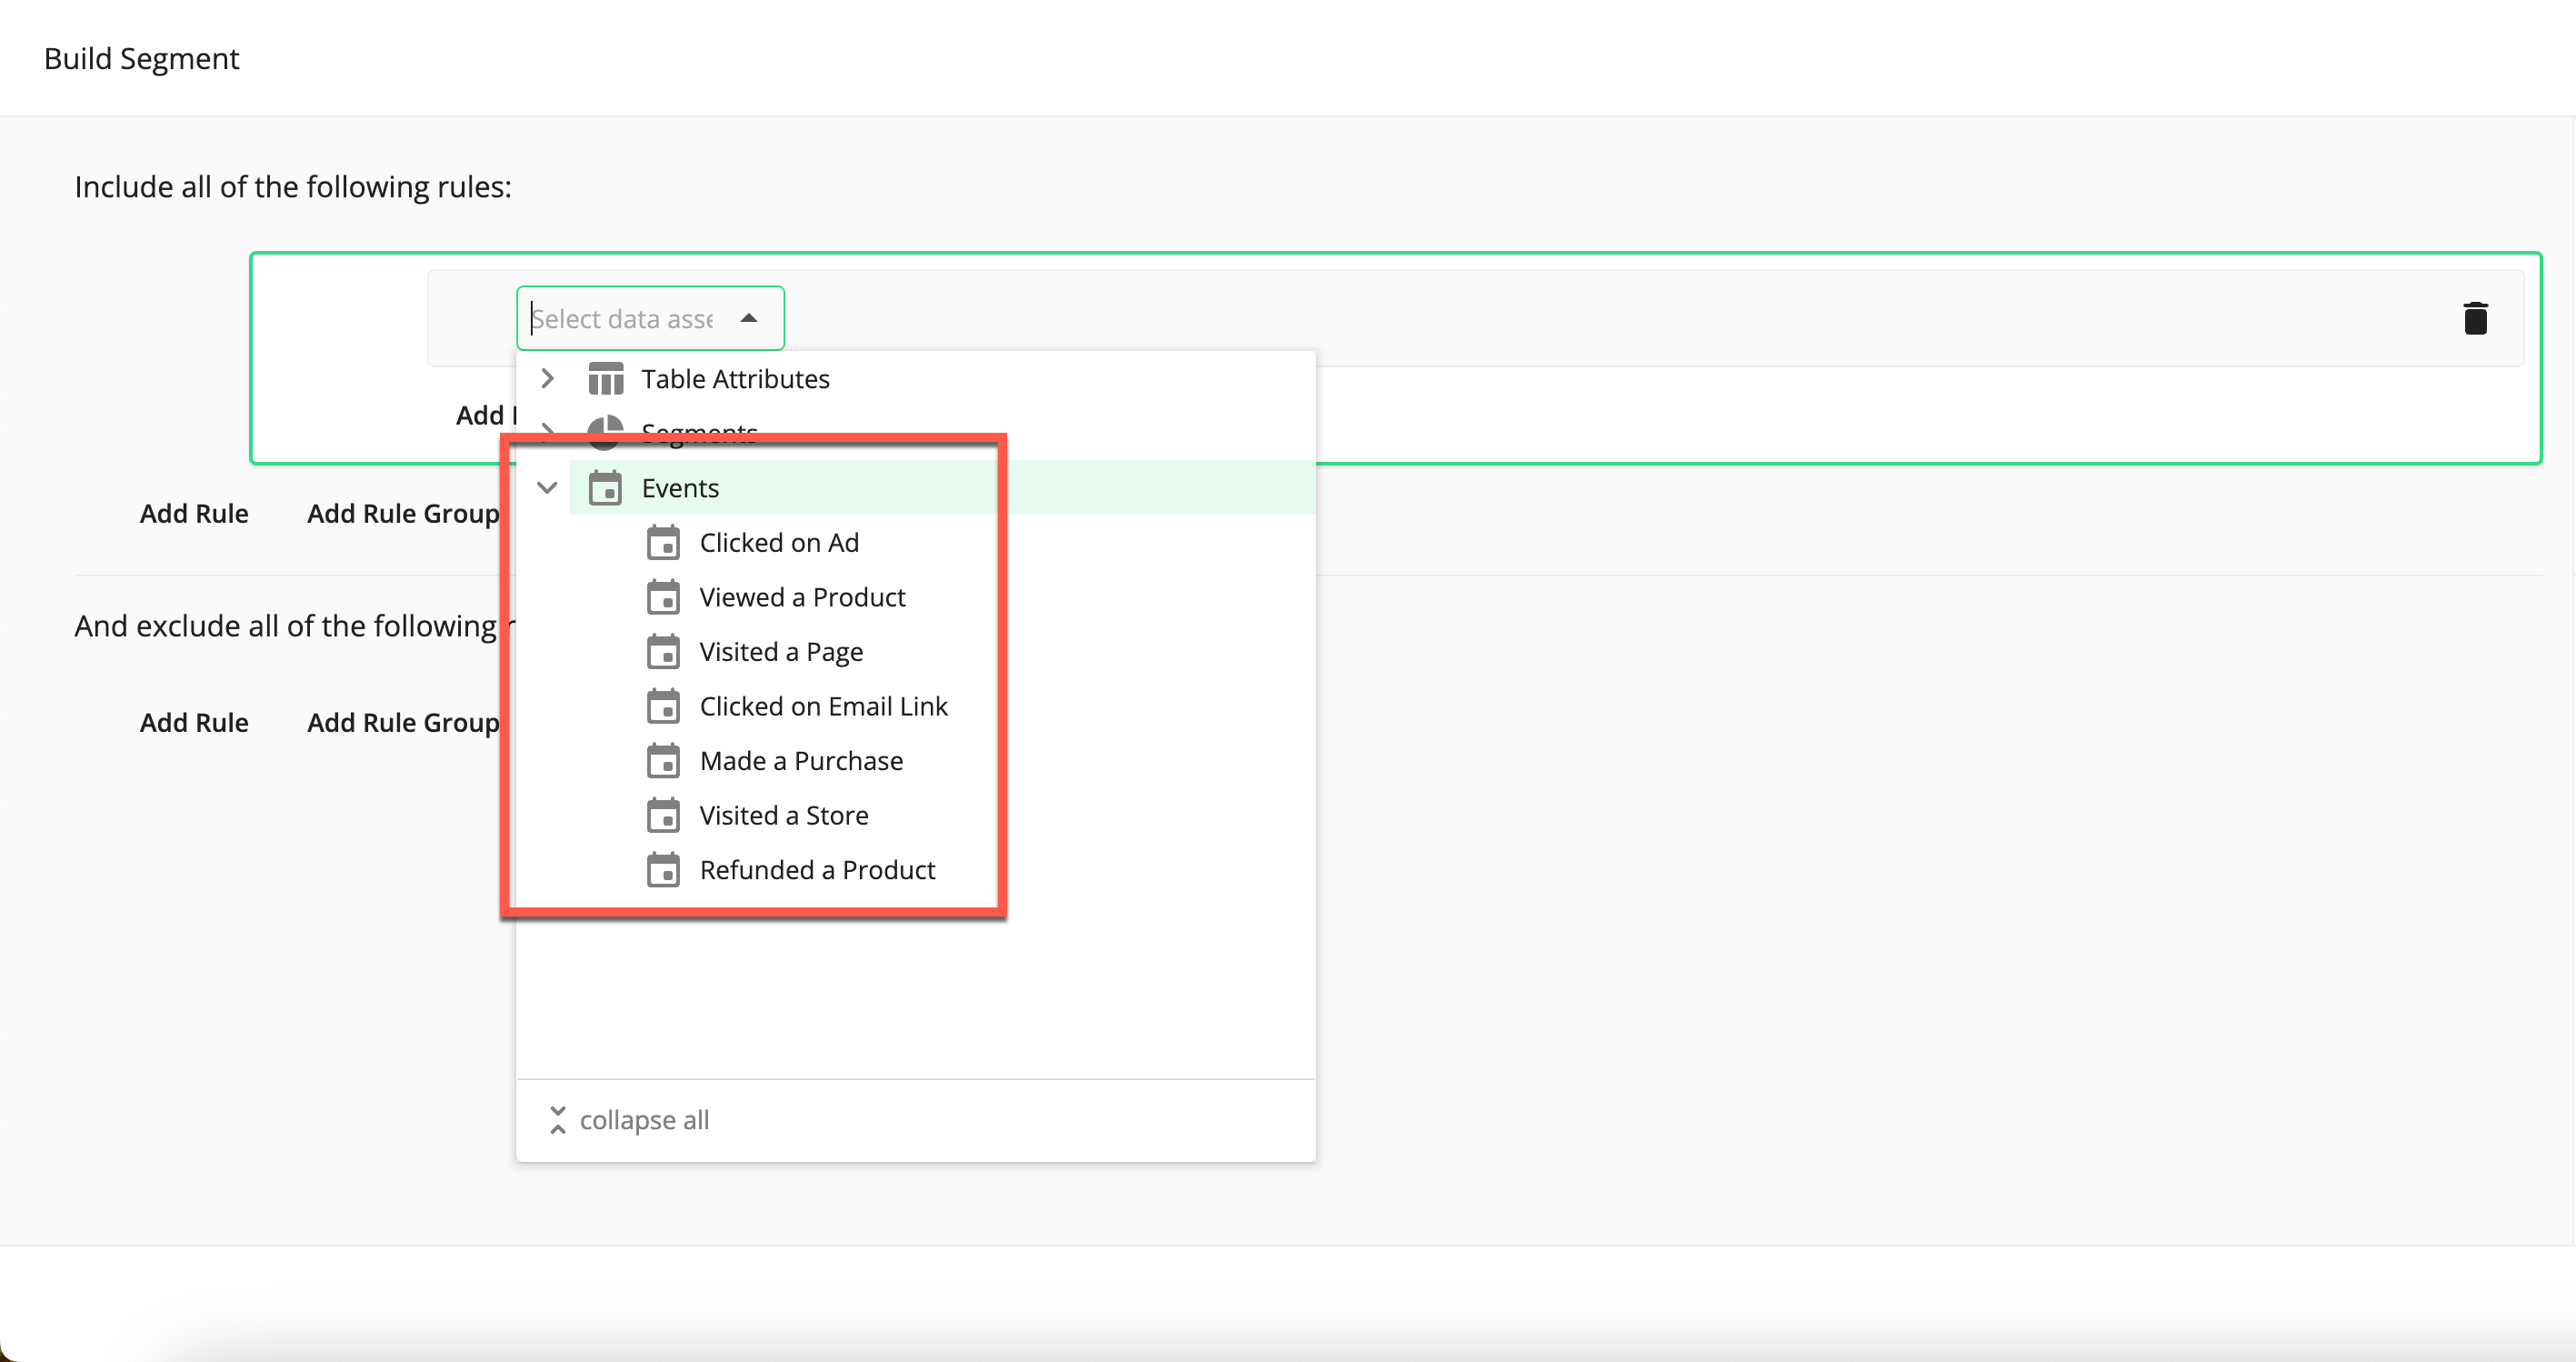
When you're selecting assets during segment building, the event will appear in the Events area:
Building Segments with Events
Once you've conifigured one or more tables as events, you can use those events in segment building. Using events in segment building is somewhat different than using table attributes or segments.
When you build a rule from a table attribute, you're filtering based on the values in that attribute column. For example, you might filter on an occupation attribute column and create a rule that the occupation must match either "student" or "engineer".

When you build a rule from an event, you start by filtering based on the number of events and the desired timeframe. For example, you might filter on consumers who viewed a product more than 3 times in the last 30 days.

Once you've defined the initial event rule, you can continue to filter the event by any attribute columns in either the primary table or any linked tables. These additional attributes are added as "where" statements For example, once you've create an initial rule filtering on consumers who viewed a product more than 3 times in the last 30 days, you might add an attribute to further filter by adding "where salary is greater than $80,000.

When you select an additional attribute, the attributes in the primary table and any linked tables are displayed.
Note
When a table is configured as an event, any numeric fields are used to create the following additional "calculated" attributes (which can be selected when filtering an event with an attribute):
Minimum
Maximum
Average
Sum of
If you create a nested attribute group and if one of the selected attributes is a "calculated" attribute that is produced from a numeric field (such as "minimum salary" or "average salary"), you must use the "And" conjunction. You cannot use an "Or" conjunction to join rules in an attribute group if one of the rules uses a calculated attribute.
For more information, see "Build a Segment".