Configure a Databricks Pattern Data Connection
How to configure a Databricks Delta Share data connection using the hybrid pattern within Clean Room, including steps for setting up the connection, configuring permissions, and verifying the integration
If you have data in Databricks and want to be able to use that data in questions in LiveRamp Clean Room, you can create a Databricks data connection.
A Databricks data connection for a Databricks (native-pattern) clean room can be used in the following clean room types:
Databricks
Note
To configure a Databricks data connection to be used in either a Hybrid clean room or a Confidential Computing clean room, see "Configure a Databricks Delta Share Data Connection (Hybrid Pattern)".
After you’ve created the data connection and Clean Room has validated the connection by connecting to the data in your cloud account, you will then need to map the fields before the data connection is ready to use. This is where you specify which fields can be queryable across any clean rooms, which fields contain identifiers to be used in matching, and any columns by which you wish to partition the dataset for questions.
After fields have been mapped, you’re ready to provision the resulting dataset to your desired clean rooms. Within each clean room, you’ll be able to set dataset analysis rules, exclude or include columns, filter for specific values, and set permission levels.
To configure a Databricks data connection to be used in a Databricks (native-pattern) clean room, see the instructions below.
Overall Steps
Perform the following overall steps to configure a Databricks Pattern data connection in LiveRamp Clean Room:
Add the credentials.
For information on performing these steps, see the sections below.
Prerequisites
Before proceeding, confirm that you've installed the Databricks CLI Framework (for instructions, see "Install Databricks CLI Framework").
Add the Credentials
To add credentials:
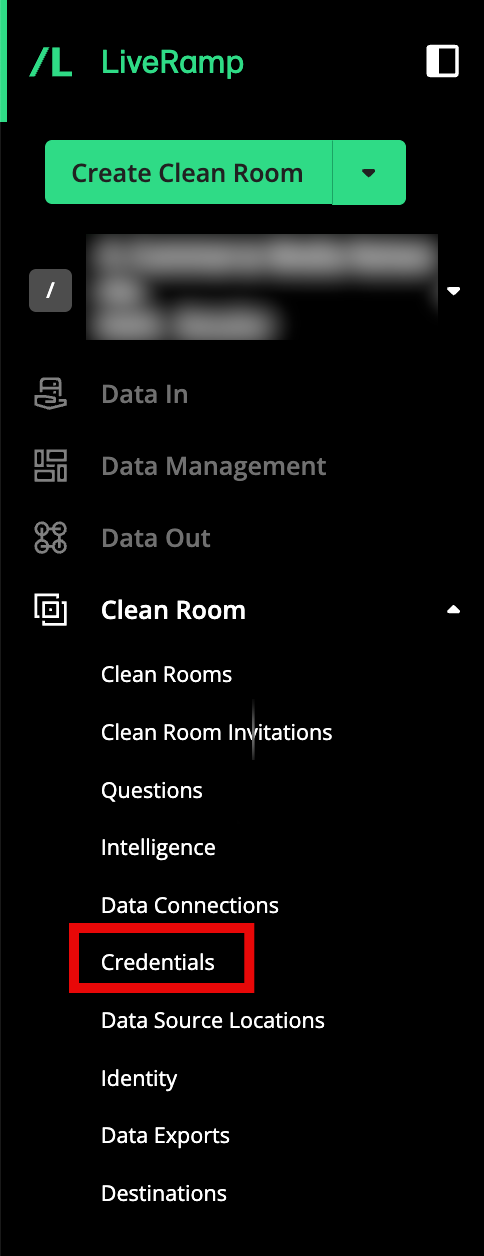
From the navigation menu, select Clean Room → Credentials to open the Credentials page.
Click .
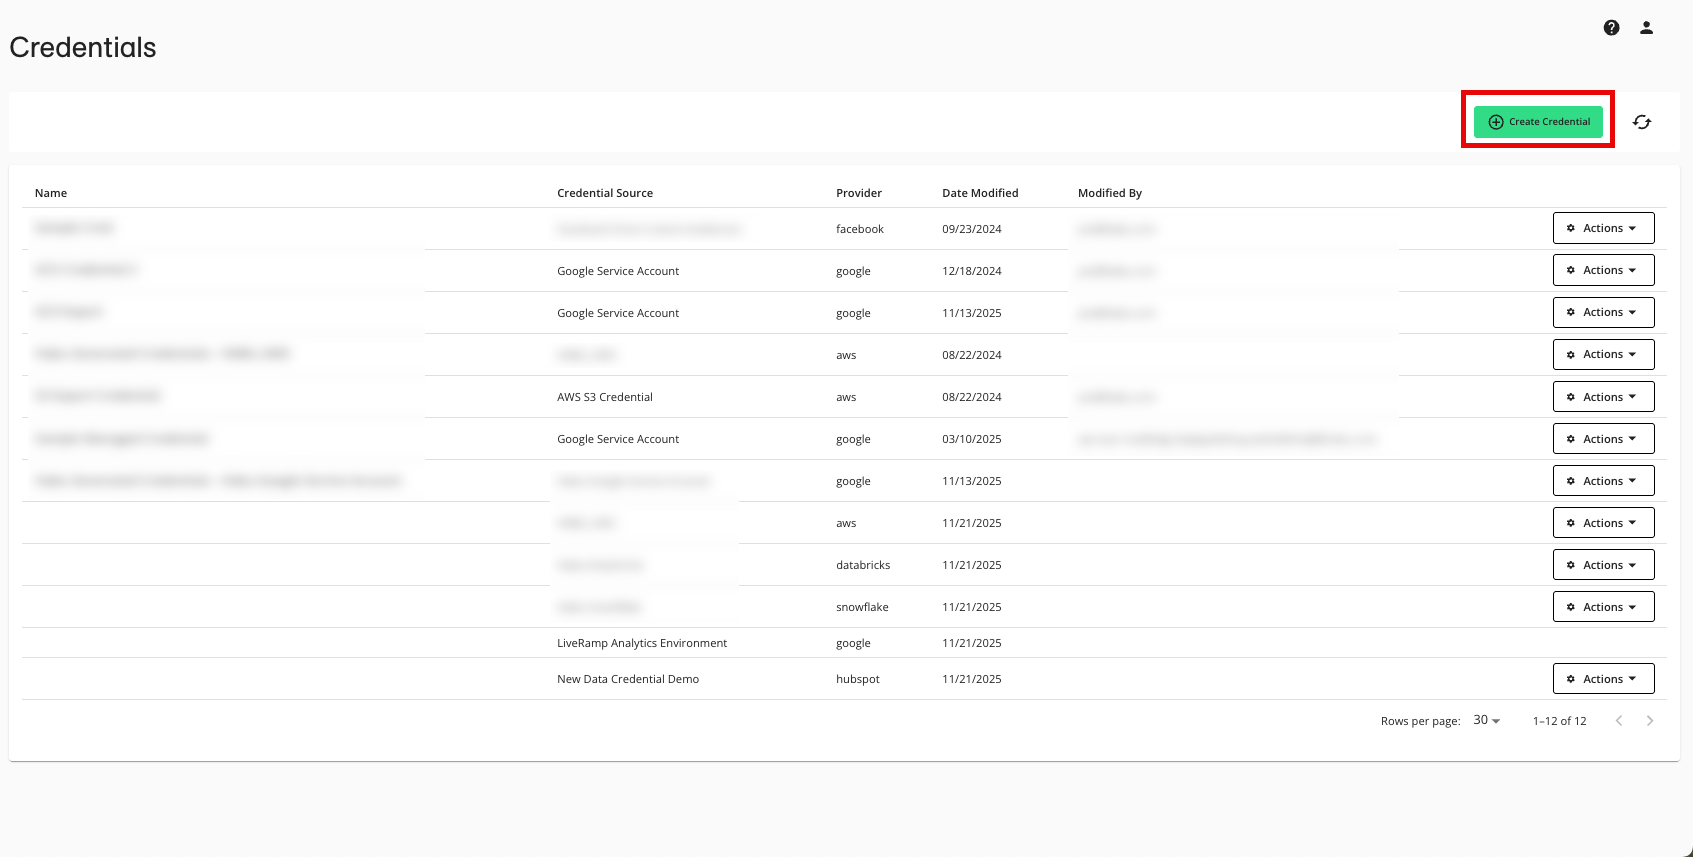
Enter a descriptive name for the credential.
For the Credentials Type, select "Google Service Account".
For the Project ID, enter the project ID.
Enter the Credential JSON.
Click .

Create a Data Connection
After you've added the credentials to LiveRamp Clean Room, create the data connection:
Note
if your cloud security limits access to only approved IP addresses, talk to your LiveRamp representative before creating the data connection to coordinate any necessary allowlisting of LiveRamp IP addresses.
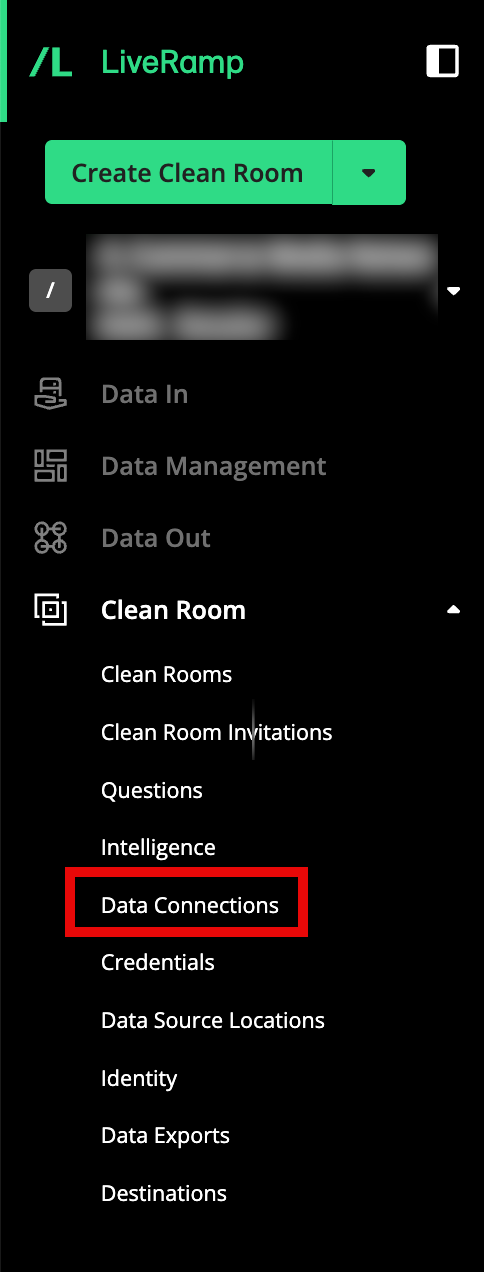
From the navigation menu, select Clean Room → Data Connections to open the Data Connections page.
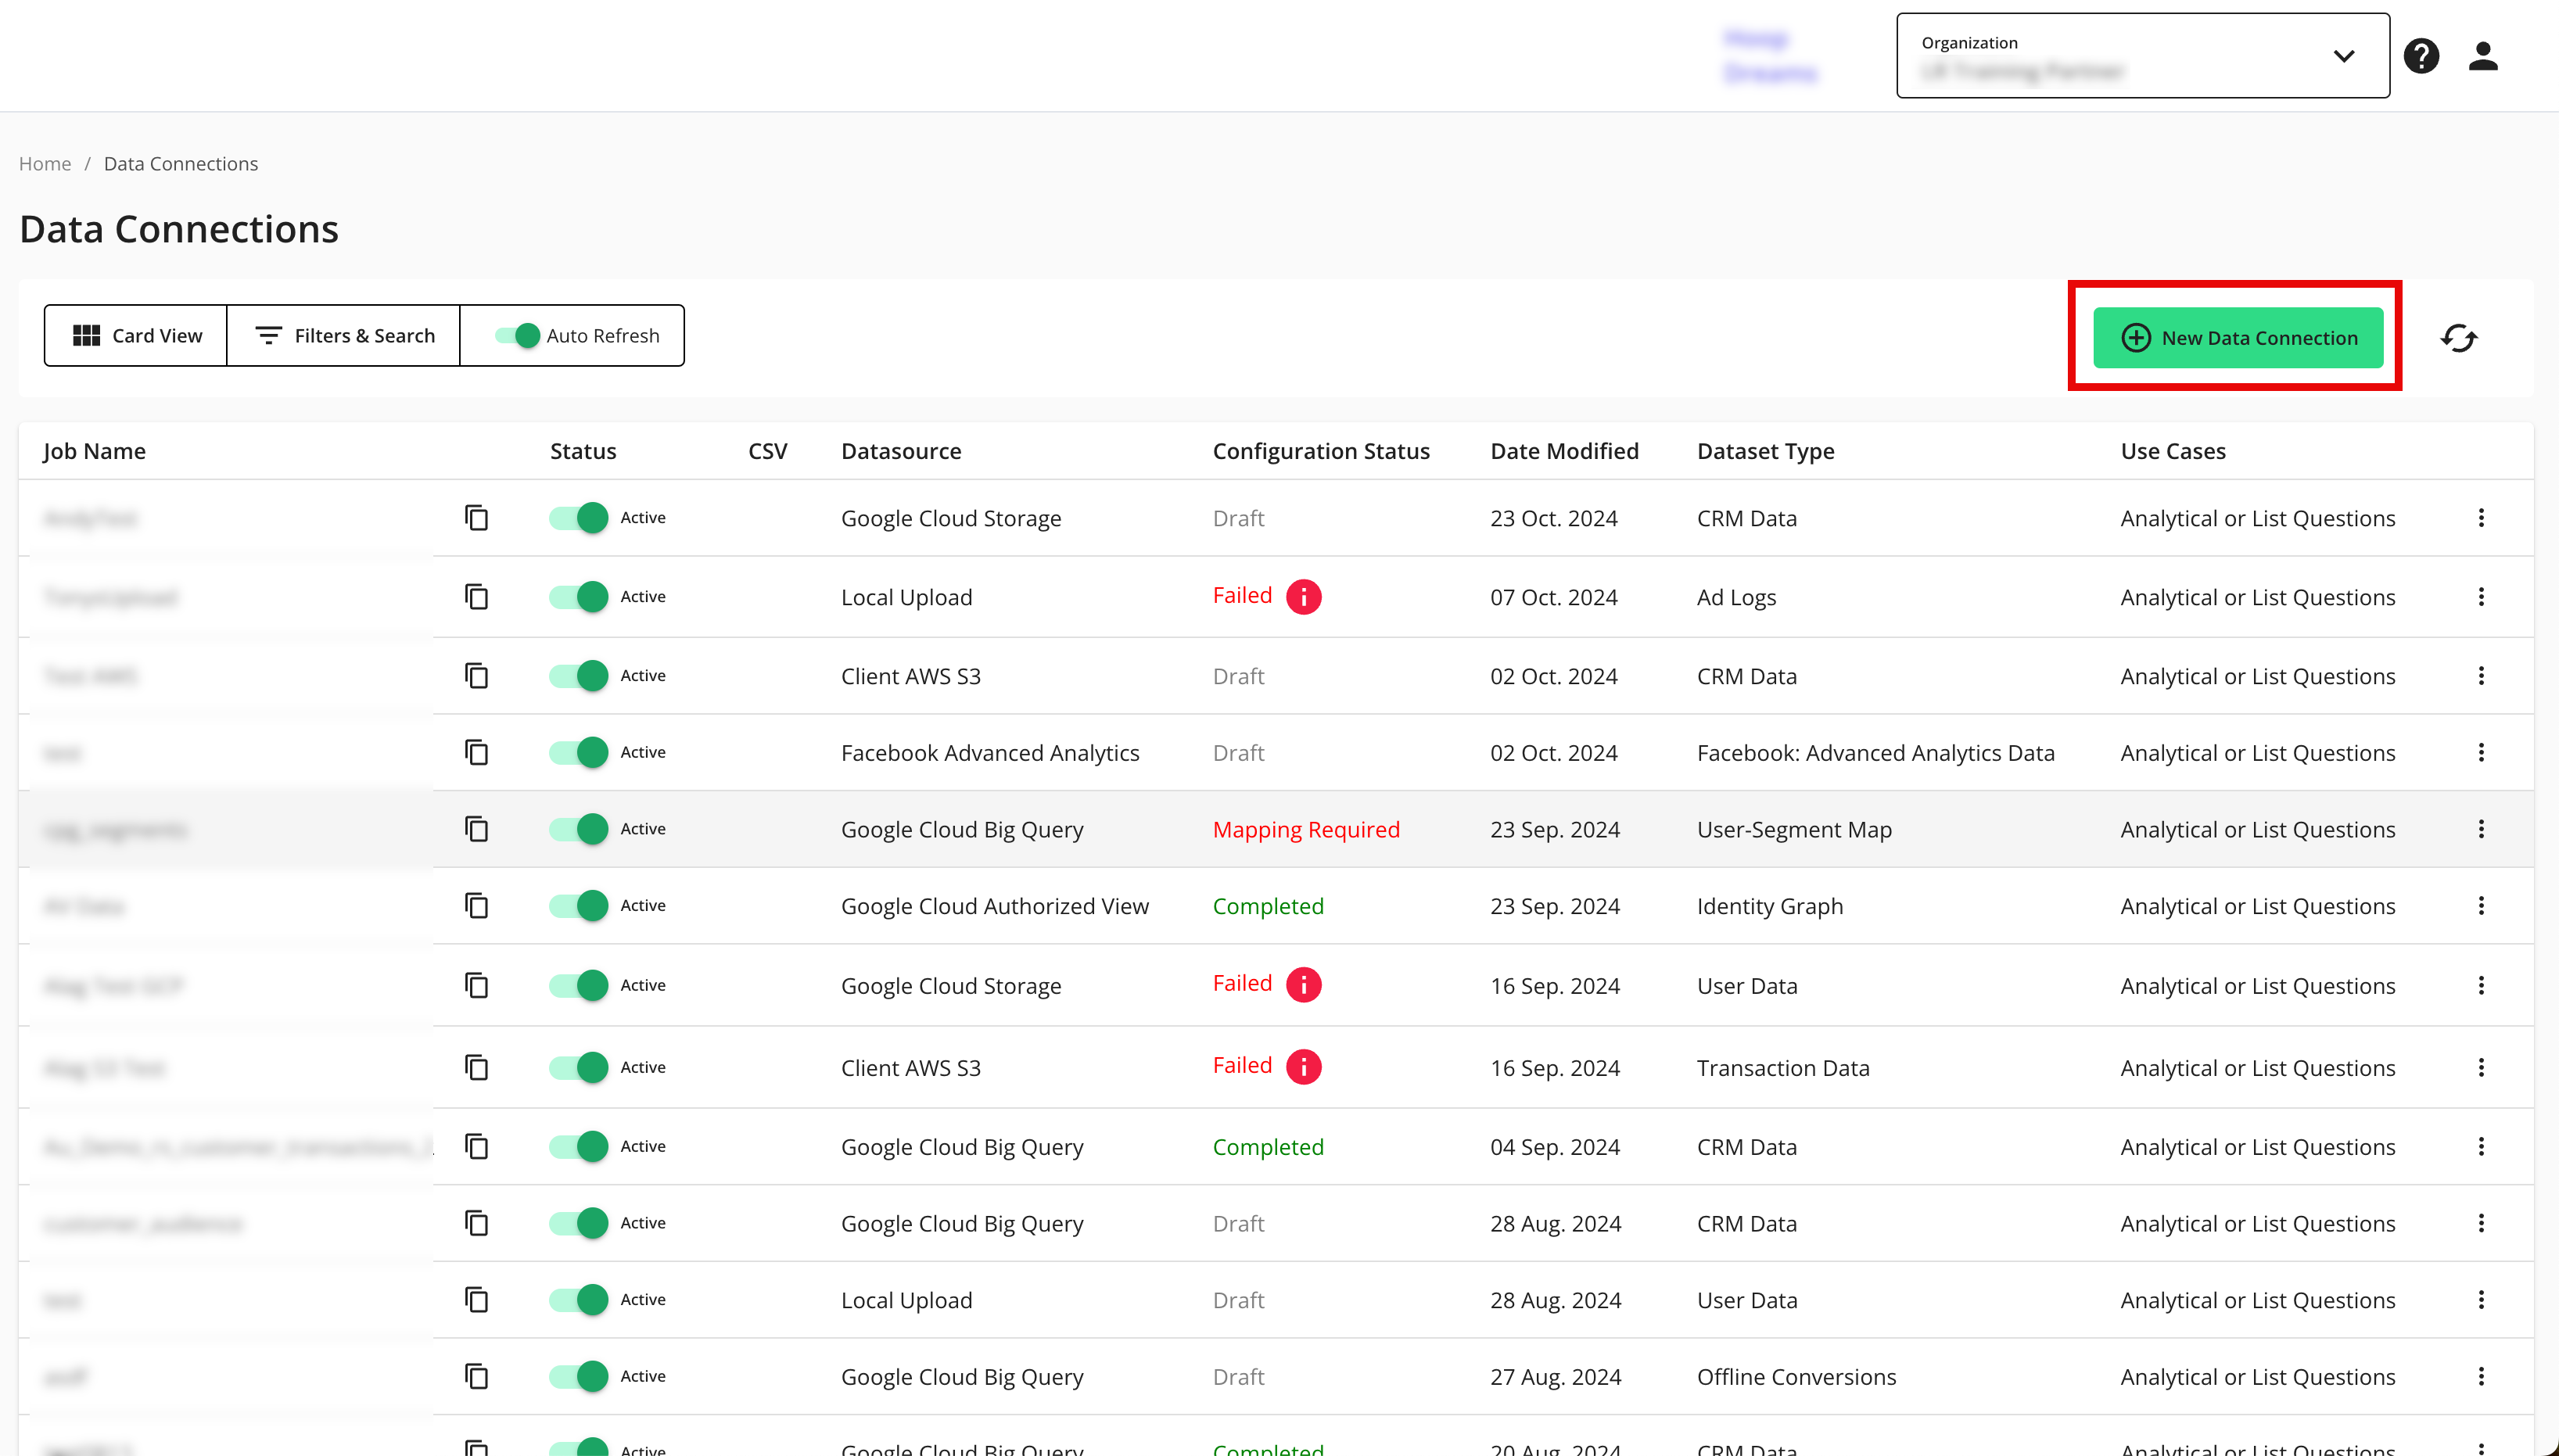
From the Data Connections page, click .
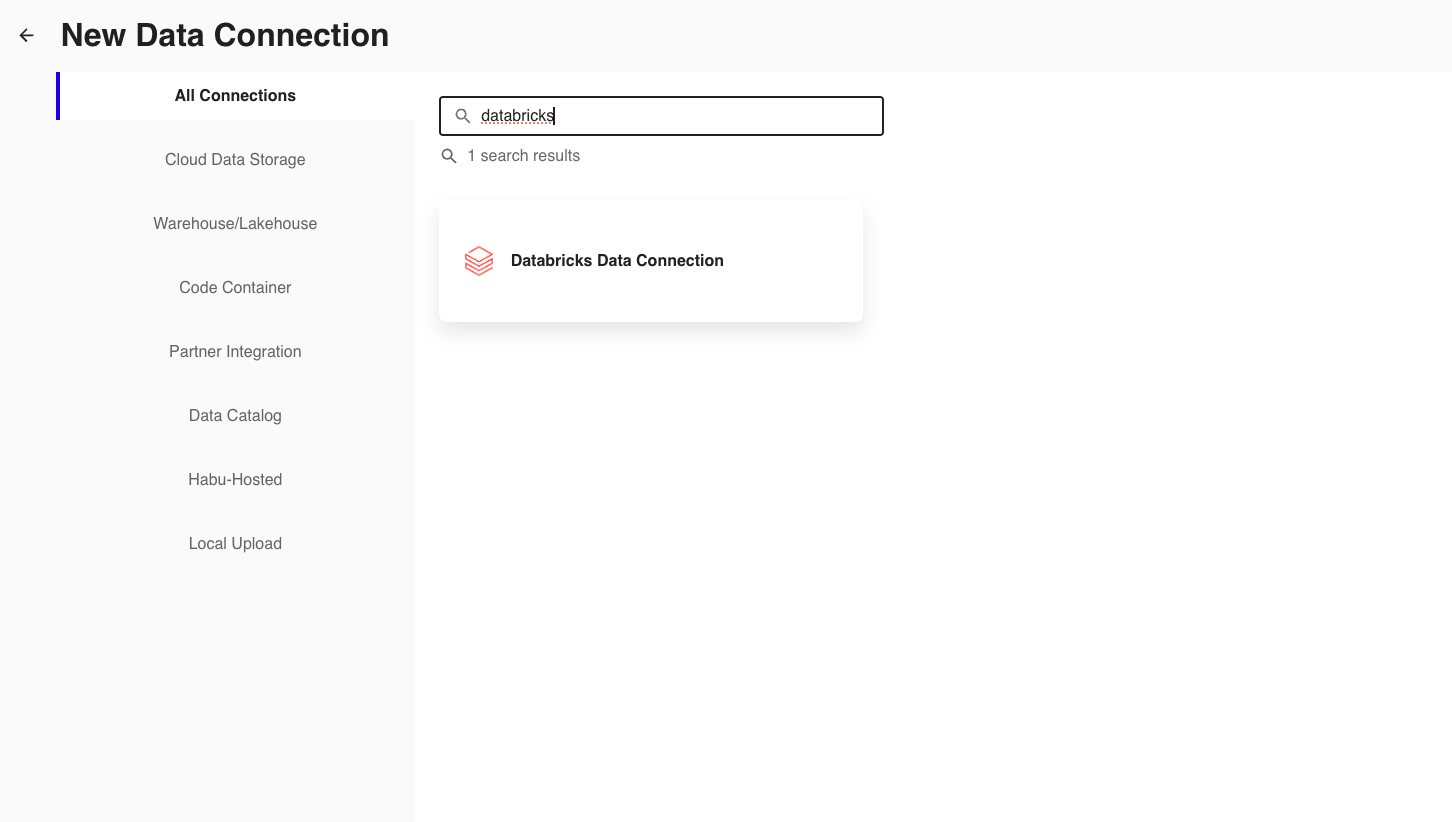
From the New Data Connection screen, select "Databricks Data Connection".
From the New Data Connection screen, select the Databricks credentials previously created or add new credentials as necessary.
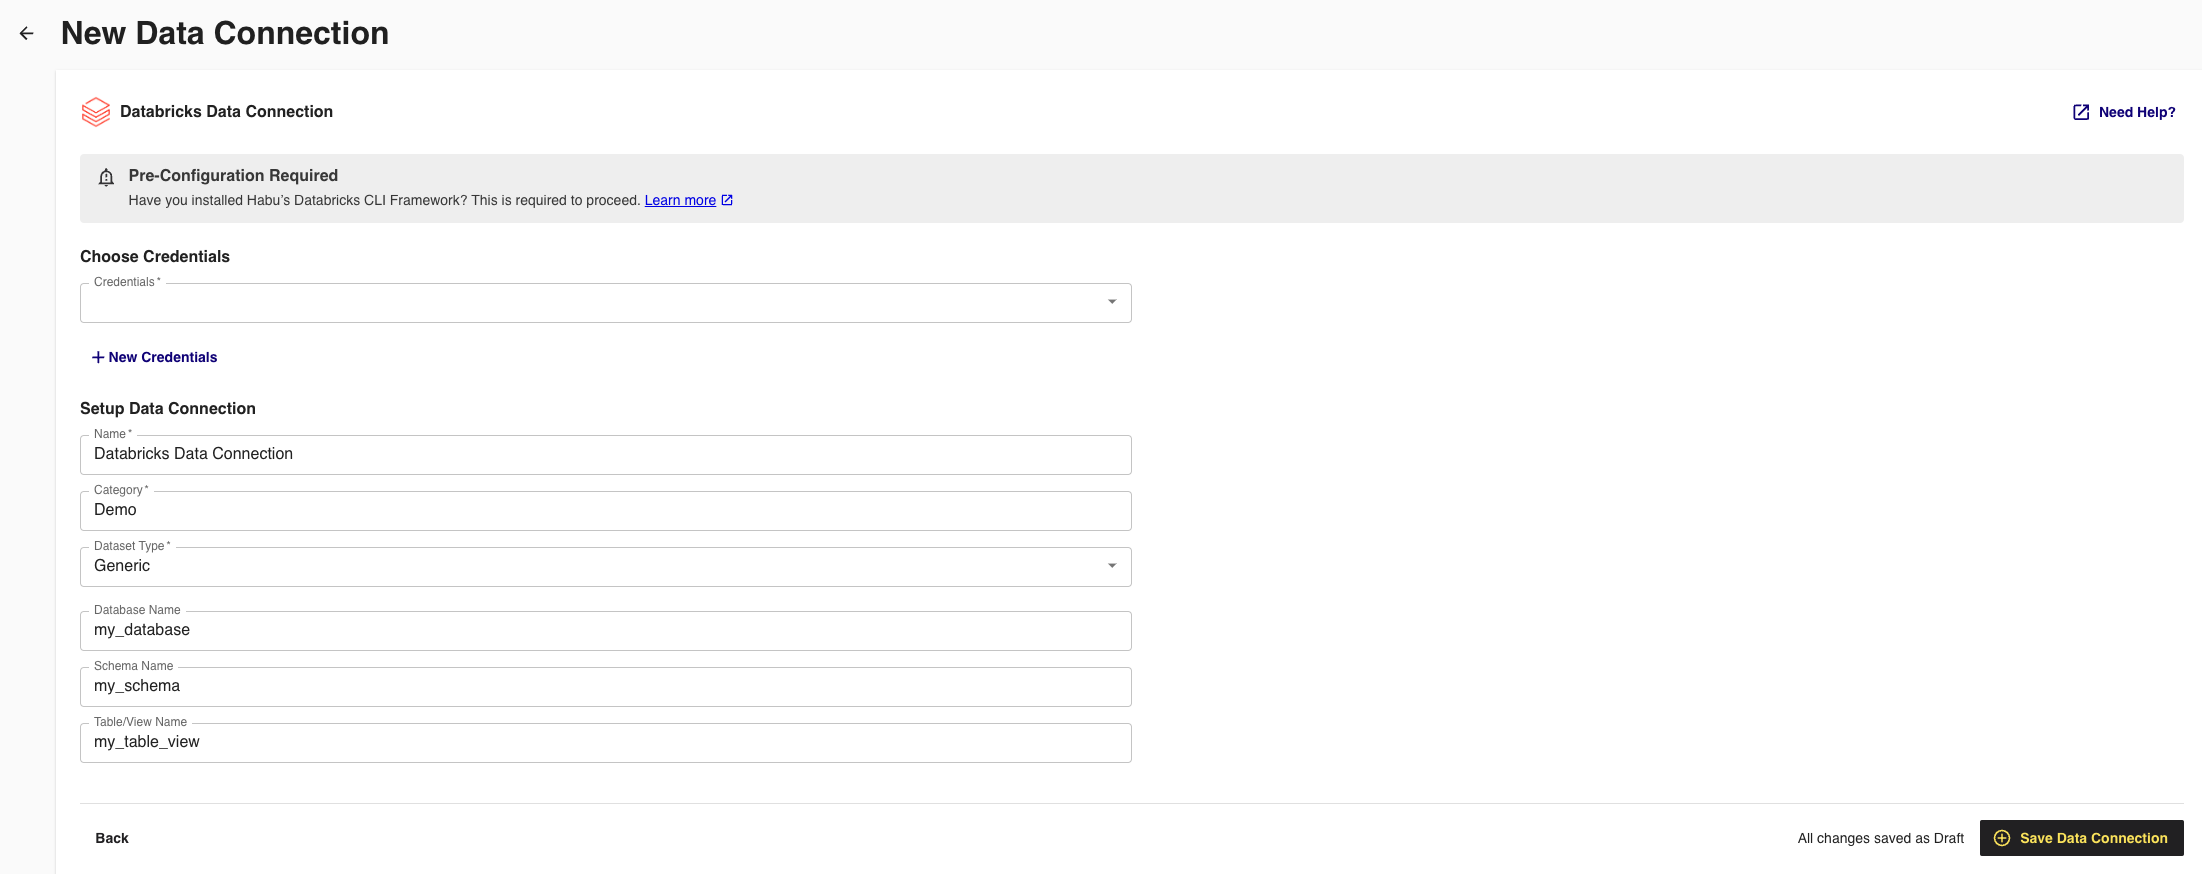
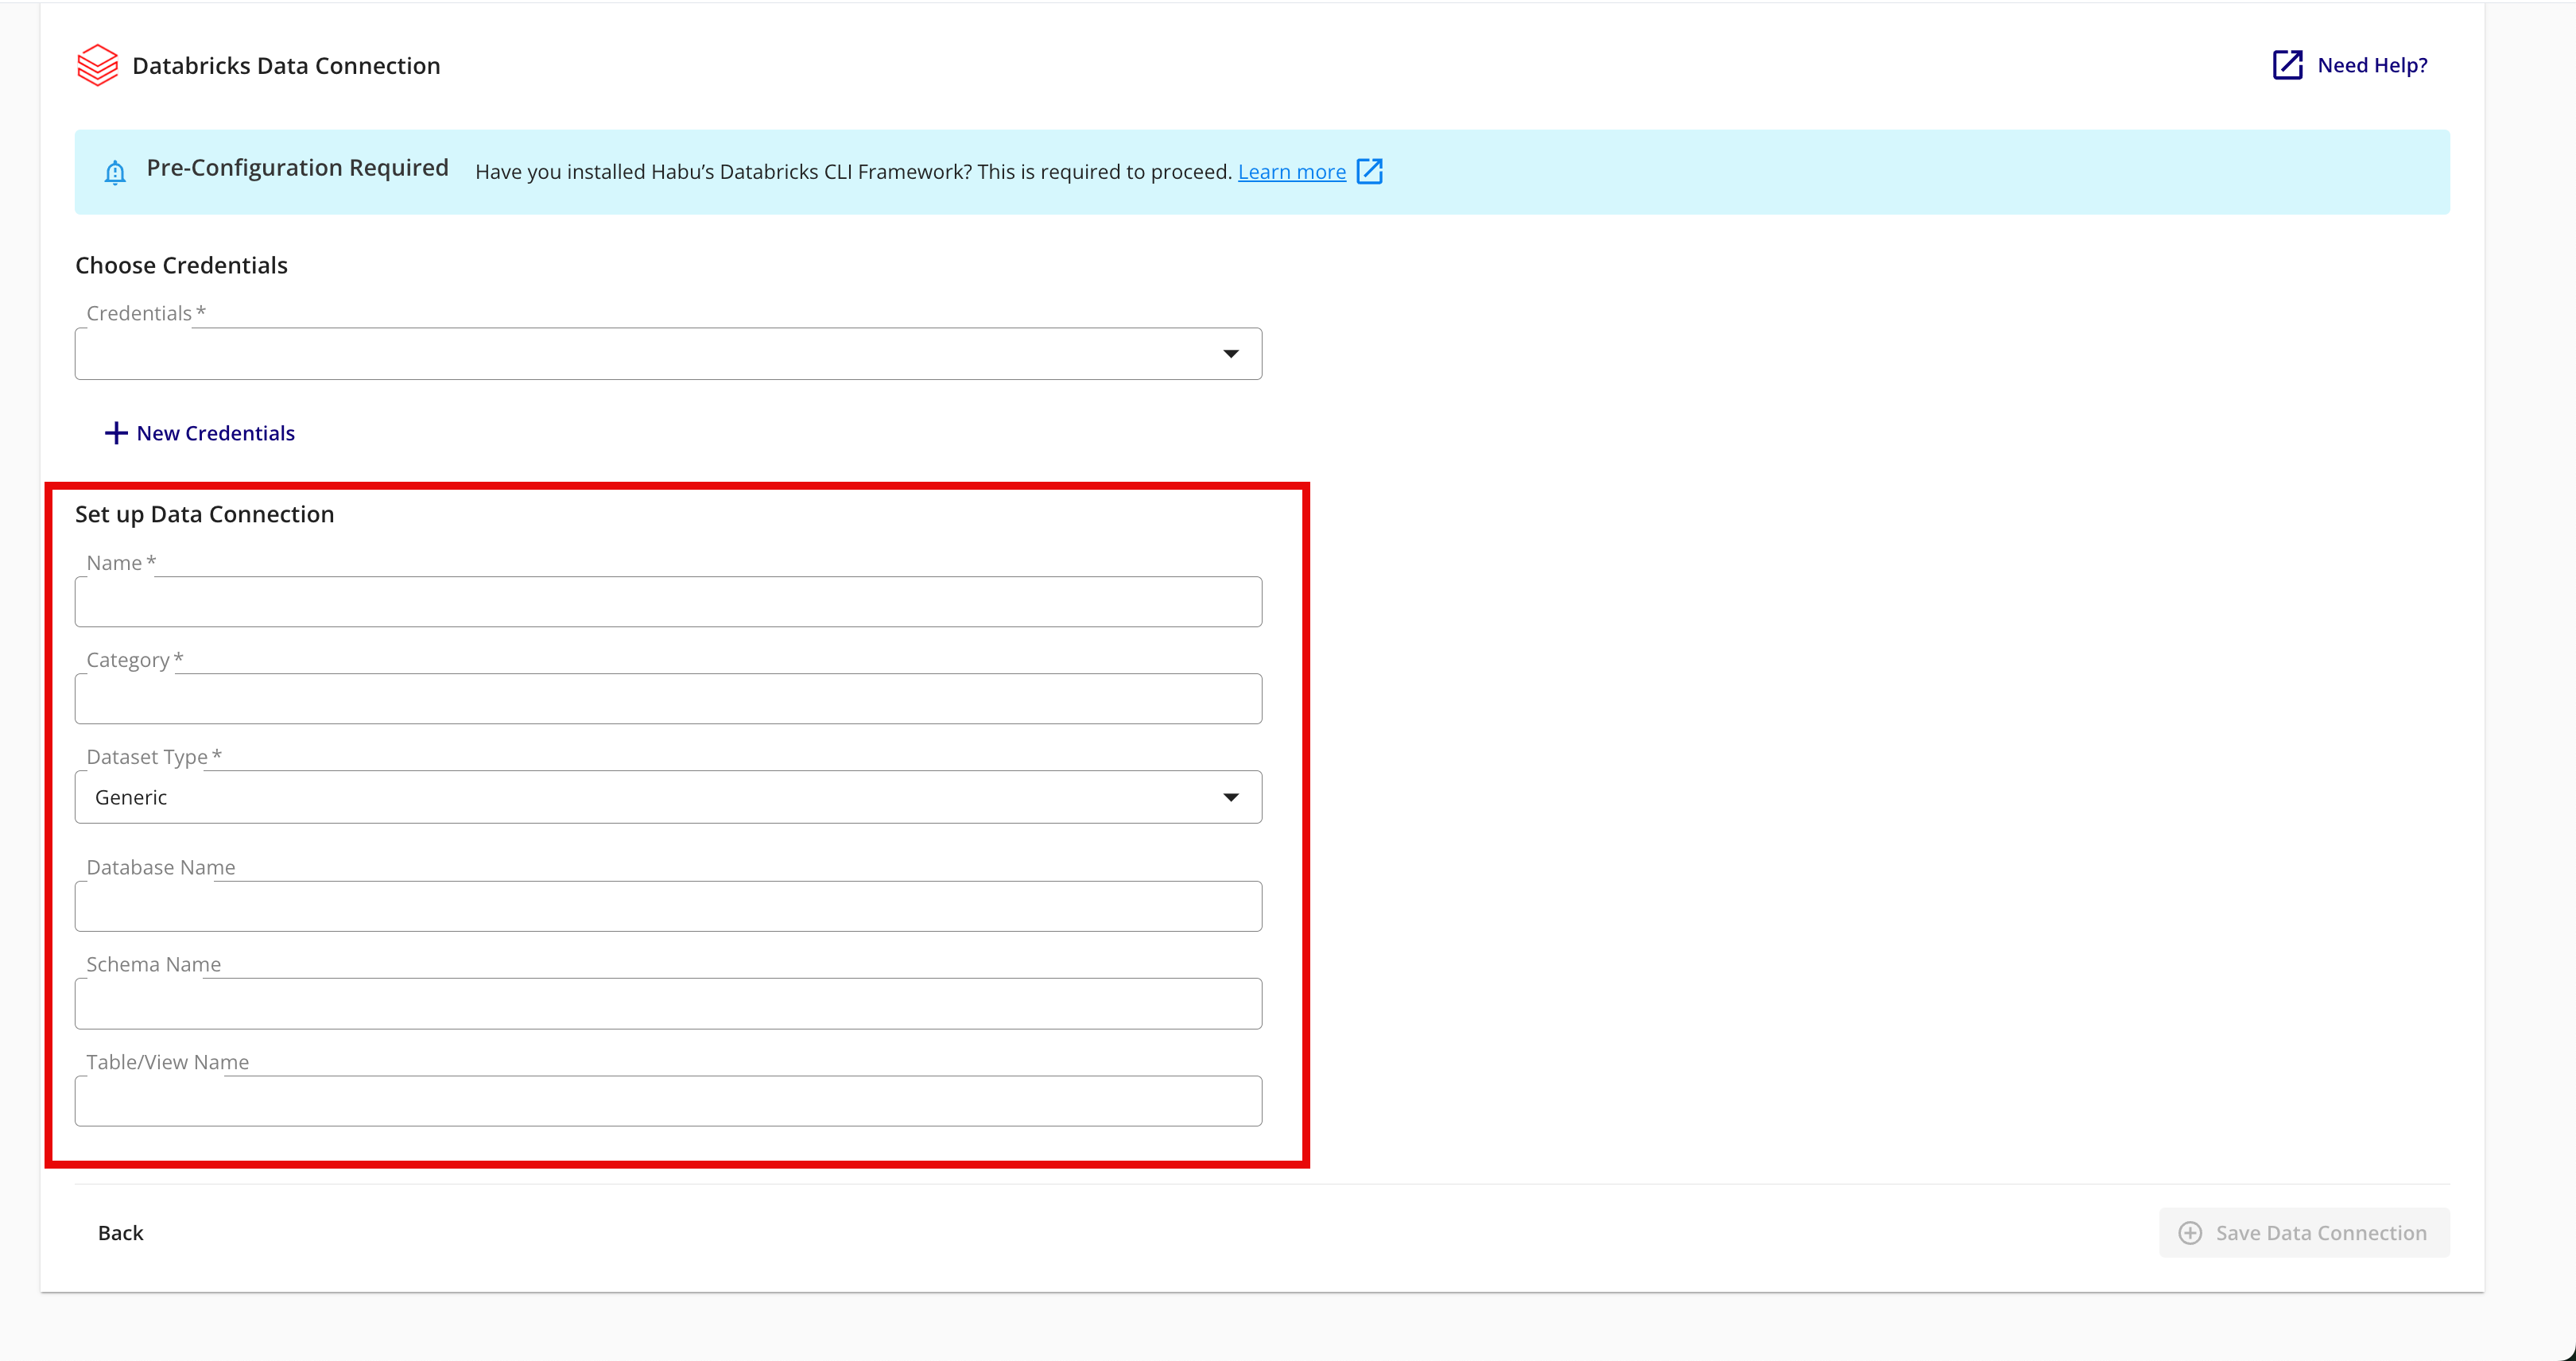
Complete the following fields in the Set up Data Connection section:
To use partitioning on the dataset associated with the data connection, slide the Use Partitioning toggle to the right.
Category: Enter a category of your choice.
Dataset Type: Select Generic.
Database Name: Enter the name of the database from your Databricks account.
Schema Name: Enter the name of the schema from your Databricks account.
Table/View Name: Enter the name of the table or view from your Databricks account.
Review the data connection details and click .
All configured data connections can be seen on the Data Connections page.
When a connection is initially configured, it will show "Verifying Access" as the configuration status. Once the connection is confirmed and the status has changed to "Mapping Required", map the table's fields.
Map the Fields
Once the connection is confirmed and the status has changed to "Mapping Required", map the table's fields and add metadata:
Note
Before mapping the fields, we recommend confirming any expectations your partners might have for field types for any specific fields that will be used in questions.
From the row for the newly created data connection, click the More Options menu (the three dots) and then click .
The Map Fields screen opens, and the file column names auto-populate.
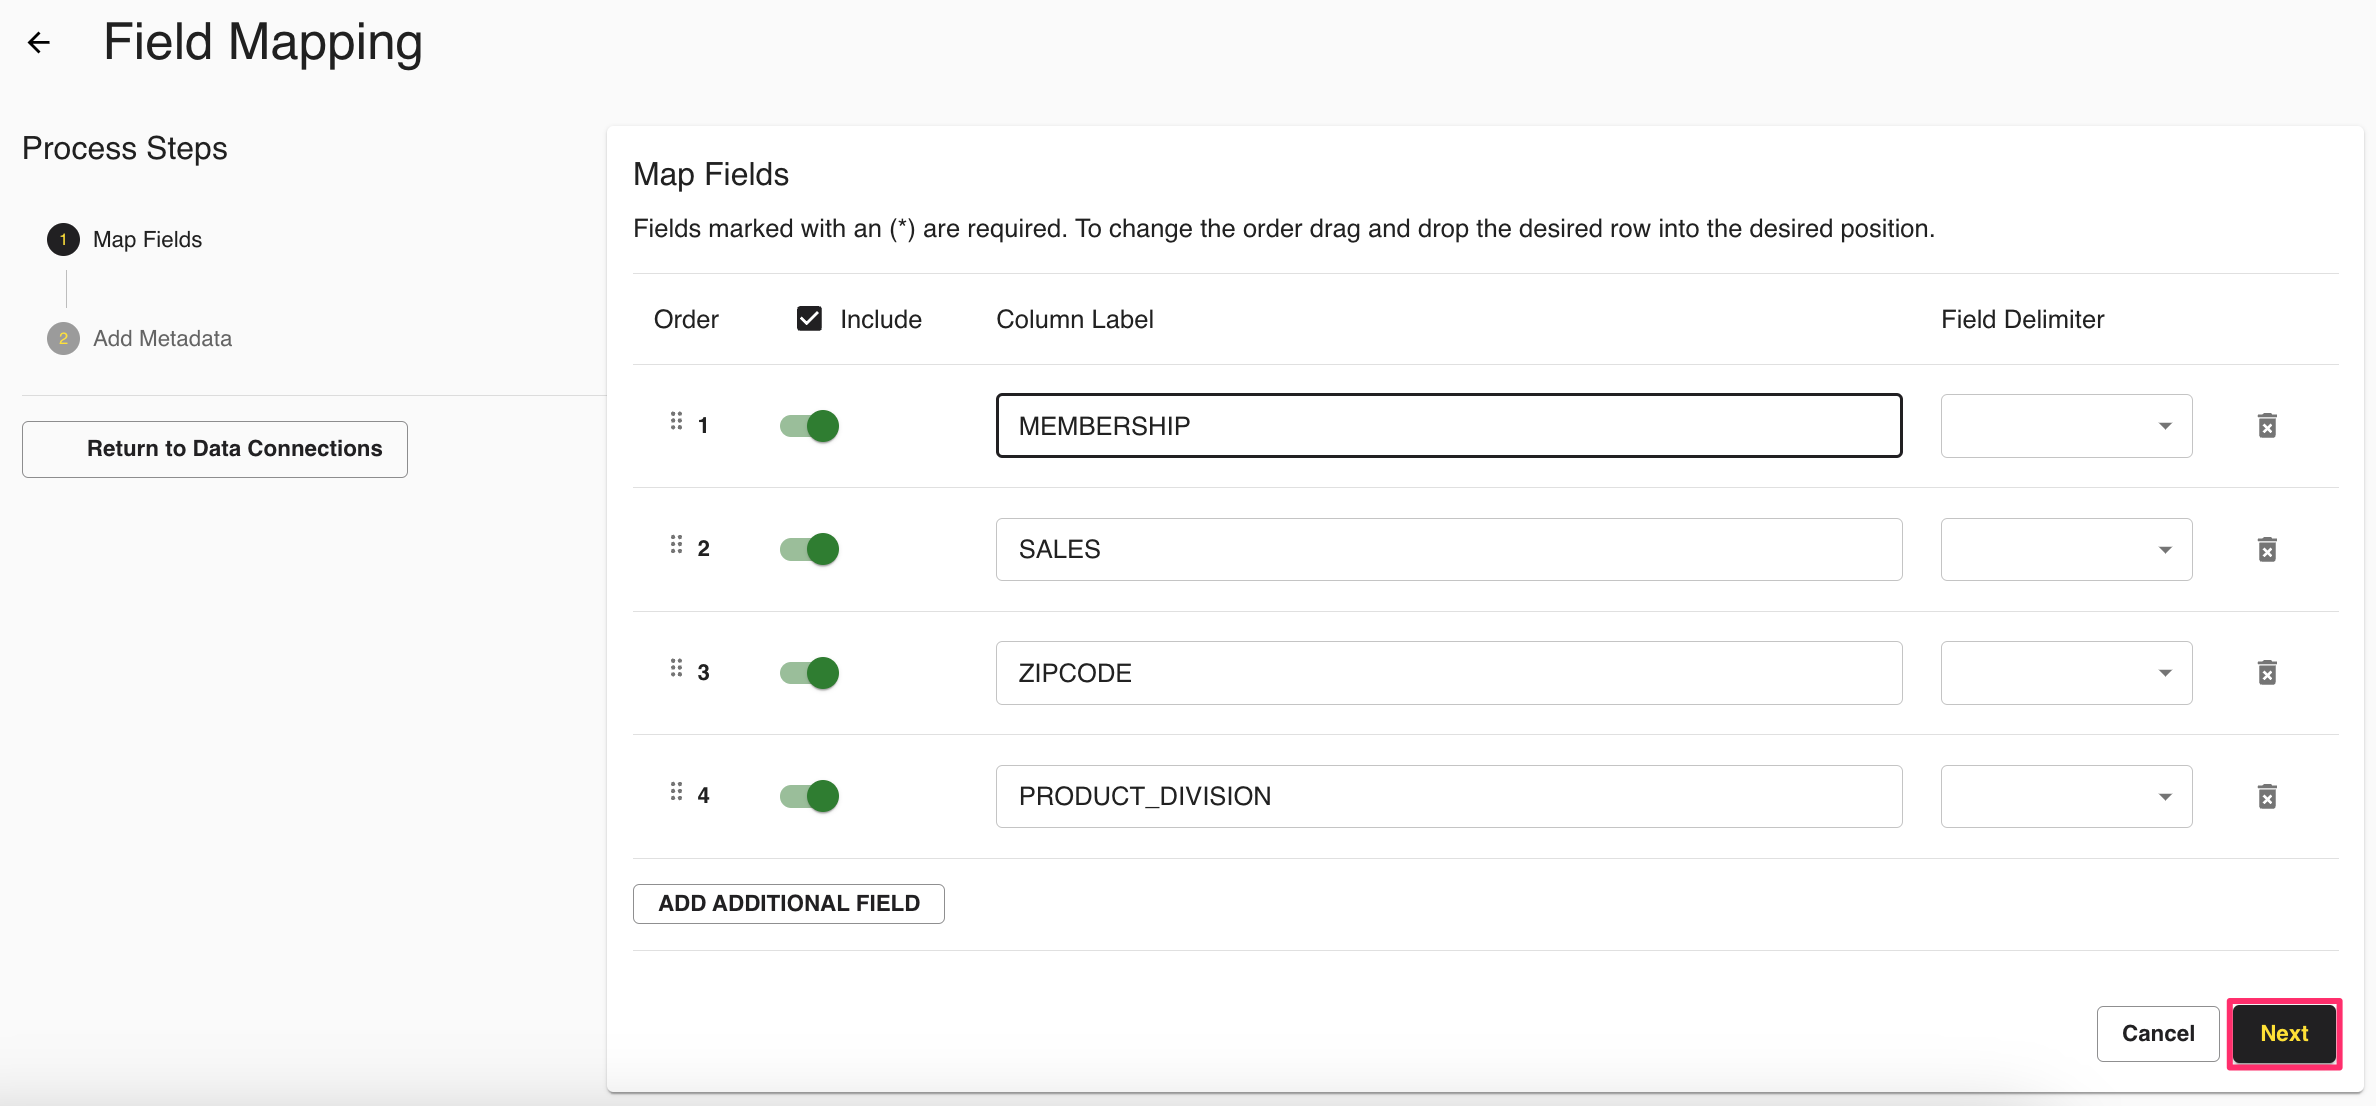
Click .
The Add Metadata screen opens.
For any column that contains PII data, slide the PII toggle to the right.
Note
If you data contains a column with RampIDs, do not slide the PII toggle for that column. Mark the RampID column as a User Identifier and select "RampID" as the identifier type. If the data contains a RampID column, no other columns can be enabled as PII.
Select the data type (field type) for each column (for more information on supported field types, see "Field Types for Data Connections").
If a column contains PII, slide the User Identifiers toggle to the right and then select the user identifier that defines the PII data.
Note
When you select "Raw Email" as the user identifier for an email column, those email addresses will be automatically SHA256 hashed.
Click .
Your data connection configuration is now complete and the status changes to "Completed".
You can now provision the resulting dataset to your desired Databricks clean rooms.