Configure a Snowflake Hybrid Data Connection
If you have data in Snowflake and want to be able to use that data in questions in LiveRamp Clean Room, you can create a Snowflake data connection.
A Snowflake data connection for a Hybrid clean room can be used in the following clean room types:
Hybrid
Confidential Computing
Note
To configure a Snowflake data connection to be used in a Snowflake (native-pattern) clean room, see "Configure a Snowflake Pattern Data Connection".
After you’ve created the data connection and Clean Room has validated the connection by connecting to the data in your cloud account, you will then need to map the fields before the data connection is ready to use. This is where you specify which fields can be queryable across any clean rooms, which fields contain identifiers to be used in matching, and any columns by which you wish to partition the dataset for questions.
After fields have been mapped, you’re ready to provision the resulting dataset to your desired clean rooms. Within each clean room, you’ll be able to set dataset analysis rules, exclude or include columns, filter for specific values, and set permission levels.
To configure a Snowflake data connection to be used in either a Hybrid clean room or a Confidential Computing clean room, see the instructions below.
Overall Steps
Perform the following overall steps to configure a Snowflake Hybrid data connection:
For information on performing these steps, see the sections below.
Prerequisites
Before performing the steps in the sections below, you will need a Snowflake account with a table or external table using the dataset required for collaboration. The "hybrid pattern" is fully interoperable and you can stay in the Snowflake region you have already chosen.
Note
When setting up your Snowflake account with key-pair authentication (rather than a password), make sure to generate an unencrypted private key (LiveRamp does not support encrypted private keys). Once the key has been generated, assign the key pair to the Snowflake user in Snowflake. For more information, see Snowflake's instructions.
Create a Role for LiveRamp in Snowflake
Create a new role on the required tables or views in Snowflake in order for LiveRamp to read from your data warehouse:
In your Snowflake instance, create a new role on the required tables or views with the following role parameters:
For tables, use the following role parameters:
CREATE OR REPLACE ROLE <ROLE_NAME>;
GRANT USAGE ON DATABASE <DB_NAME> TO ROLE <ROLE_NAME>;
GRANT USAGE ON SCHEMA <DB_NAME>.<SCHEMA_NAME> TO ROLE <ROLE_NAME>;
GRANT SELECT ON TABLE <DB_NAME>.<SCHEMA_NAME>.<TABLE_NAME> TO ROLE <ROLE_NAME>;
For views, use the following role parameters:
GRANT SELECT ON VIEW <DB_NAME>.<SCHEMA_NAME>.<VIEW_NAME> TO ROLE <ROLE_NAME>;
GRANT OPERATE ON WAREHOUSE <WAREHOUSE_NAME> TO ROLE <ROLE_NAME>;
GRANT USAGE ON WAREHOUSE <WAREHOUSE_NAME> TO ROLE <ROLE_NAME>;
Create a user and grant the above role to the user.
Note
Make sure that the user is given the same default role that the table or view has been given.
CREATE USER <USER_NAME> TYPE= ‘SERVICE’ DEFAULT_ROLE = <ROLE_NAME> DEFAULT_WAREHOUSE = <WAREHOUSE> RSA_PUBLIC_KEY = '<PUBLIC_KEY_CONTENT>';
GRANT ROLE <ROLE_NAME> TO USER <USER_NAME>;
Grant usage and operating privileges on the warehouse.
GRANT OPERATE ON WAREHOUSE warehouse name TO ROLE role name you chose;GRANT USAGE ON WAREHOUSE warehouse name TO ROLE role name you chose;
Note
As a general rule, when hashing data in Snowflake for LiveRamp collaborations, use the Snowflake SHA2 function with a digest size of 256 when encrypting data in Snowflake instead of the generic “hash” function. This recommended approach will result in a SHA256 encryption and may further improve the compatibility of your data across the ecosystem.
Add the Credentials
To add credentials:
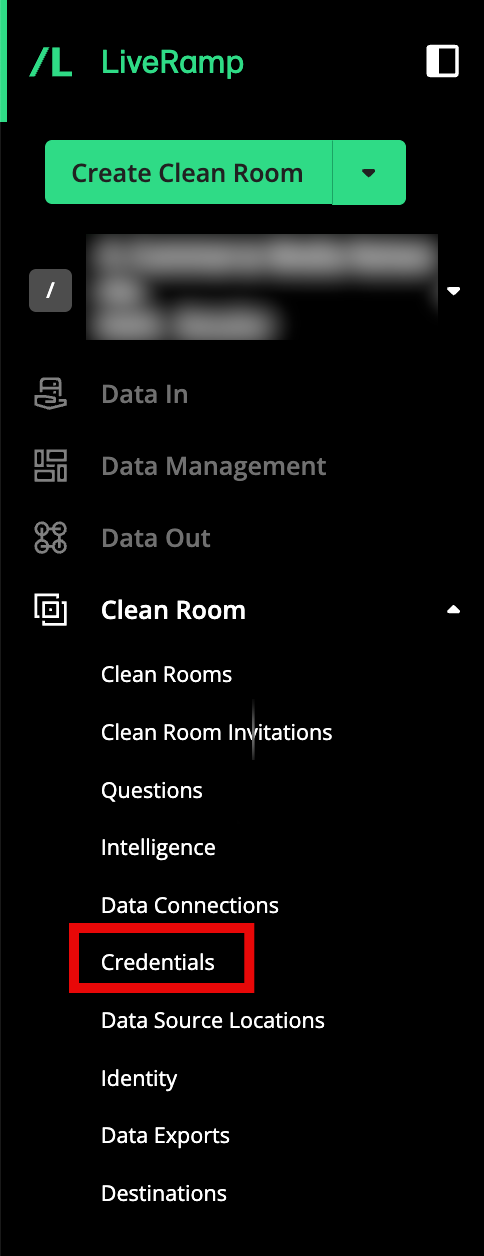
From the navigation menu, select Clean Room → Credentials to open the Credentials page.
Click .
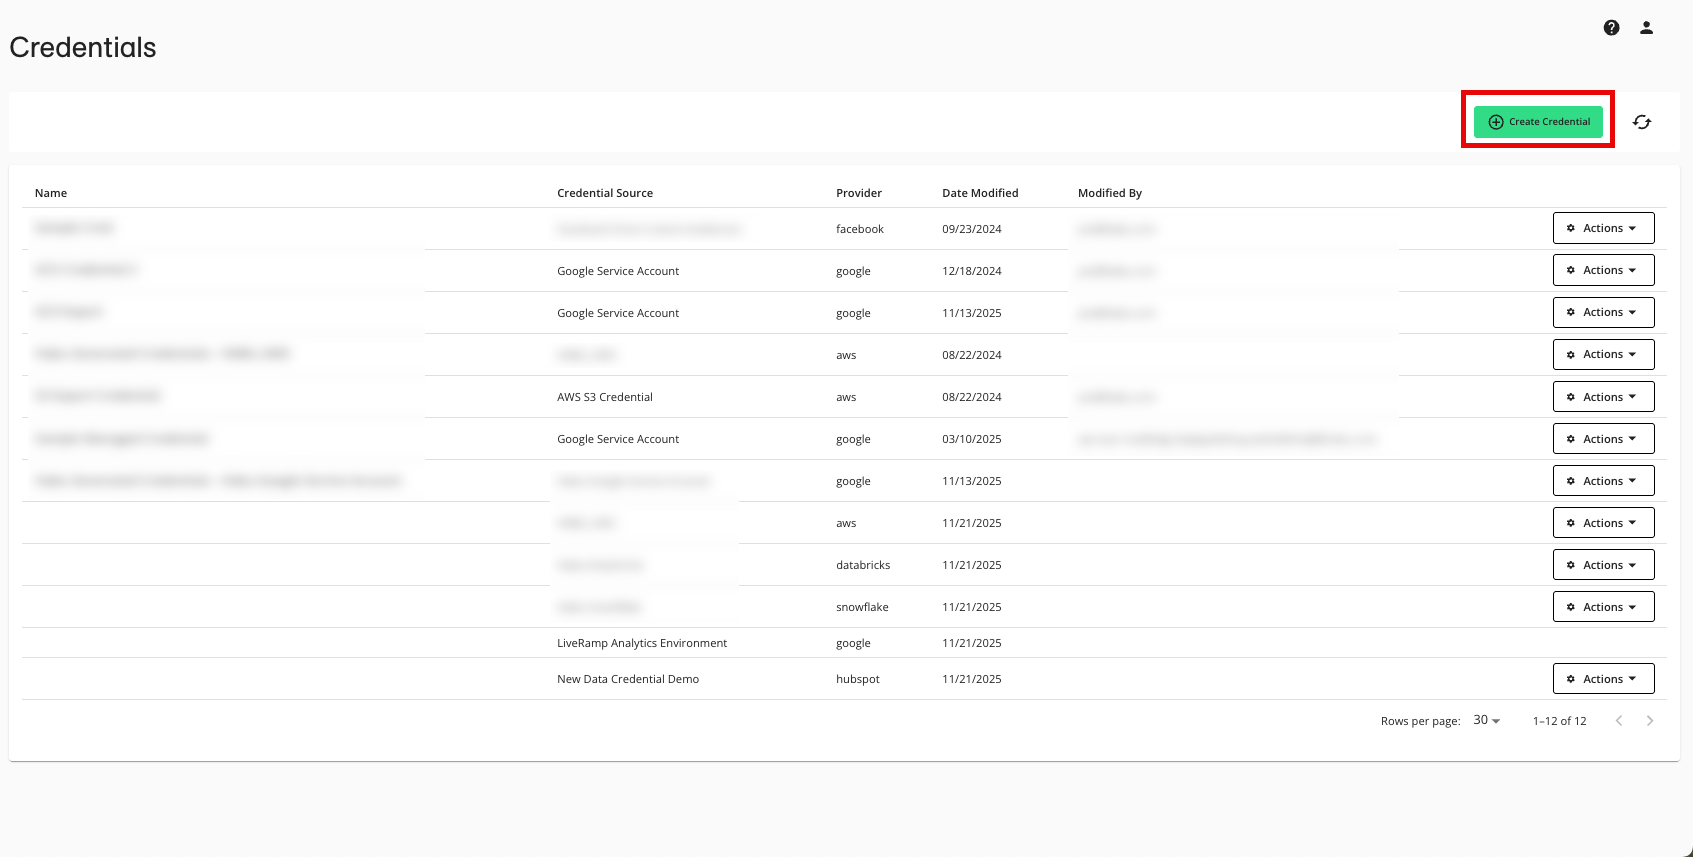
The Create Credential screen opens.

Enter a descriptive name for the credential.
For the Credentials Type, select "Snowflake Account with Credentials".
For the Account ID, enter your Snowflake account ID.
Note
For information on finding your Snowflake account ID, see "Find Your Snowflake Account Information".
If your Snowflake Table is not in US-West (Oregon) you must add your region to your Snowflake Account ID. In general, the format is ACCOUNTID>.<REGION>.<CLOUD>.
Example 1: if your Snowflake table is in EU (Ireland) with no specific cloud noted, input the Account ID as follows: "ABC123.eu-west-1"
Example 2 : If your Snowflake table is in GCP US Central 1, input the Account ID as follows: "ABC123.us-central1.gcp"
To find your region click here and scroll to the section titled "Non-VPS Account Locator Formats by Cloud Platform and Region".
If your Snowflake table happens to be in the default region of US-West (Oregon), do not add the region to your Account ID. For example: "ABC123UAM"
For the User, enter the username created in the previous procedure.
For the Password/Key, enter the private key created during Snowflake account setup.
Note
Encrypted private keys are not currently supported. Make sure you generate an unencrypted version of the private key.
Click .
Create the Data Connection
After you've added the credentials to LiveRamp Clean Room, create the data connection:
Note
if your cloud security limits access to only approved IP addresses, talk to your LiveRamp representative before creating the data connection to coordinate any necessary allowlisting of LiveRamp IP addresses.
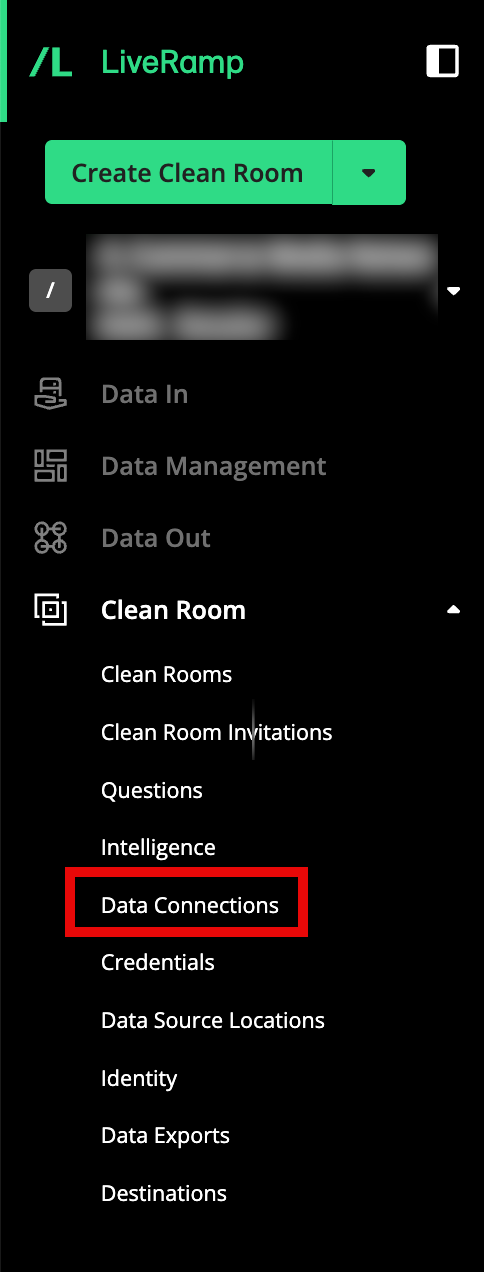
From the navigation menu, select Clean Room → Data Connections to open the Data Connections page.
From the Data Connections page, click .
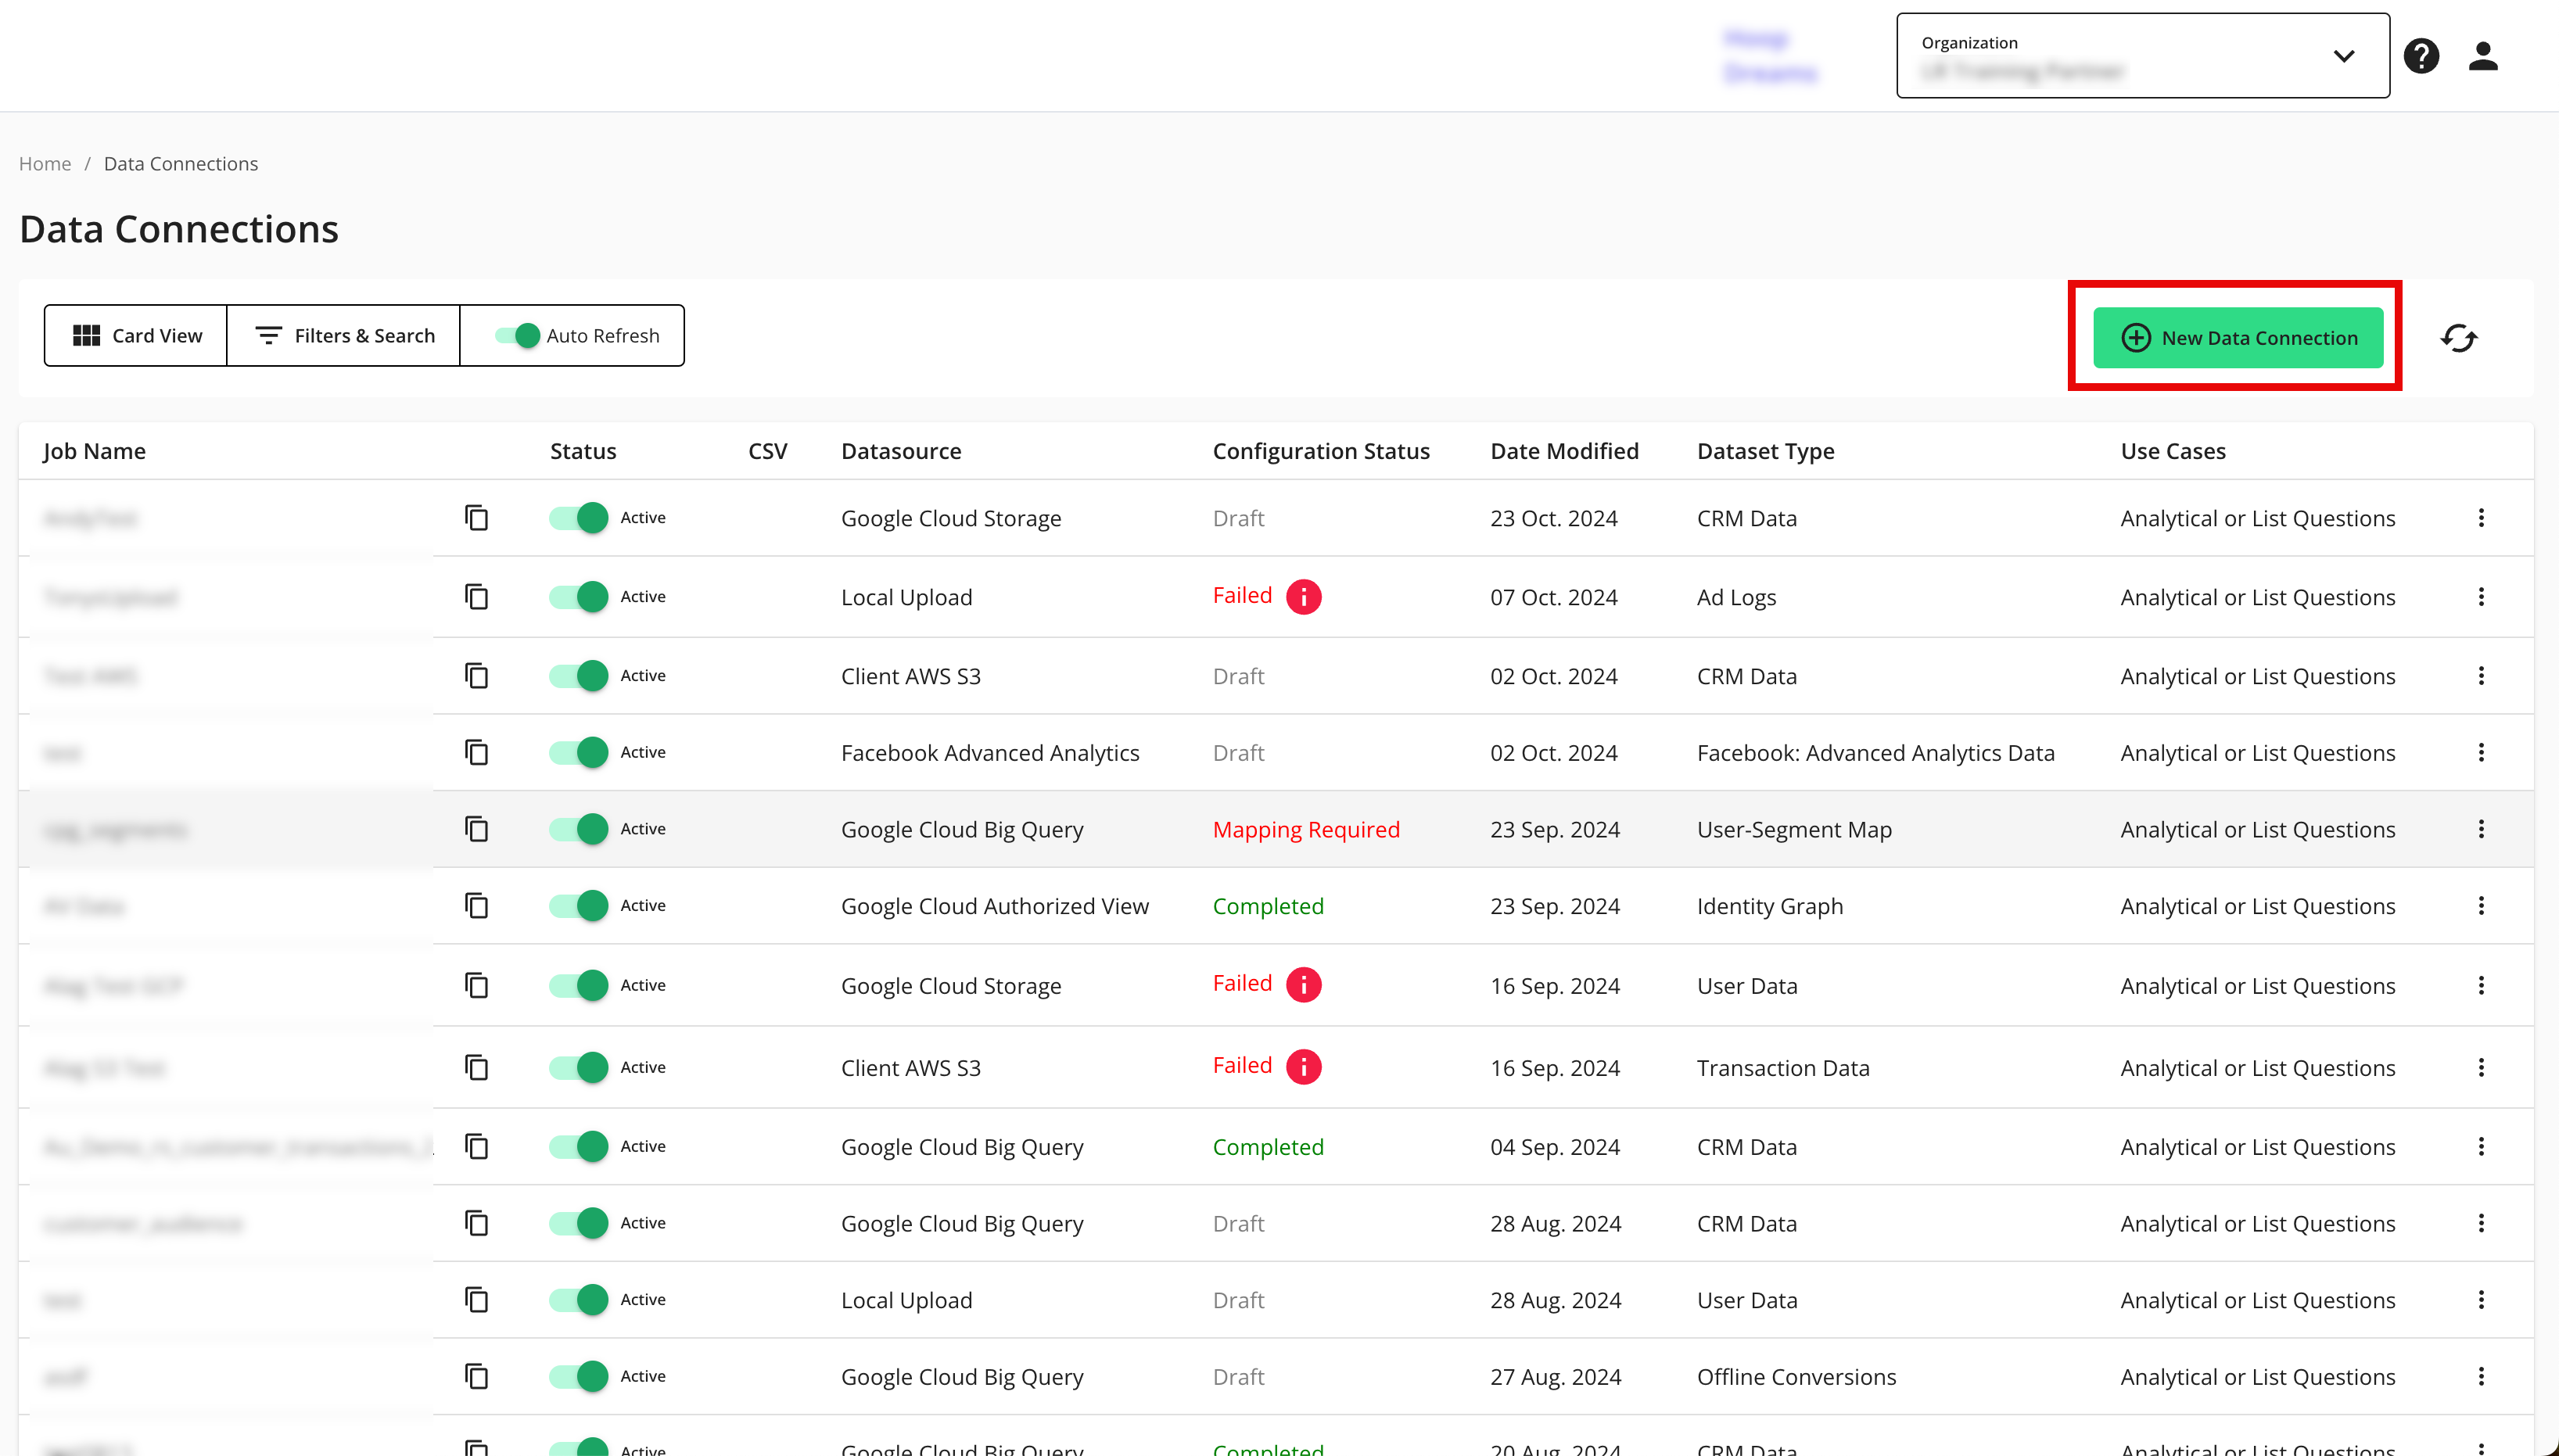
From the New Data Connection screen, select "Snowflake Table".
Select the credentials created in the previous procedure from the list.
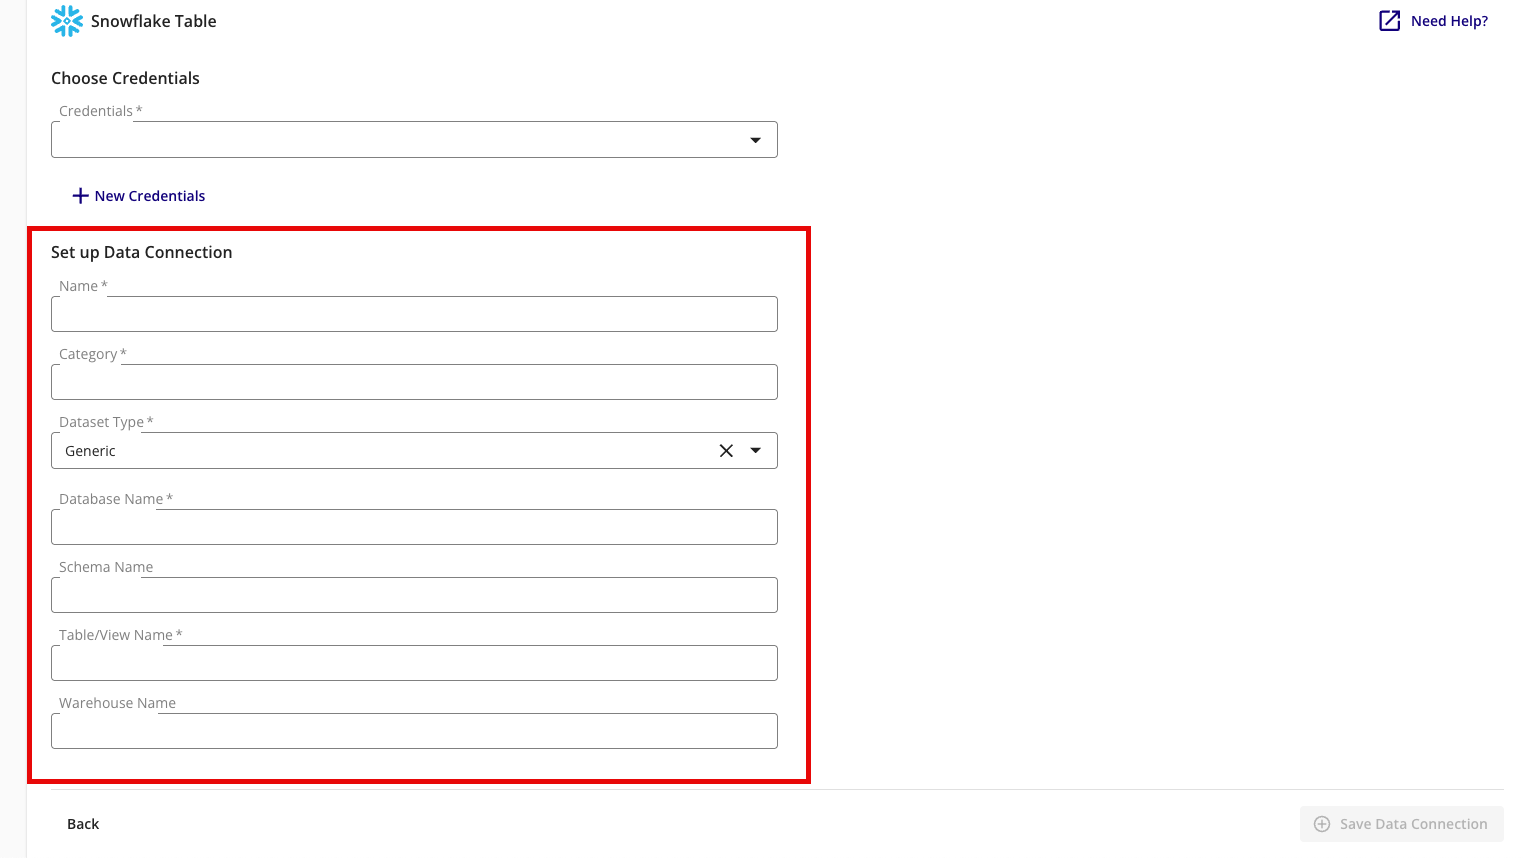
Complete the following fields in the Set up Data Connection section:
Note
Database Name, Schema Name, Table/View Name, and Warehouse Name are case sensitive and should match to your Snowflake account.
To use partitioning on the dataset associated with the data connection, slide the Use Partitioning toggle to the right.
Category: Enter a category of your choice.
Dataset Type: Select Generic.
Database Name: Ener the database name from your Snowflake account.
Schema Name: Enter the schema name from your Snowflake account.
Table/View Name: Enter the name of the table or view from your Snowflake account.
Warehouse Name: Enter the warehouse name from your Snowflake account.
Review the data connection details and click .
Note
All configured data connections can be seen on the Data Connections page.
When a connection is initially configured, it will show "Verifying Access" as the configuration status. Once the connection is confirmed and the status has changed to "Mapping Required", map the table's fields.
Note
It takeks up to 5 minutes to fetch the data connections and fields from your Snowflake instance.
Map the Fields
Once the connection is confirmed and the status has changed to "Mapping Required", map the table's fields and add metadata:
Note
Before mapping the fields, we recommend confirming any expectations your partners might have for field types for any specific fields that will be used in questions.
From the row for the newly created data connection, click the More Options menu (the three dots) and then click .
The Map Fields screen opens, and the file column names auto-populate.
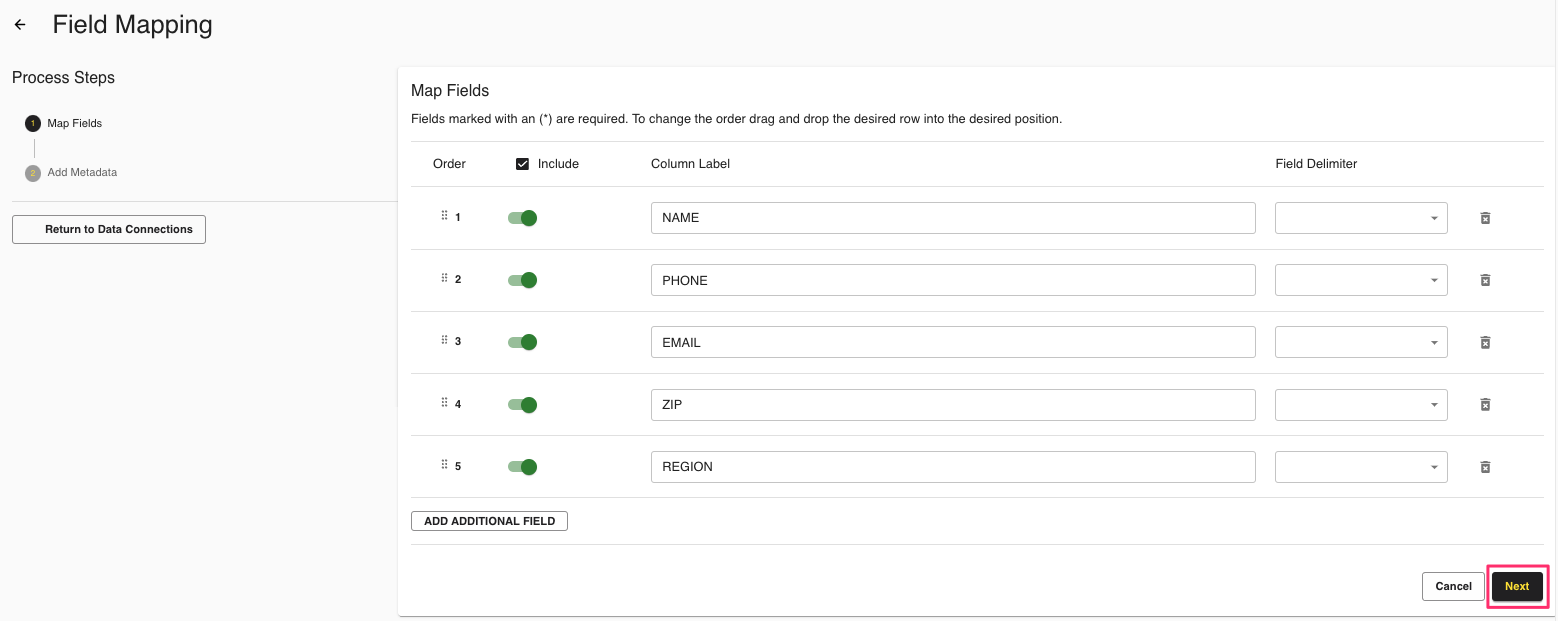
Click .
Note
Ignore the "Order", "Include", and "Delete" columns. They are not applicable for a Snowflake data connection setup.
The Add Metadata screen opens.
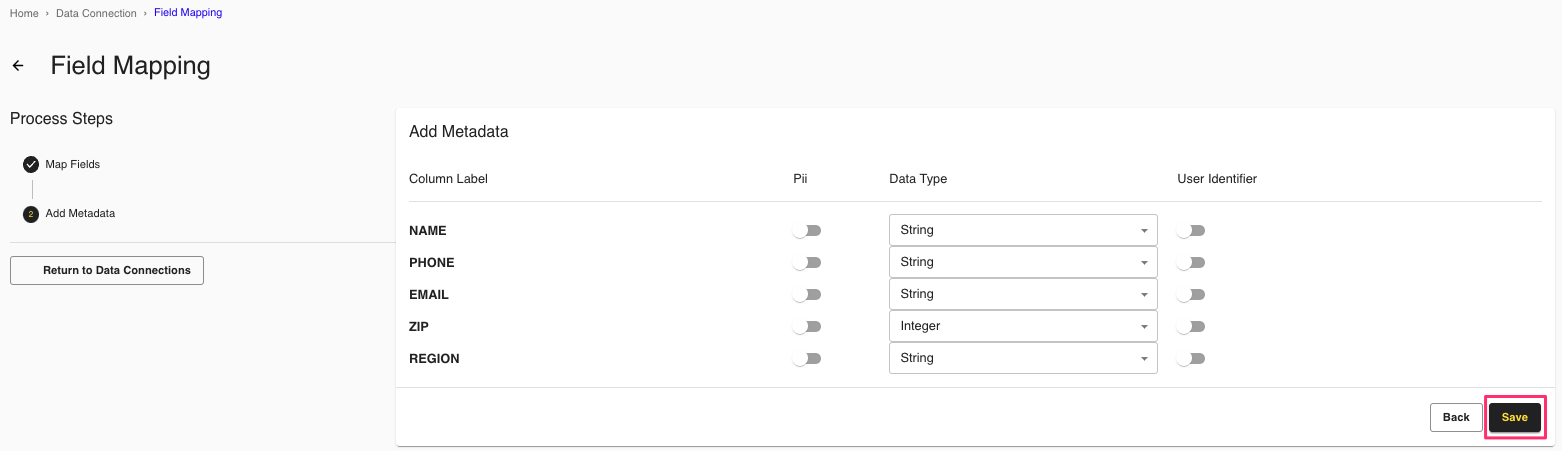
For any column that contains PII data, slide the PII toggle to the right.
Note
If you data contains a column with RampIDs, do not slide the PII toggle for that column. Mark the RampID column as a User Identifier and select "RampID" as the identifier type. If the data contains a RampID column, no other columns can be enabled as PII.
Select the data type (field type) for each column (for more information on supported field types, see "Field Types for Data Connections").
For any partition columns, slide the Allow Partitions toggle to the right.
If a column contains PII, slide the User Identifiers toggle to the right and then select the user identifier that defines the PII data.
Note
When you select "Raw Email" as the user identifier for an email column, those email addresses will be automatically SHA256 hashed.
Click .
Your data connection configuration is now complete and the status changes to "Completed".
You can now provision the resulting dataset to your desired Hybrid or Confidential Computing clean room.