The Workflow Editor
The Workflow Editor lets you create a new or update an existing workflow. A workflow is a canvas on which you can build a set of sequential processes to be scheduled and run to create your first-party graph.
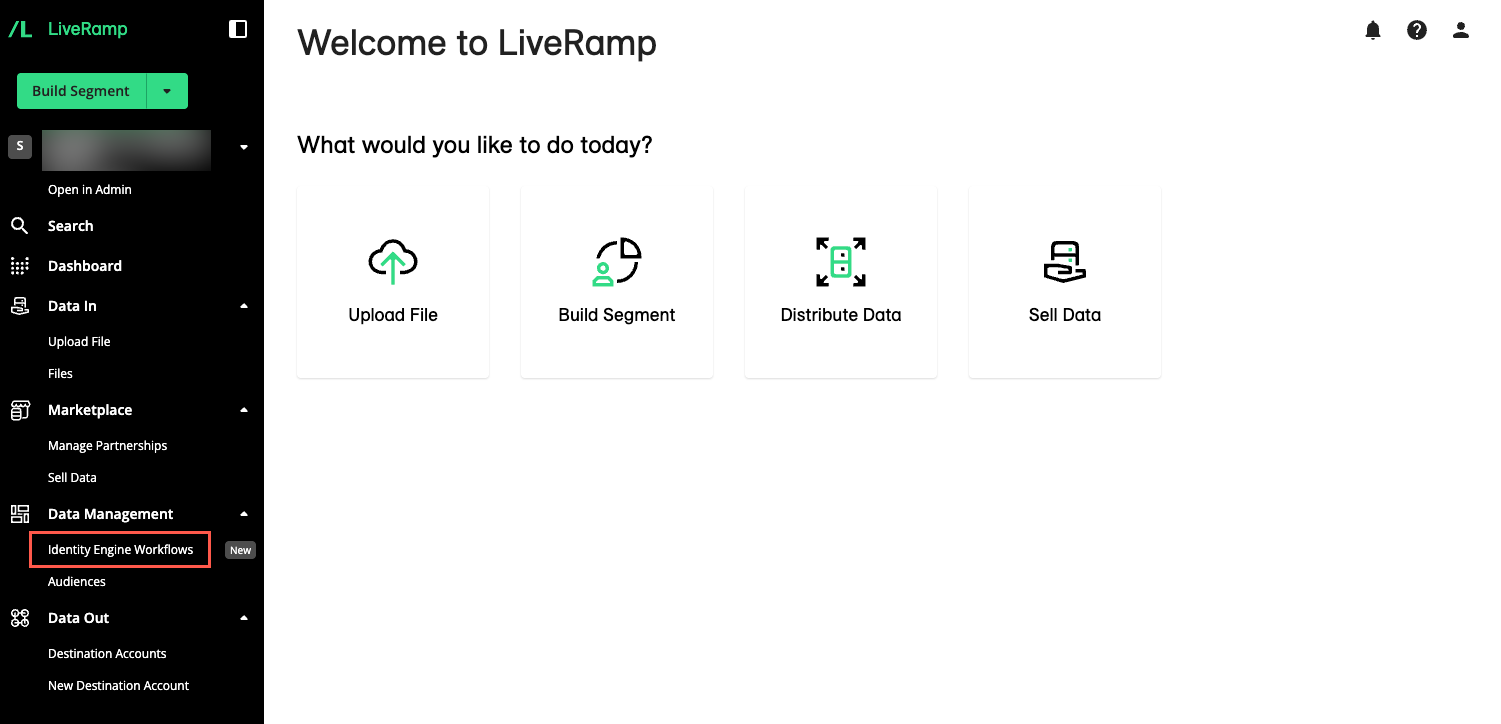
From the left navigation pane, click Identity Engine Workflows.
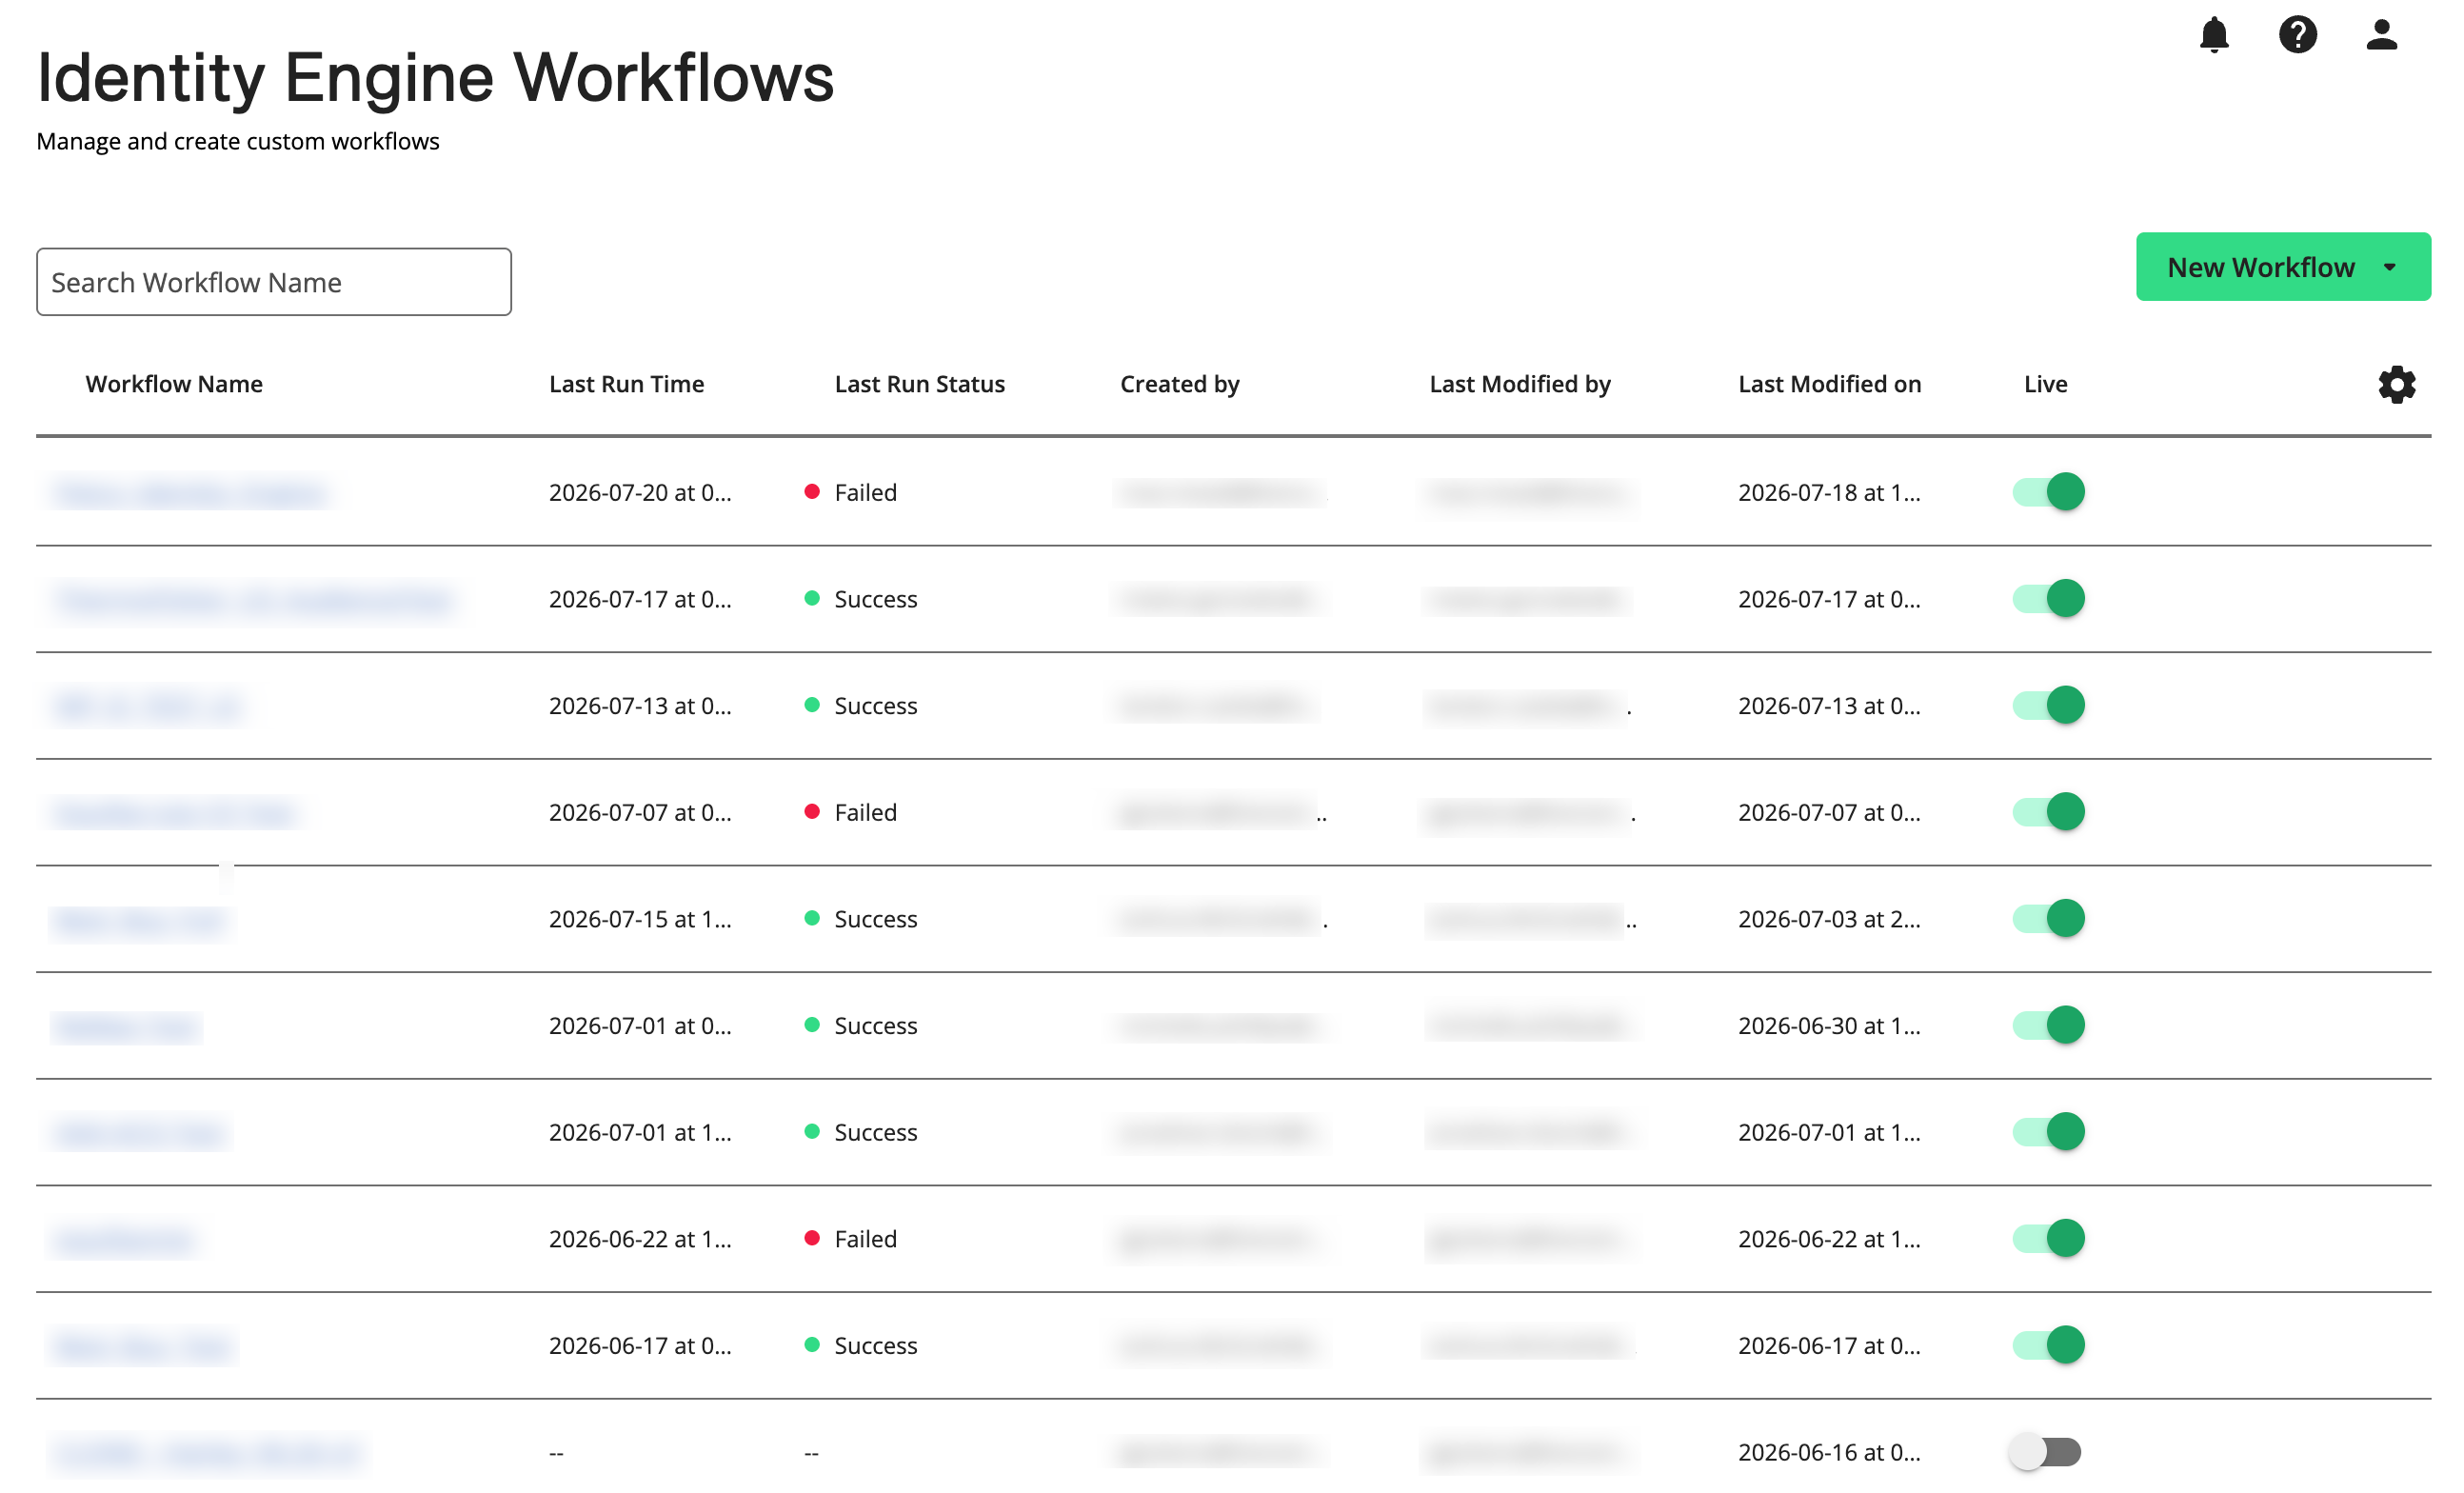
The Identity Engine Workflows page displays your existing workflows.
There are three ways to open the Workflow Editor:
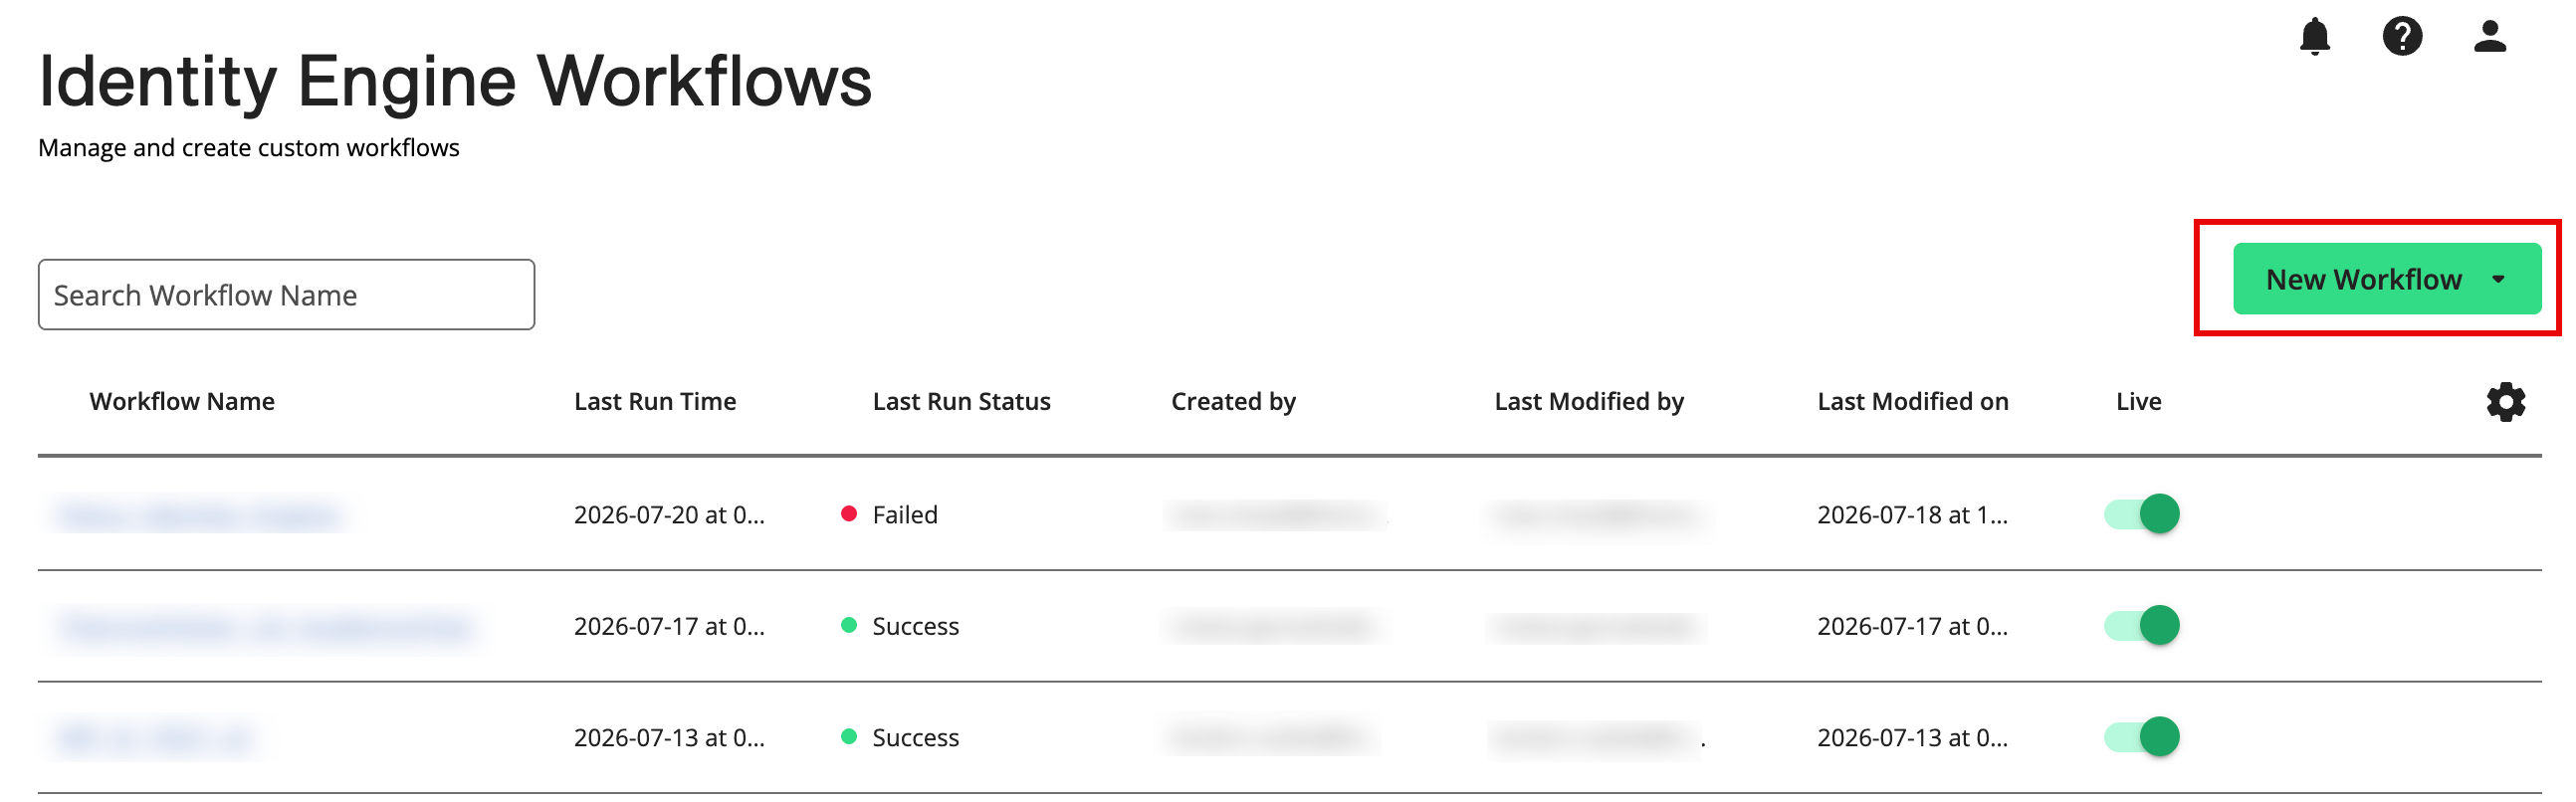
To create a new workflow in the editor, click New Workflow → Build your own on the Identity Engine Workflows page:
To edit an existing workflow in the editor from the Identity Engine Workflows page, click the workflow's More Options menu (
 ) and select Edit Details.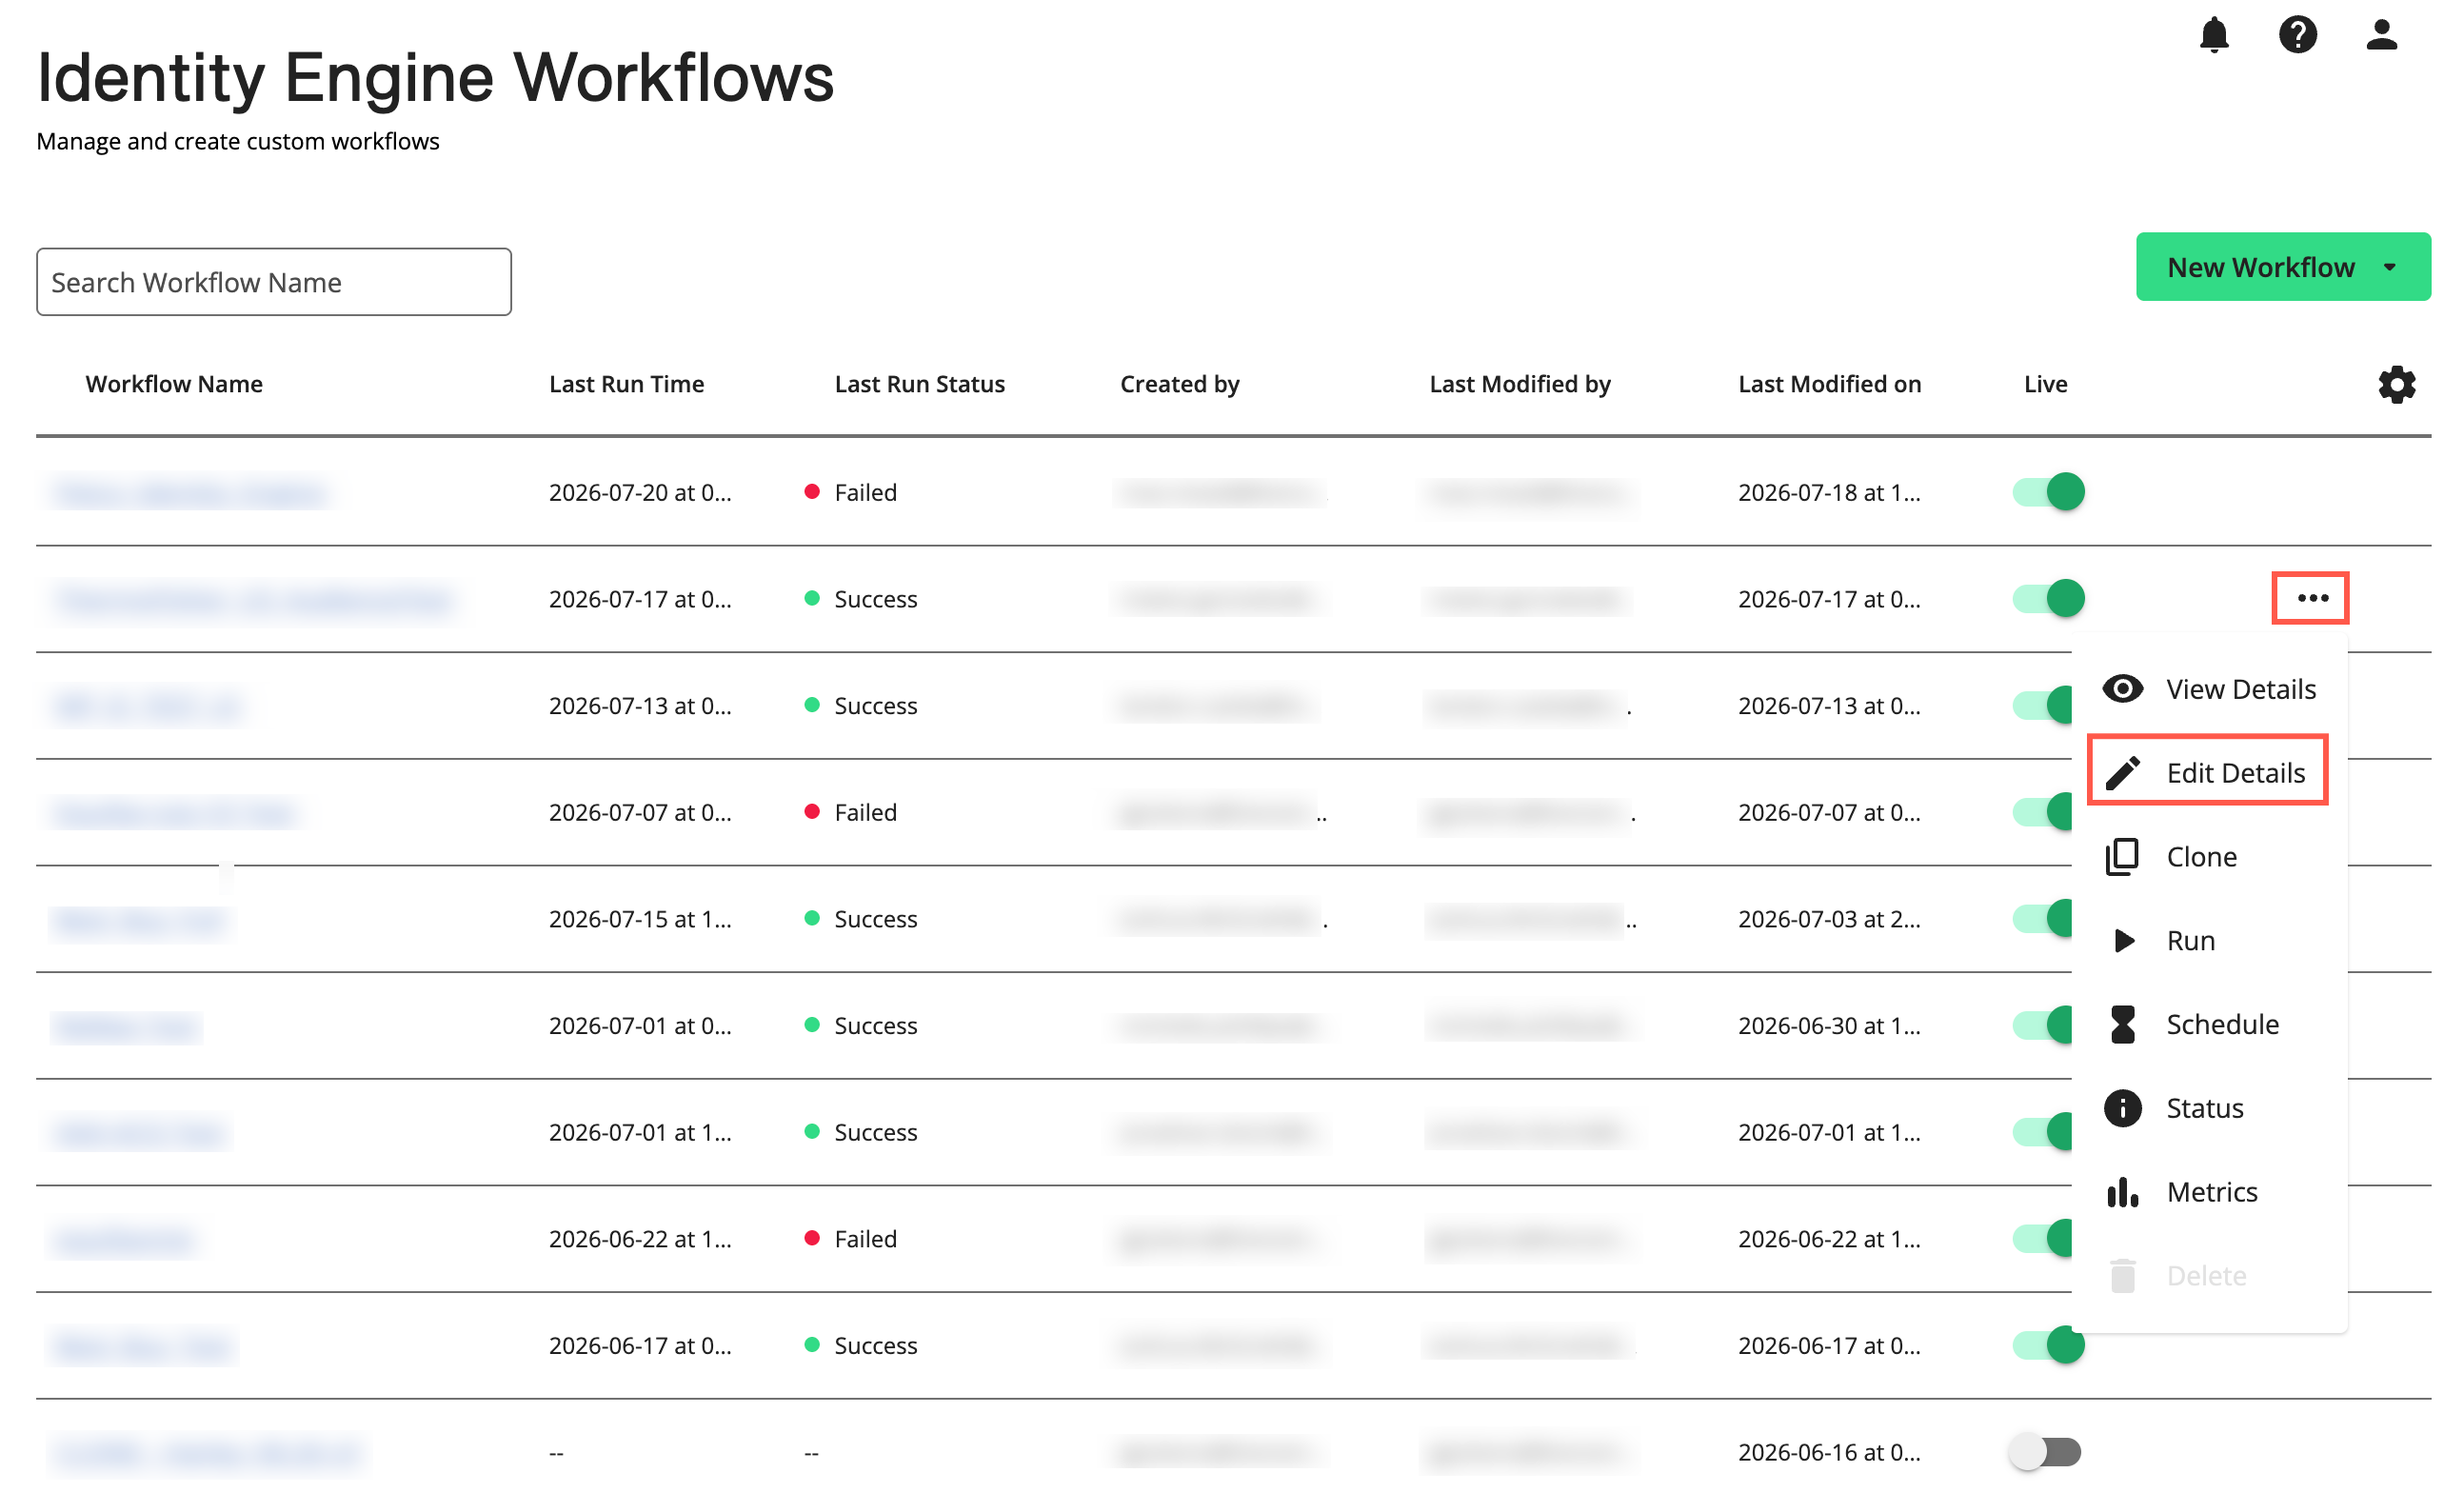
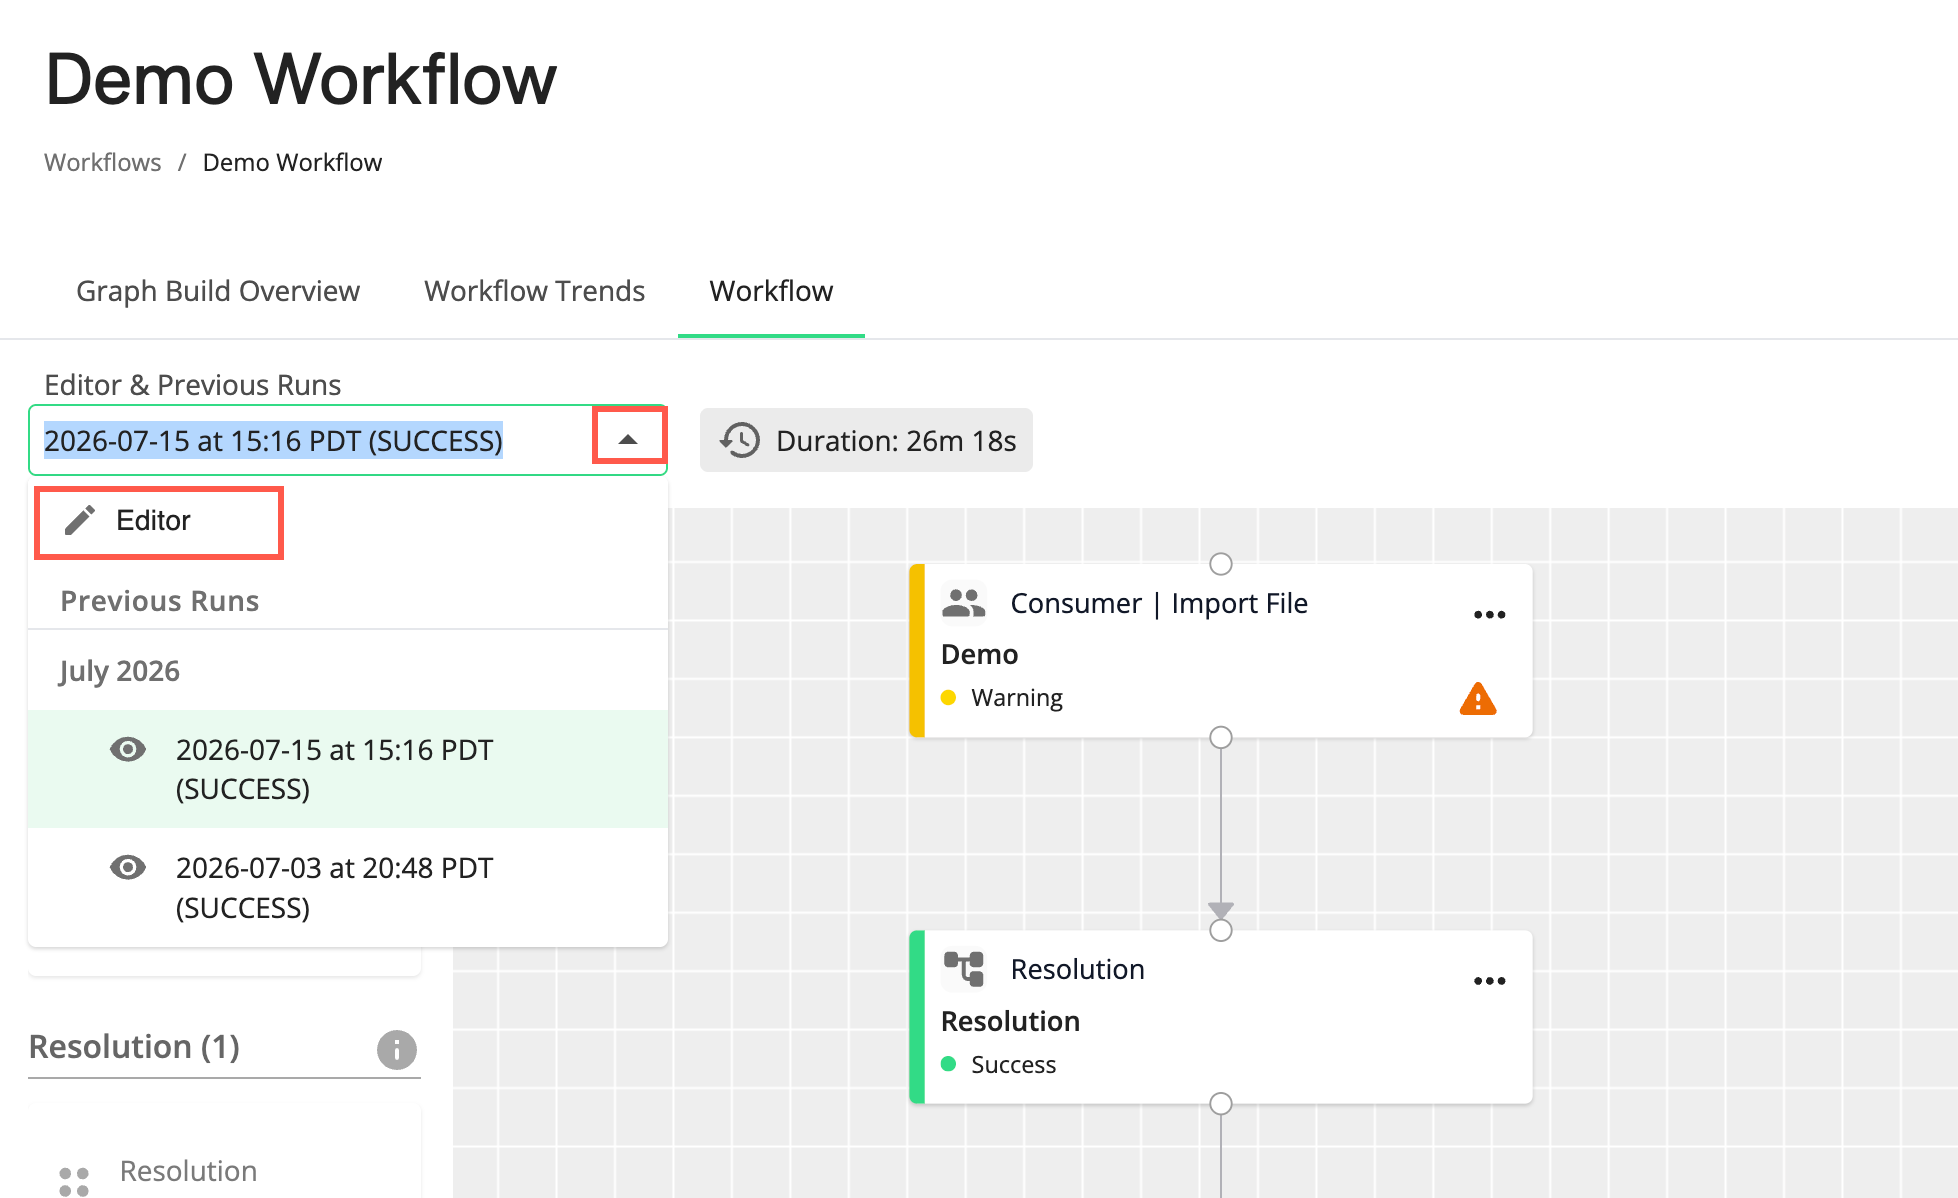
To edit an existing workflow already open in the Workflow tab, select Editor in the Editor & Previous Runs dropdown.
The Workflow Editor displays (shown here with an existing workflow)
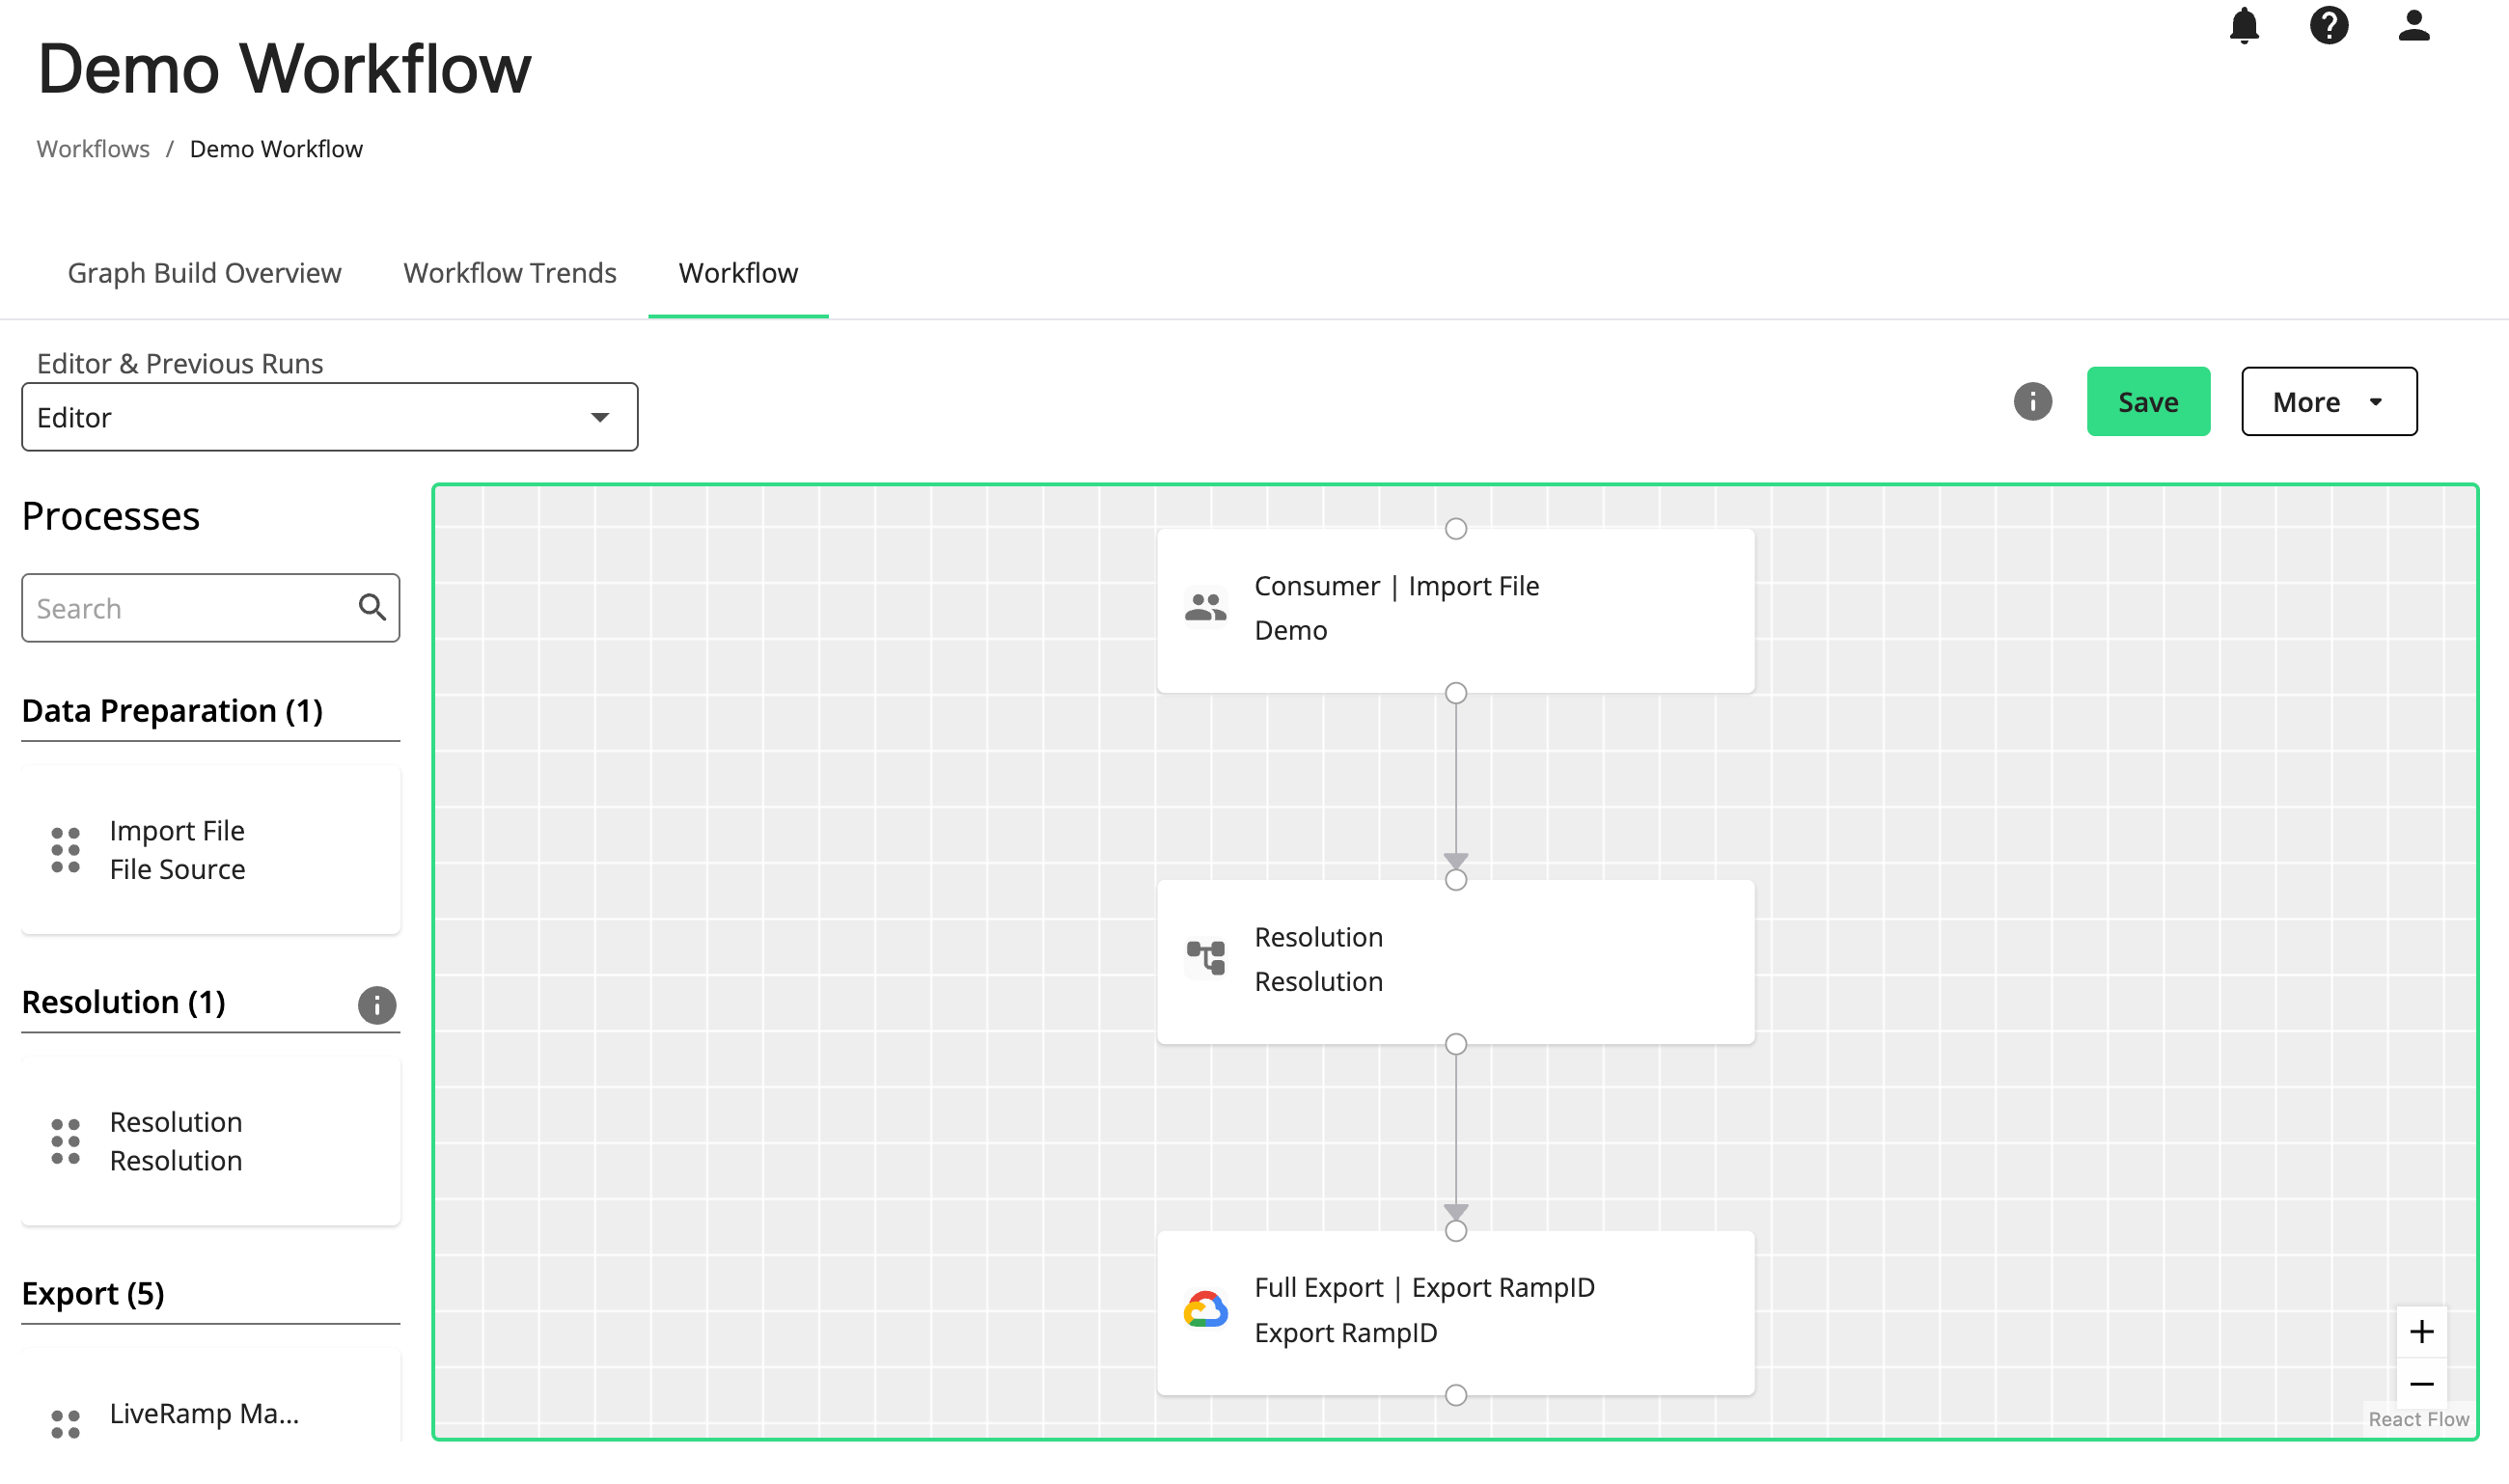
Actions You Can Perform in the Workflow Editor
You can use the Workflow Editor to do the following:
Configure the following types of processes:
Resolution (only 1 per workflow)
Edit an existing workflow
Building a Workflow
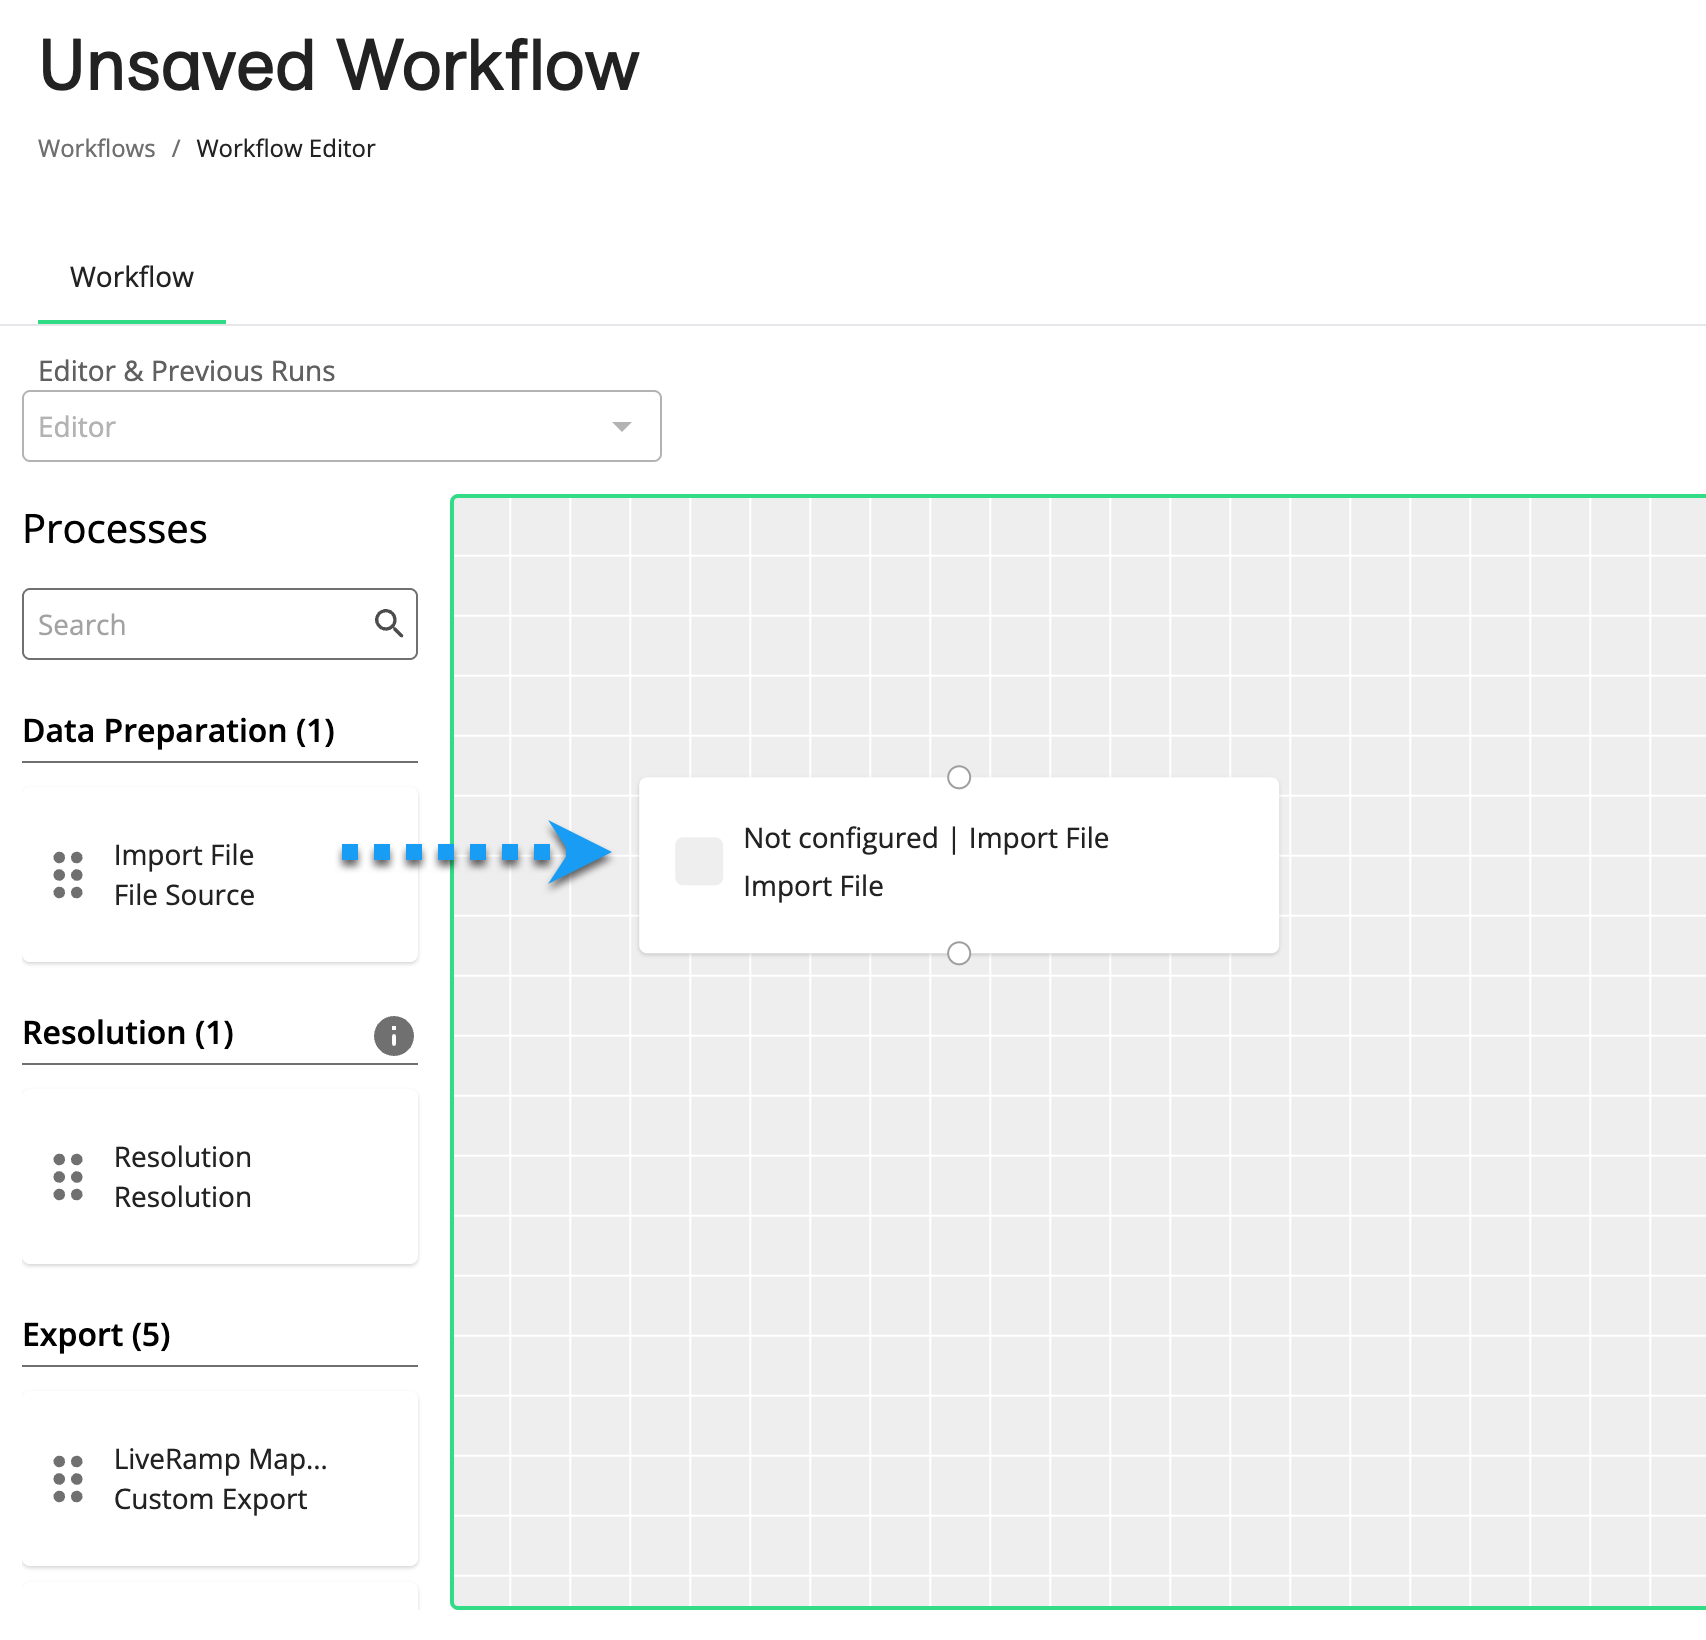
When you open the Workflow Editor from Identity Engine Workflows → New Workflow, a new unsaved workflow is displayed where you can begin building a workflow.
You can add new processes to a new or an existing workflow by dragging them onto the canvas.
Configure a Process
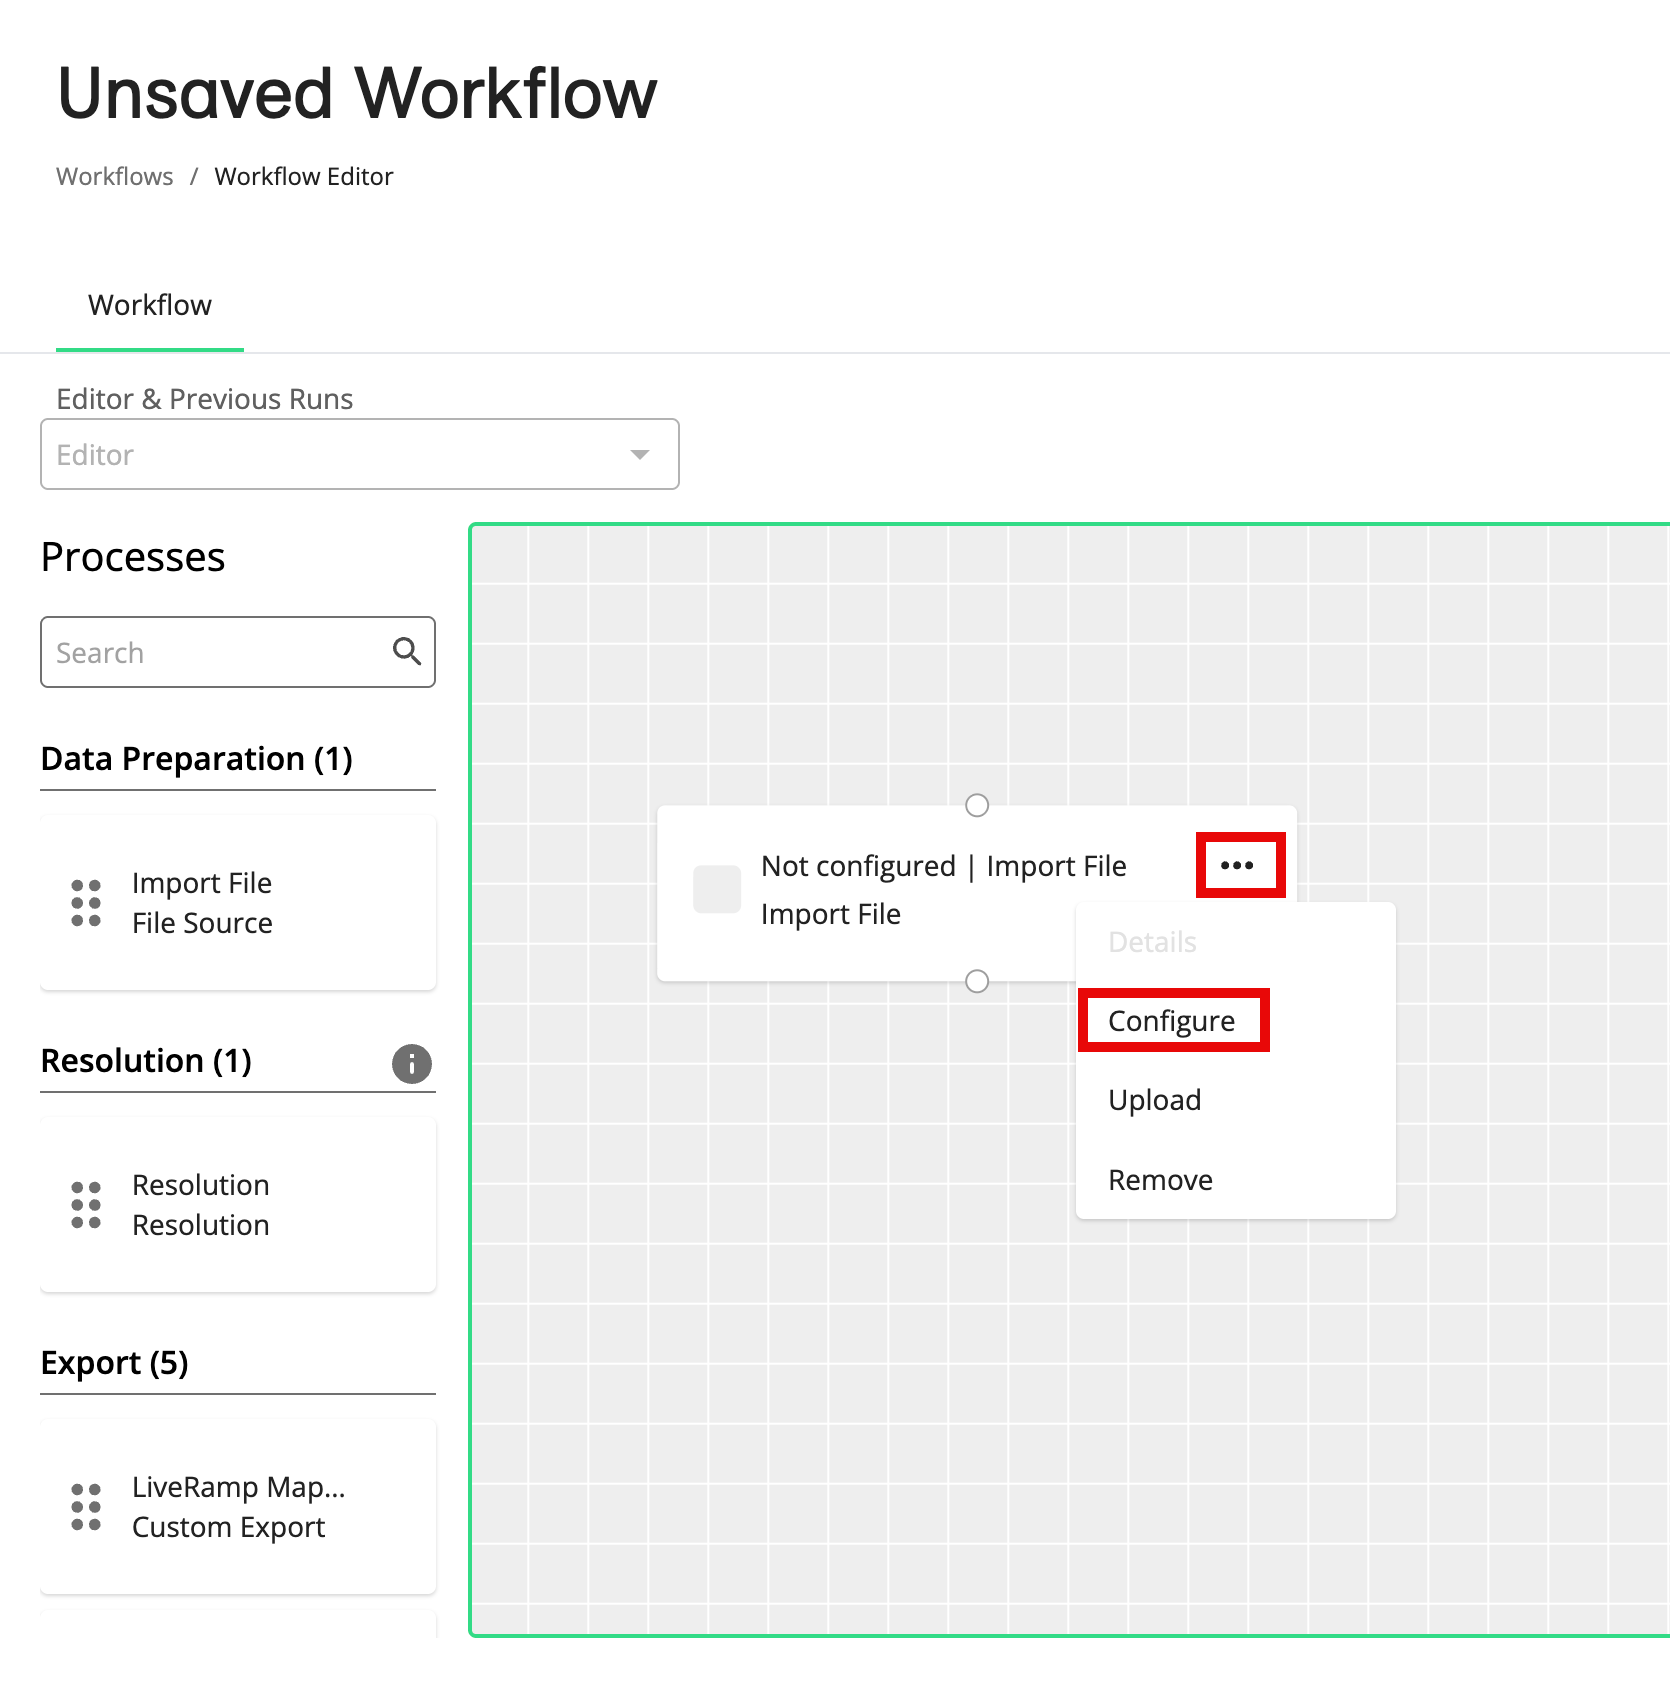
Each process will first appear with a “Not configured” label to indicate you need to configure the process. You can configure a process by selecting the process’s More Options menu () and clicking Configure.
Note
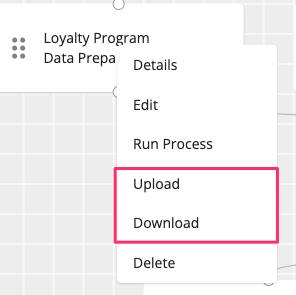
If you have the JSON configuration of an already configured process, you can click Upload to upload the JSON to configure the new process.
You need to configure processes in a workflow in the following order (see linked help topics for each process type below):
Resolution (only 1 per workflow)
Once you have configured a process, you can download it as a JSON file and upload it to another process of the same type to reapply the same settings. You can upload a process to both non-configured and configured processes.
Once you've created a workflow, you must click , enter a unique name for the workflow, and enter a description. The Identity Engine Workflows page displays your new workflow.
Download and Upload a Workflow
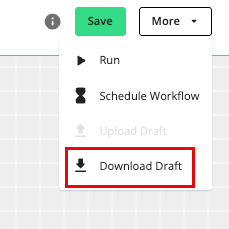
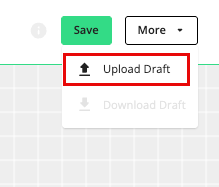
To efficiently create multiple workflows with the same configuration, you can use the download and upload functionality. Once you have built a workflow, you can download it as a JSON file. You can then upload the JSON file to a new blank workflow to reapply the same processes and configuration.
You can download any existing workflow. You can upload an existing workflow only to a new, blank workflow.
To download or upload a workflow, select → Download Draft or Upload Draft.
Running a Workflow
Once you build a valid workflow, you can run it by selecting → Run.
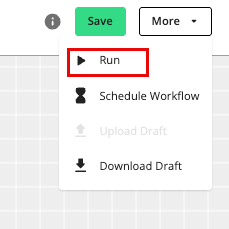
The Run Workflow confirmation displays for you to cancel or confirm running the workflow. Click Confirm to run the workflow.
Set a Workflow to Live or Inactive
All workflows that have been run are live by default, regardless of their run status. You can set a live workflow to inactive to stop it from actively delivering data to production while editing it. This action is a prerequisite for deleting a workflow.
Tip
You can also set a workflow to "Live" or "Inactive" on the Workflows page.
On the Workflow Editor page of the desired workflow, click .
Set the "This workflow is live" toggle to its on (live) or off (inactive) position.
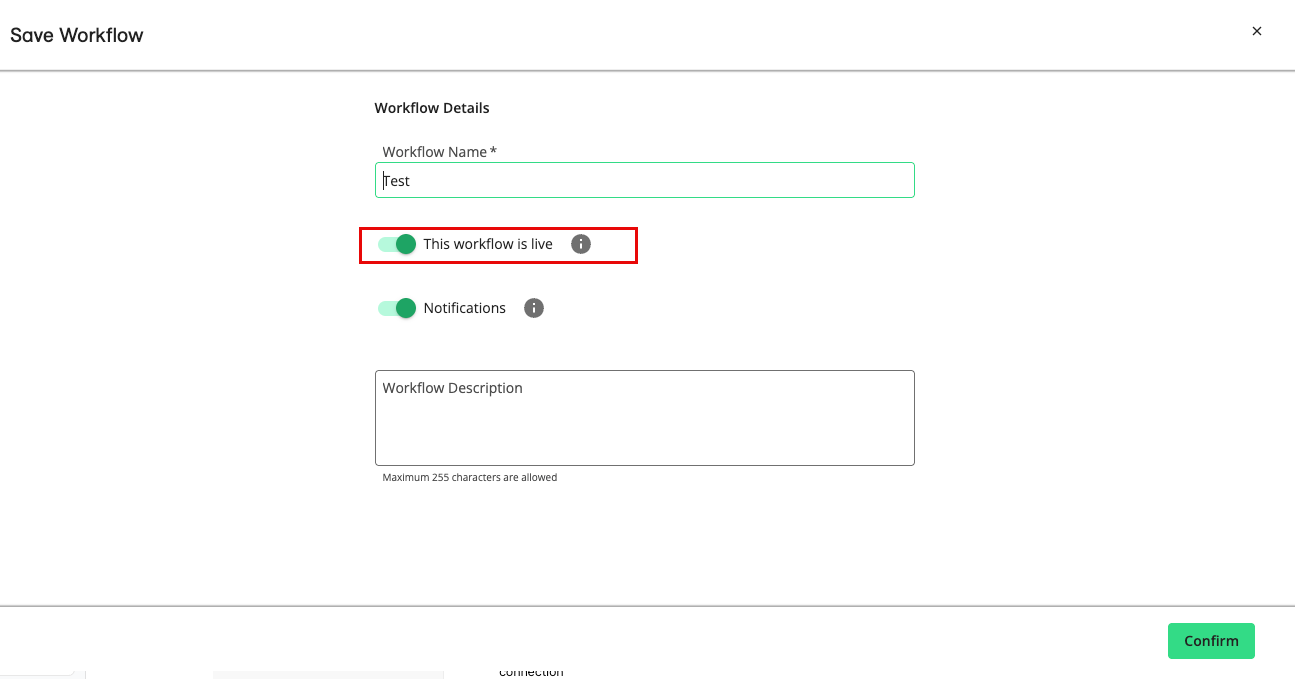
Click .
Once completed, the workflow's live status will display on the Identity Engine Workflows page.
Set a Workflow’s Notifications
You can enable or disable a workflow’s notifications when you save it.
Tip
You can also set a workflow’s notifications on the Workflows page.
On the Workflow Editor page of the desired workflow, click Save.
Set the "Notifications" toggle to its on or off position.
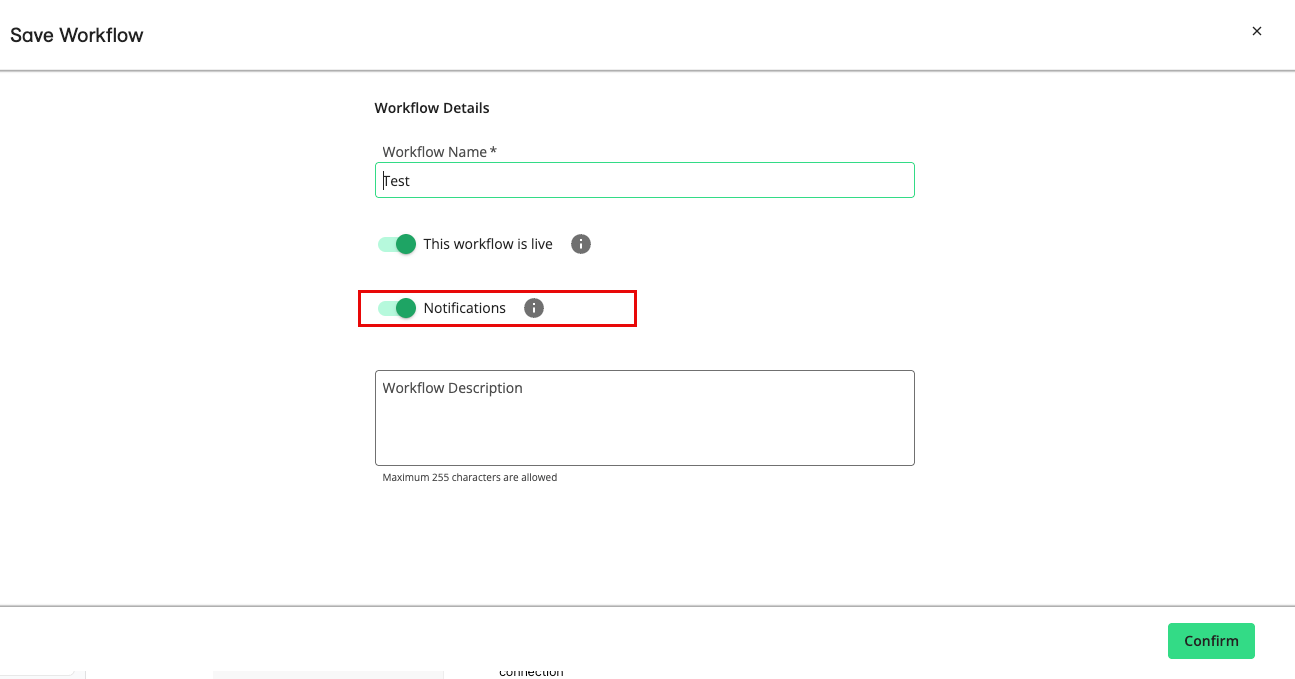
Click .
Once completed, the workflow's notification status will display on the Identity Engine Workflows page.