Onboarding Data with Simple Onboard
Simple Onboard is a quick and easy way to onboard your PII-based data. After you follow the Simple Onboard file formatting requirements, with just a few clicks, you upload your file in Connect. Once your file is uploaded, we immediately check it for any issues and then (as long as there are no issues) we’ll immediately create a new segment you can distribute to the destinations of your choice.
Note
Simple Onboard is only available for customers who've been enabled for this functionality.
With Simple Onboard, you upload files where every record in a particular file is a member of a specific segment (for example, a file where every record is a consumer that owns a single-family home). This means that each file can only contain PII-based identifiers (such as name and postal address, email address, or phone number) and should not contain any segment data fields (such as “Type_of_Home_Owned”). We call the fields created from these types of files “file-wide fields”.
For each file you upload, we create a new segment in your audience in Connect based on the name you gave the file (for example, a file named “Single_Family_Home_Owners” would result in a segment named “Single_Family_Home_Owners” that included every record in the file). So, for each different segment you'd like to activate, you'll create and upload a different file.
Note
No audience creation necessary: When you're enabled for Simple Onboard, an audience is automatically created for you, and all segments you upload will be created in that audience. No additional audiences can be created when using Simple Onboard.
Note
Adding new records? To add new records to a segment you've sent before, just name your new file identically to the one you want to add new records to.
To enable LiveRamp to process your data quickly, Simple Onboard has specific file formatting requirements that must be met. Failure to follow these requirements will result in failed data ingestion, so make sure you understand them before you begin. See "Required File Format for Simple Onboard Files" for more information.
Create your file(s), following the Simple Onboard formatting requirements.
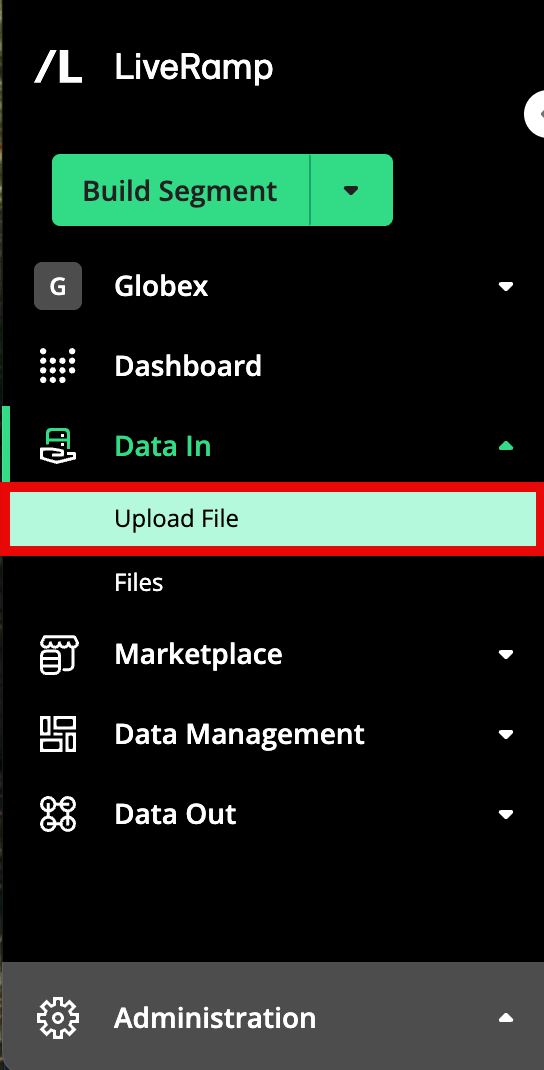
Navigate to the Upload Files - Simple Onboard page in Connect by clicking File Upload in the Connect navigation menu.
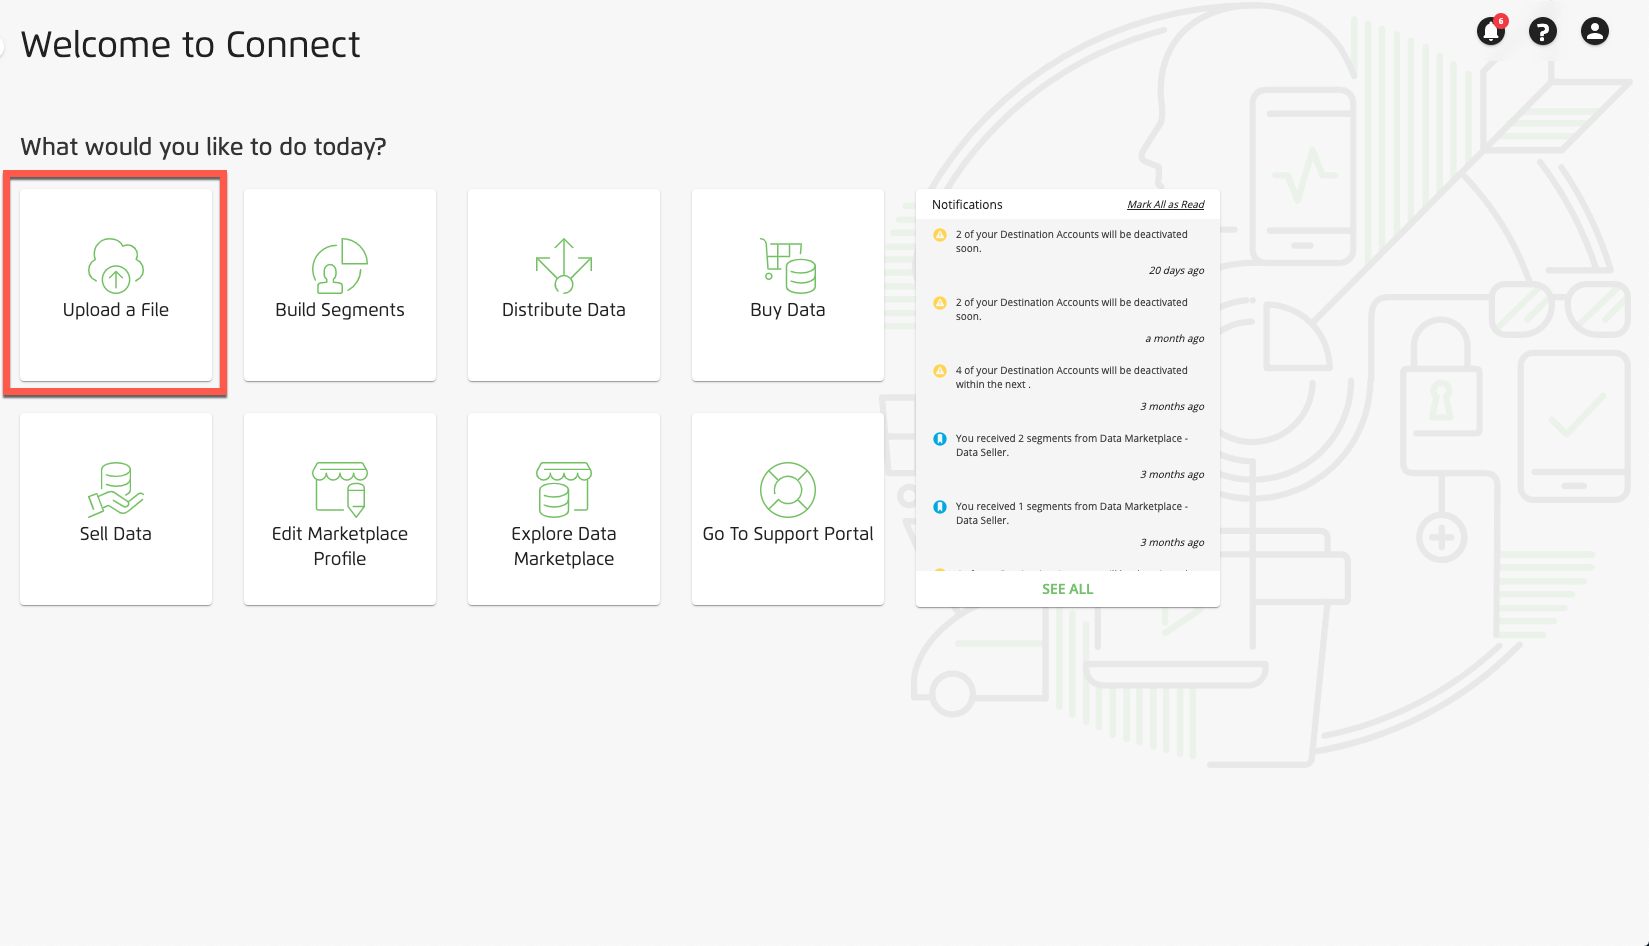
Tip
The Upload Files - Simple Onboard page can also be accessed by clicking the "Upload a File" tile from the Welcome screen.
Note
If selecting "Upload" does not take you to the Upload Files - Simple Onboard page, contact your LiveRamp Implementation team or create a support case (see "Using the LiveRamp Community Portal" for instructions).
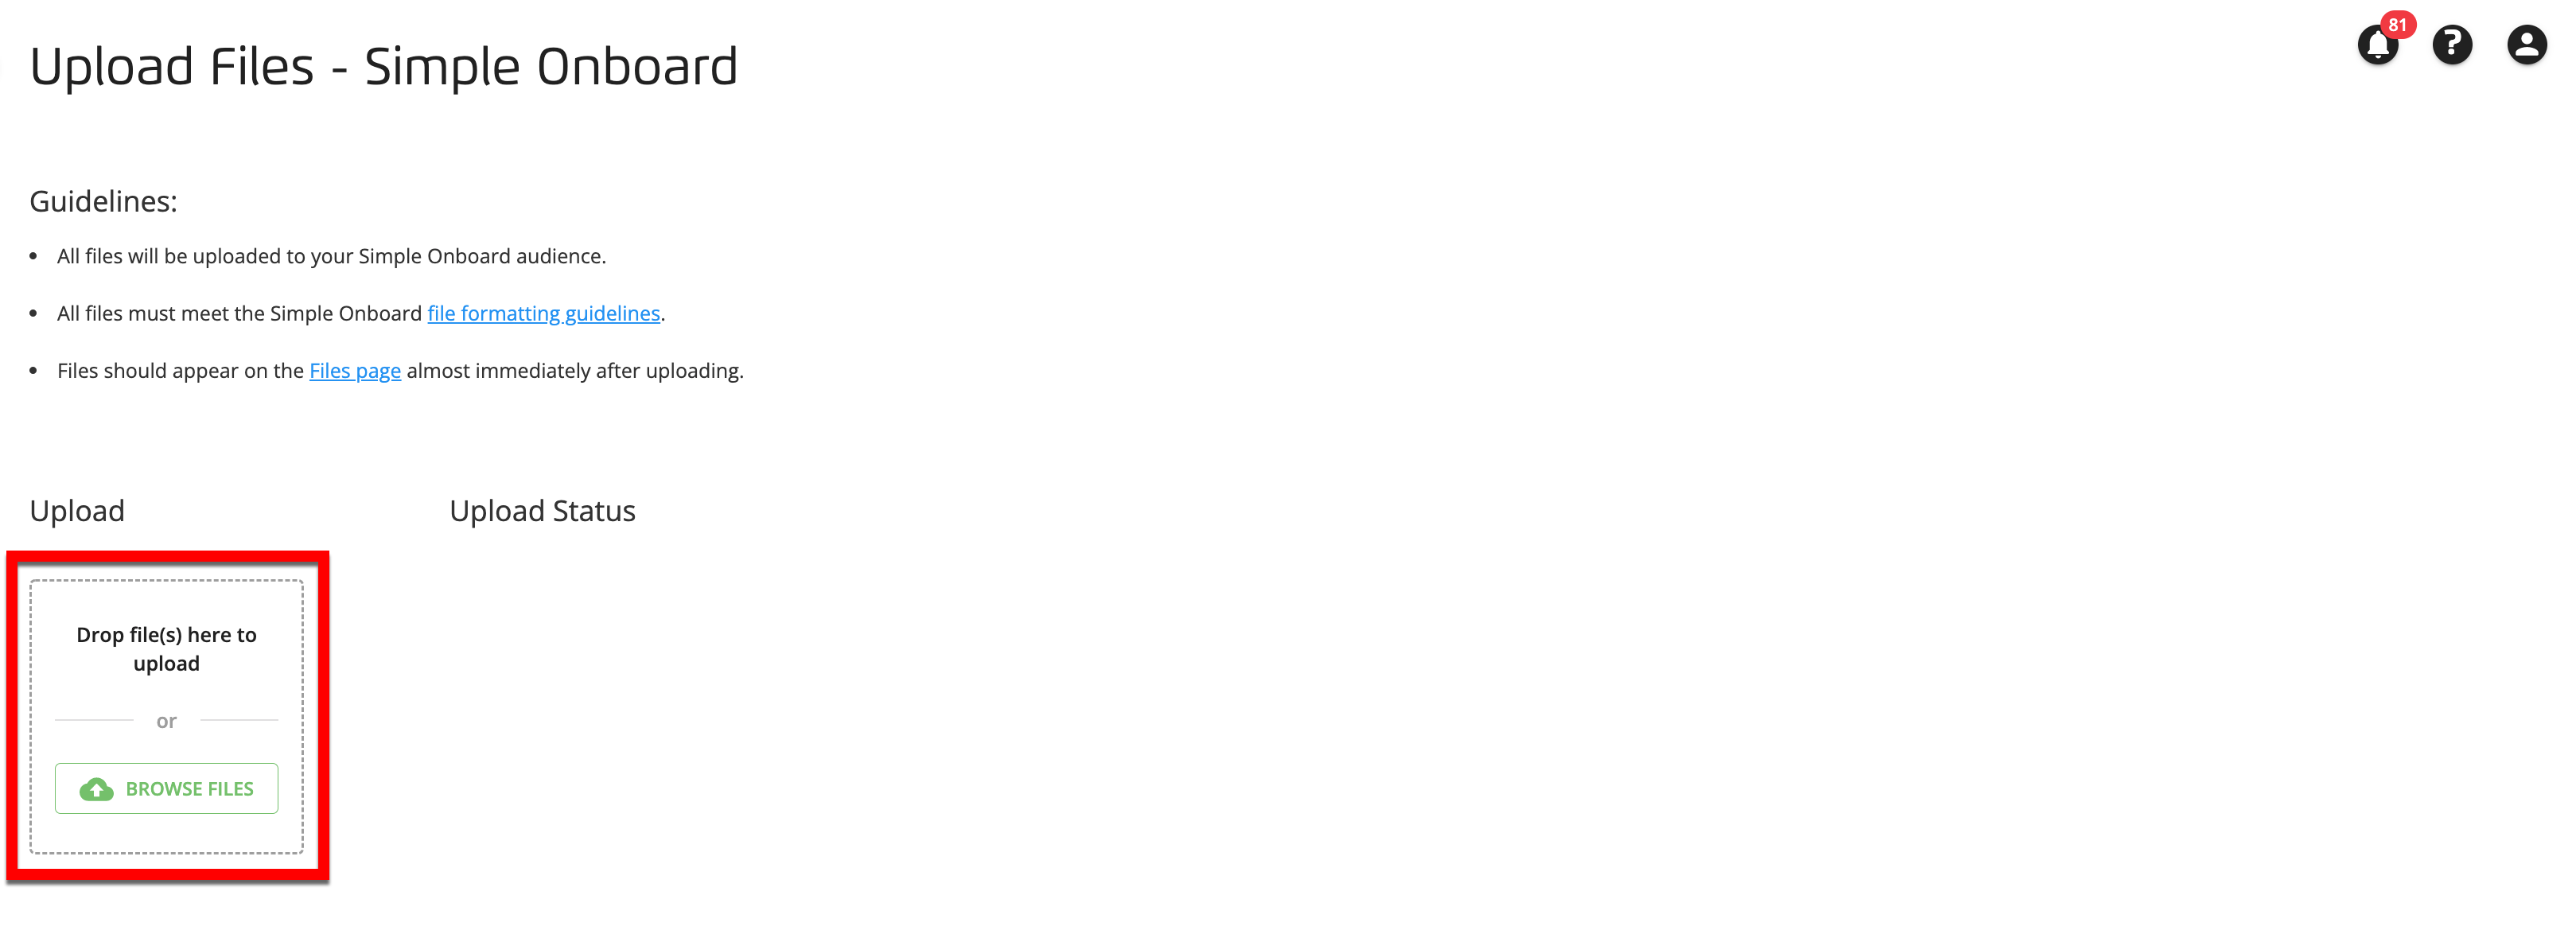
Either drag the desired file into the upload area, or click BROWSE FILES and then choose the file to upload.
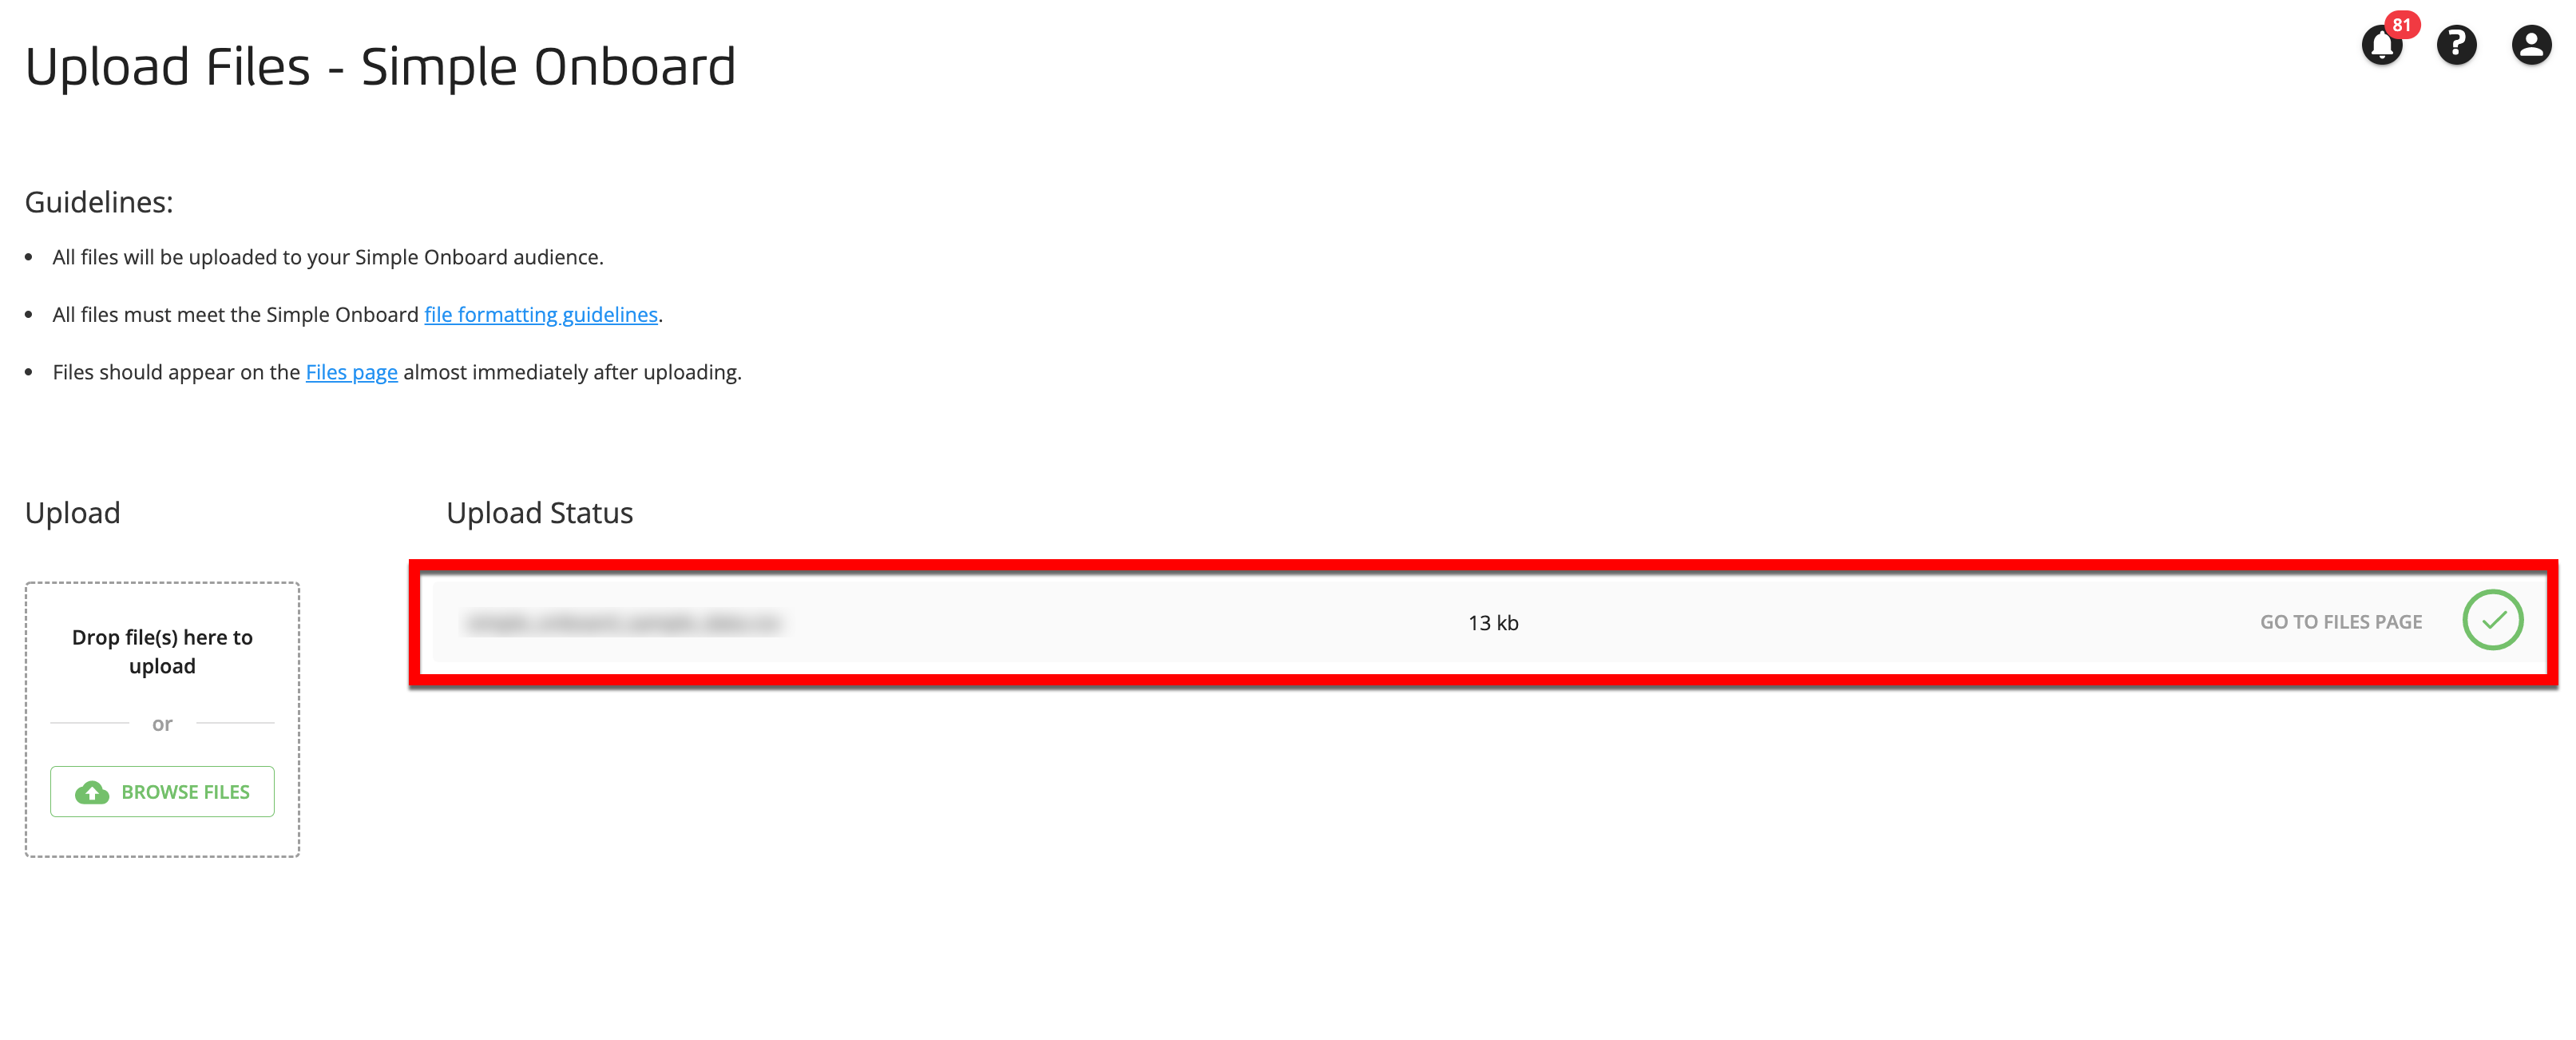
The upload process starts automatically. Within a few seconds after your upload completes, you'll see whether the file met our requirements and uploaded successfully:
If all requirements were met: A green check mark displays, and we'll create your new segment. You can then choose to upload another file, or move on to managing your segments and setting up distributions.
If one or more requirements were not met: A red "X" displays and you’ll get an error message. Correct your file by following the information in the error message and in “Troubleshooting Simple Onboard File Upload Errors”, and try uploading the file again.

Note
In rare circumstances, a problem might occur during processing that our initial scan didn't detect. If that happens we'll contact you with more information on how to correct the issue.
Repeat the previous step to upload any additional files.
After uploading, you can view your segment on the Audience Segments page for your Simple Onboard audience (from the Connect navigation menu, hover over and then select the desired audience) or distribute the segment that was created from the file to your desired destinations.