Reactivate an Existing Destination Account
At times you might want to reactivate an existing destination account that you previously made inactive. You might also want to reactivate an existing destination account that has “expired” and became inactive because it reached its end date.
At times you might want to reactivate an existing destination account that you previously made inactive. You might also want to reactivate an existing destination account that has “expired” and became inactive because it reached its end date.
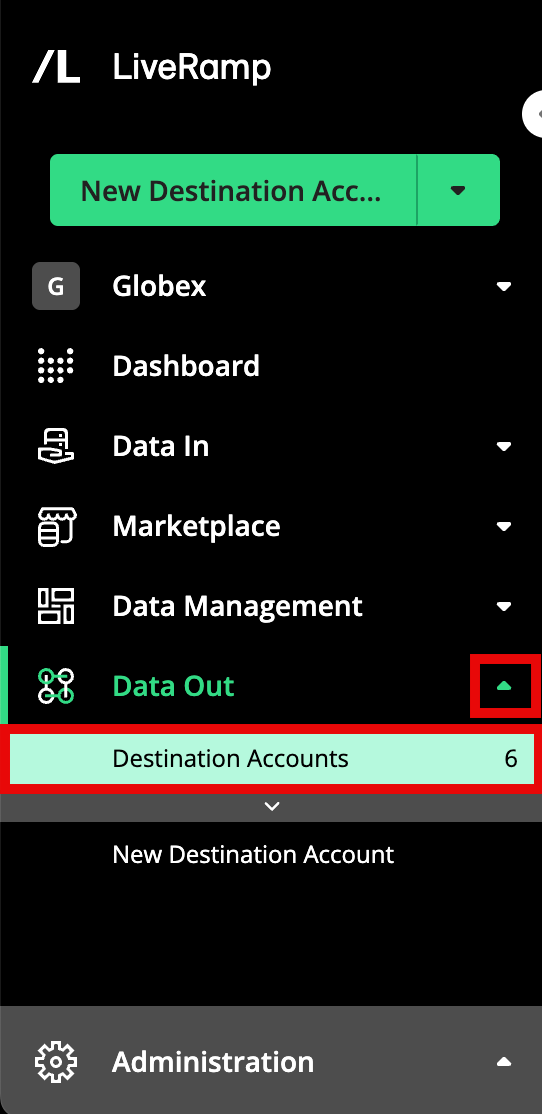
From the navigation menu, select Data Out → Destination Accounts or click the Distribute Data tile from the Welcome page.to navigate to the Destination Accounts page.
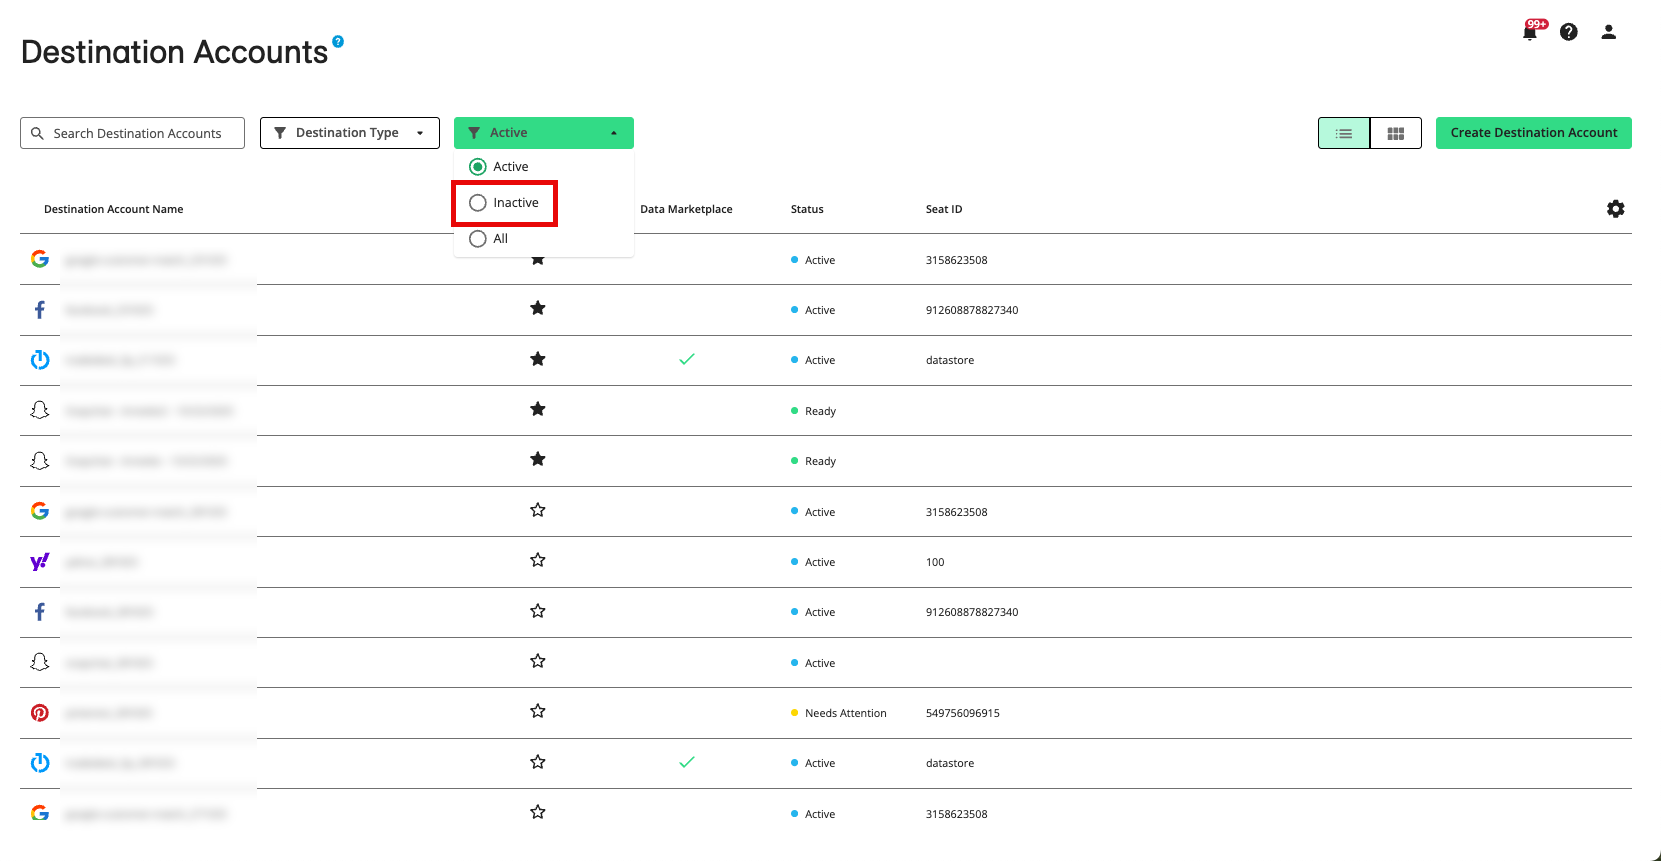
Select the "Inactive" filter setting (by default, the list of destination accounts is initially filtered to show only active destination accounts).
Note
Destination accounts that you you've marked as "favorites" will appear at the top of the list, followed by destination accounts that have been recently created.
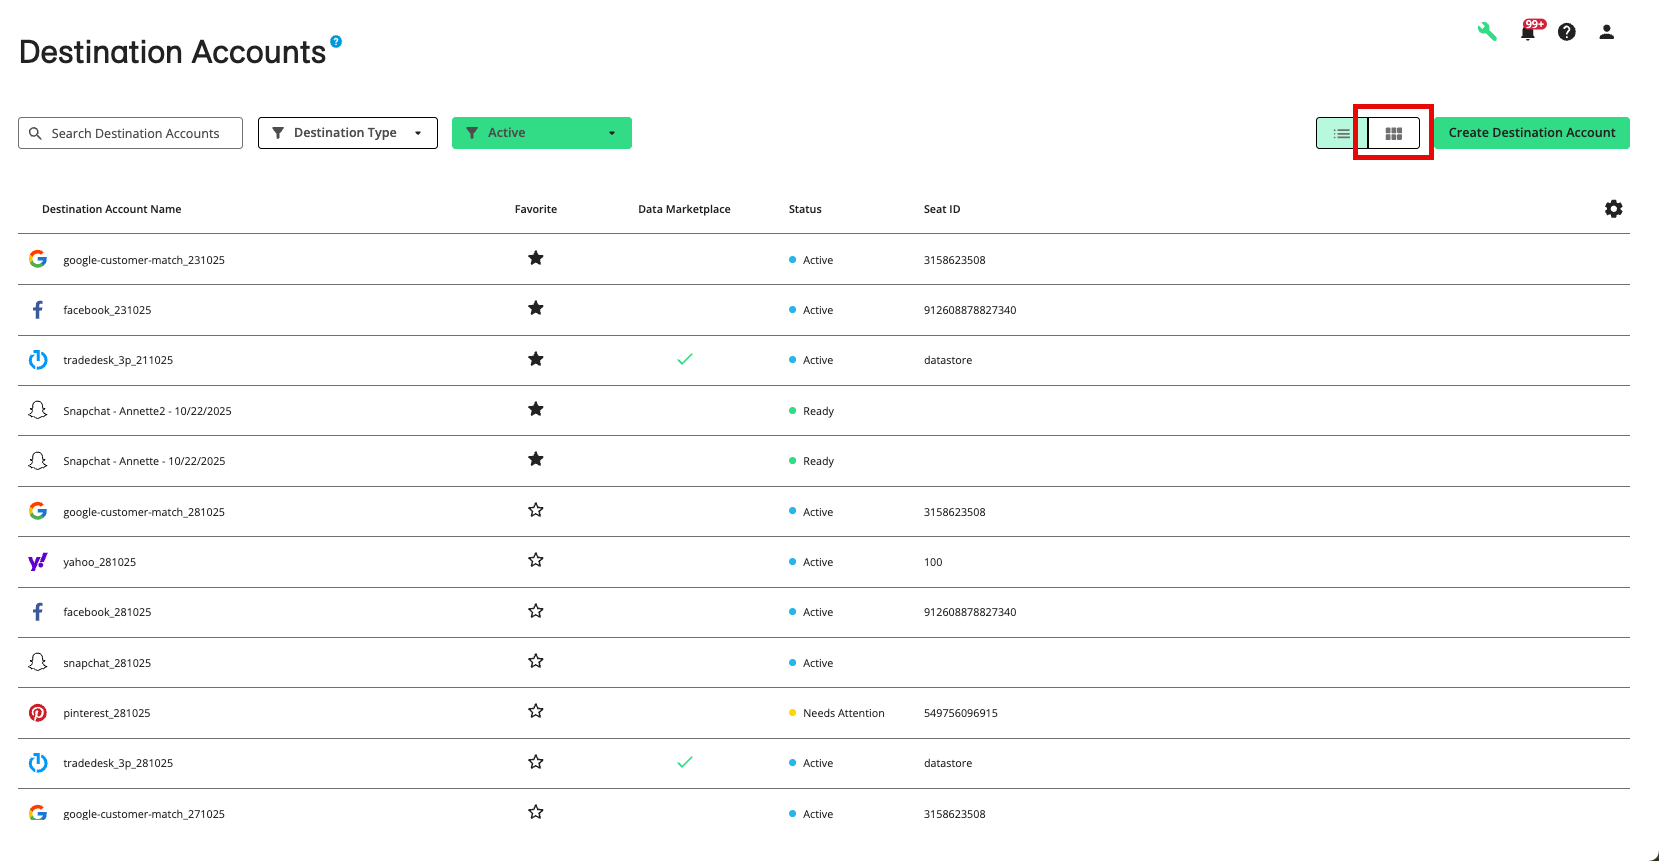
To switch from table view to tile view, click the Tile View icon.
Locate the appropriate destination account.
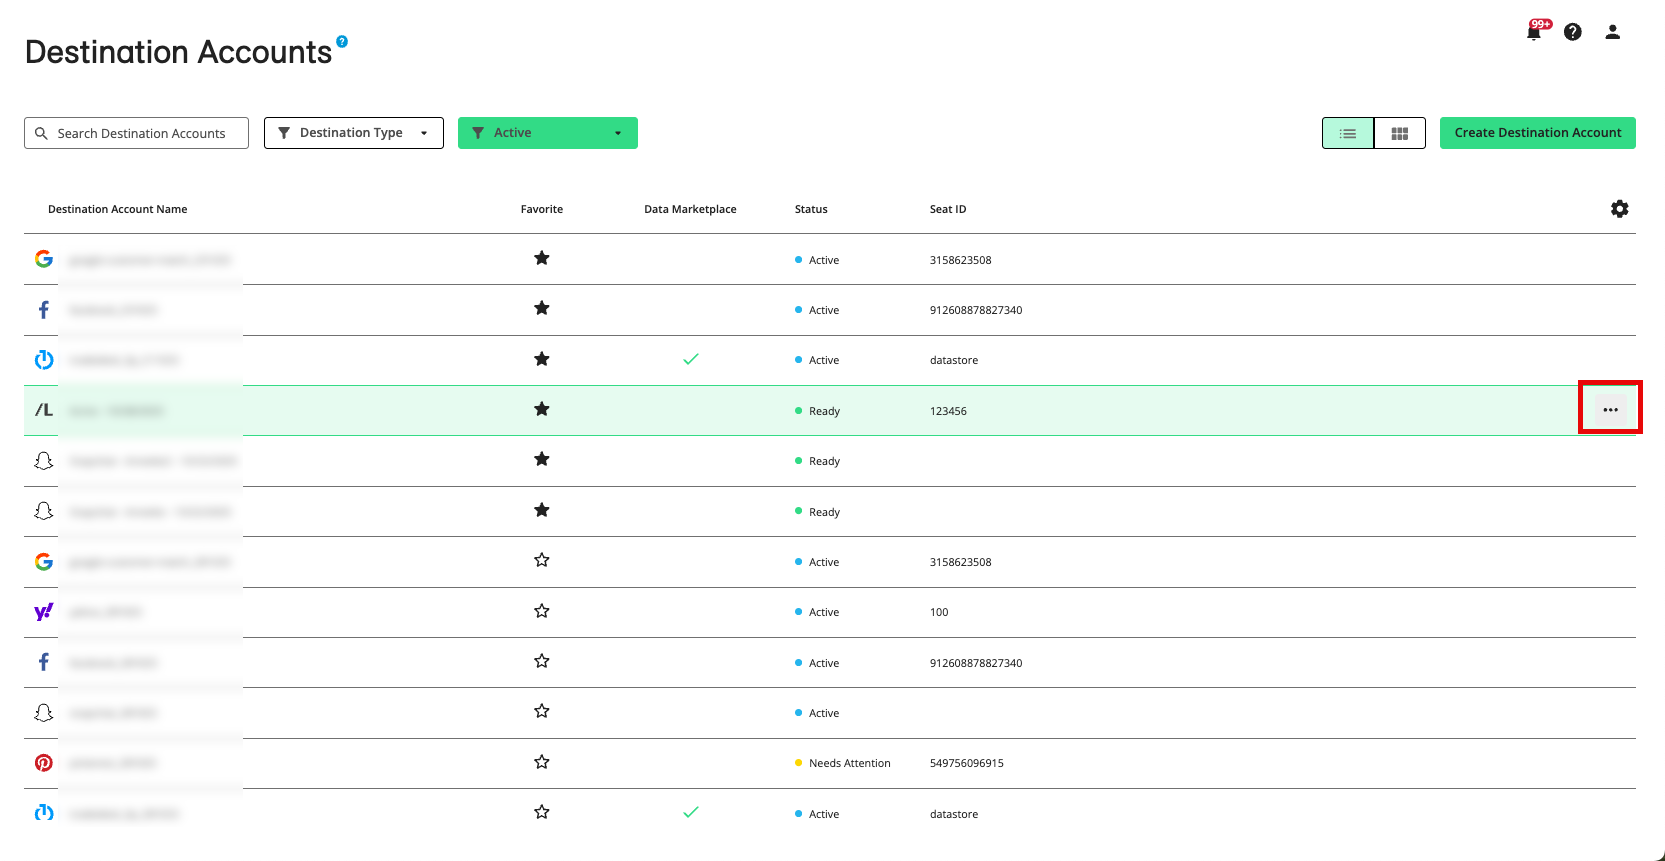
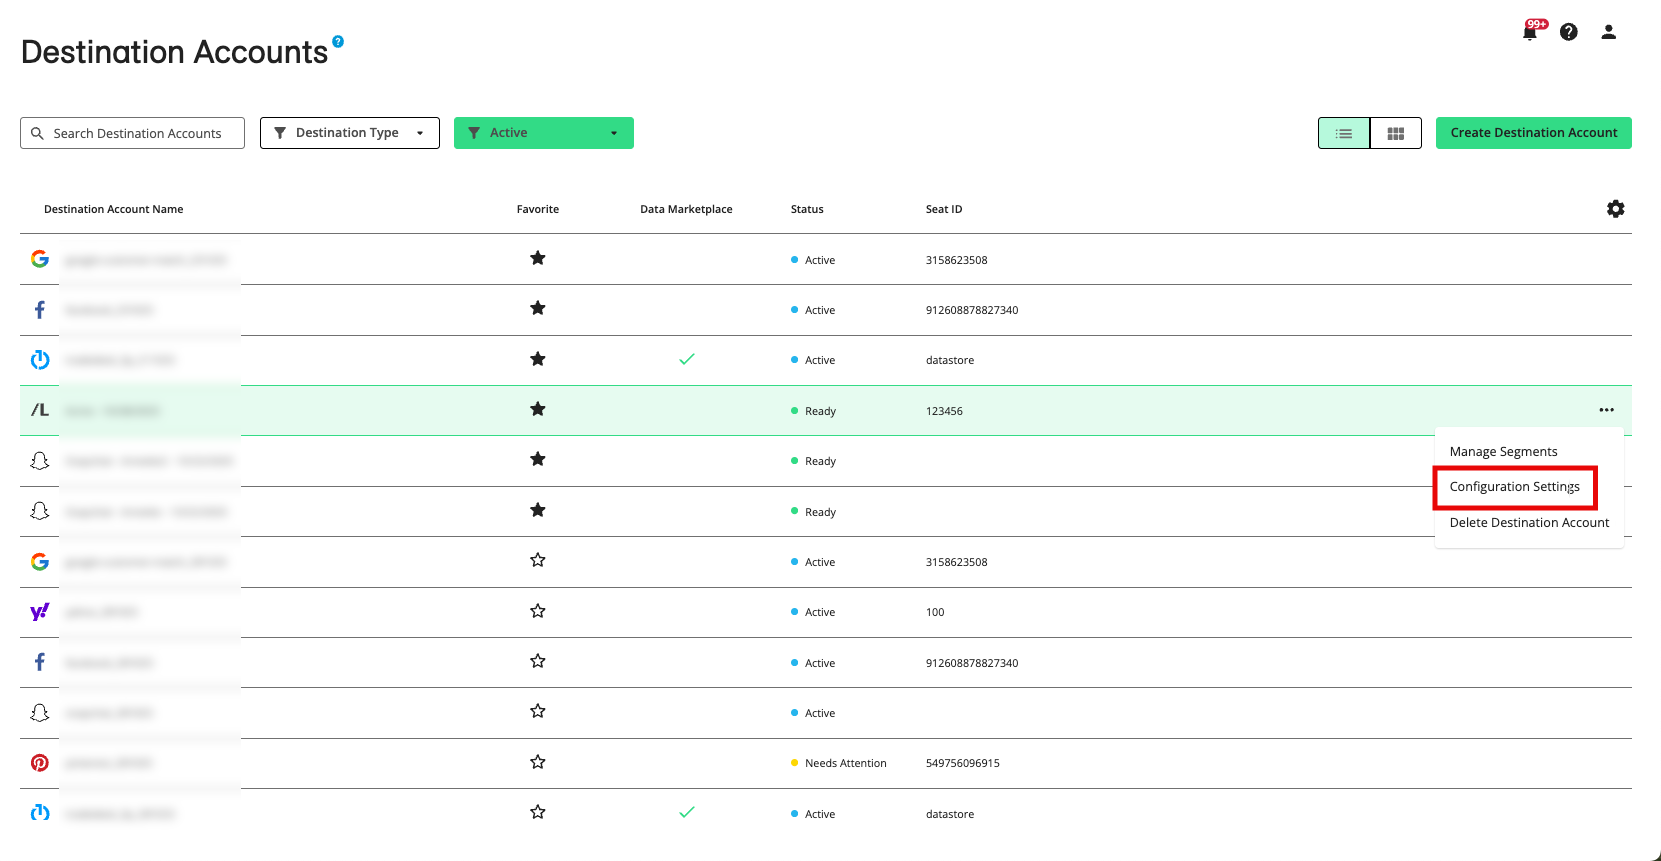
Navigate to the Edit Destination Account Configuration page for that destination account in one of the following ways:
In table view: From the More Options menu that appears when you hover over the row, select Configuration Settings.
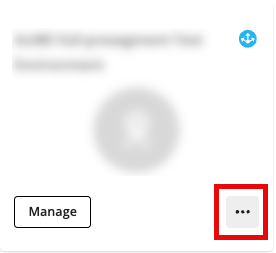
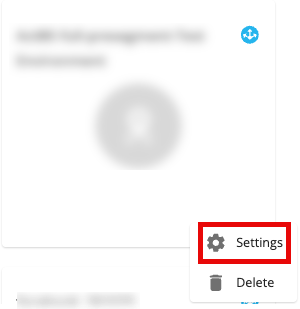
In tile view: Click the ellipses (three dots) in the lower right-hand corner of a tile and then select Settings.
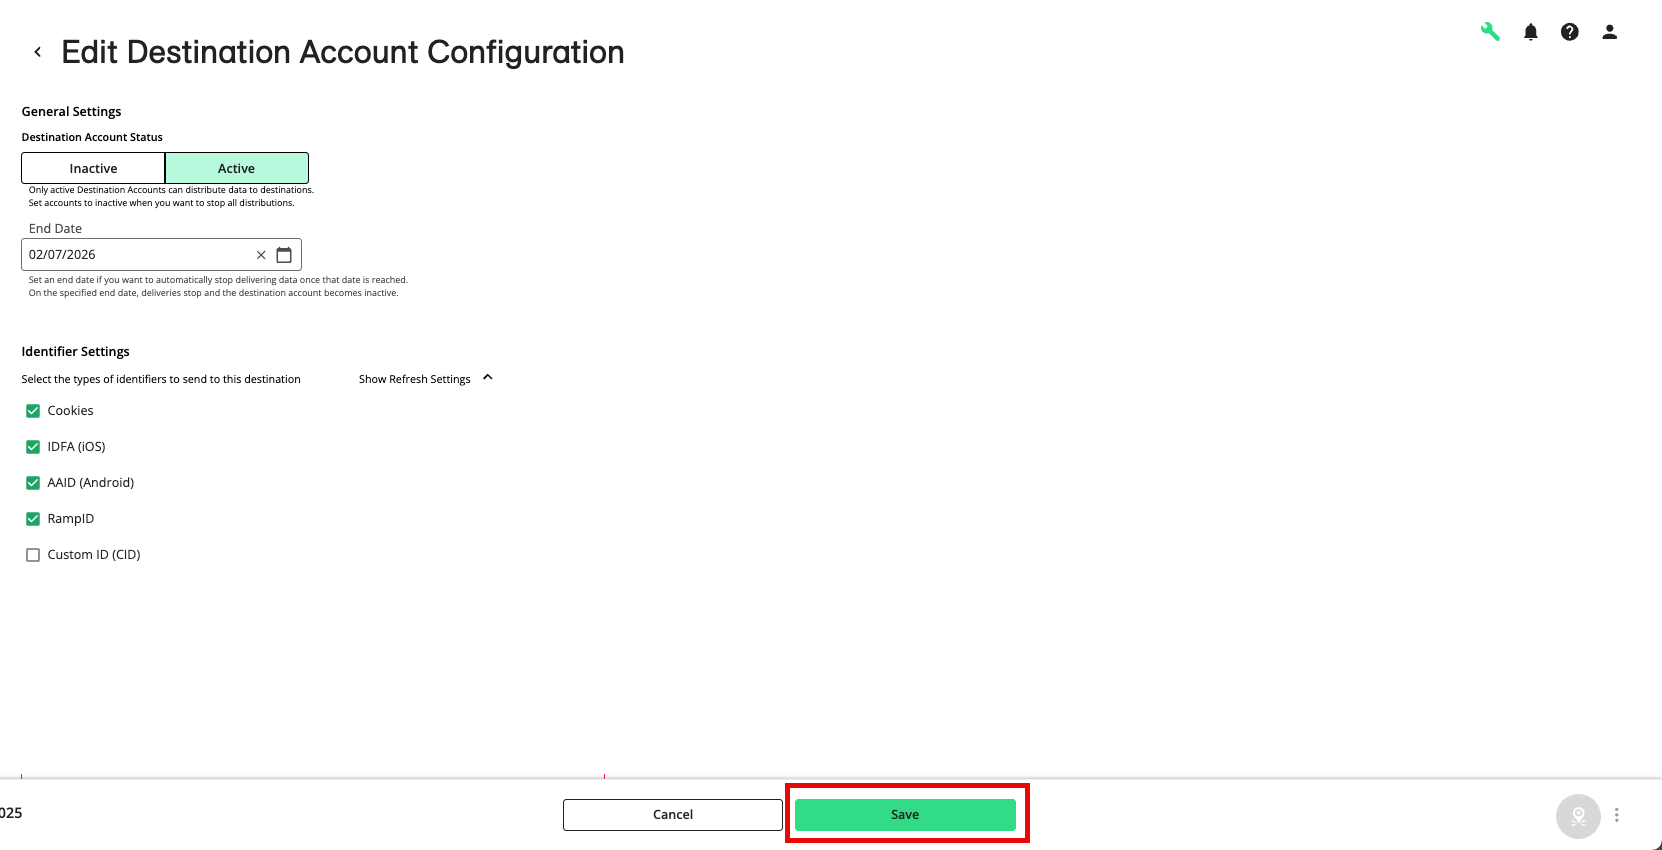
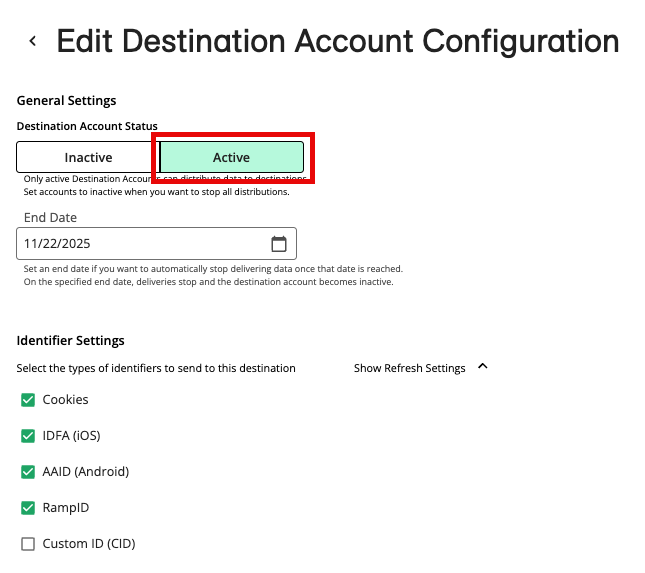
Under Destination Account Status, select “Active”.
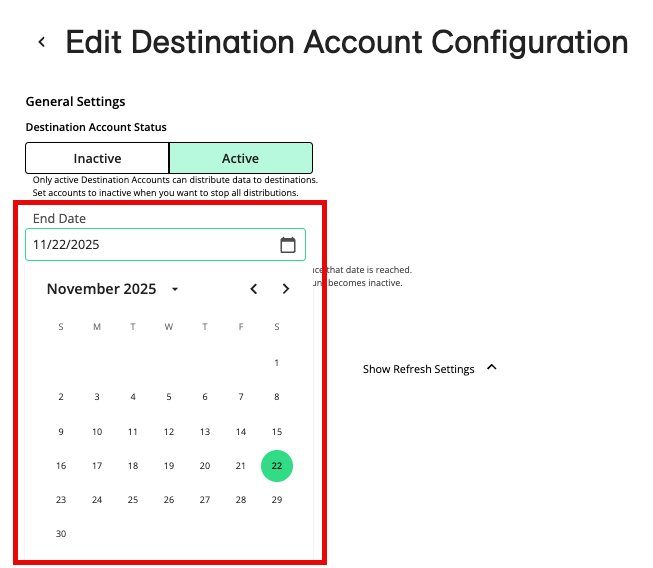
If the destination account became inactive because it reached its end date, either select a new end date or choose the “no end date” option.
Note
You will not be able to save the new properties if the end date is a past date.
Click Save.
