Add and Manage User Accounts in Console
You can invite new users so they have access to your Console account and manage existing users' details and permissions. You can also transfer your account to another user so they have the same permissions that you have.
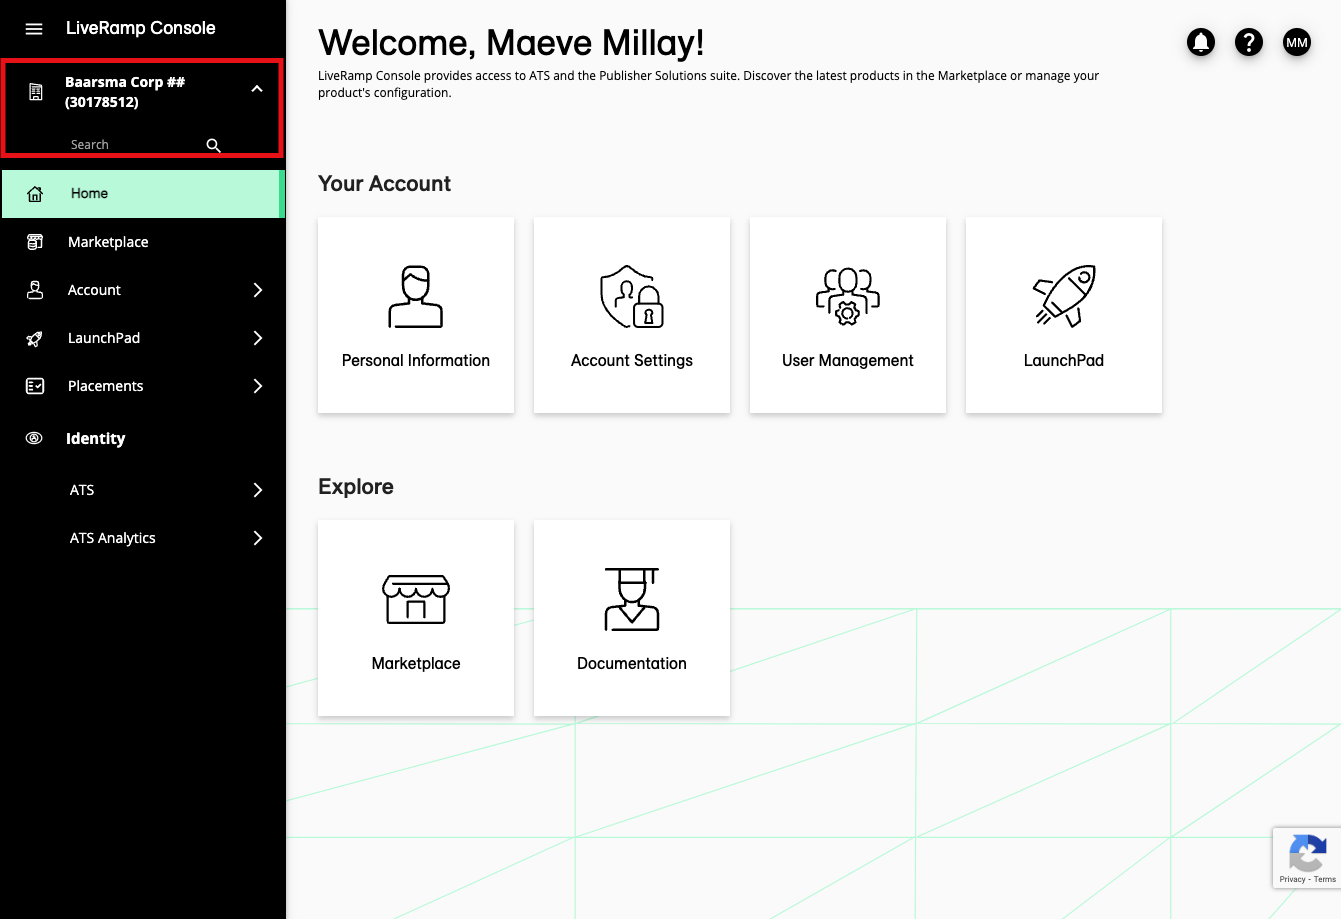
To get to the User Management screen, from the navigation menu, select Account → User Management.
Check Which Permissions You Have
Only users with the User Management permission can manage users. If you are the account creator, you will have all permissions by default. Otherwise, the administrator would have granted you the permissions.
To check which permissions you have, in the User Management screen, click on the three dots corresponding to your account and select "My Permissions". Your permissions will be displayed under "Permissions".
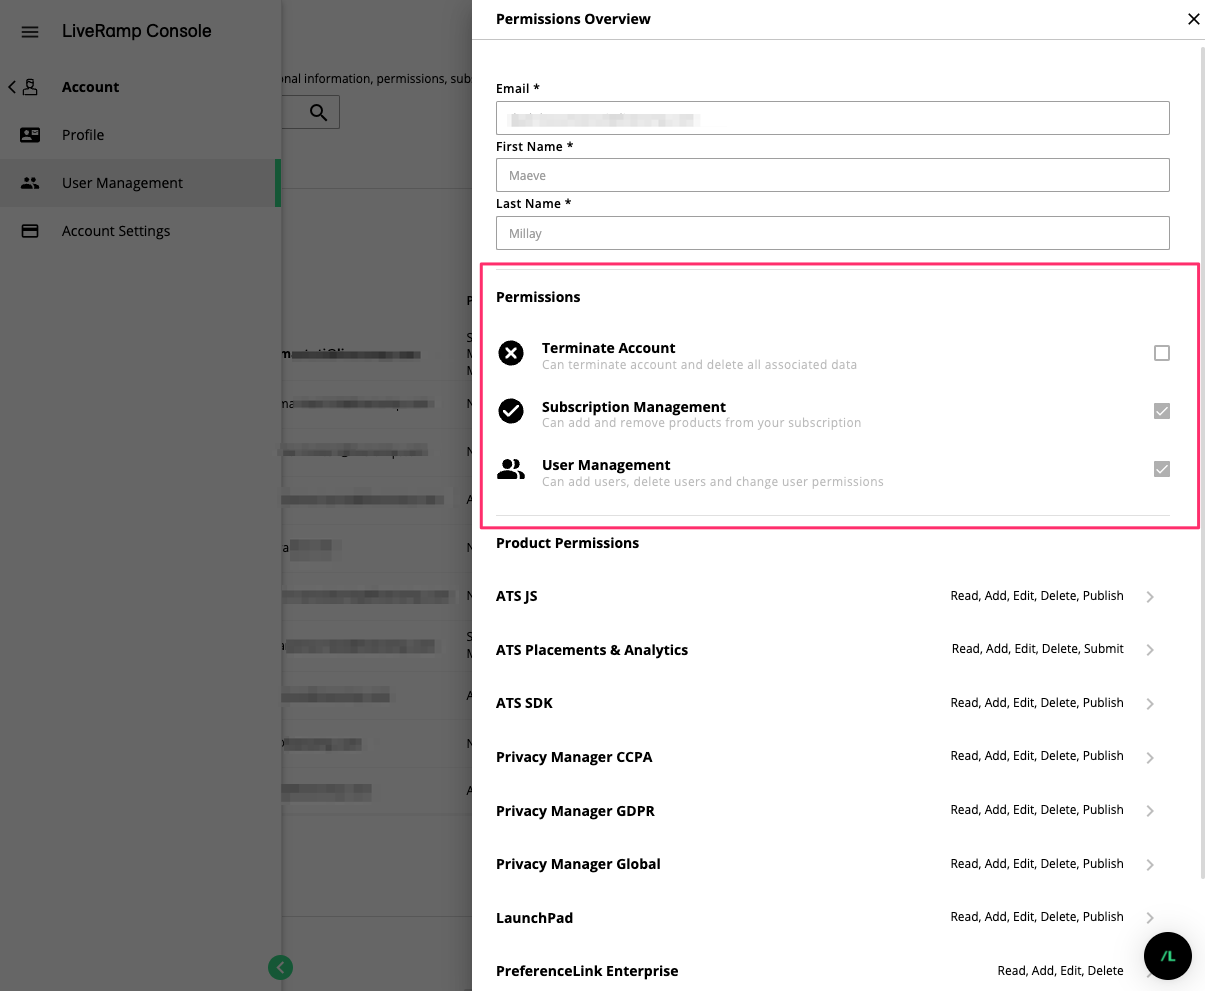
To learn more about permissions, see "Permissions in Console".
Add a User to Your Account
To add a user, click on the top right-hand corner.

When adding a new user, you can provide the following attributes:
First Name: The first name of the new user.
Last Name: The last name of the new user.
Email Address: The email address of the new user. An invitation will be sent to this email address for user verification.
Permissions: The general permissions that are applied to Console management. See "Permissions in Console" to learn more.
Product Permissions: These permissions can be applied to individual products in Console, allowing you to control granular access to specific products. The permissions can be set per-product or for all products simultaneously by selecting "Set All."
Note
You cannot grant more permissions to new users than what you have in your own account.
After clicking , the invitee will receive an invitation via email. After receiving the invitation, the invitee will have to activate the account to get access. The invitation will expire after 7 days.
Delete a User
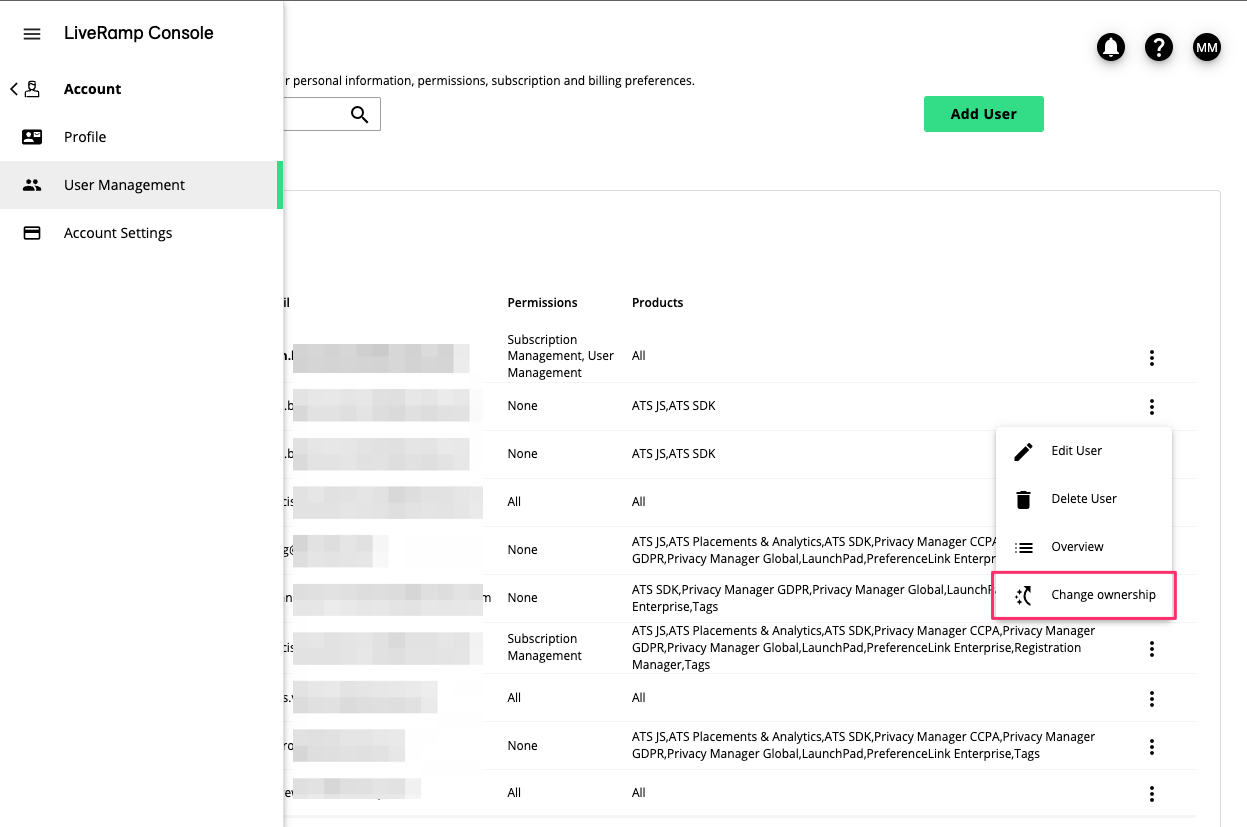
To delete a user, click the three dots corresponding to the user and select "Delete User".
Working with Multiple Accounts
A single user can be invited to Console by multiple accounts. If a user has access to multiple accounts, they can easily navigate between each account via the account switcher on the top of the navigation menu. For a large number of accounts, use the search bar to search for the desired account.
Transferring Account Ownership
If you no longer need to access Console, you can transfer your account to another user in your company. By switching your account ownership, you remove all your current permissions in Console and transfer all of them to another user so they can access and execute the same tasks you did.
To change ownership of your account, in the User Management screen, click on the three dots corresponding to the other user and click "Change Ownership".
Grant Support Access
For troubleshooting purposes, you can grant our support team temporary access to your account in Console. To do this, click the button in the "User Management" screen and select the time limit for which the access will be valid.