Create a Scheduled Job Flow
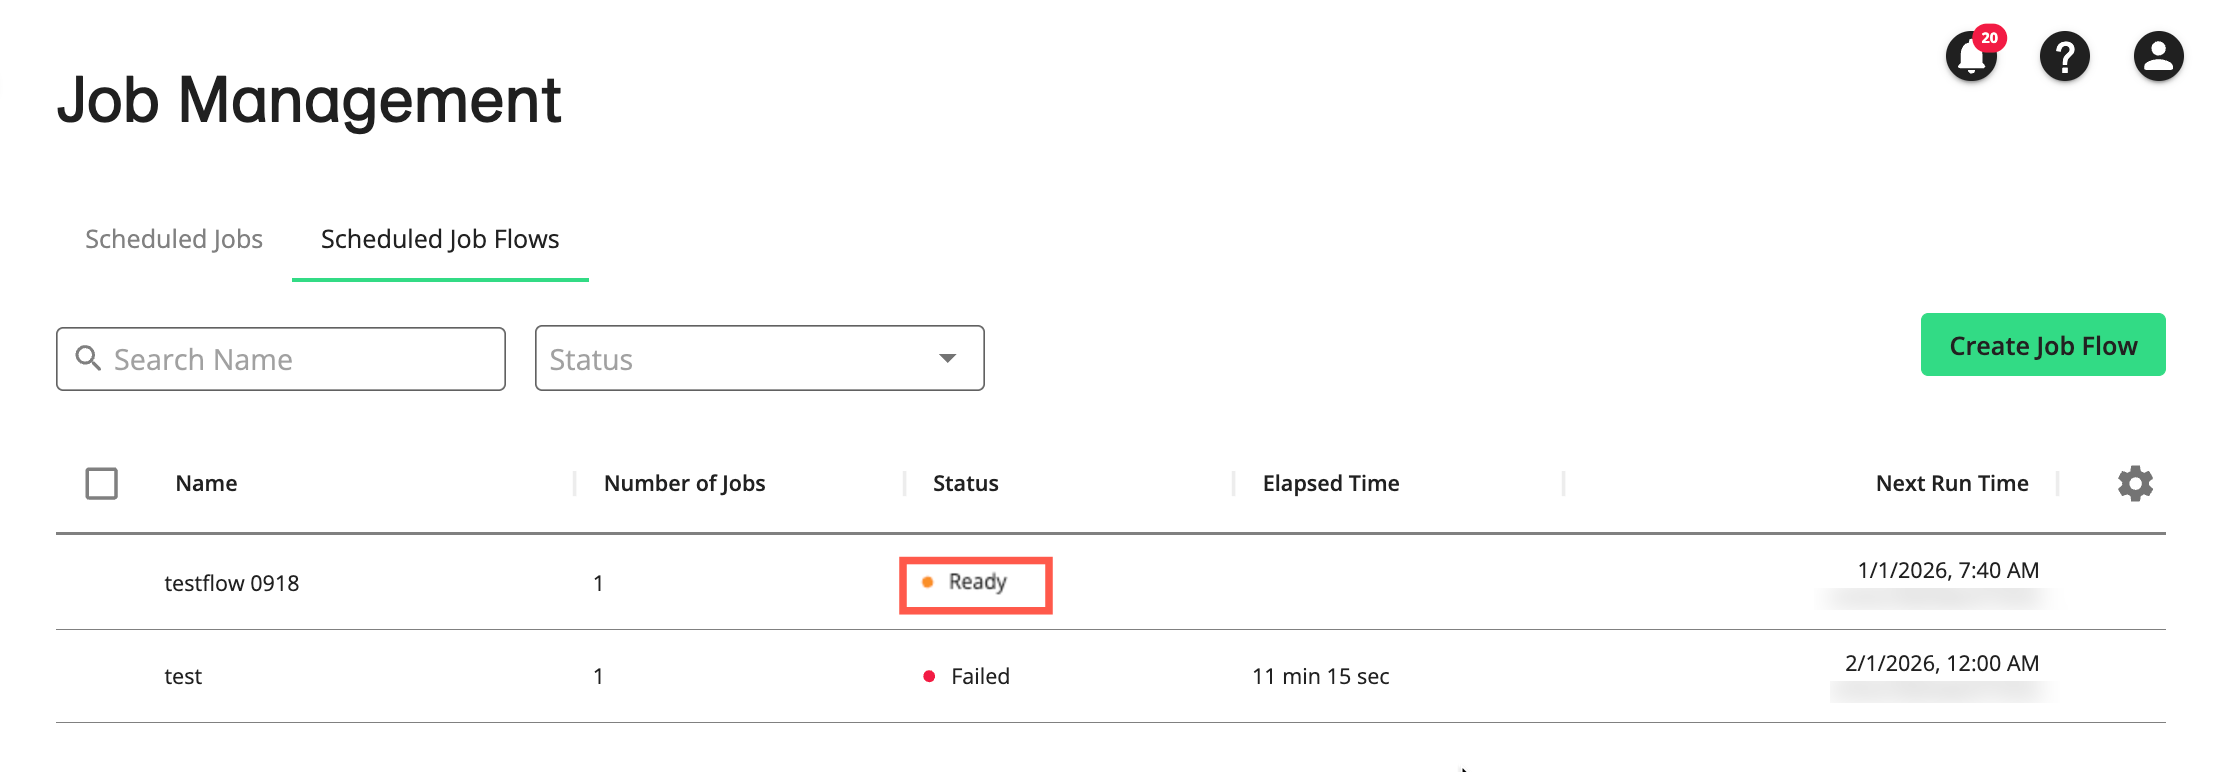
From the “Scheduled Job Flows” tab of the Job Management page in Safe Haven, you can click to configure a new scheduled job flow. After you create a job flow, it will appear on the Job Management page under the "Scheduled Job Flows" tab. From there, you can view its status, see its next scheduled run time, and perform actions such as editing, running, stopping, or deleting it.
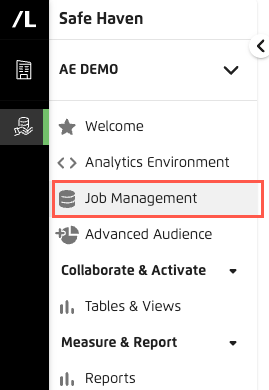
In the left navigation bar, click Job Management.
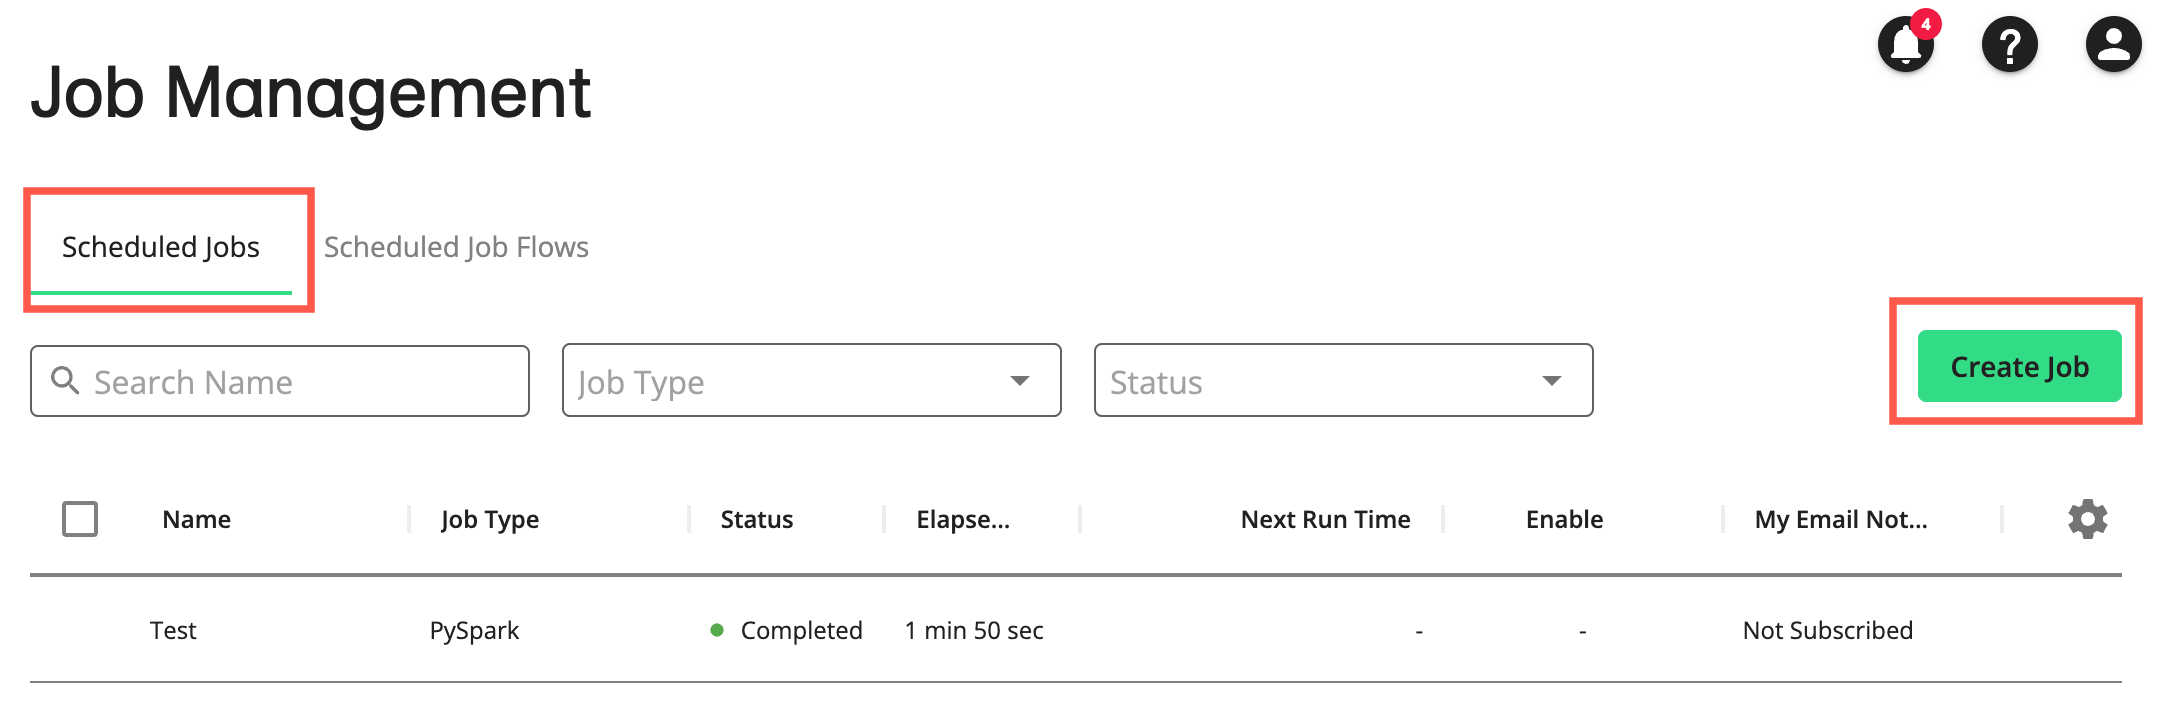
The Job Management page displays, with the "Scheduled Jobs" tab selected by default.

Select the "Scheduled Job Flows" tab, and click .
The Create Job Flow page displays the "Details" step.
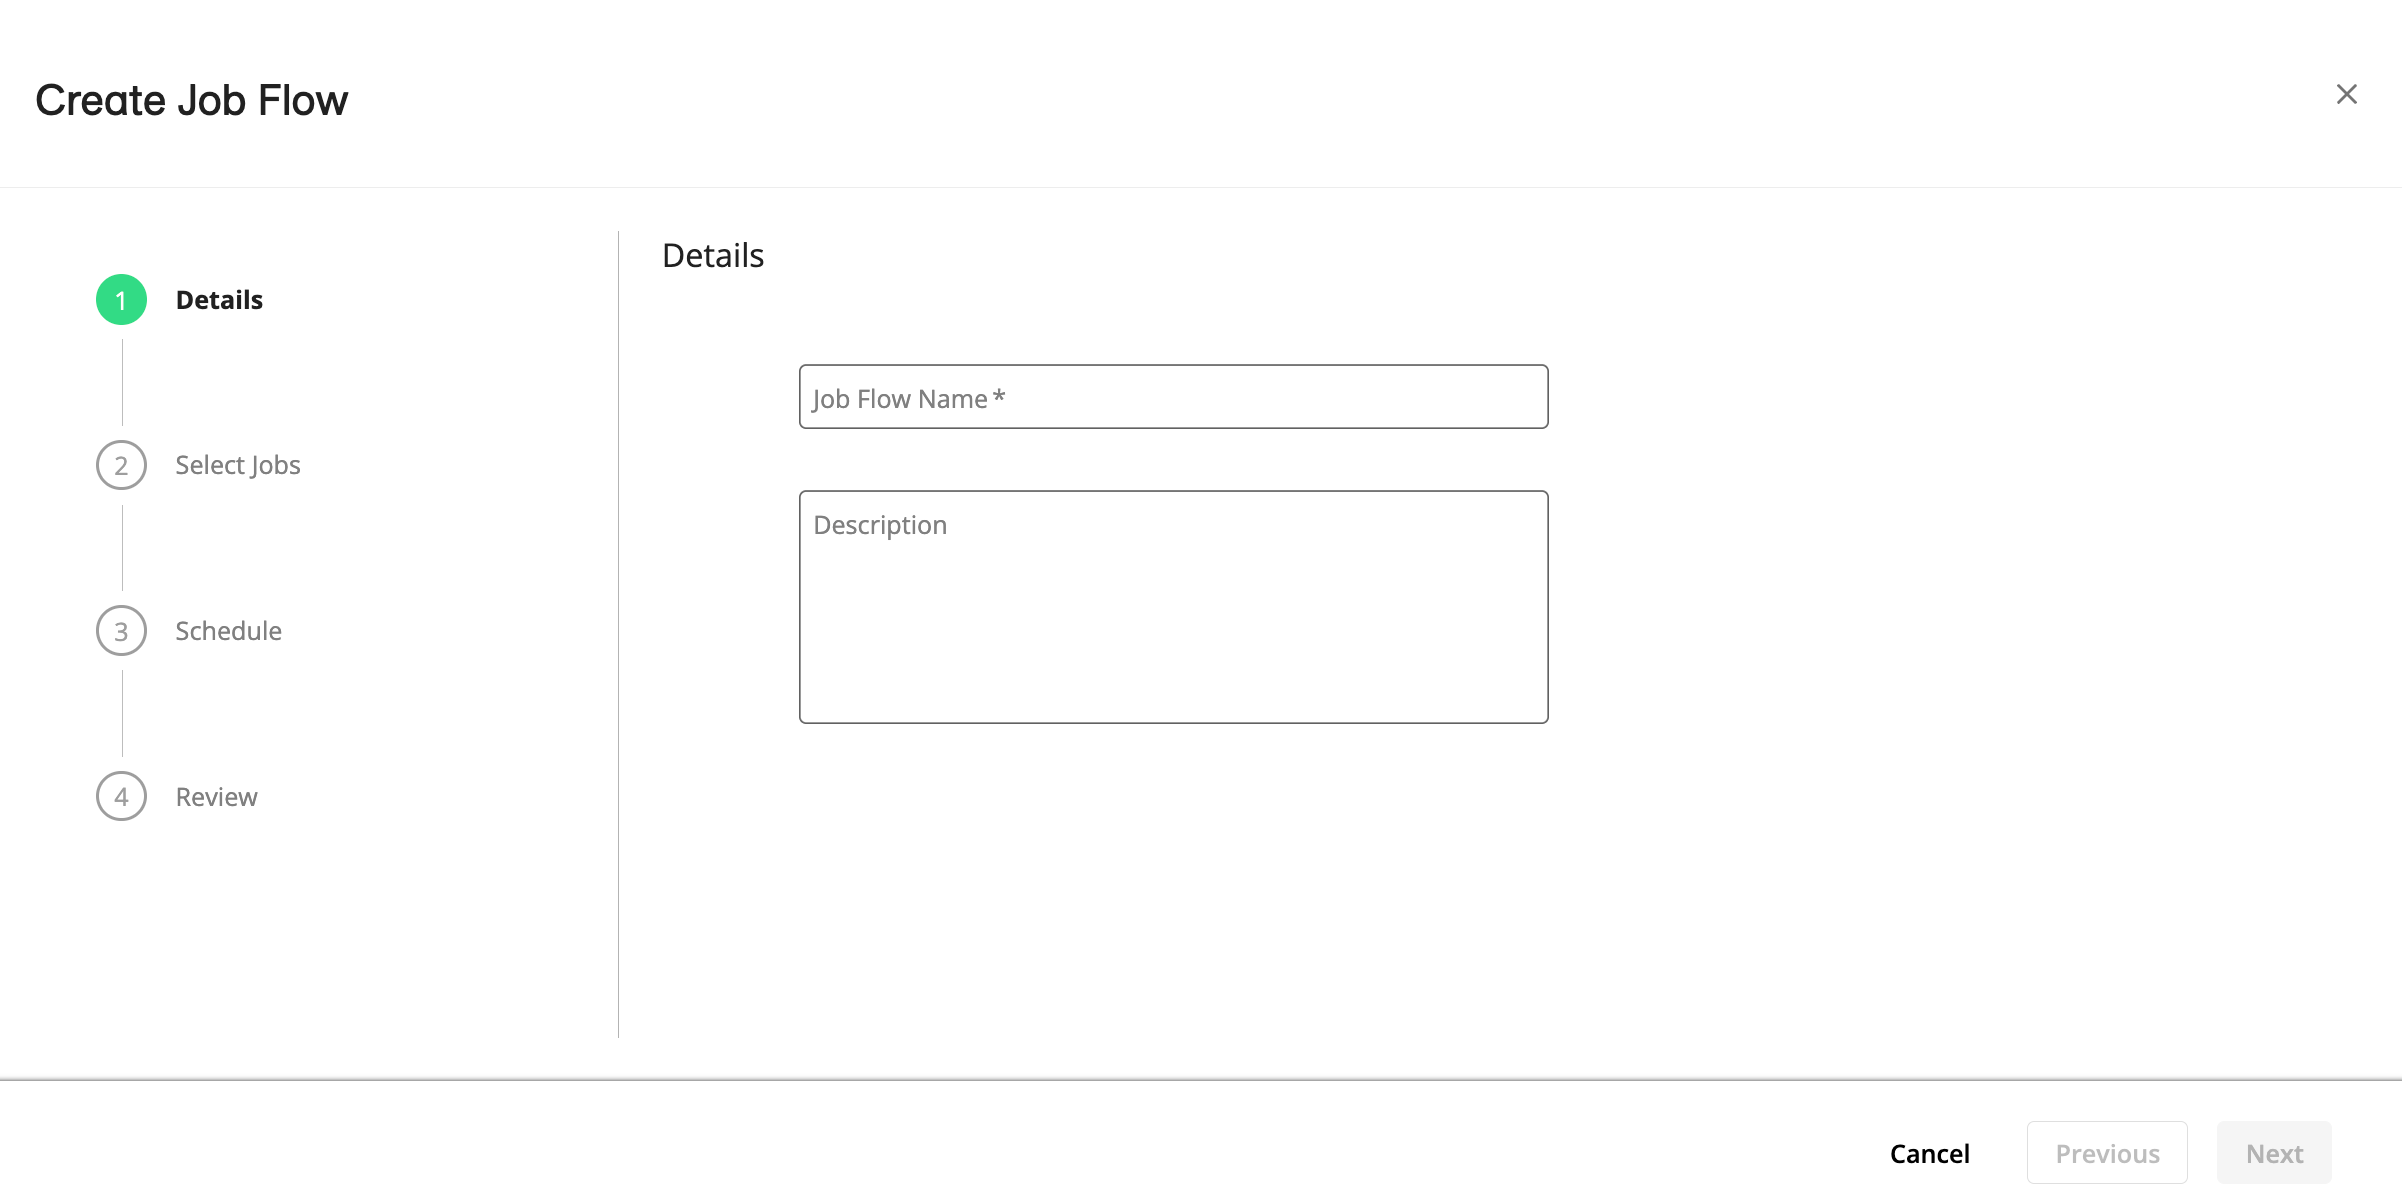
Enter a unique name for the job flow and a description so that you can remember what the job flow does and then click .
The "Select Jobs" step displays.
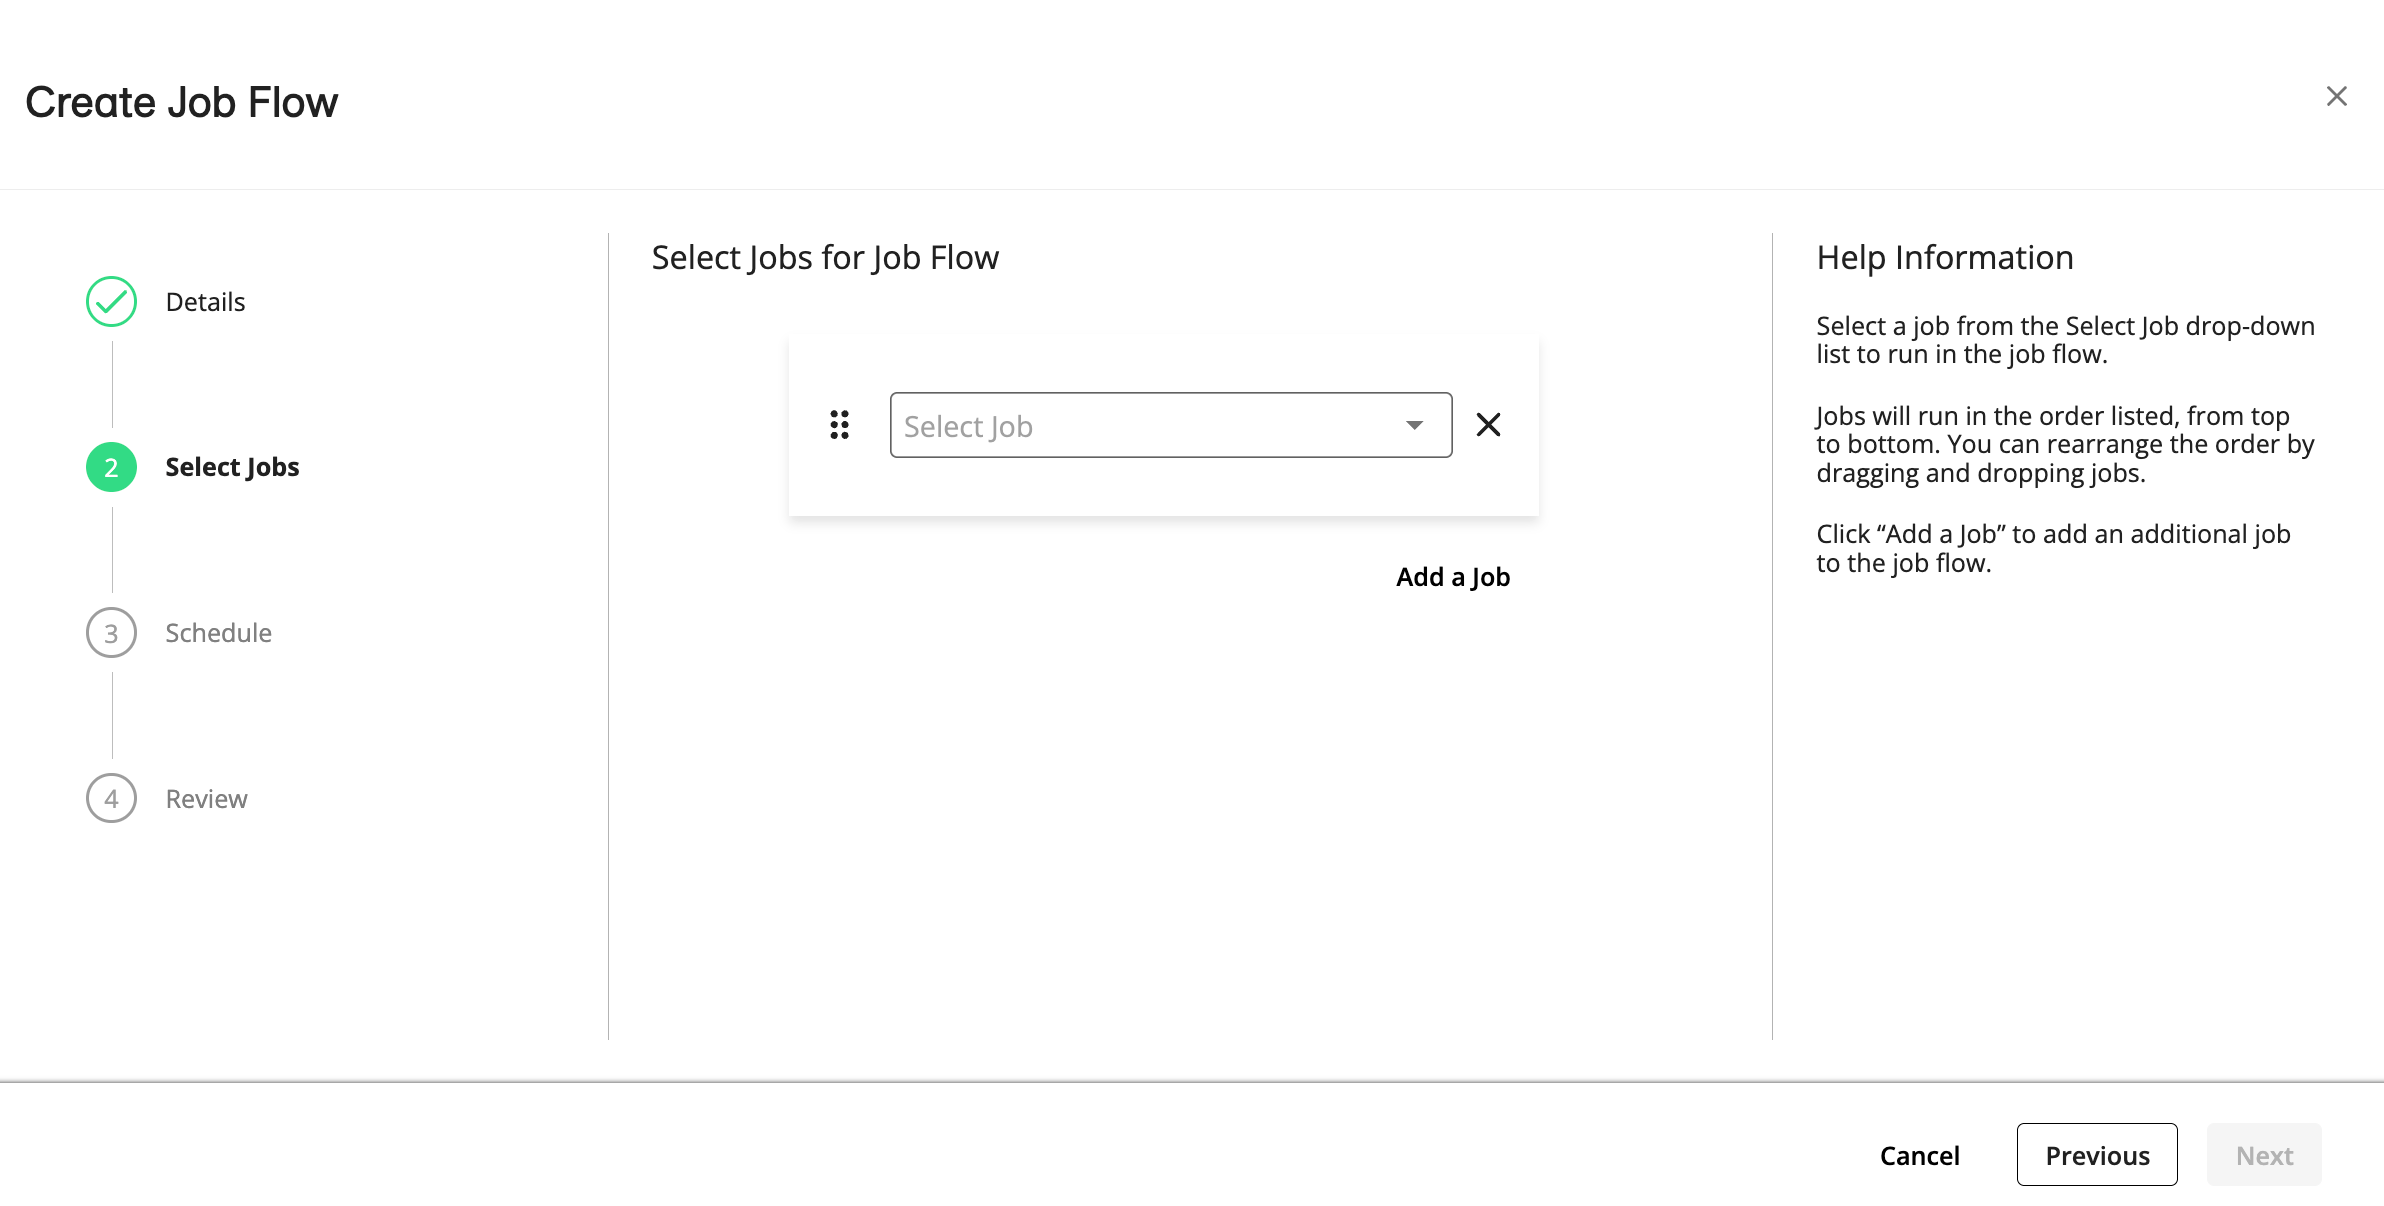
Select a job from the dropdown list to run in the job flow.
Note
Each job added to the job flow must be unique. Adding multiple instances of the same job can cause the job flow to fail.
To avoid job flow failures, ensure that the job flow schedule and individual job schedules do not conflict. For instance, a job flow will fail if it attempts to run a job that is already in progress.
BigQuery jobs added to the job flow must be enabled to prevent job flow failures.
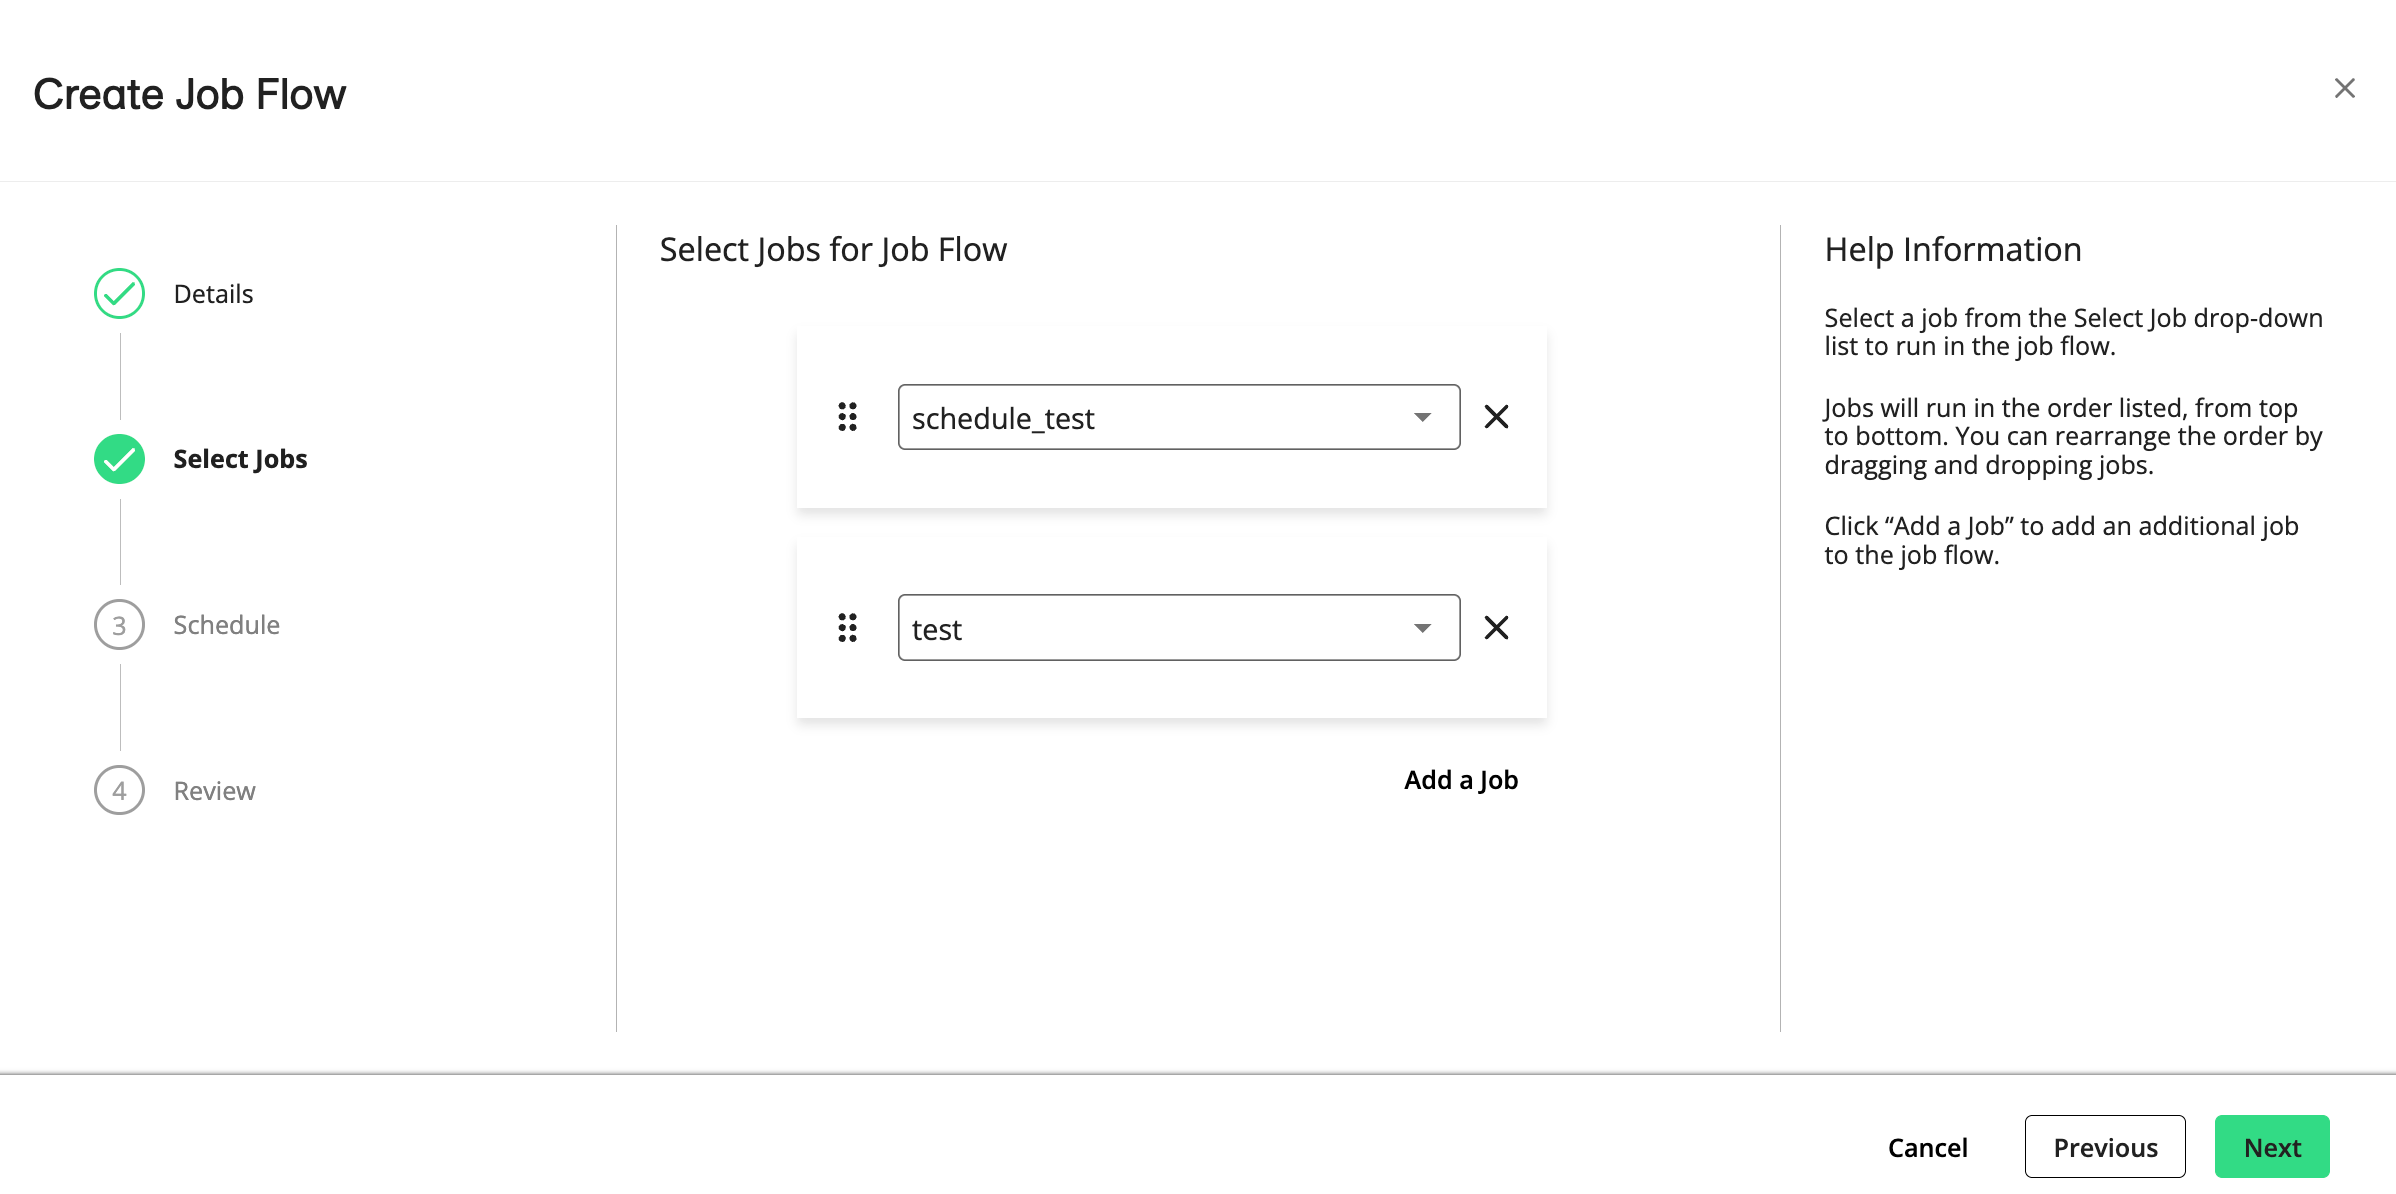
To add another job to the job flow, click and select a job from the dropdown list. Jobs will run in the order listed, from top to bottom. You can rearrange the order by dragging and dropping jobs.
Note
Currently, if a job fails to run in the job flow, the job flow will stop and not proceed to the next job.
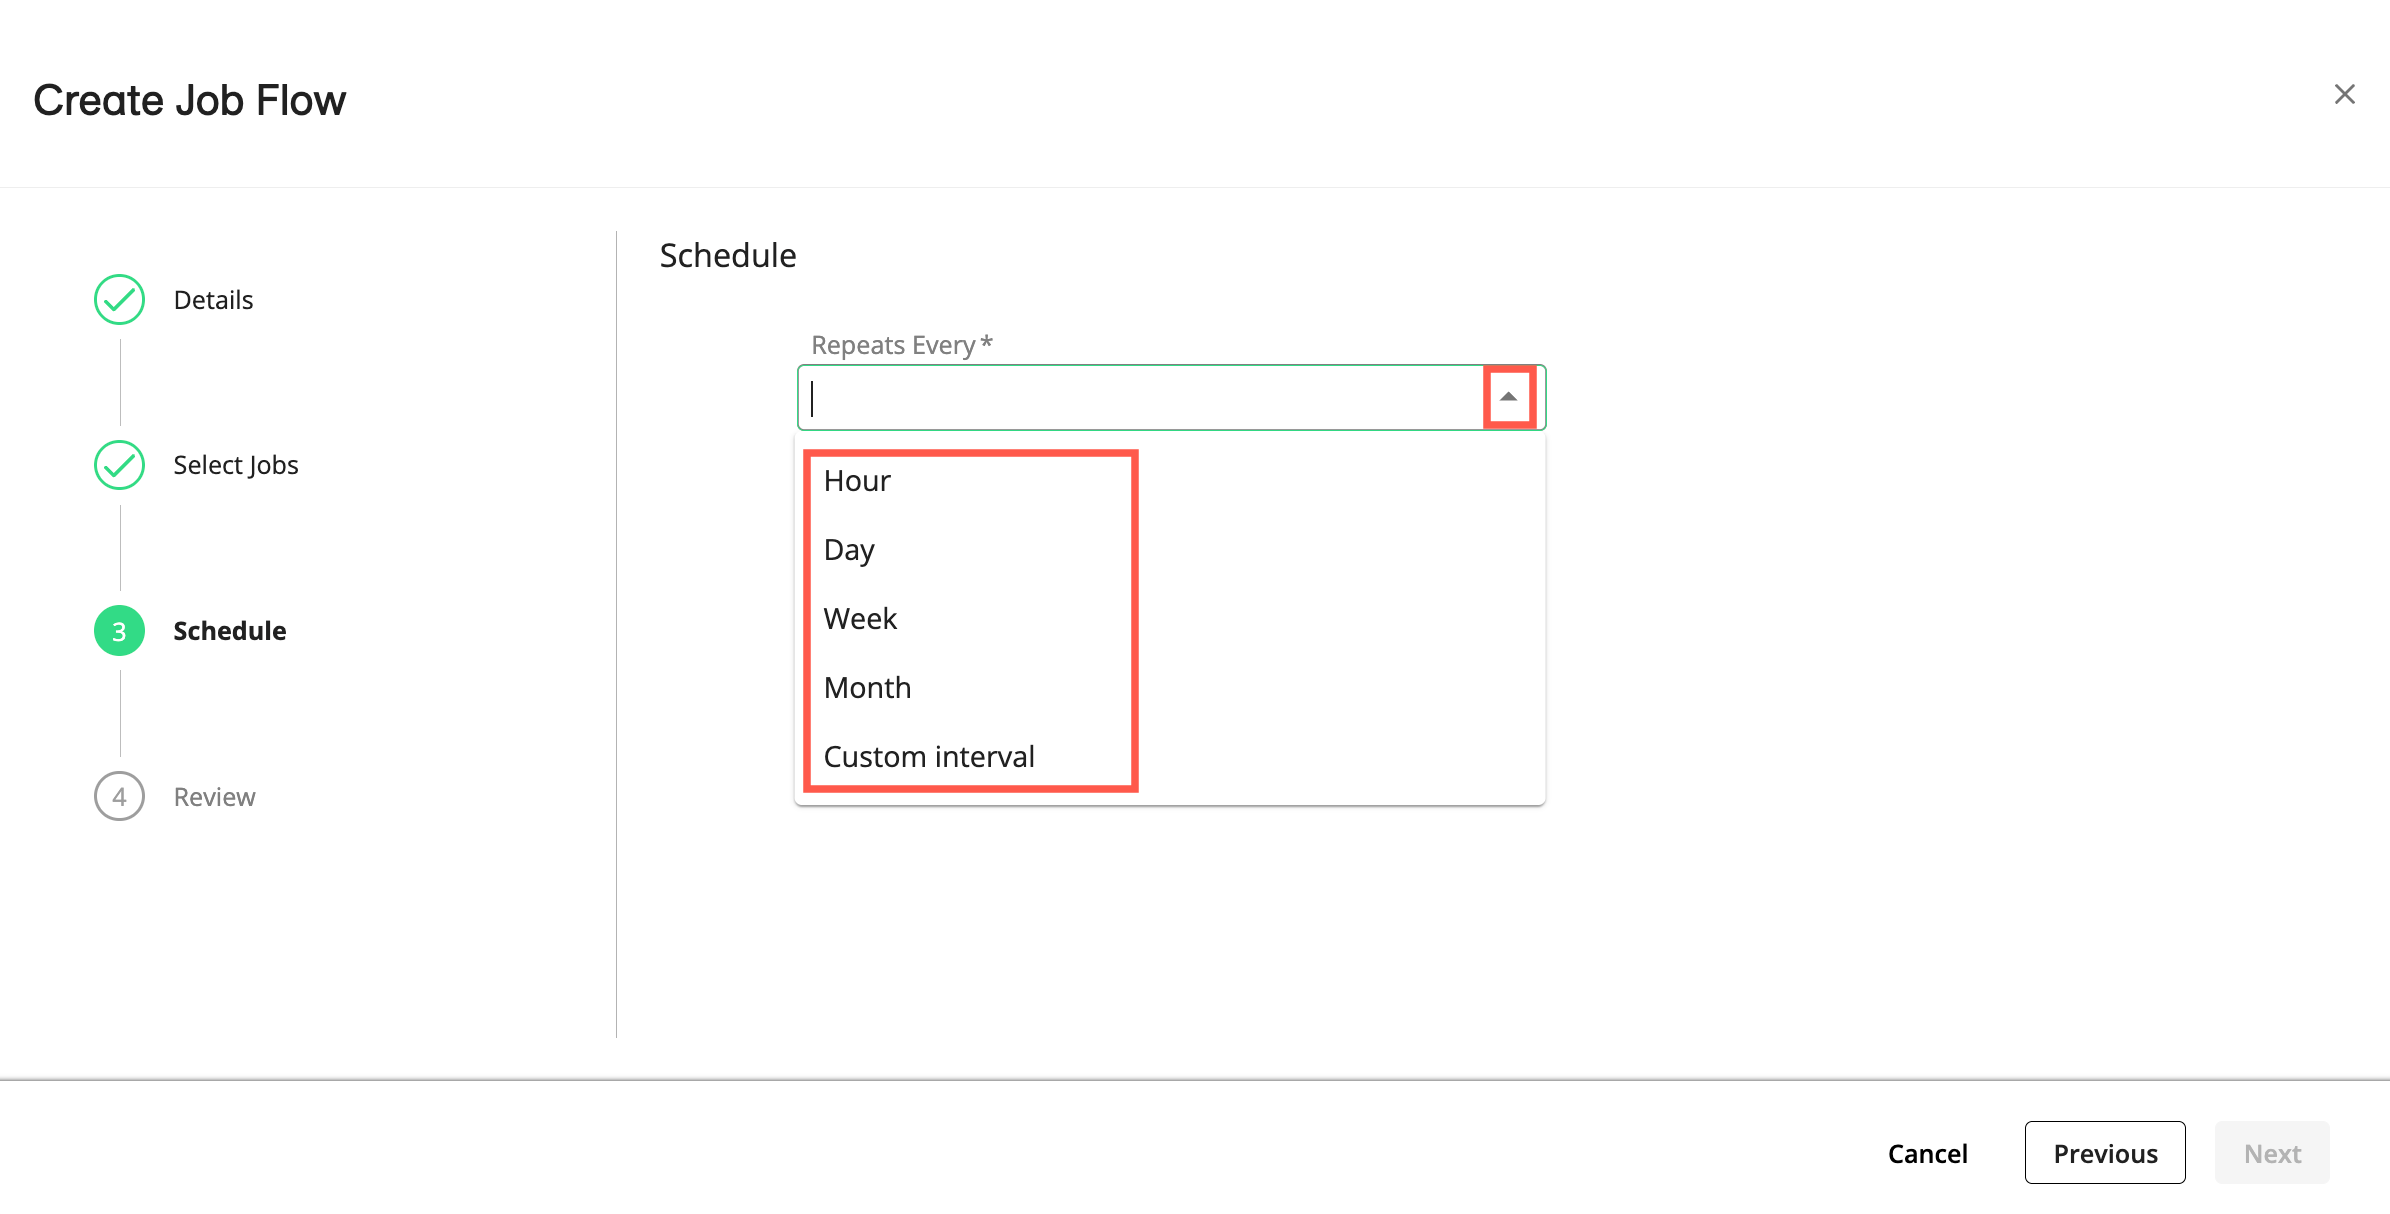
When all jobs are added and arranged in the proper order, click . The “Schedule” step displays.
From the dropdown list, select an interval at which you want to repeat the job flow.
If you want to specify a custom schedule, you can enter a cron schedule expression to instruct the cron utility to run your job flow at a specified day, time, and recurring interval. For example, the cron format typically includes a string of space-delimited integers and special characters, (e.g.,
, - * /) in the following order:Minute (0−59)
Hour (0−23)
Day of the month (1−31)
Month of the year (1−12)
Day of the week (0−6 with 0 = Sunday)
For more information, see Google Cloud's "Configuring cron job schedules."
As needed, enter the start run time and time zone options.
Click and review your job flow information in the "Review" step.
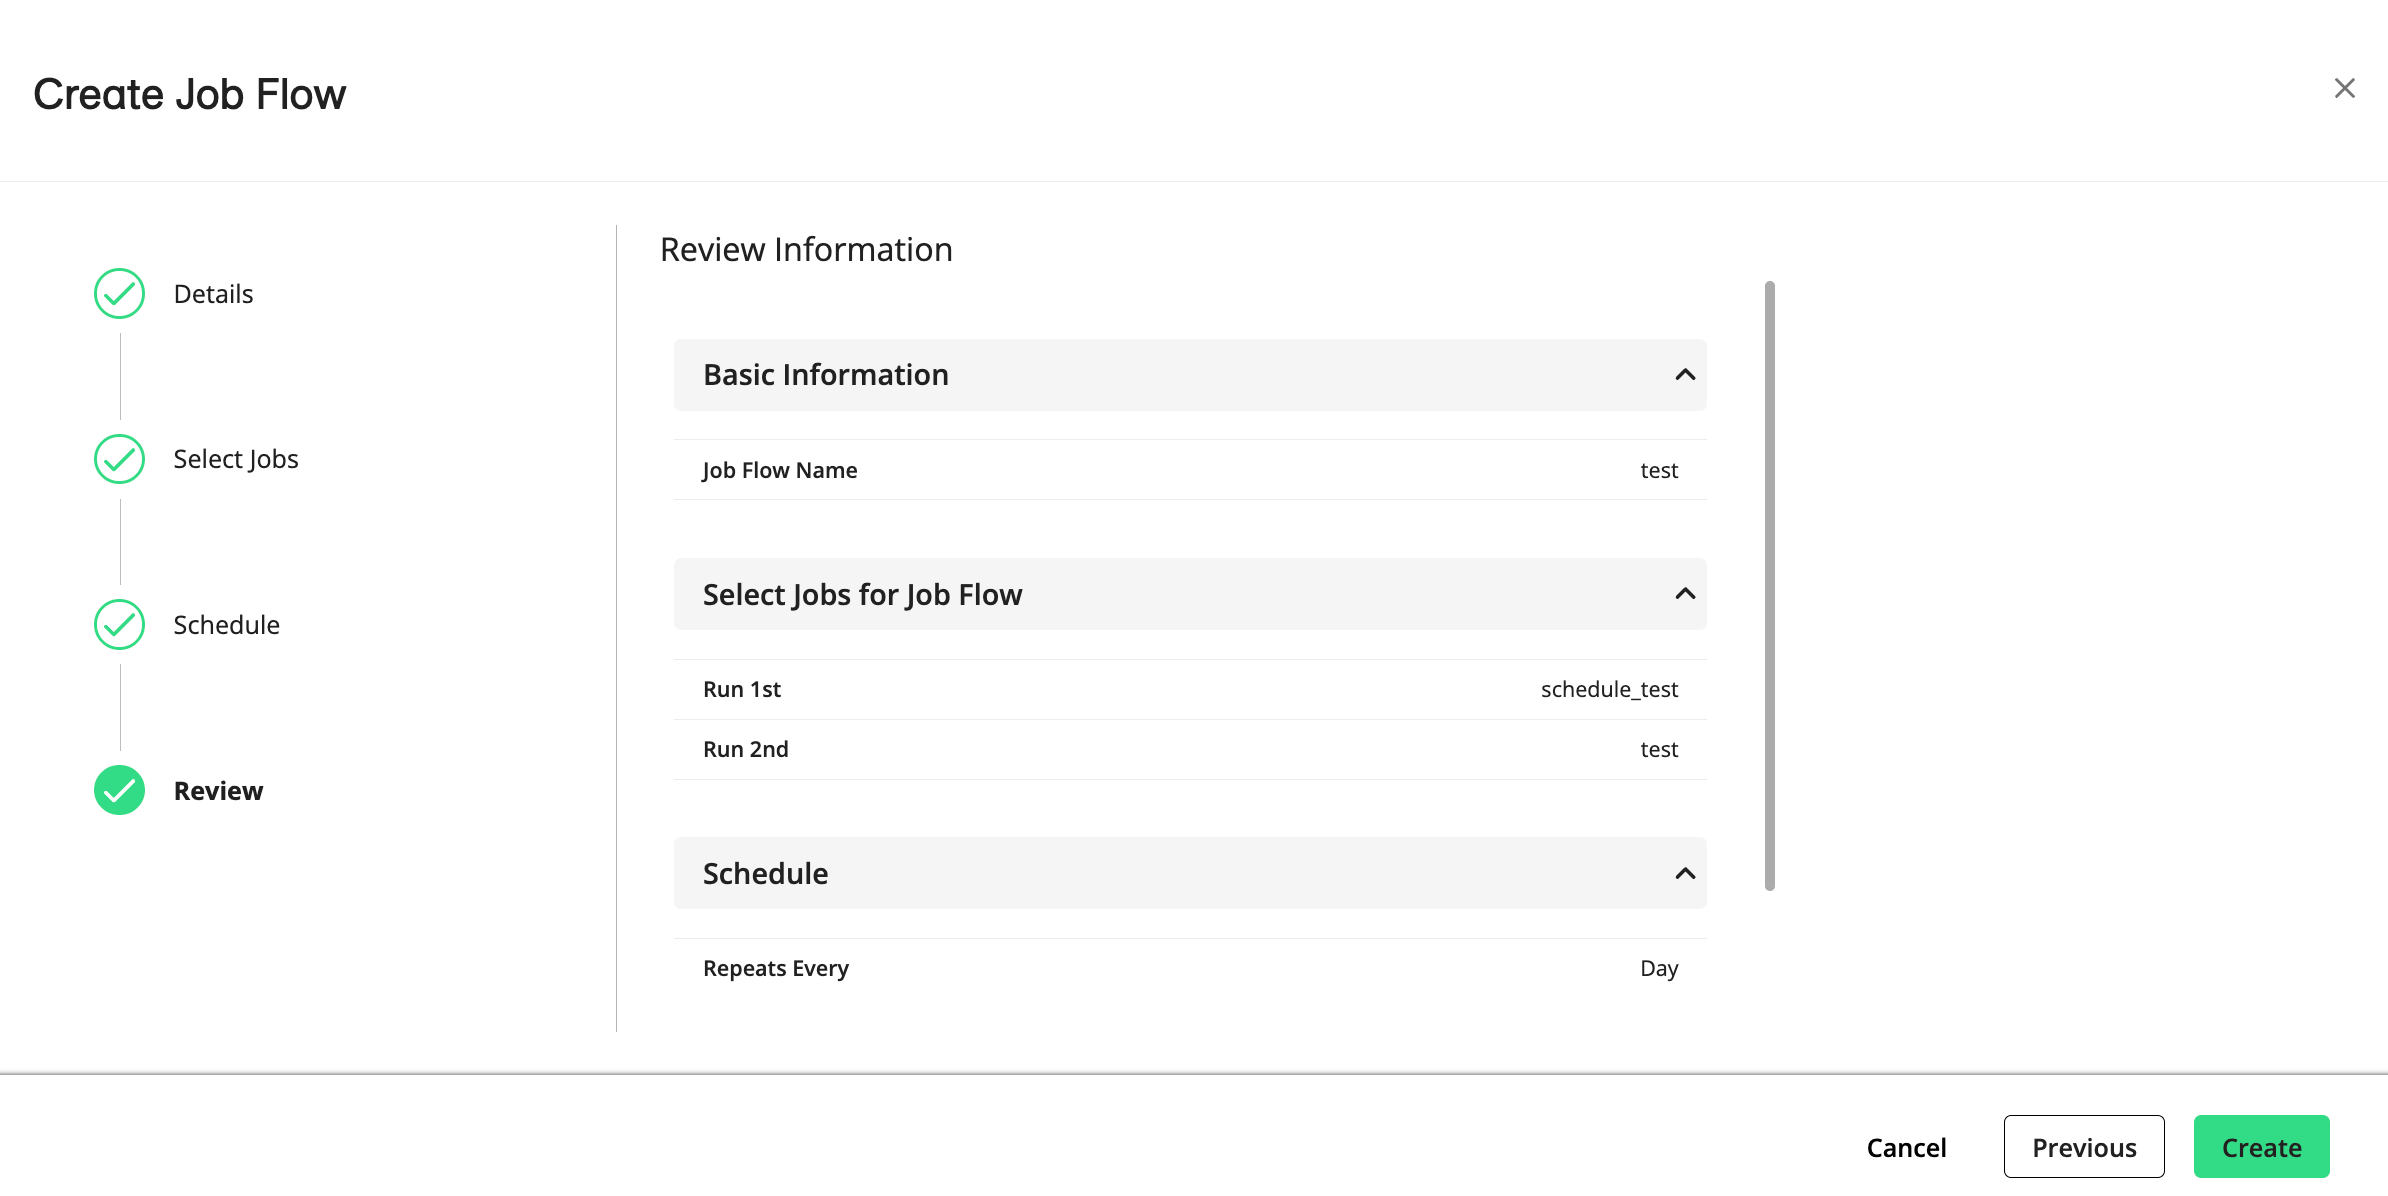
Click to create the job flow.
You are returned to the Job Management page and your job flow displays the "Ready" status.