Configure a Snowflake Data Connection for a Snowflake Clean Room
If you have data in Snowflake and want to be able to use that data in questions in LiveRamp Clean Room, you can create a Snowflake data connection.
A Snowflake data connection for a Snowflake (native-pattern) clean room can be used in the following clean room types:
Snowflake
Note
To configure a Snowflake data connection to be used in either a Hybrid clean room or a Confidential Computing clean room, see "Configure a Snowflake Data Connection for a Hybrid Clean Room".
For more information on clean room types, see "Configure Clean Rooms".
To view an interactive walkthrough demo of the process of connecting to your cloud-based data by creating a data connection, click here.
After you’ve created the data connection and Clean Room has validated the connection by connecting to the data in your cloud account, you will then need to map the fields before the data connection is ready to use. This is where you specify which fields can be queryable across any clean rooms, which fields contain identifiers to be used in matching, and any columns by which you wish to partition the dataset for questions.
After fields have been mapped, you can set default dataset analysis rules for the dataset associated with the data connection and provision the dataset to your desired clean rooms. Within each clean room, you’ll be able to set dataset analysis rules (and modify any default analysis rules), exclude or include columns, filter for specific values, and set permission levels.
Note
If you have any issues when creating or validating the data connection, see "Troubleshoot Data Connection Issues".
To configure a Snowflake data connection to be used in a Snowflake (native-pattern) clean room, see the instructions below.
Overall Steps
Perform the following overall steps to configure a Snowflake Pattern data connection in LiveRamp Clean Room:
For information on performing these steps, see the sections below.
Prerequisites
The LiveRamp Clean Room Snowflake CLI Framework must be installed prior to creating a Snowflake Pattern data connection. Installs are supported for both Mac and Windows. Perform the steps in the appropriate article:
Create the Data Connection
Once you've installed the appropriate Snowflake CLI Framework, create the data connection:
Note
if your cloud security limits access to only approved IP addresses, talk to your LiveRamp representative before creating the data connection to coordinate any necessary allowlisting of LiveRamp IP addresses.
When you create the data connection, the dataset type is set to Generic by default.
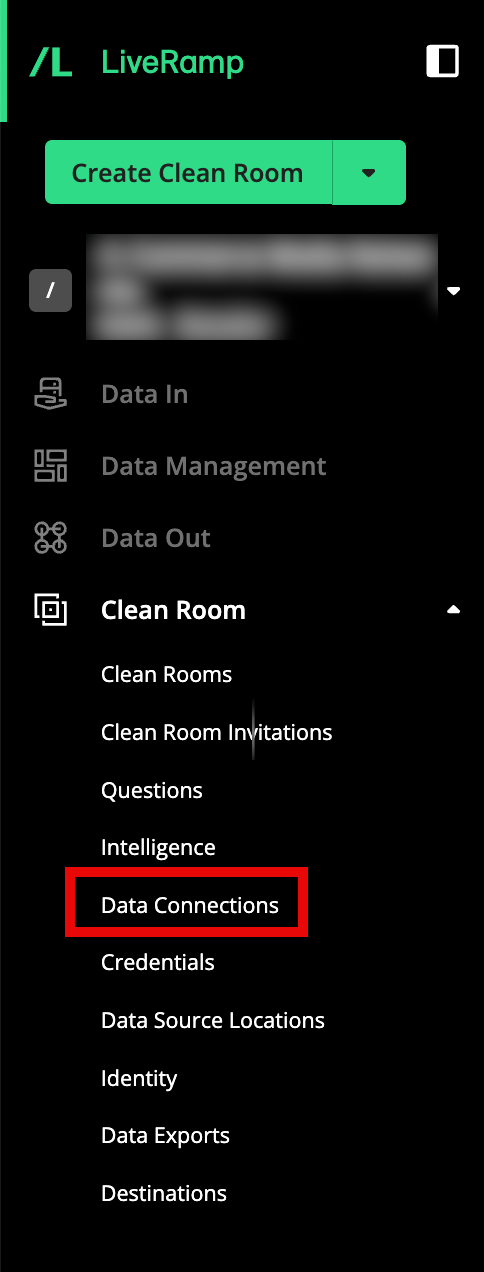
From the navigation menu, select Clean Room → Data Connections to open the Data Connections page.
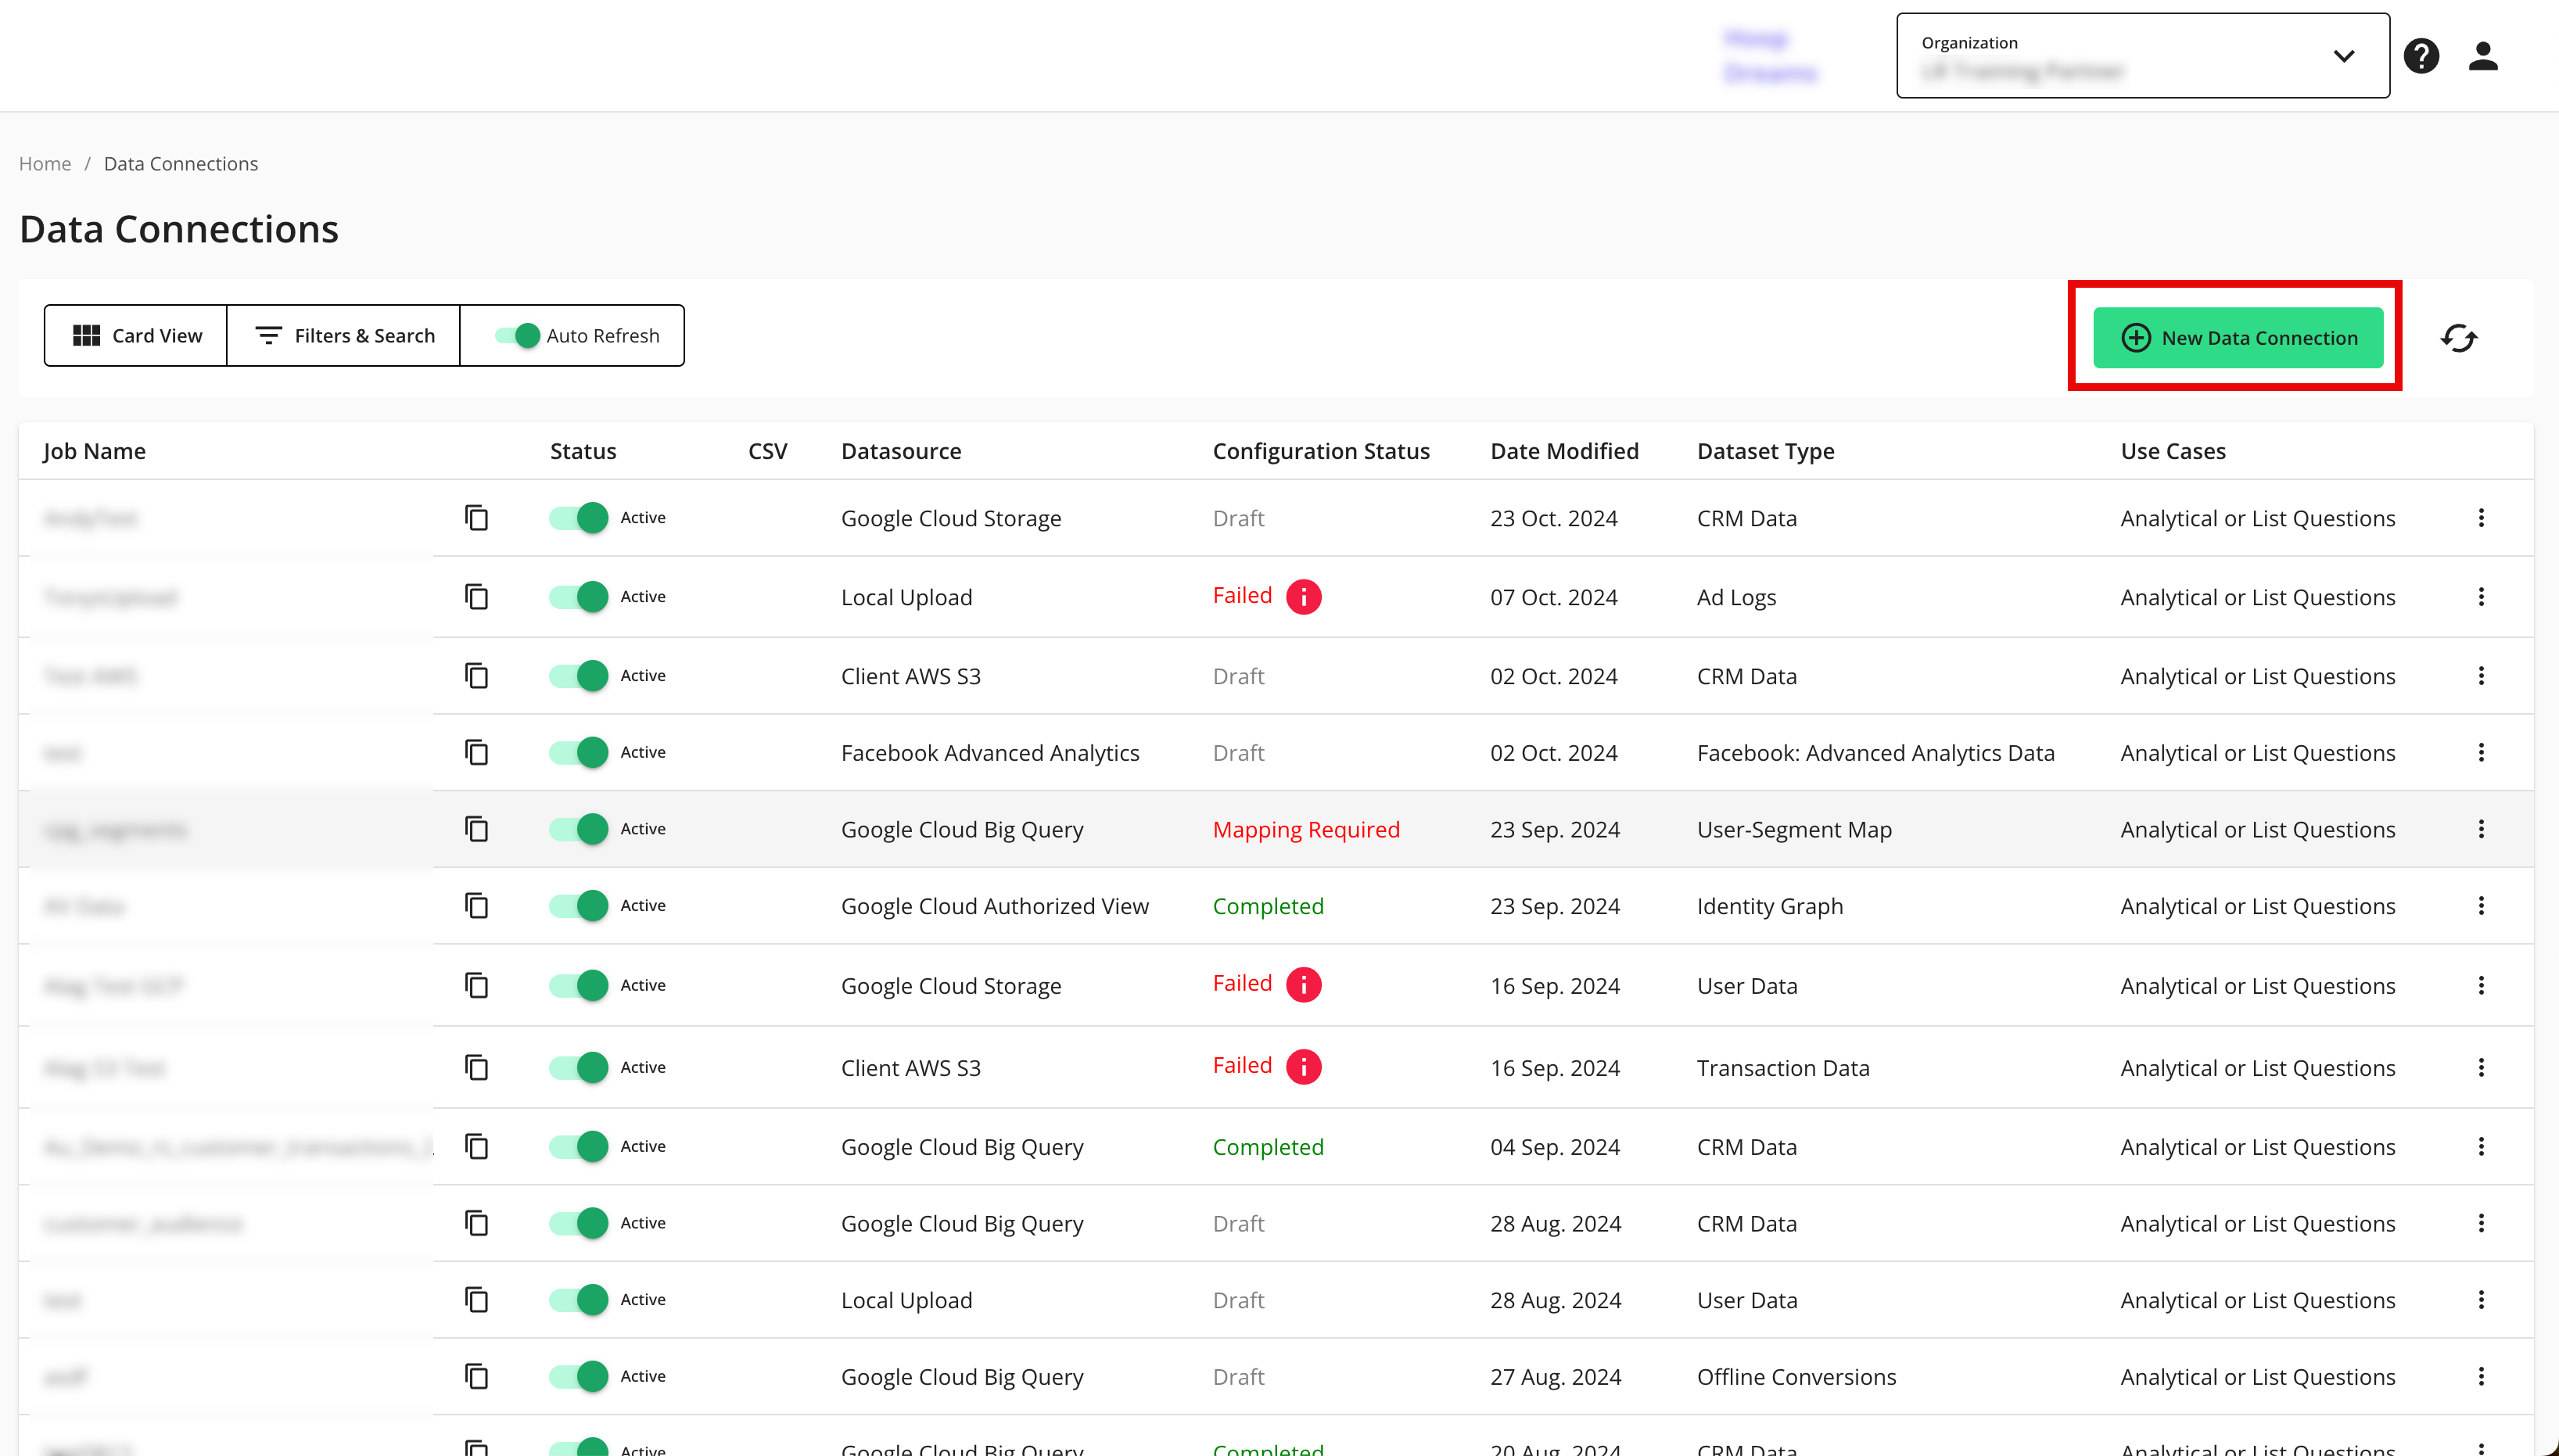
From the Data Connections page, click .
From the tiles that appear, select "Snowflake Data Connection".
Select the Snowflake credential you created when you installed the Snowflake CLI Framework as part of the prerequisites.

Complete the following fields in the Set up Data Connection section:

Note
Database Name, Schema Name, and Table/View Name are case-sensitive and should match to your Snowflake account. LiveRamp Clean Room does not support recursive object dependencies (connection of tables or views requiring generation from different databases) by default.
Name: Enter a name for the data connection (this will be the name for the dataset that you'll provision to clean rooms).
Category: Enter a category of your choice.
Database Name: Enter the database name from your Snowflake account.
Schema Name: Enter the schema name from your Snowflake account.
Table/View Name: Enter the name of the table or view from your Snowflake account.
Review the data connection details and click .
Note
All configured data connections can be seen on the Data Connections page.
Upload your data files to your specified location.
When a connection is initially configured, it will show "Verifying Access" as the configuration status. Once the connection is confirmed and the status has changed to "Mapping Required", map the table's fields. For instructions, see "Map the Fields for a Data Connection".
You will receive file processing notifications via email.