Implement Pinterest Conversions API via ATS for Web
You can integrate your ATS for Web configuration with the Conversions API for Pinterest adapter to easily collect event data and send it to Pinterest. In this article, you will learn how to configure the events you want to send to the Pinterest CAPI. The event data can be collected via CSS selectors, URL, or by setting predefined, hardcoded values.
Make sure you have fulfilled the requirements for setting up the Conversions API for Pinterest before you get started.
Set Up ATS for Web to Send Event Data to Pinterest
The procedure below is a direct continuation of the steps from Set Up the Conversions API for Pinterest in Console.
Note
Make sure to store Pinterest's first-party cookies in the same domain where ATS for Web is running.
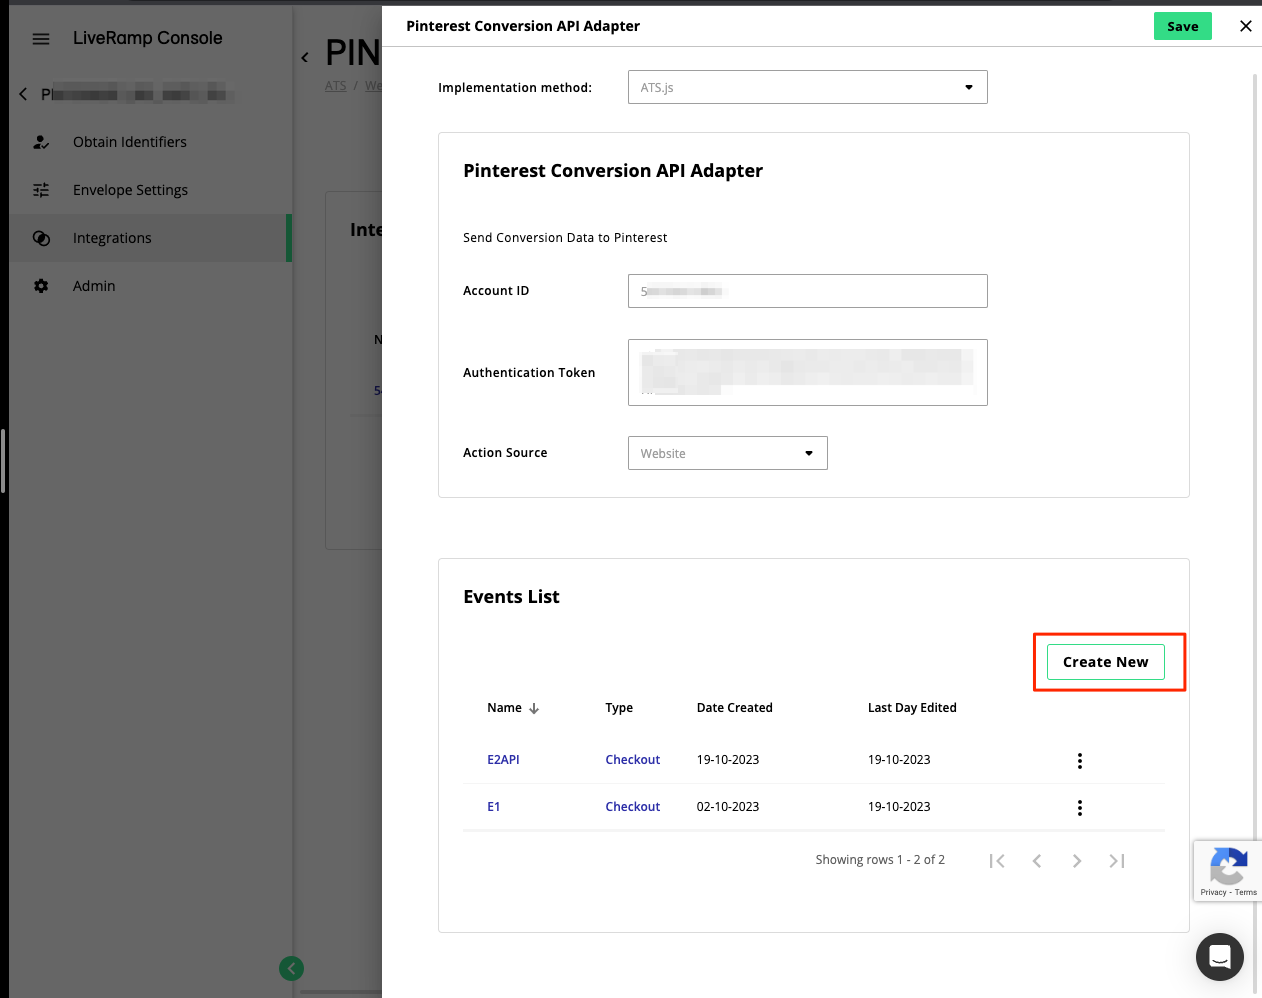
After providing the Pinterest account ID, authentication token, and selecting the action source, you can now specify the events you want to send to Pinterest. Under ‘Events List’, click .
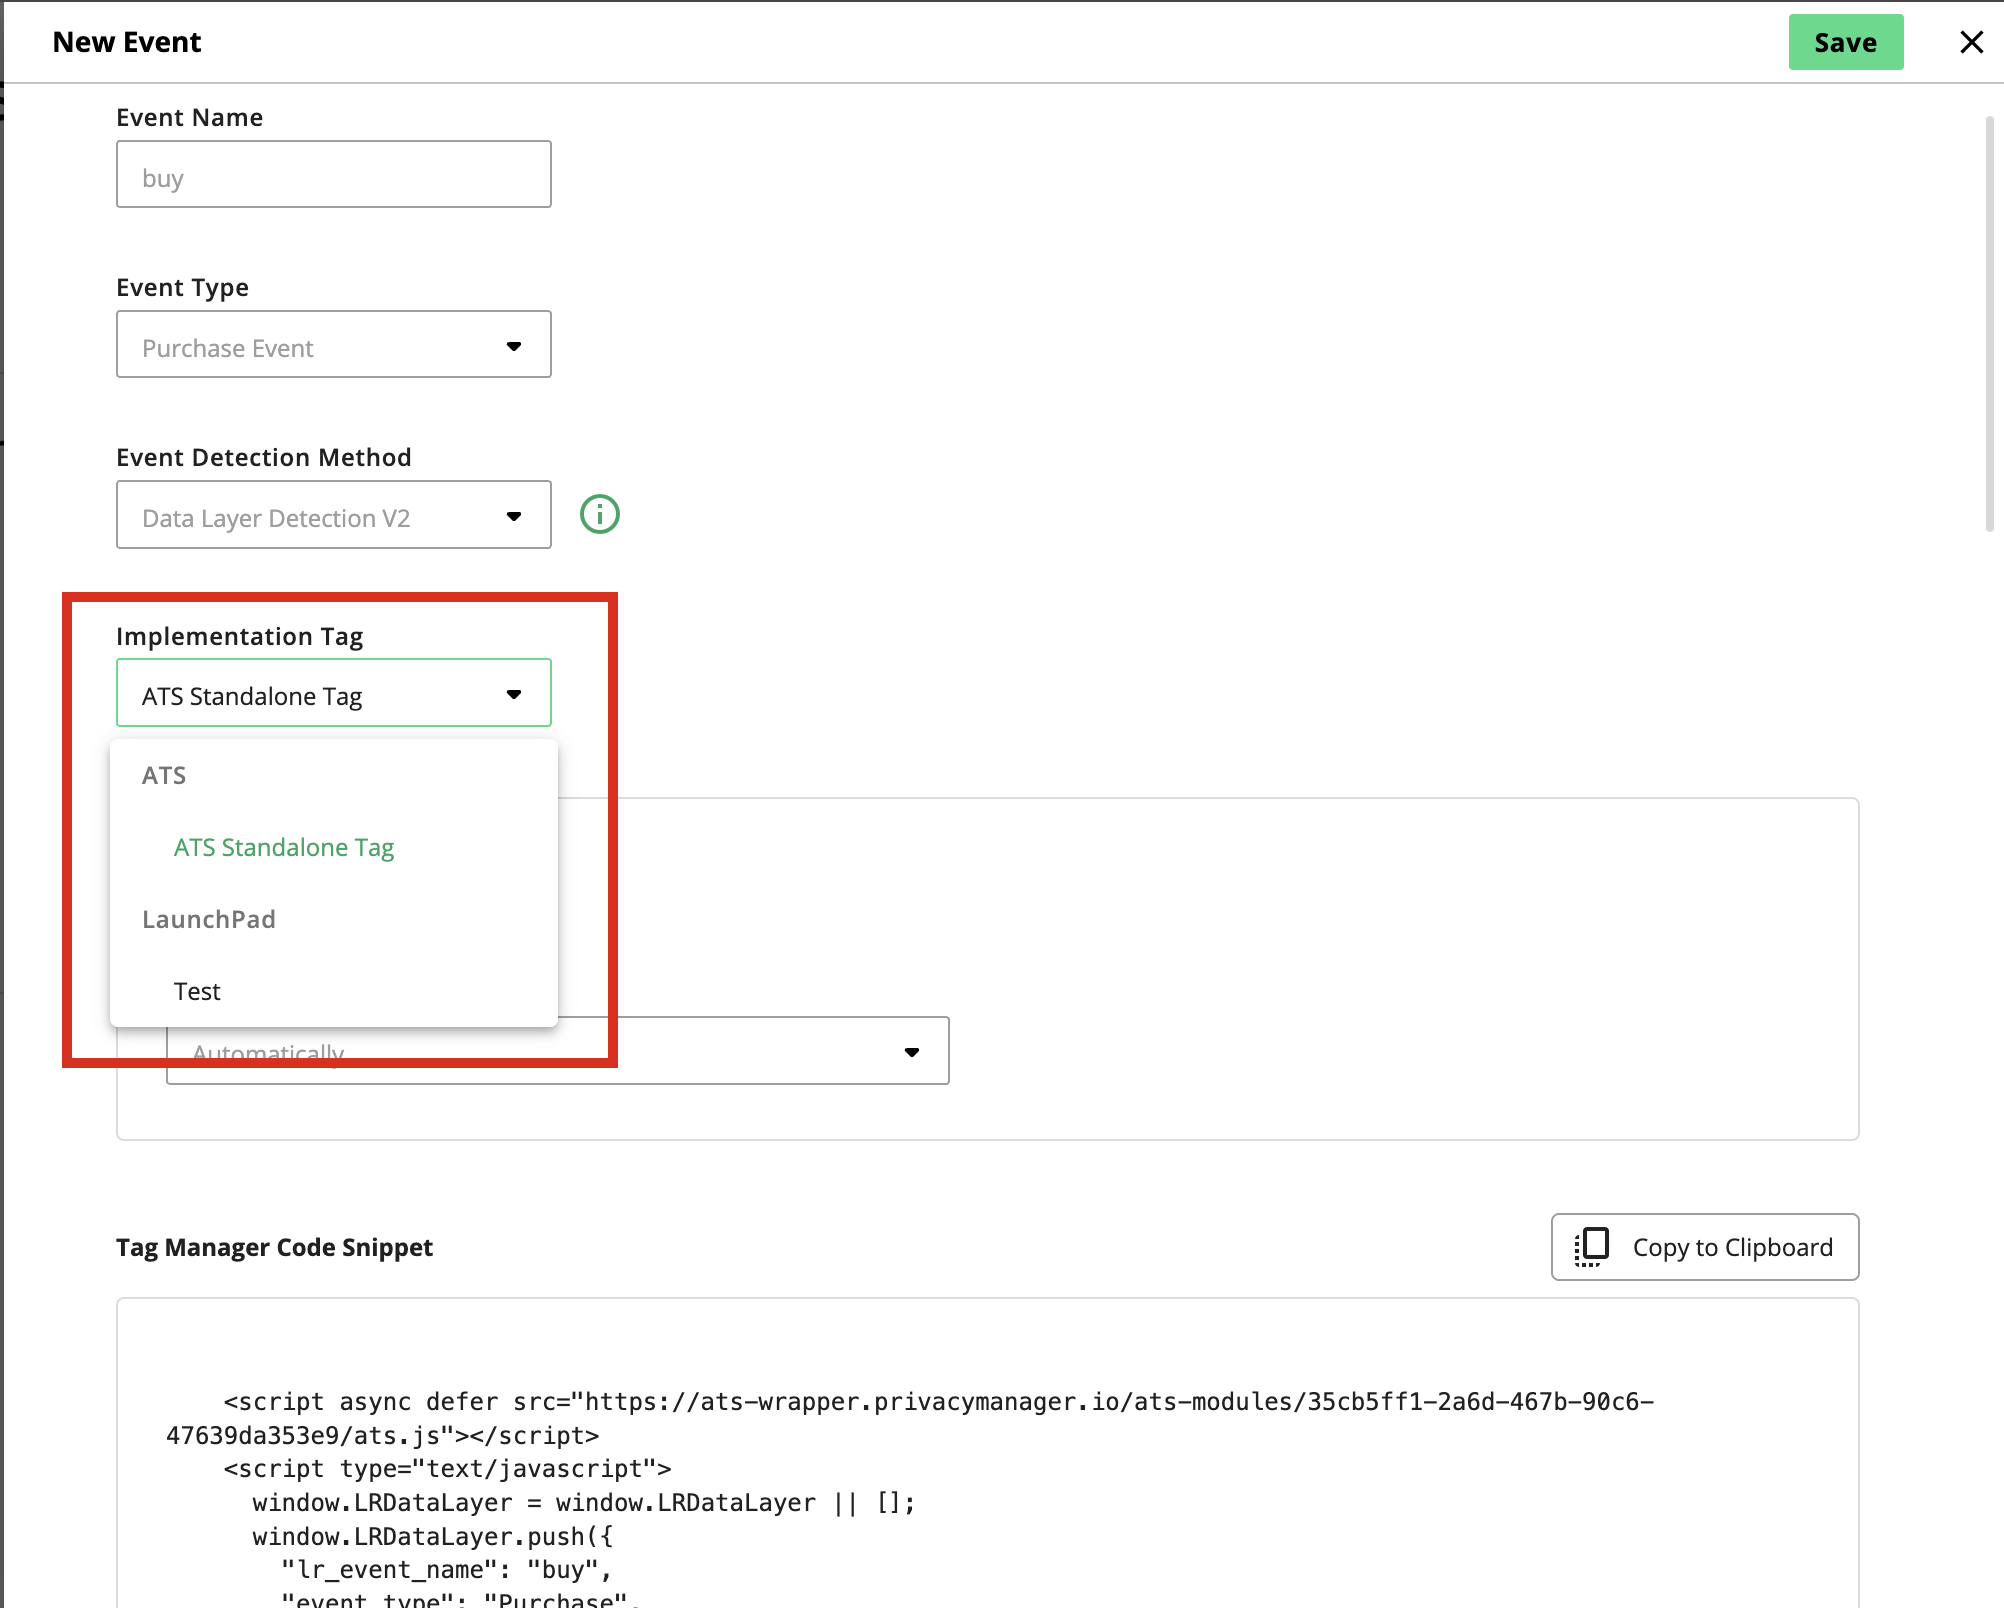
Enter an Event Name and select the Event Type.
Select how you want the event data to be detected from the Event Detection Method dropdown list. The following options are available:
Page Elements: Event data are obtained from visible HTML elements using parameters you manually add and configure in Console.
Data Layer Detection V1 (to be deprecated): Event data are obtained from the data layer using predefined parameters based on your website’s data layer settings. These parameters can only be modified externally. If you select this option, the detection method for all parameters in this event will be set to Data Layer (except Event ID).
This method only supports data layer run by Google Tag Manager and Adobe Analytics. To learn more, see Google's article "The data layer" or Adobe's article "Create a data layer".
Caution
The Data Layer Detection V1 method will be deprecated in the near future in favor of Data Layer Detection V2. We highly encourage you to implement or transition to Data Layer Detection V2 to take advantage of the following:
Supports any data layer implementation, not limited to data layer run by Google Tag Manager and Adobe Analytics.
Ability to use variables, allowing you to inject data directly into the data layer object.
Simplified implementation as the HTML tag already includes the ATS or LaunchPad wrapper.
Data Layer Detection V2: Event data are obtained from the data layer using parameters from an HTML tag. A code snippet will be provided with all possible parameters included by default, which you can then modify to your preference.
To implement CAPI with Data Layer Detection V2:
Select the preferred implementation tag to run the ATS CAPI integration. You can select one of the following:
Via an ATS standalone tag: Implement the CAPI as a standalone tag. This option is the default method if your ATS configuration is not integrated with LaunchPad.
Via a LaunchPad tag: Implement the CAPI using a tag that is linked to a LaunchPad configuration. This option will only be displayed if you install your ATS configuration with LaunchPad,
Under "Trigger", select how to initiate the sending of events:
Automatically (recommended): Events are automatically sent at the end of each user session. This can be either when the user closes the page or switches tabs.
Manually: You trigger the JavaScript function when you know all information is obtained. This can be done by calling
ats.sendFbEvents(['name_of_event']), where'name_of_event'should be replaced with the event name you provided in step 4.
Copy the displayed code and modify it to your preference by removing the parameters you want to exclude for this event.
Click . You can skip the remaining steps in this procedure.
Note
After enabling this feature, call the
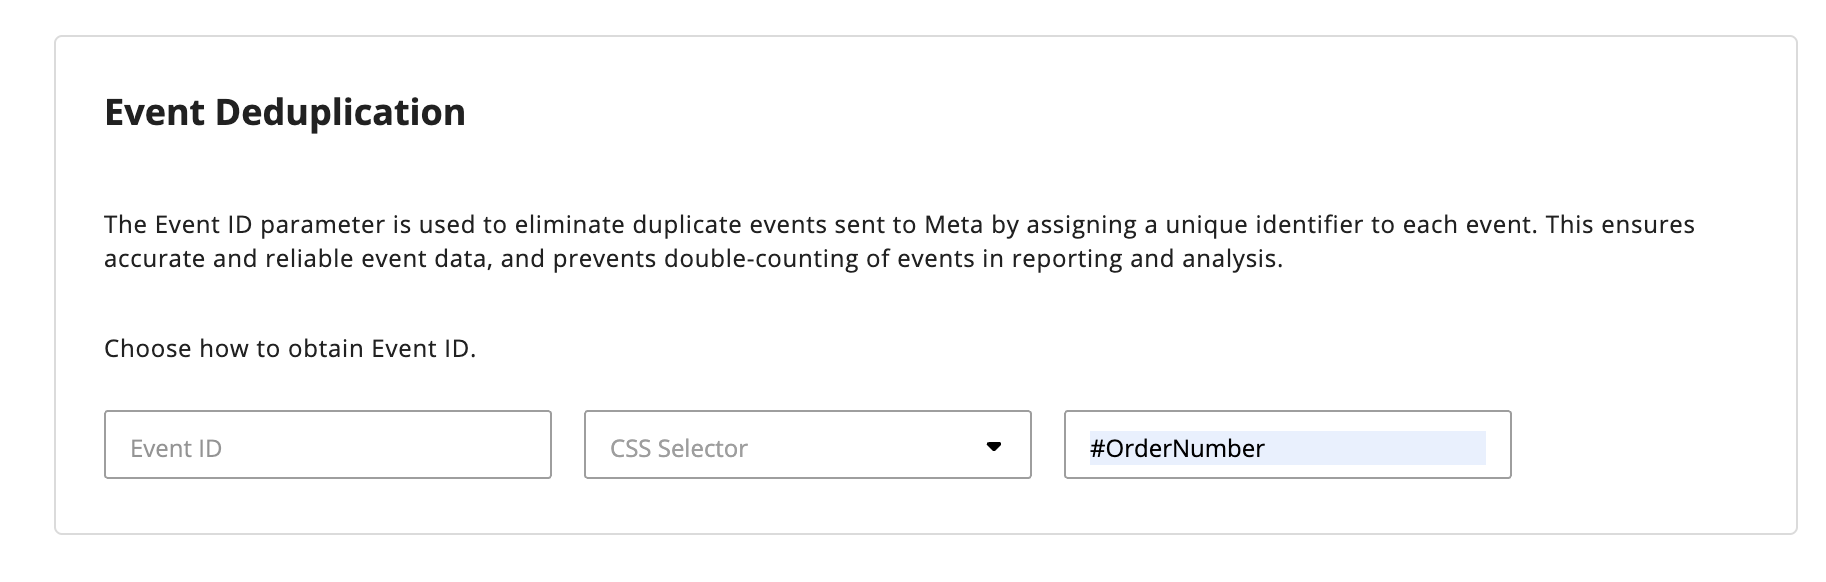
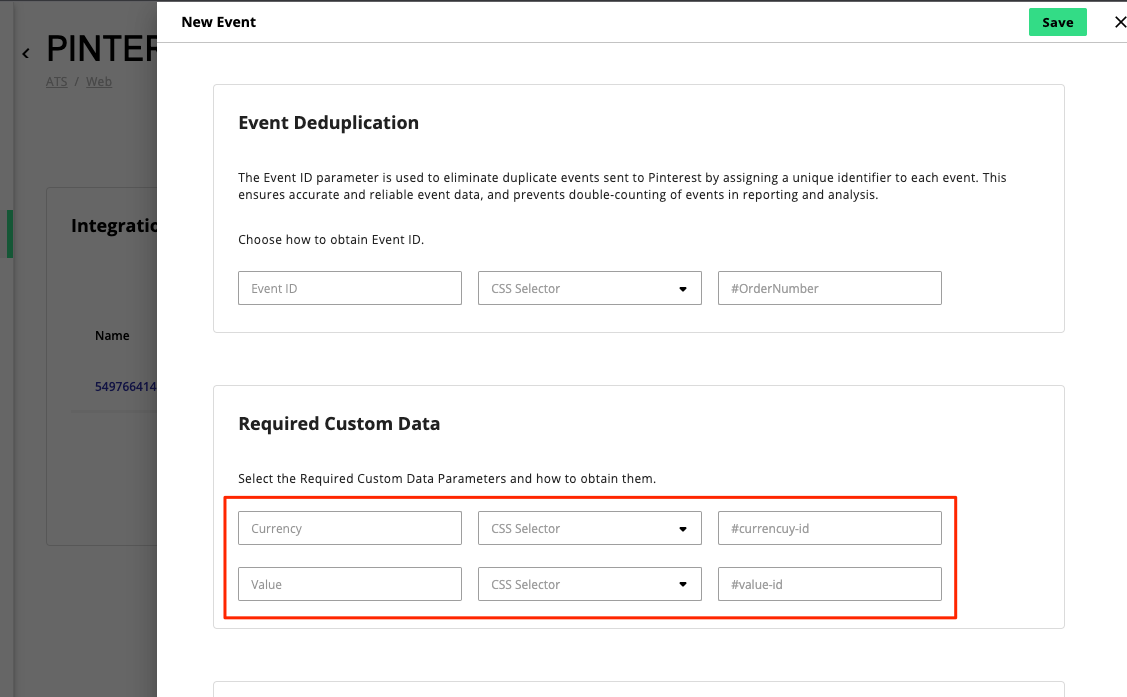
ats.detectDataLayerEvents()function when you know the event data have been stored on data layer. Make sure to call the function on every single page where you want ATS.js to detect the event.In the "Event Deduplication" section, select how the Event ID should be obtained, and for which identifier. The Event ID is used to eliminate duplicate events by assigning a unique identifier to each event. In the example below, we are using the Order Number as the Event ID.
Note
CSS selector allows you to obtain the parameter by targeting a specific HTML element in your page. We recommend using only ID selector to limit errors. For example; #product-value, #ItemValue.
Alternatively, you can provide a URL parameter which is added at the end of a URL after the ‘?’ symbol. For example; currency, product-currency.
If you selected the Checkout Event type and set Page Elements as the event detection method, you must provide additional parameters under "Required Custom Data" for the Currency and Value and choose how to obtain them. Select URL or CSS Selector for each parameter and provide the required data.
Note
If you want to pass predefined values, you can also select Hardcoded Value and enter a value you want to pass for the parameter. For example, if the transactions on your website are always in US dollars, you may want to set the value to "USD" for the Currency parameter.
You cannot set hardcoded values for Event Deduplication.
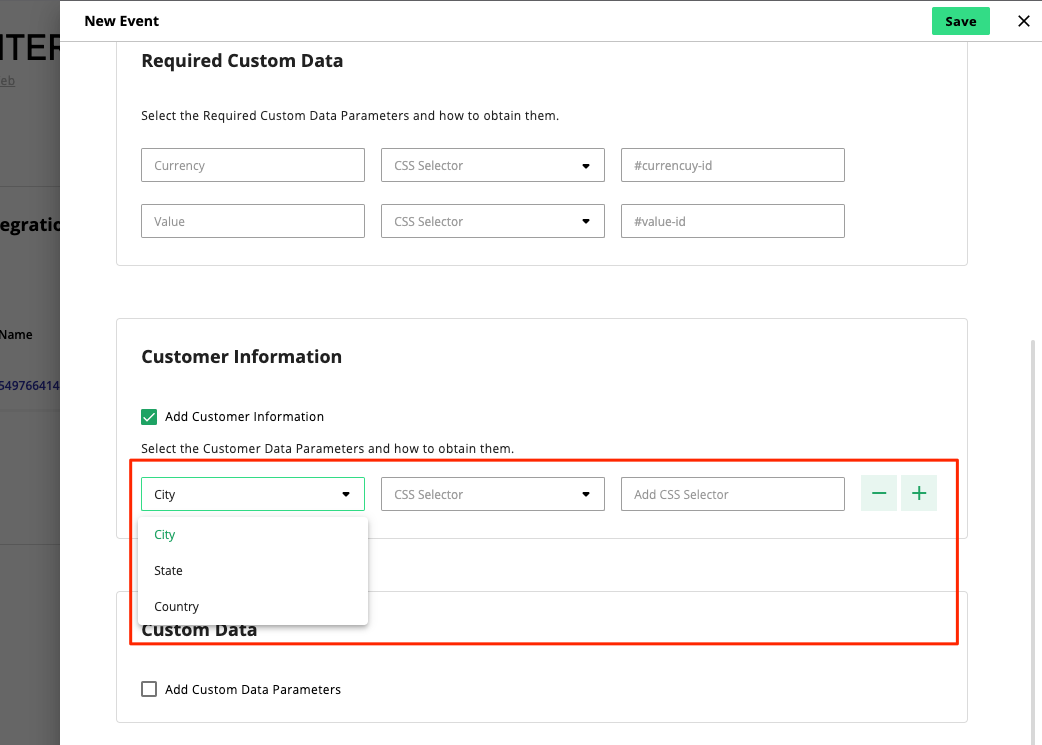
(Optional) Enable "Add Customer Information" to include additional parameters based on the customer's location.
Tip
You can add more parameters by clicking the plus button and remove them by clicking the minus button.

In the "Custom Data" section, enable "Add Custom Data Parameters" to add custom parameters defined by Pinterest. The more parameters you add, the more accurate the data Pinterest will receive. The following parameters are available:
Content IDs: List of product IDs. For example, a list of products that a customer has in their cart for an Add To Cart event. This parameter is recommended for Page Visits, Add To Cart, and Checkout events.
Content Name: The name of the page or a product associated with the event.
Content Category: The category of the content associated with the event.
Content Brand: The brand of the content associated with the event.
Order ID: The order ID. This is recommended to deduplicate events when necessary and run other measurement products at Pinterest.
Number of Items: Total number of products in the event. For example, the total number of items purchased in a Checkout event. This parameter is recommended for Add To Cart and Checkout events.
In the "Custom Data" section, enable "Add Contents" to provide more information on the item ID, price, and quantity. We recommend adding these parameters if you are creating a 'Page Visit', 'Add to Cart', or 'Checkout' event.
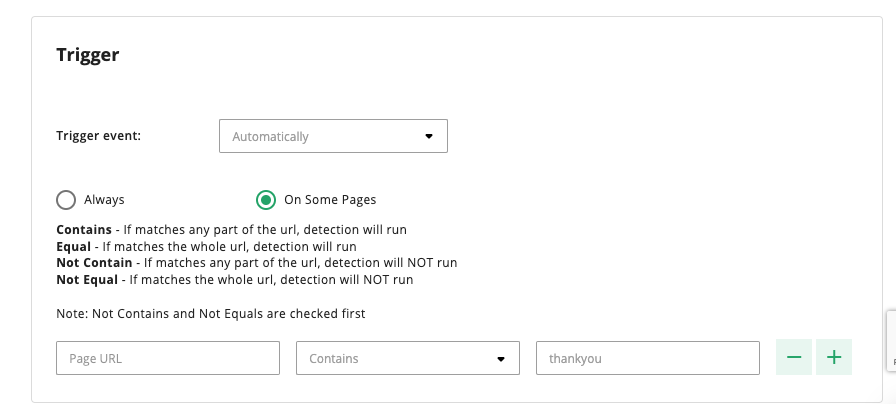
Set up the Trigger event to decide when the events should be sent. Select Automatically to have it sent every time the event happens, or Manually by creating an API call when all event data are available on the page.
Automatically (recommended): Events are automatically sent at the end of each user session. This can be either when the user closes the page or switches tabs.
Manually: You trigger the JavaScript function when you know all information is obtained. This can be done by calling
ats.sendPinterestEvents(['name_of_event']), where'name_of_event'should be replaced with the event name you provided in step 2.
Note
For non-checkout events such as 'Add To Cart', 'Signup', and others, we recommend setting up a trigger event only on some pages to make sure they are not fired on every page load.
If you selected Page Elements as the event detection method (see step 3), you can specify to have the trigger added to all pages by selecting "Always", or in specific pages by selecting "On some pages". If you choose the latter, you need to provide the page URL and a domain identifier to specify when the module should start detection to obtain all conversion data from the page. Click the plus button to add multiple pages.
Click .
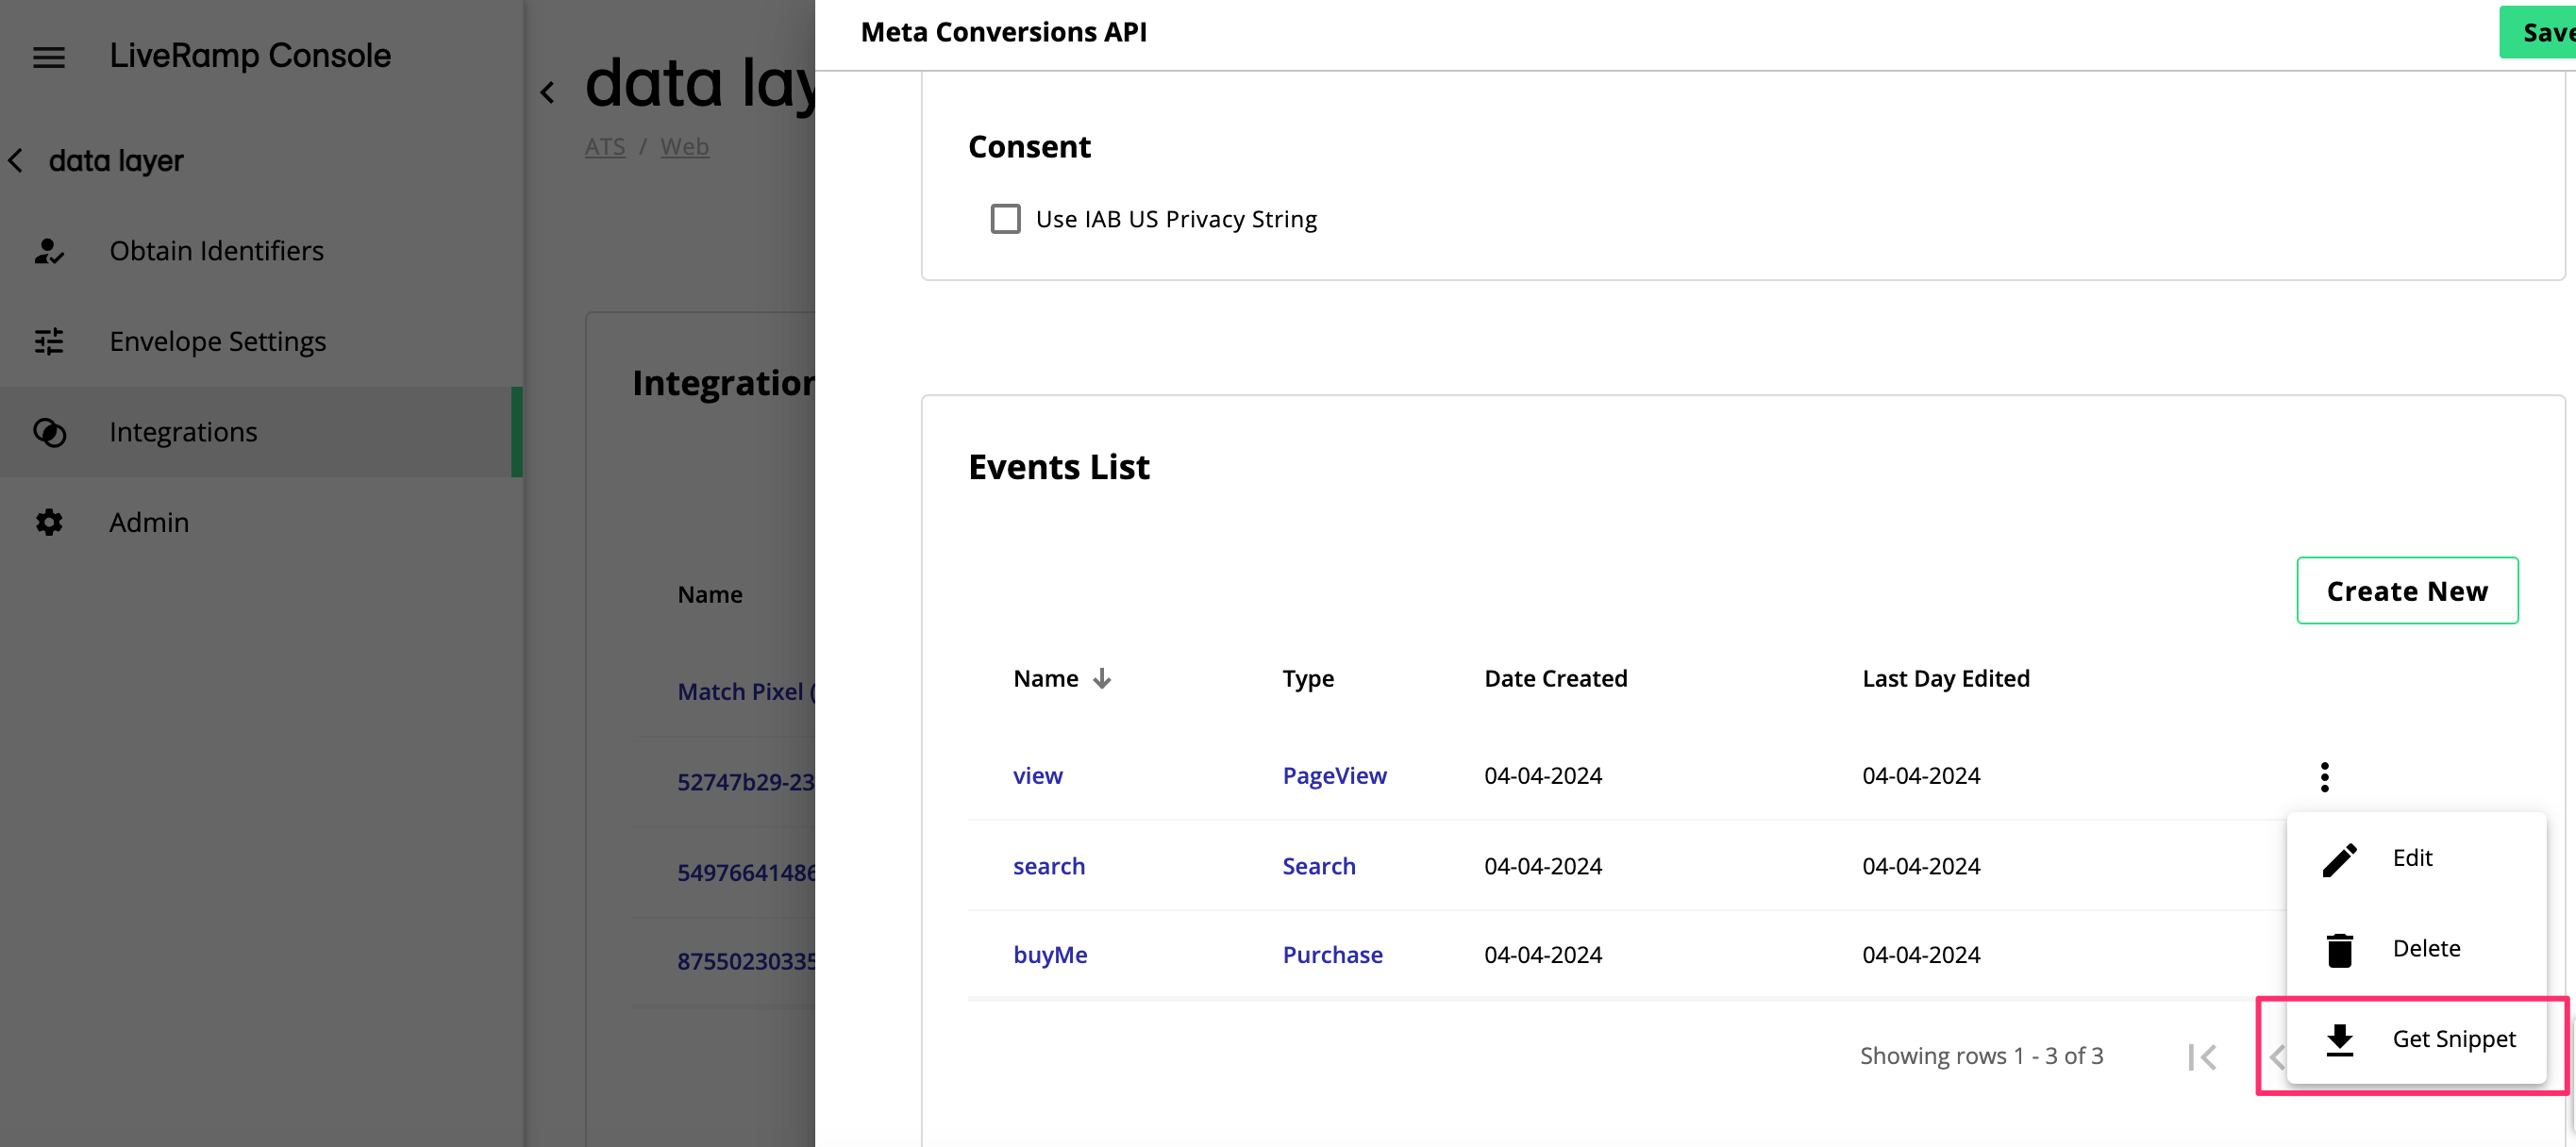
If you selected Data Layer Detection V1 as the event detection method (see step 3), in the "Events List", click the three-dotted icon corresponding to the event you've just created and click "Get Snippet". Copy the JavaScript code displayed to obtain the data layer specifications needed to push the event.
Once you are done with setting up the events, the Pinterest API for Conversions Adapter will collect and send the event data to Pinterest whenever the specified events occur on your website. All the conversion events should be visible in your Pinterest ads account where you can manage and track your conversions.
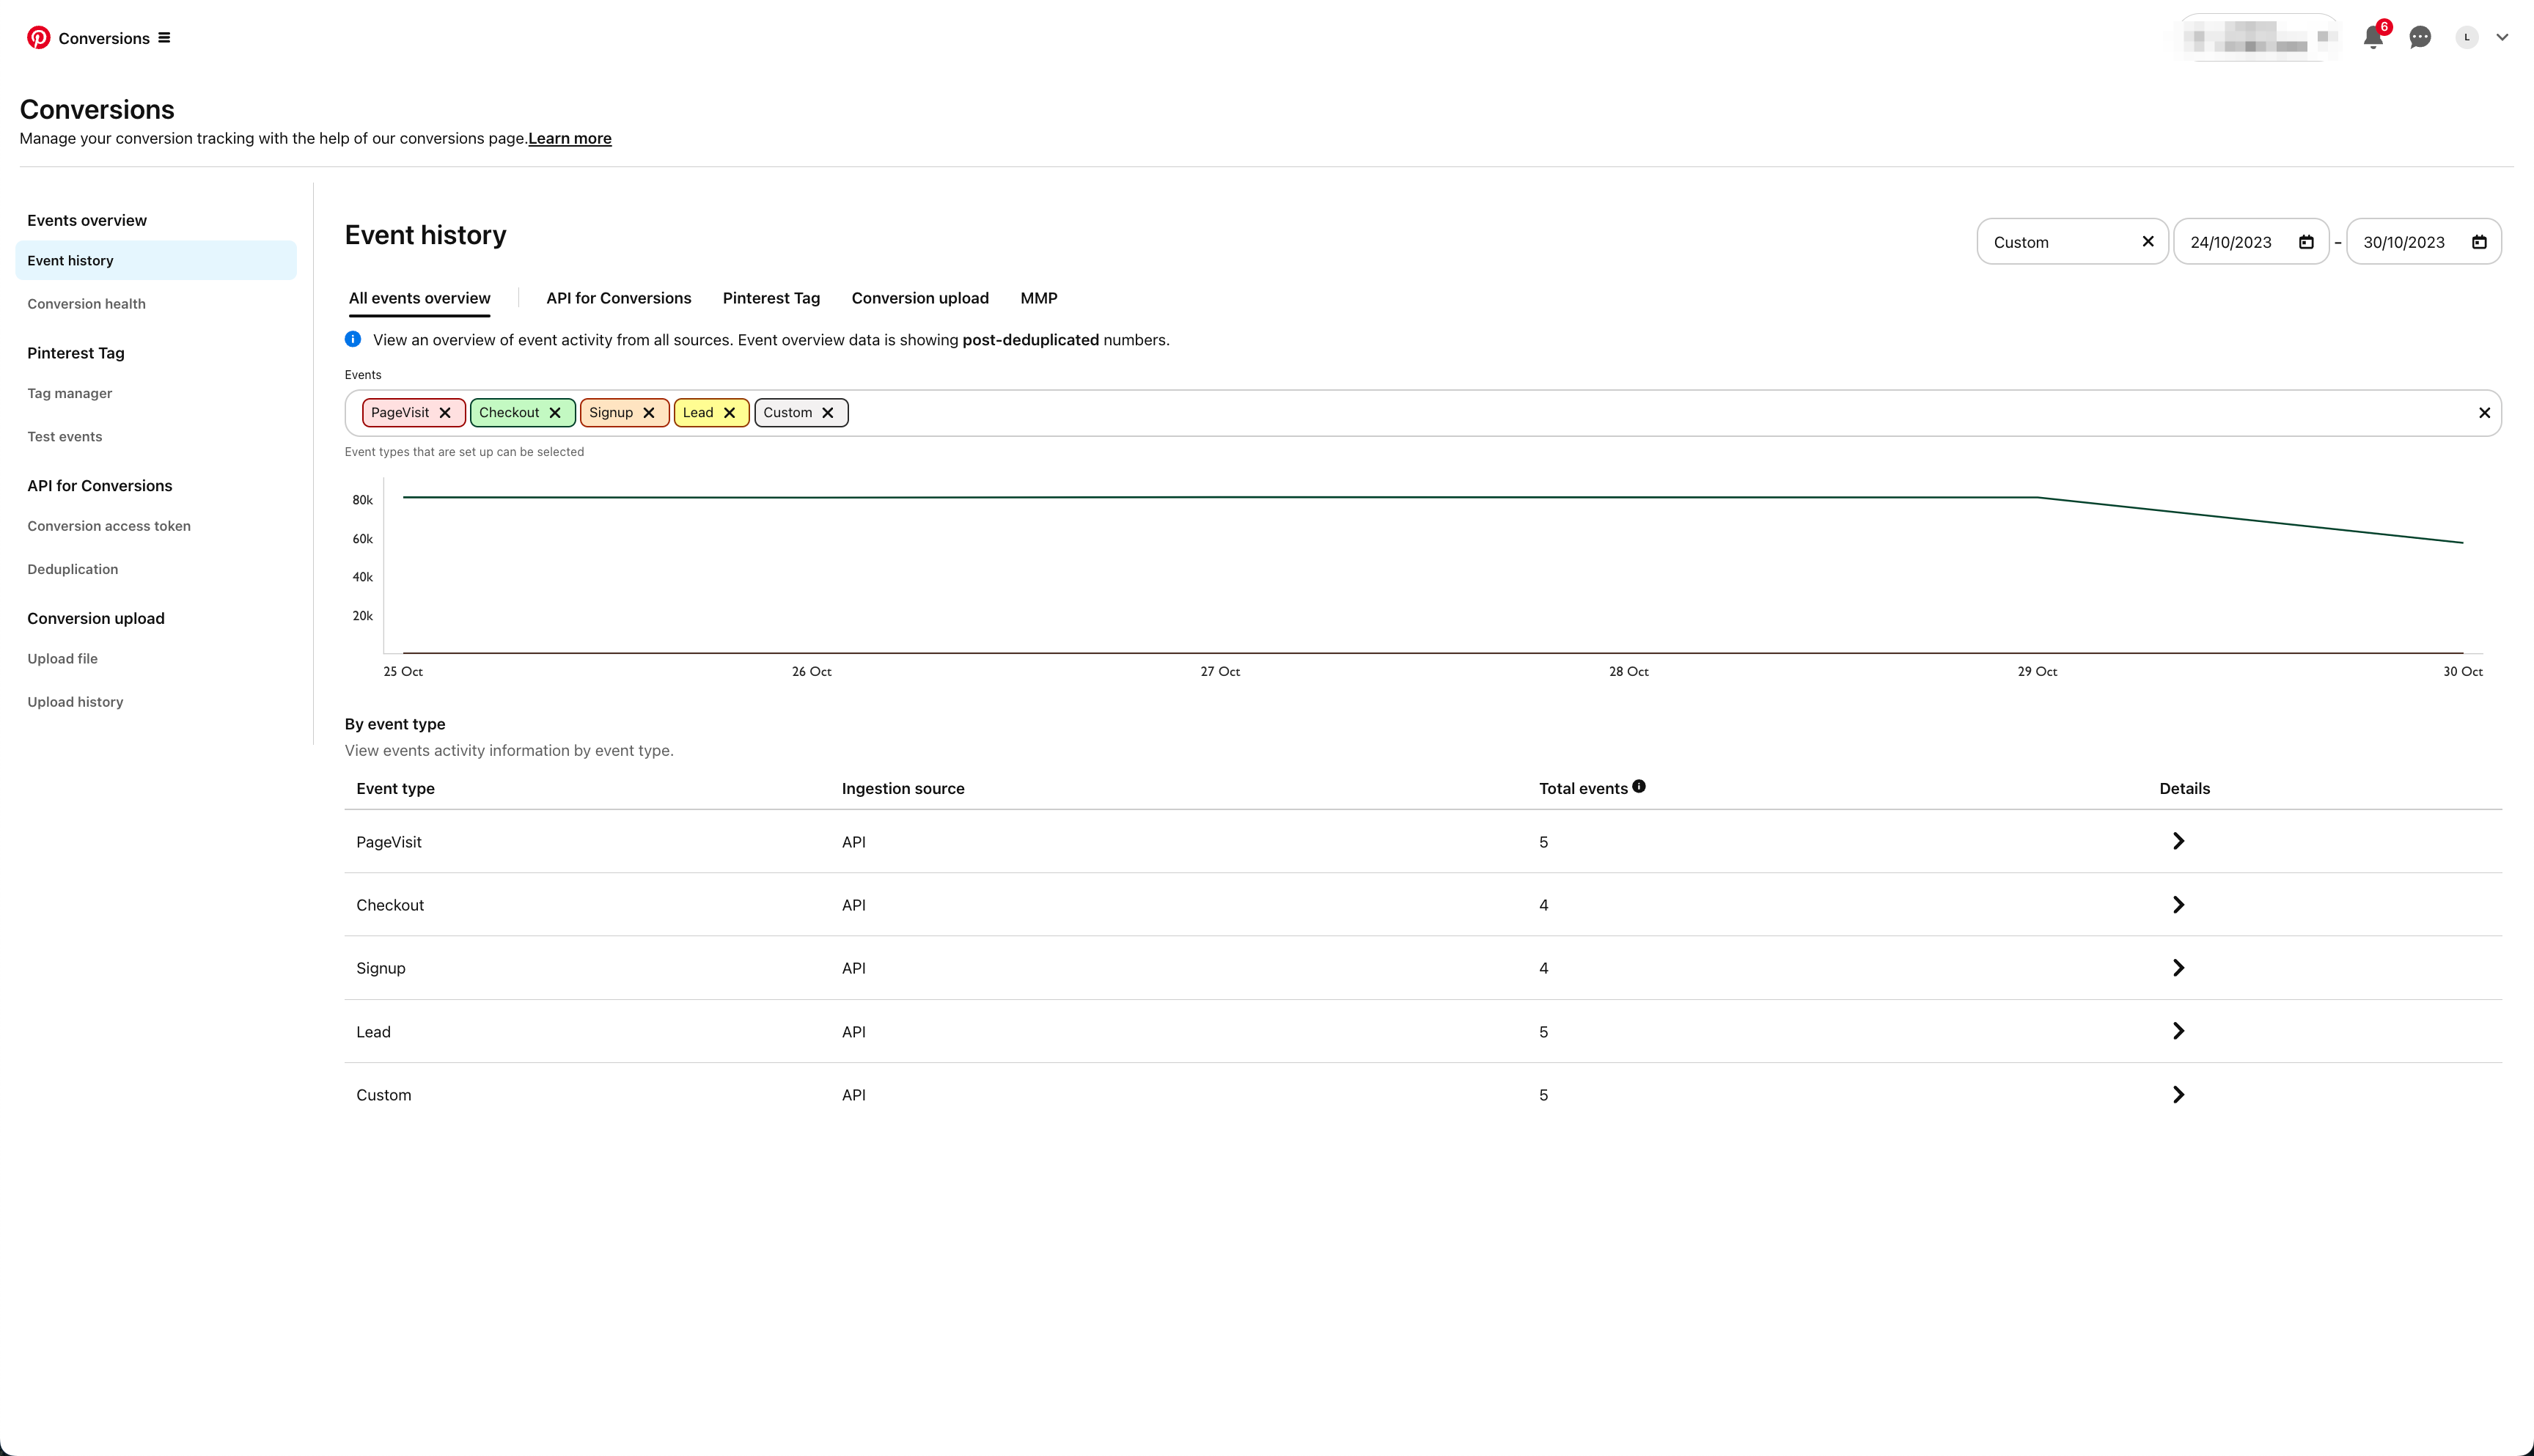
To track the conversion events, go to the following page: https://ads.pinterest.com/advertiser/{ACCOUNT_ID}/conversions/event-history/
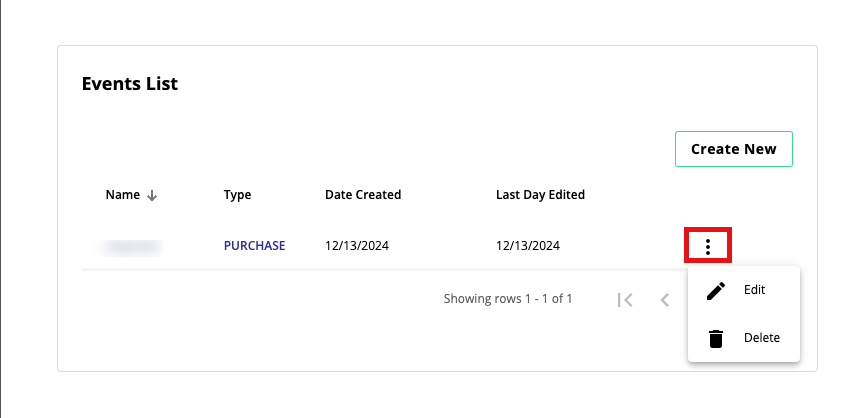
Edit or Delete an Event
You can edit or delete existing events in your CAPI integration. Under 'Events List', click the More Options menu for the desired event and select Edit or Delete. Once you have finished making the desired changes, click .