Scheduled Jobs
If you have the LSH Data Scientist or LSH Admin persona and the Job Management features are enabled for your organization, you can use the Job Management page in Safe Haven to:
Tip
You can also use the Job Management API to automate these tasks. For information, see the Job Management API Documentation.
In the left navigation bar, click .
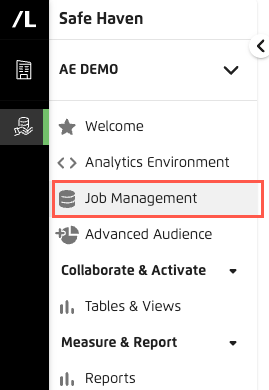
The Job Management page displays, with the "Scheduled Jobs" tab selected by default.

View a Scheduled Job
After creating a PySpark or Python job using the Create a Job dialog, or a BigQuery job in the Google BigQuery UI, you can access the Job Management page to view the job's status, history, settings, upcoming run time, and other details.
Note
It can take about 30 minutes before a newly created BigQuery job is displayed on the Job Management page.
Go to the Job Management page.
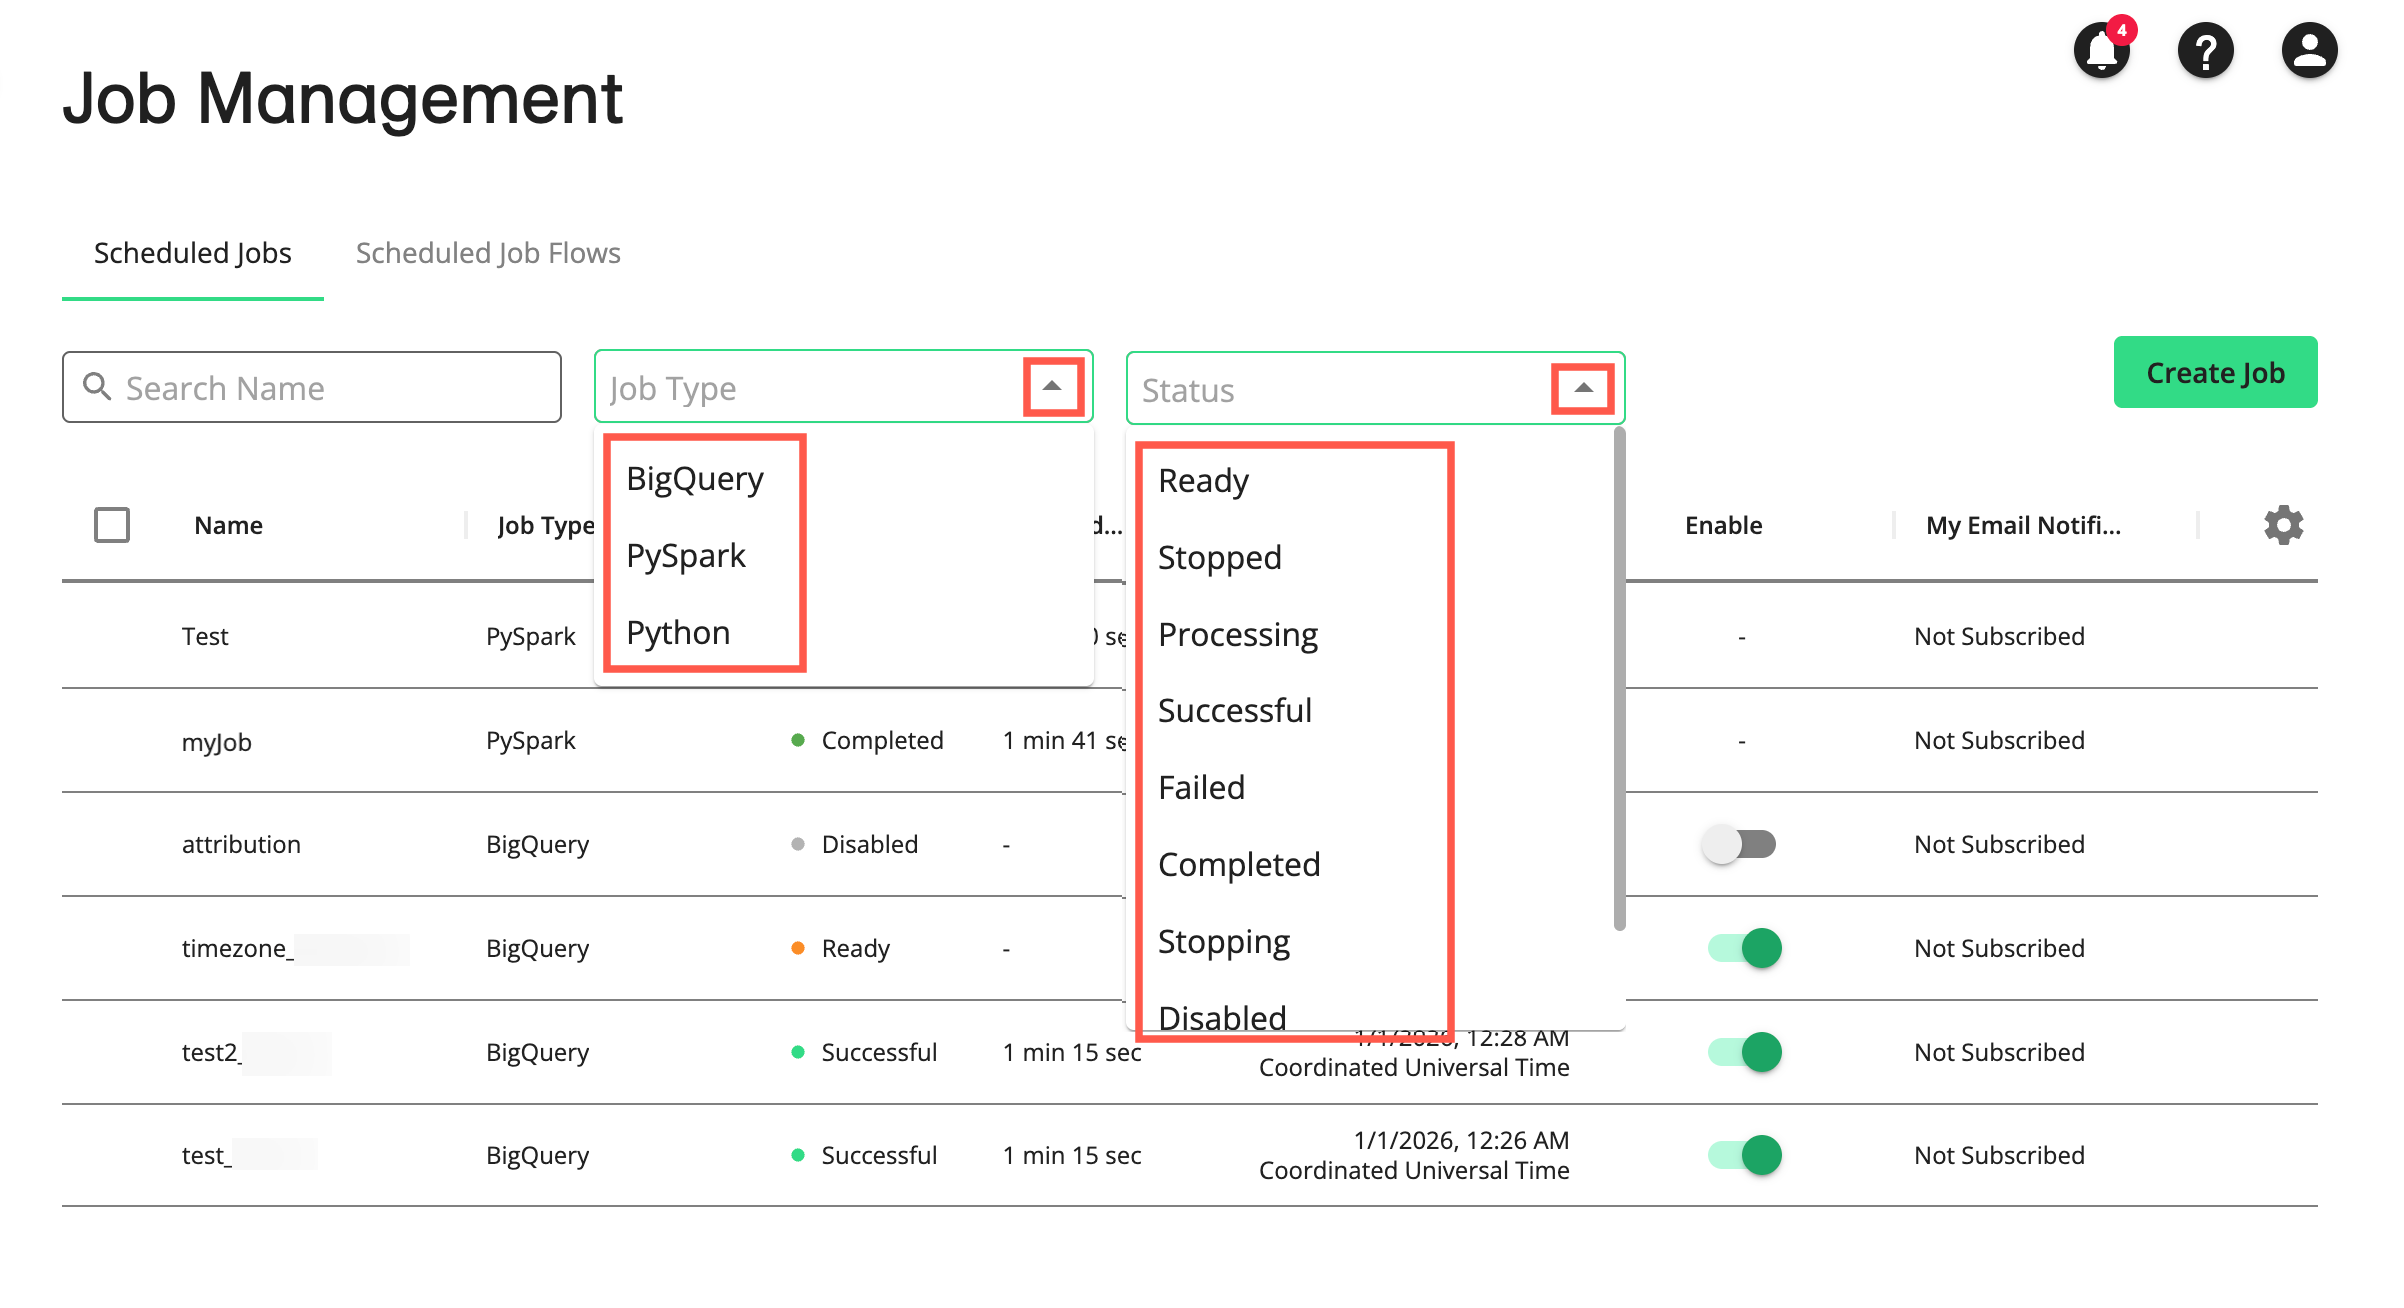
If you have a lot of jobs, you can search and filter by job type and status to find the job you want to view.
Click the job's row to display its details side panel, which includes job history and settings.
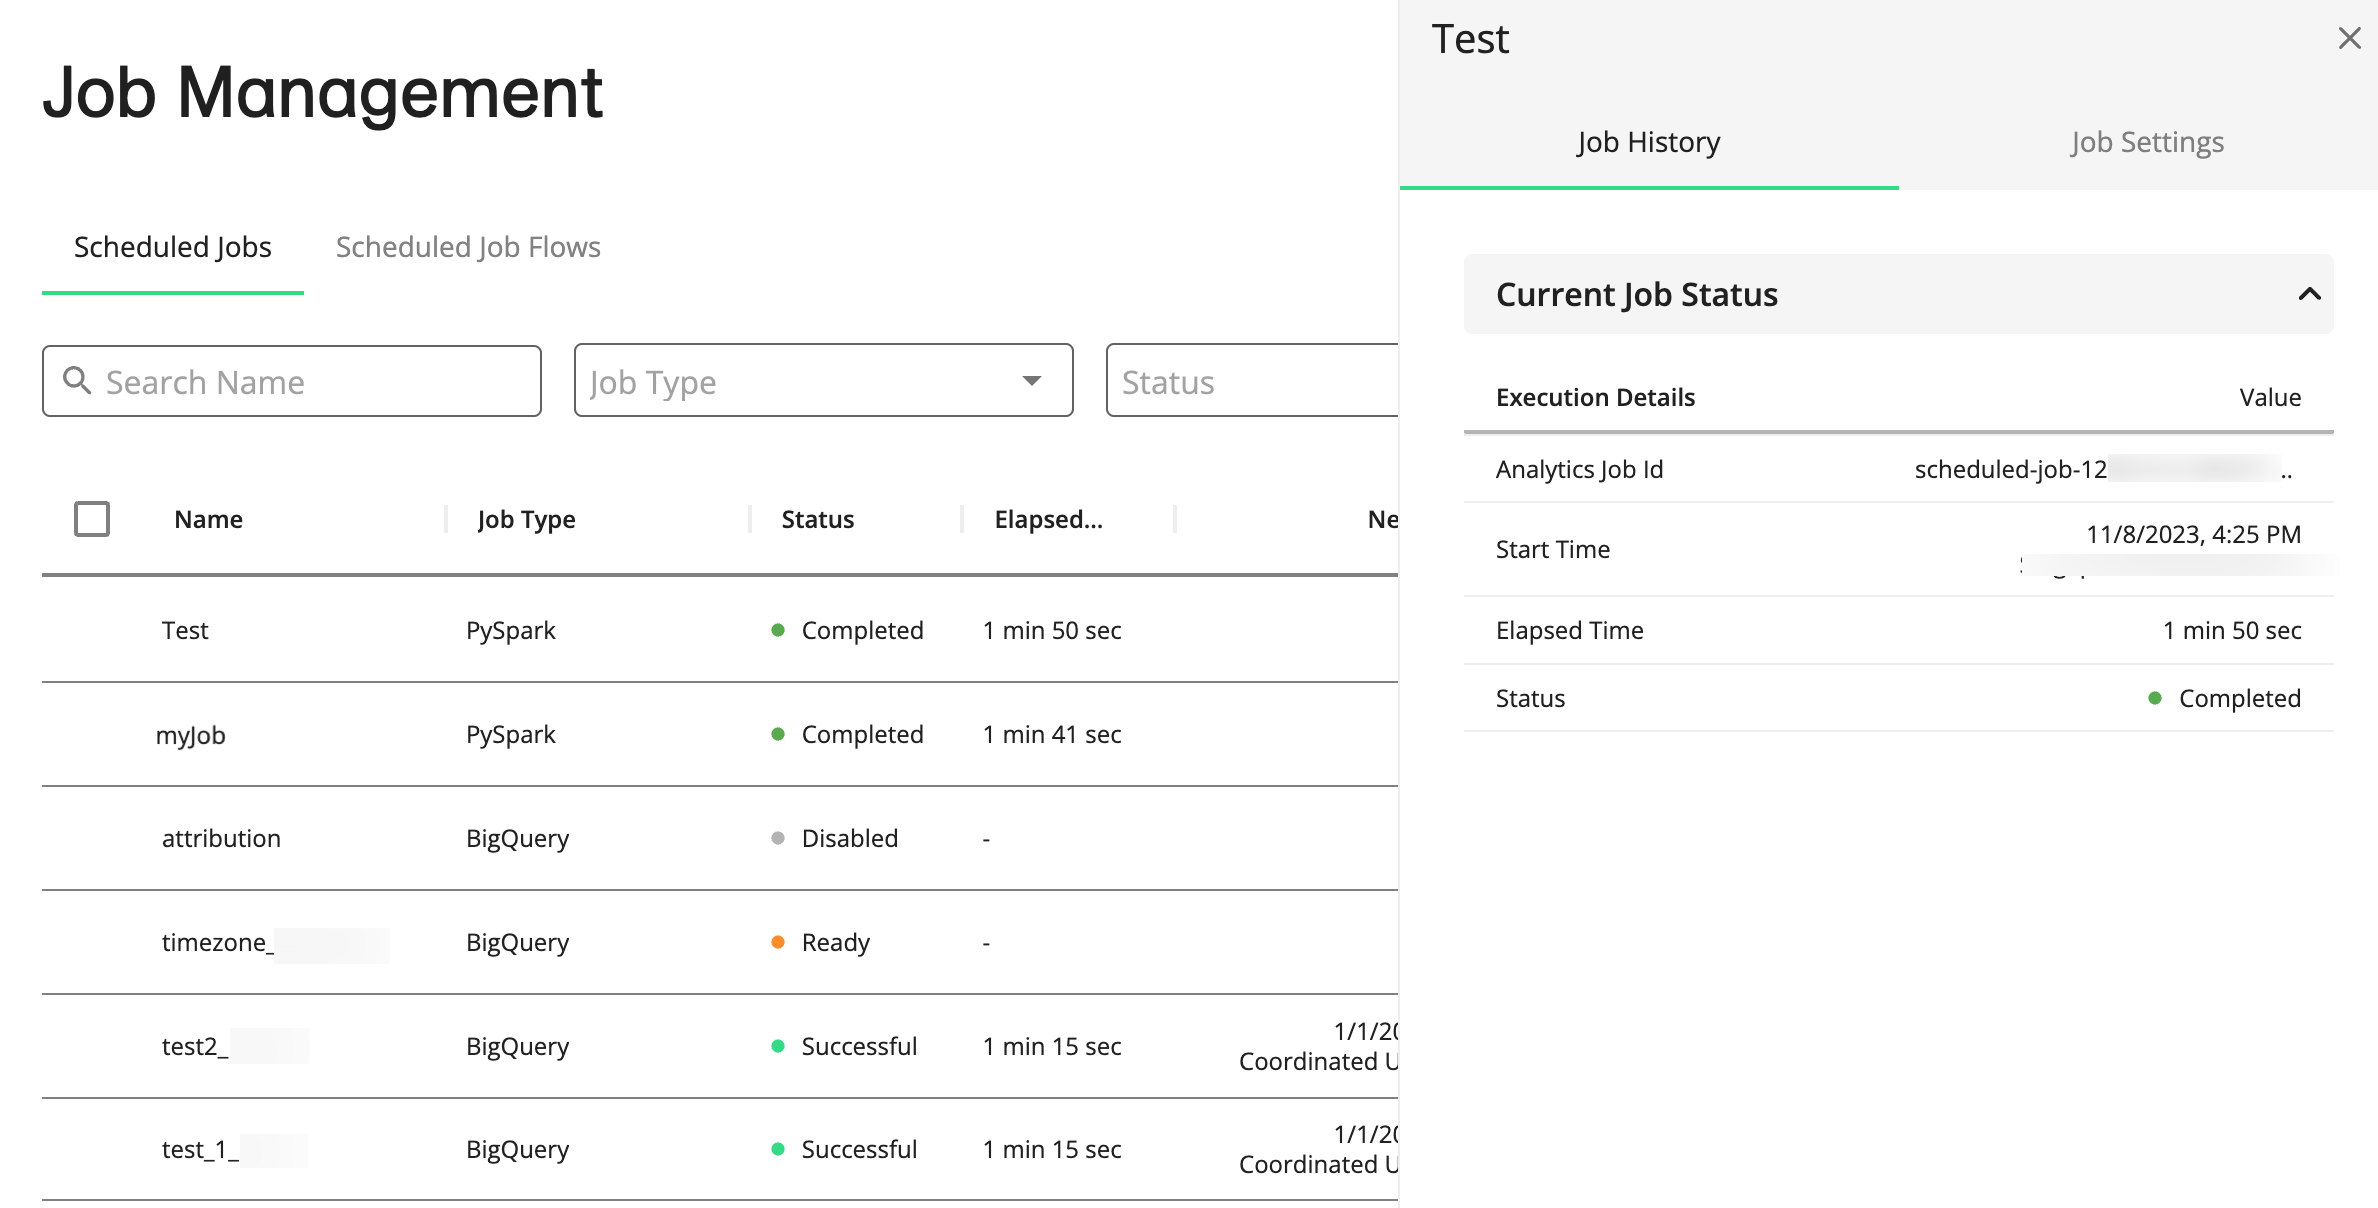
The “Job History” tab has the job’s run history, and the “Job Settings” tab has settings that correspond to the settings you selected when you created the job.
Disable or Enable Scheduled a Job
When you create a job, it is enabled by default. You can then disable or enable a job directly in the list of jobs on the Job Management page.
On the Job Management page, find the job in the list.
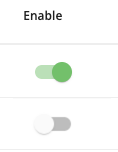
Toggle the job's switch, which is green when enabled and gray when disabled.
Run a Scheduled Job
Your job will run according to the schedule that you specified when you created it. If you ever need to run the job immediately, you can do so from the Job Management page.
On the Job Management page, find the job in the list.
From the job's More Options menu (
 ), select .
Tip
If the job is disabled, you must first enable it for the option to be displayed.
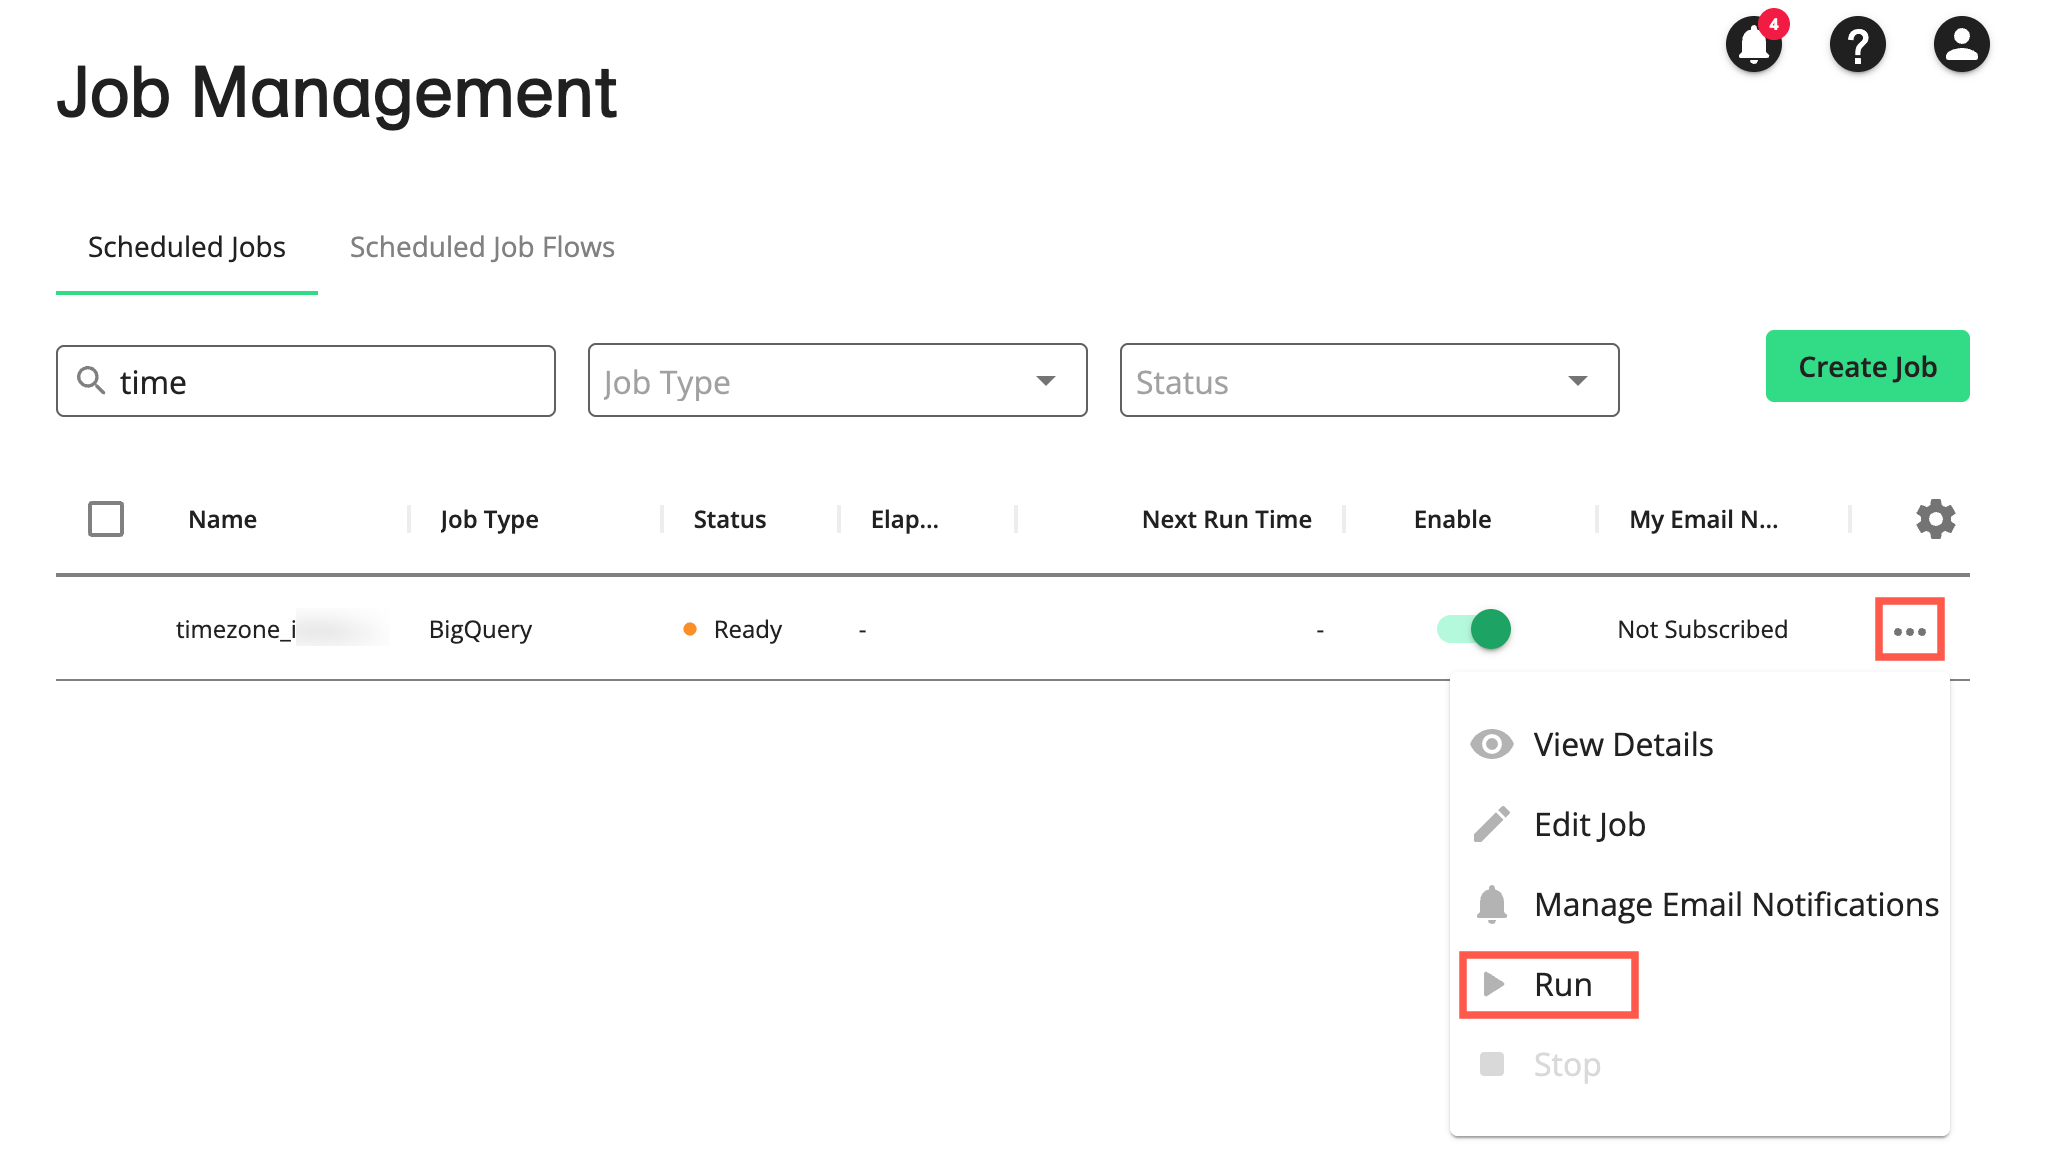
The job is run immediately and this run will be displayed on the Job History tab of the job's side panel.
Stop a Scheduled Job
Your job runs according to the schedule you specified when you created it. If needed, you can stop the job immediately from the Job Management page.
On the Job Management page, find the job in the list.
From the job's More Options menu (
), select .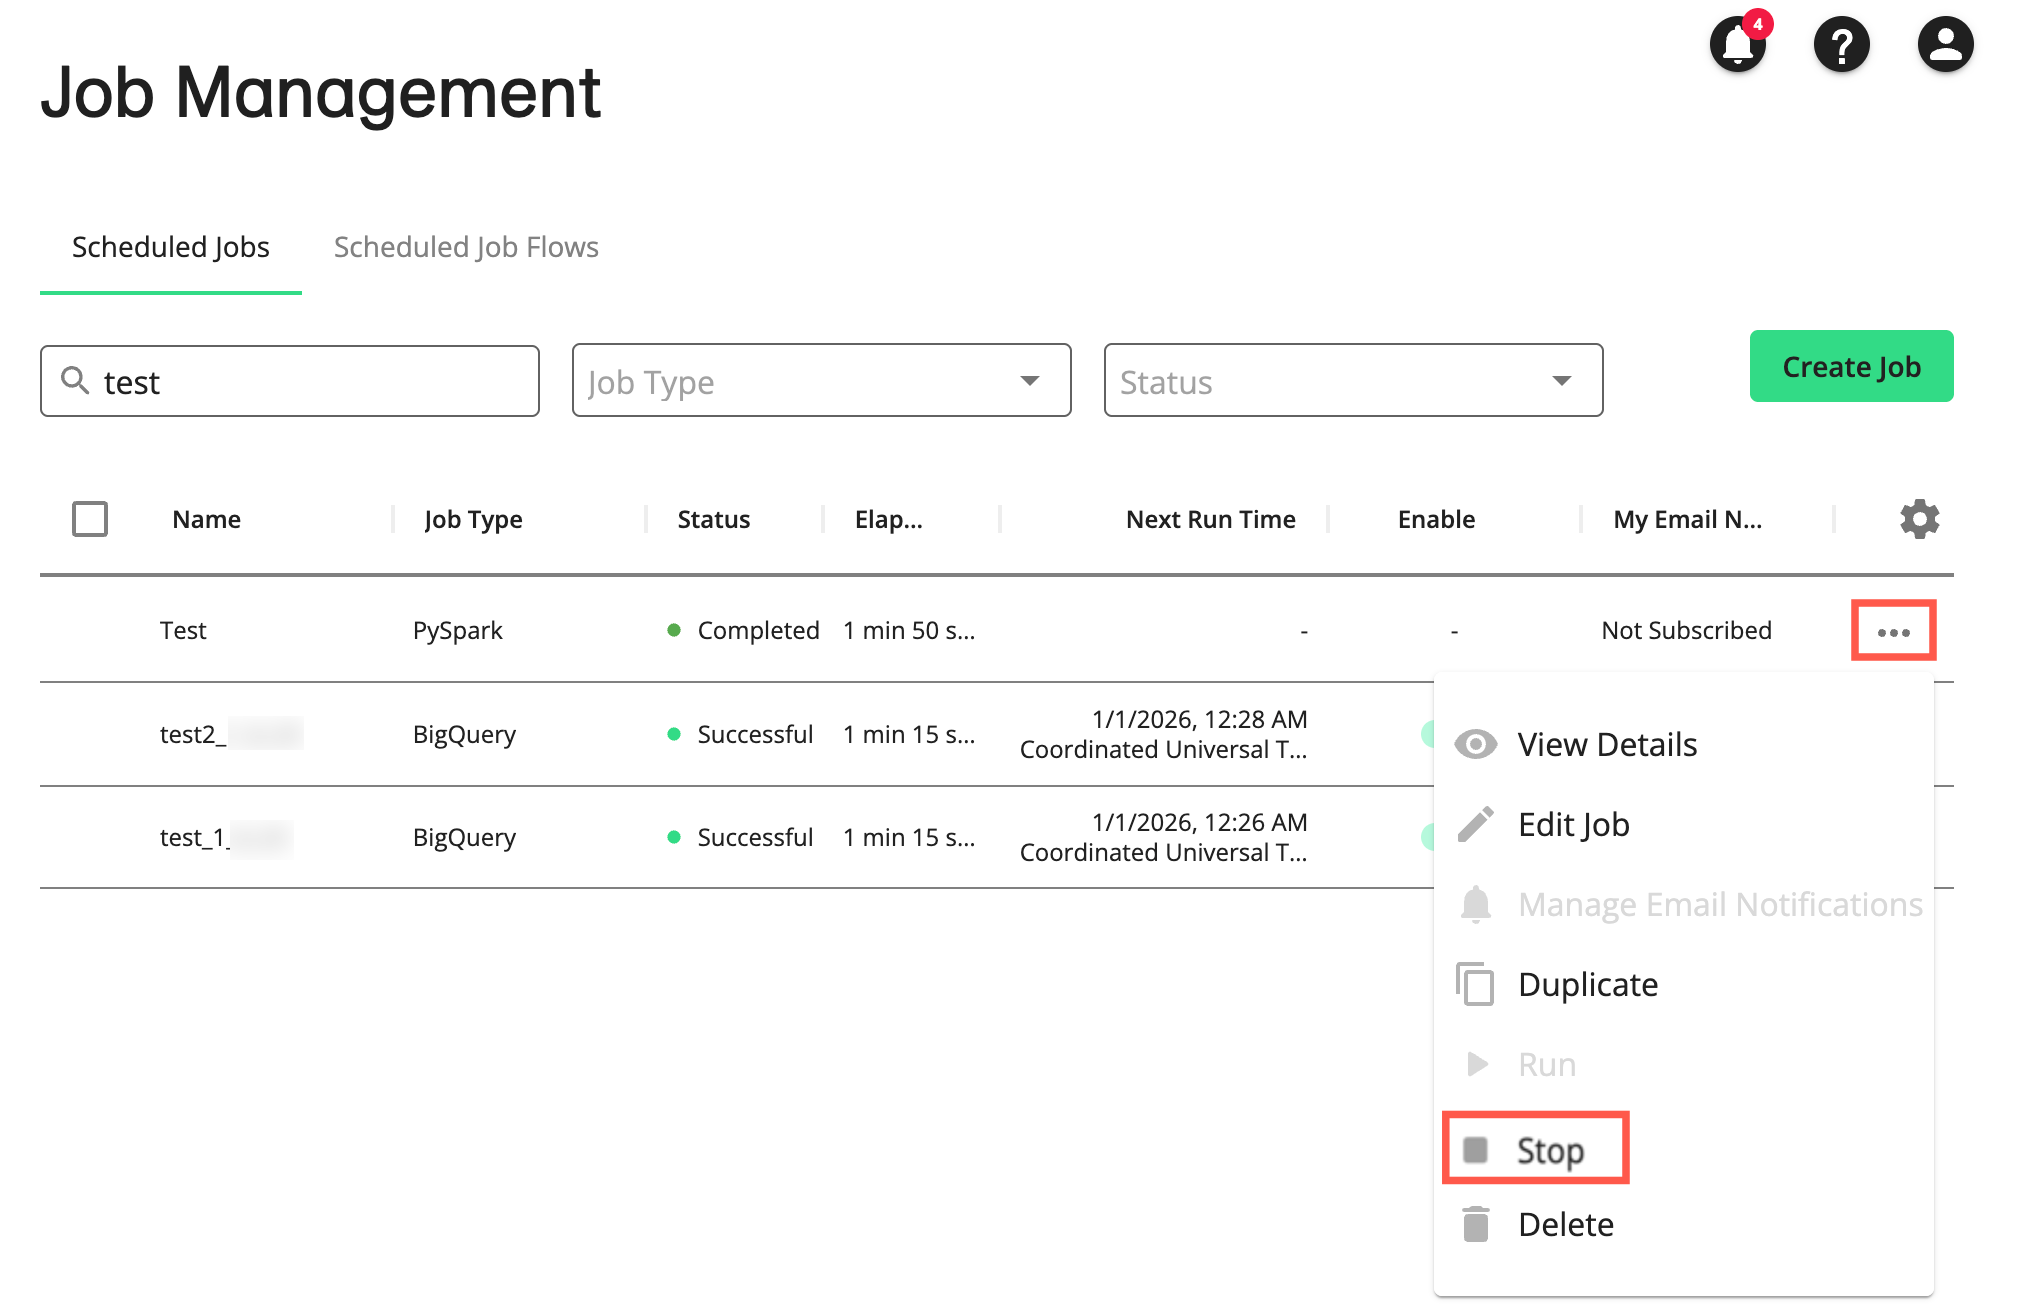
The job is stopped immediately and this event will be displayed on the Job History tab of the job's side panel.
Edit a Scheduled Job
You can edit a job to adjust its settings, such as its schedule, its code files, and so on.
On the Job Management page, find the job in the list.
From the job's More Options menu (
), select .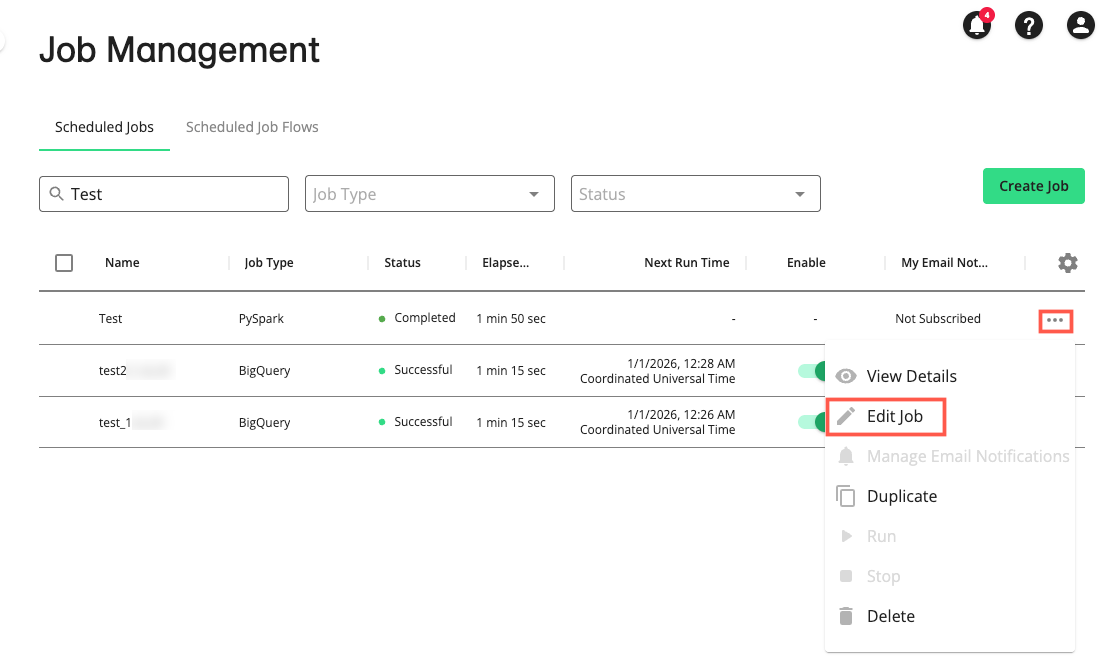
The job's configuration is displayed in Edit mode, which corresponds to the same steps used when creating a job.
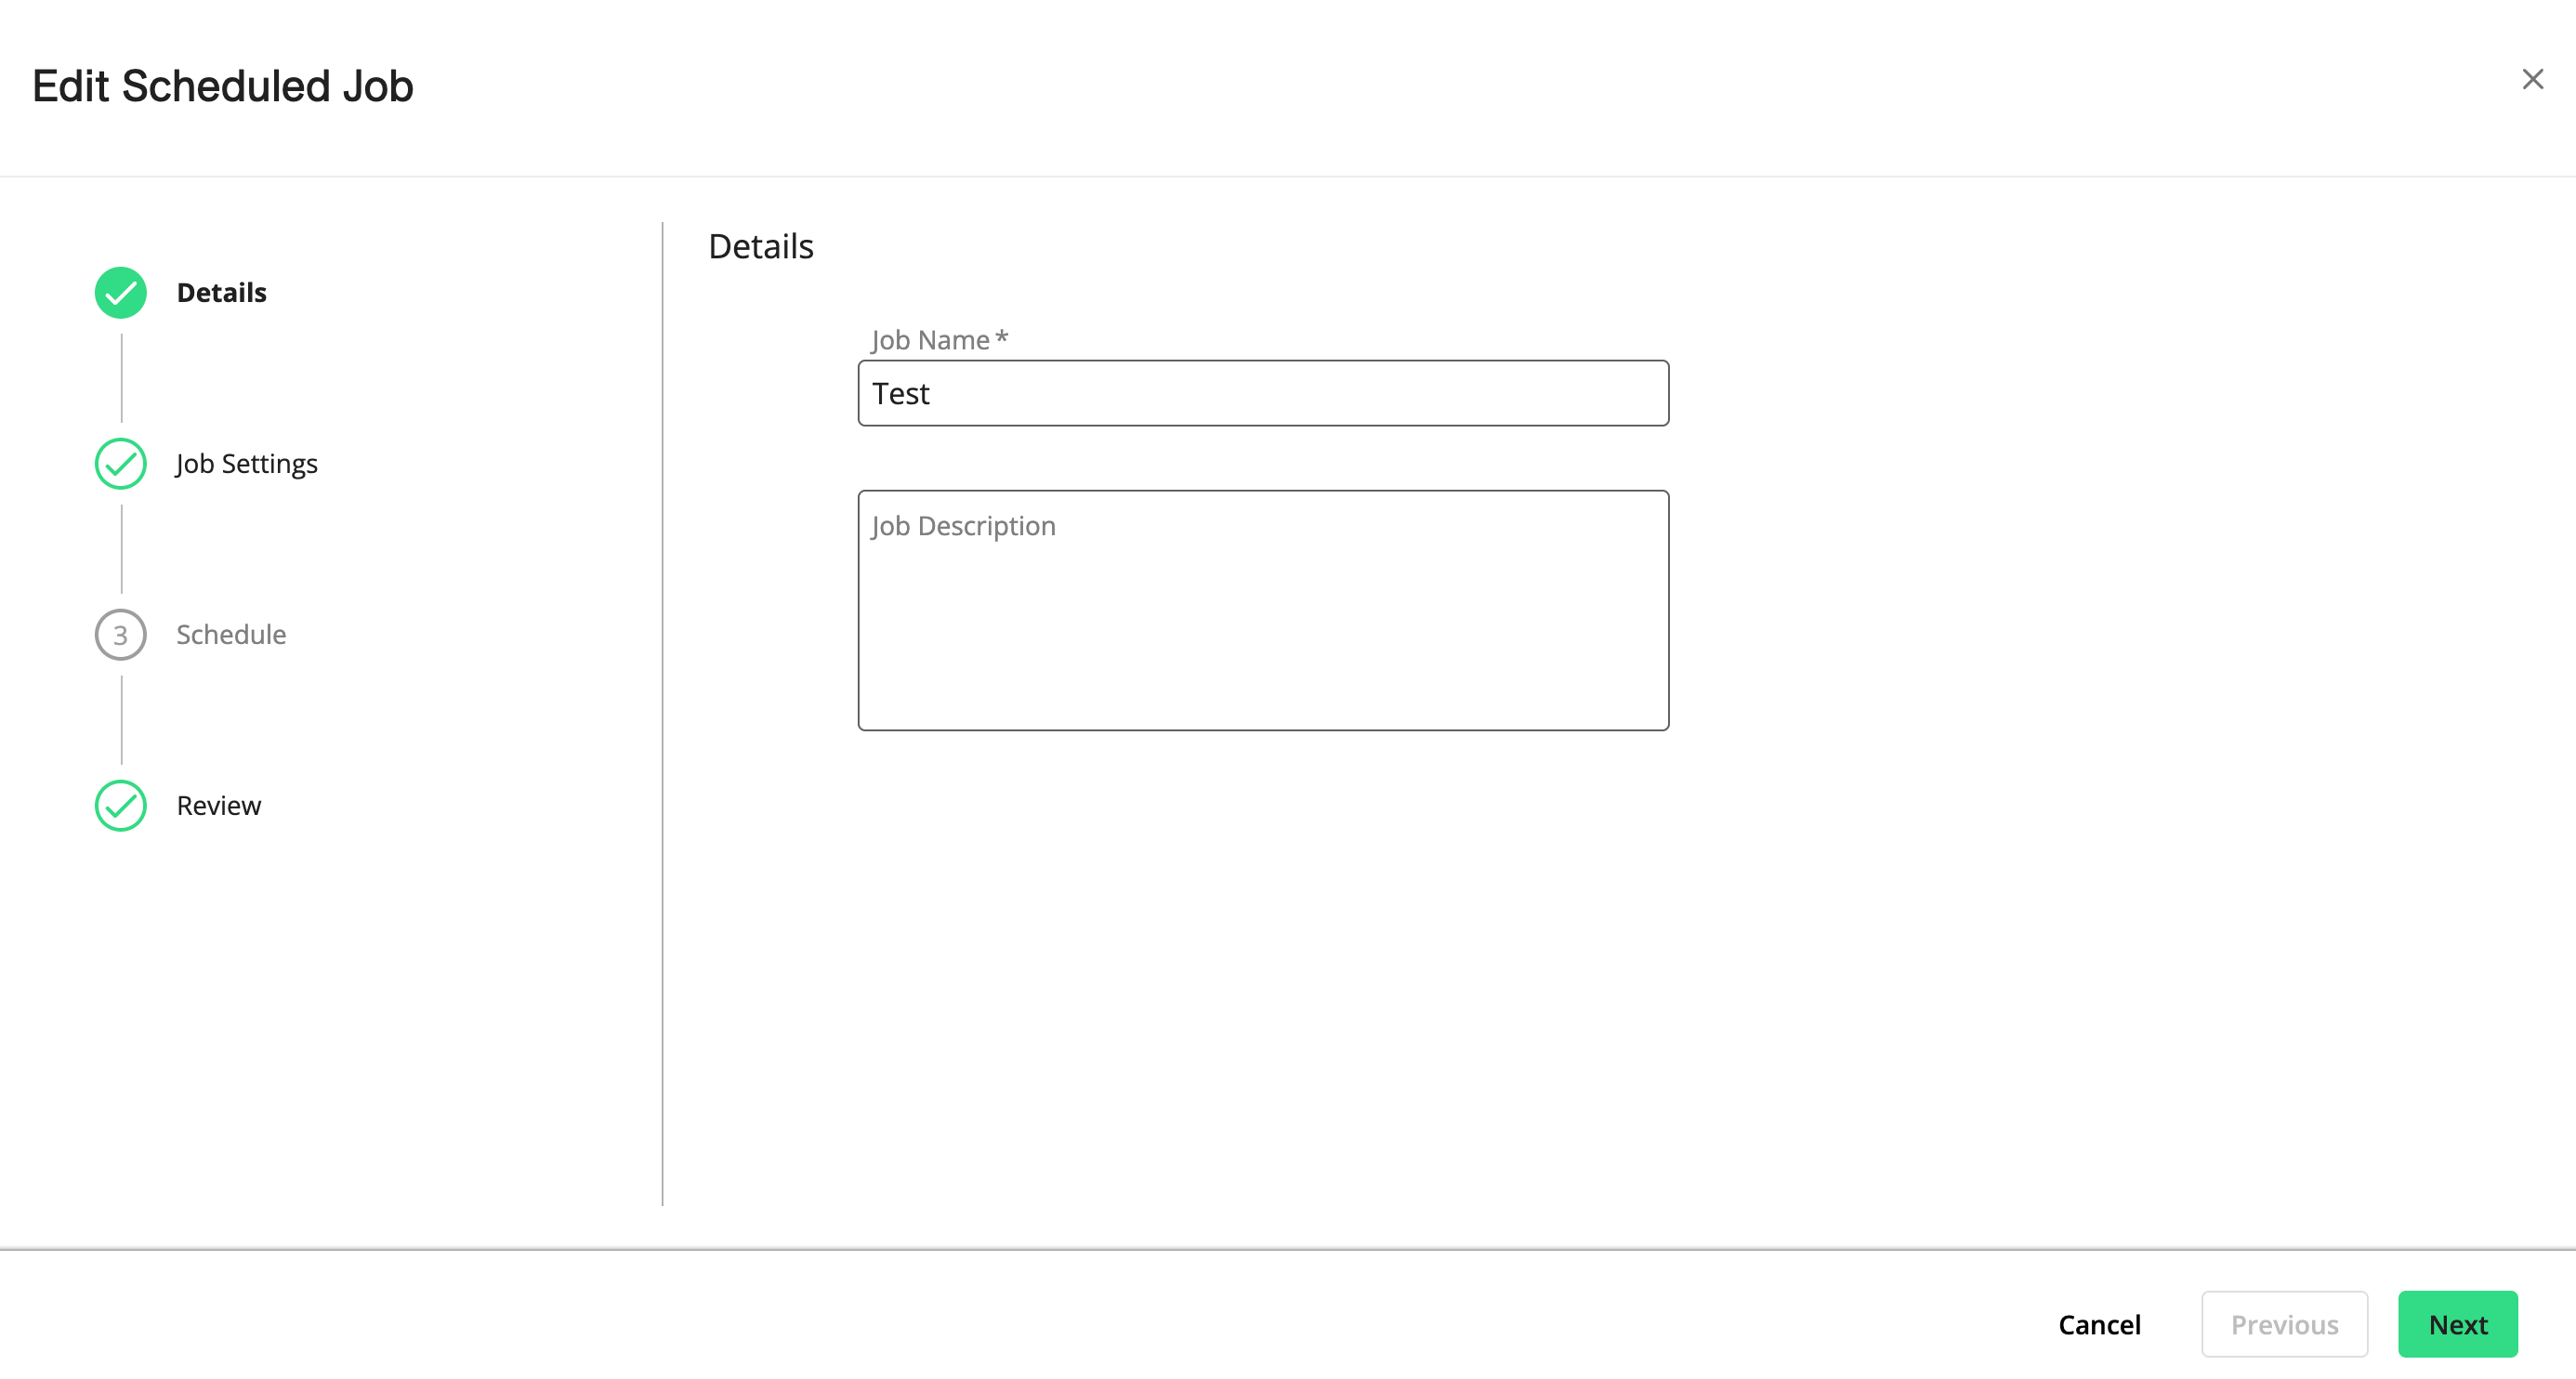
Make any changes to each page of the Edit Scheduled Job dialog and then save your changes.
Note
When editing BigQuery jobs:
You cannot change the options in the Job Settings step. Click to proceed to the Schedule step.
BigQuery only supports these 5 cron job formats:
Every
X(0-59) minutes:*/X * * * *Every
X(0-23) hours:* */X * * *A specific time
M(0-59 minutes)H(0-23 hours) daily:M H * * *A specific time (see above) on specific days of the week (0-6; 0 = Sunday):
M H * * 1,2,...A specific time (see above) on specific days of the month (1-31):
M H 1,2,... * *
For more information, see Cron job format.
Duplicate a Scheduled Job
As a shortcut, you can duplicate a job and make any needed changes, such as its name and its code files.
Note
Duplication of BigQuery scheduled jobs is not supported. Use the Google BigQuery UI to duplicate a BigQuery scheduled job.
On the Job Management page, find the job in the list.
From the job's More Options menu (
), select .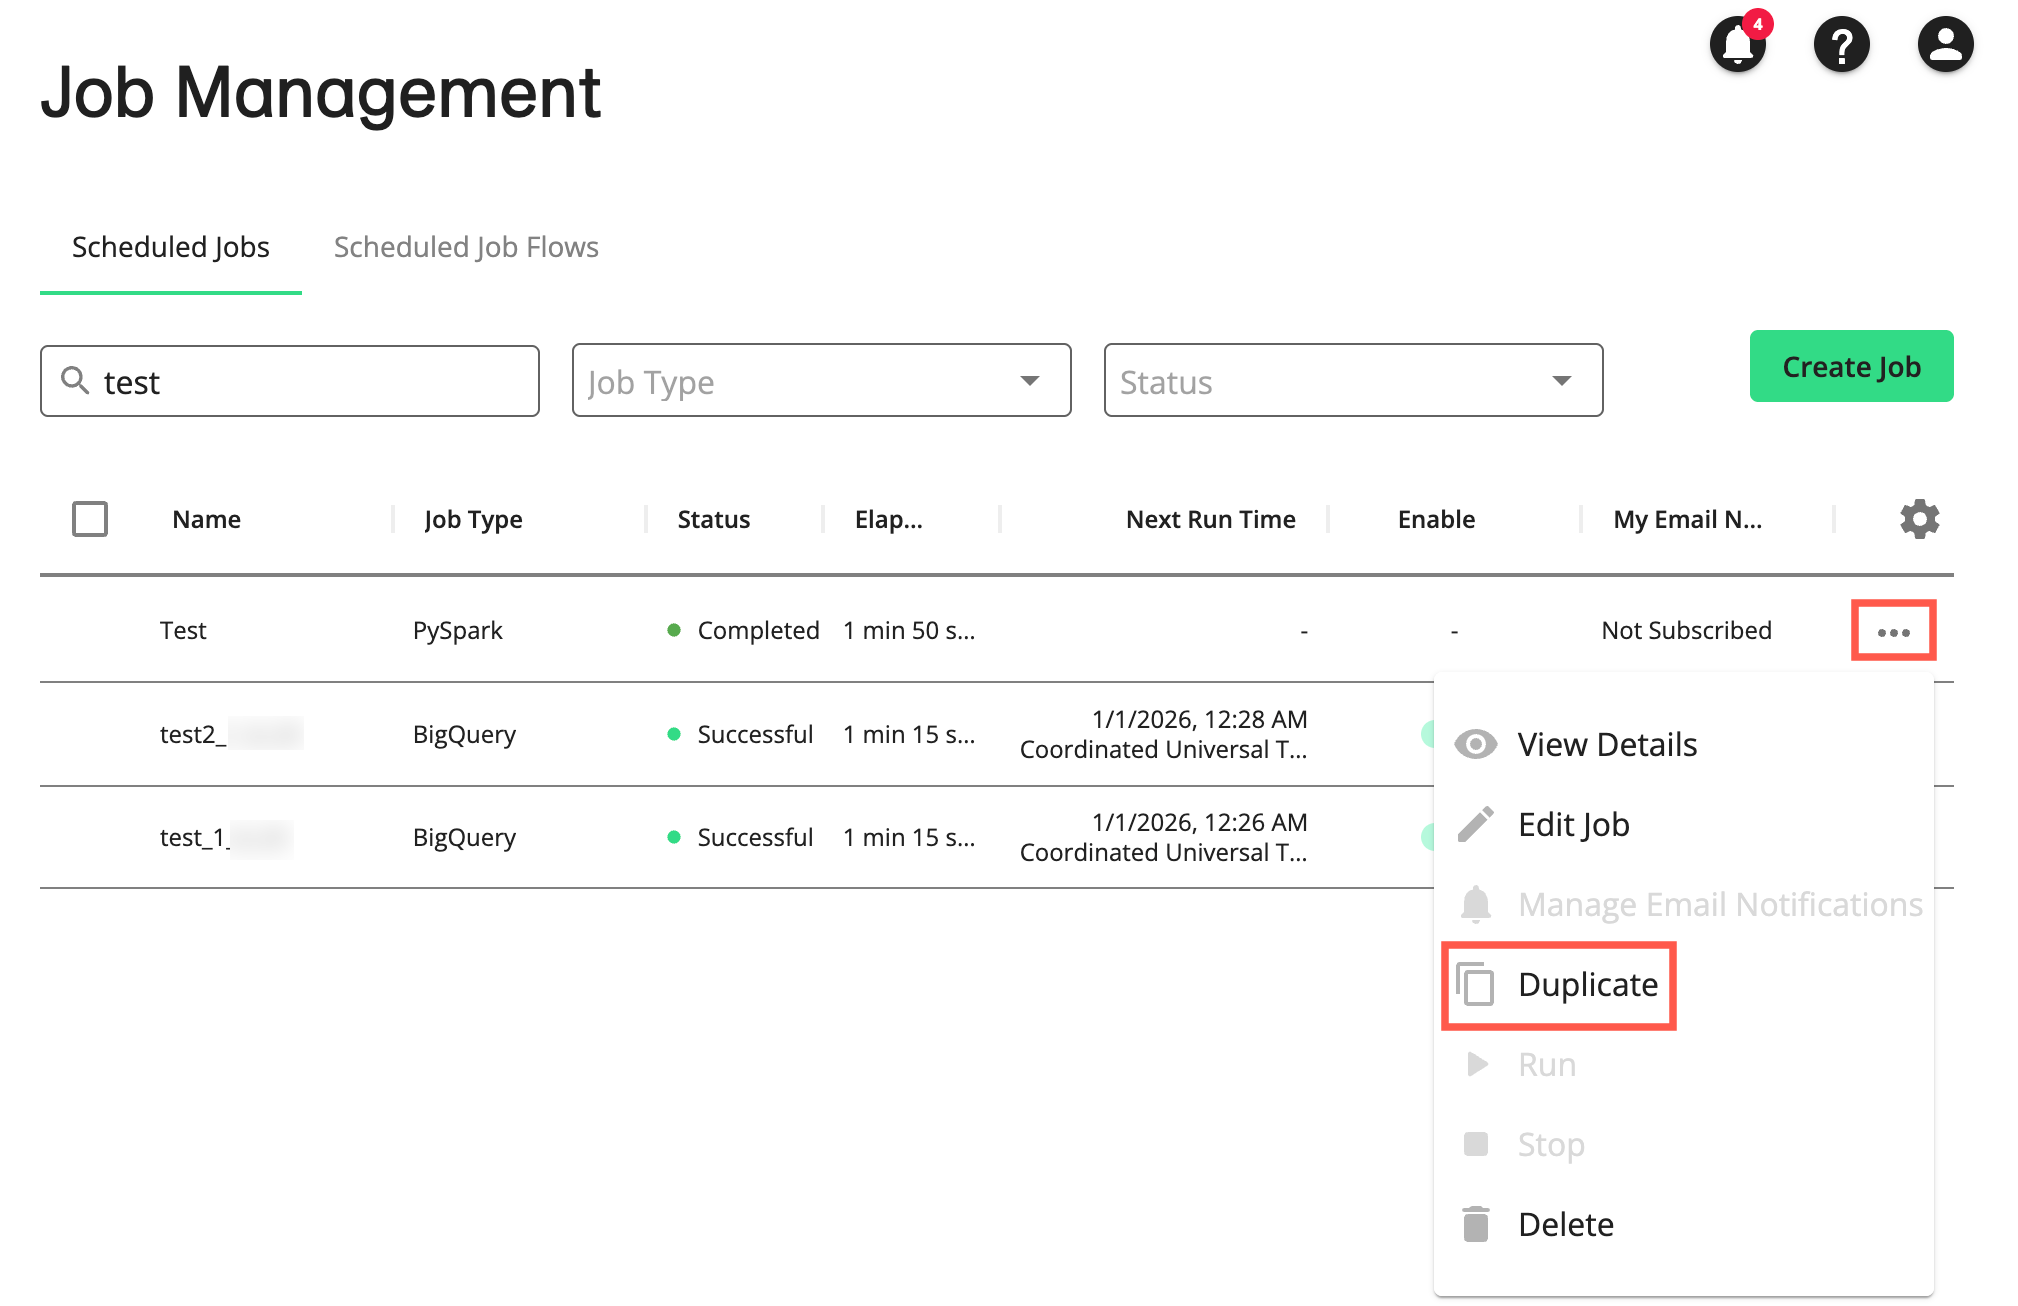
A confirmation dialog asks if you want to duplicate the job (the name of the job is listed after "Duplicate" in the confirmation dialog).
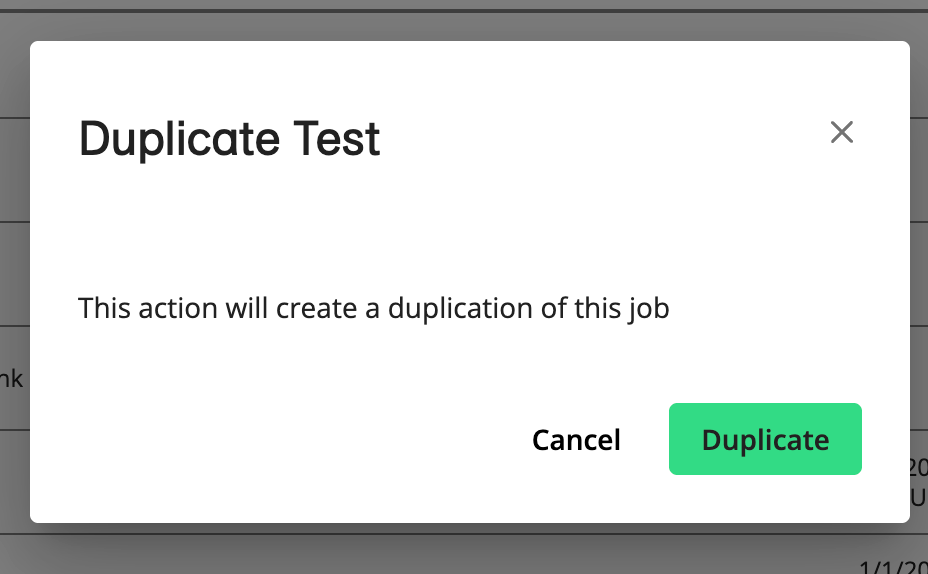
Click .
Delete a Scheduled Job
If you no longer need to run a particular job, you can delete it from the list. This will not delete any corresponding files that the job references.
Note
Deletion of BigQuery scheduled jobs is not supported. Use the Google BigQuery UI to delete a BigQuery scheduled job.
On the Job Management page, find the job in the list.
From the job's More Options menu (
), select .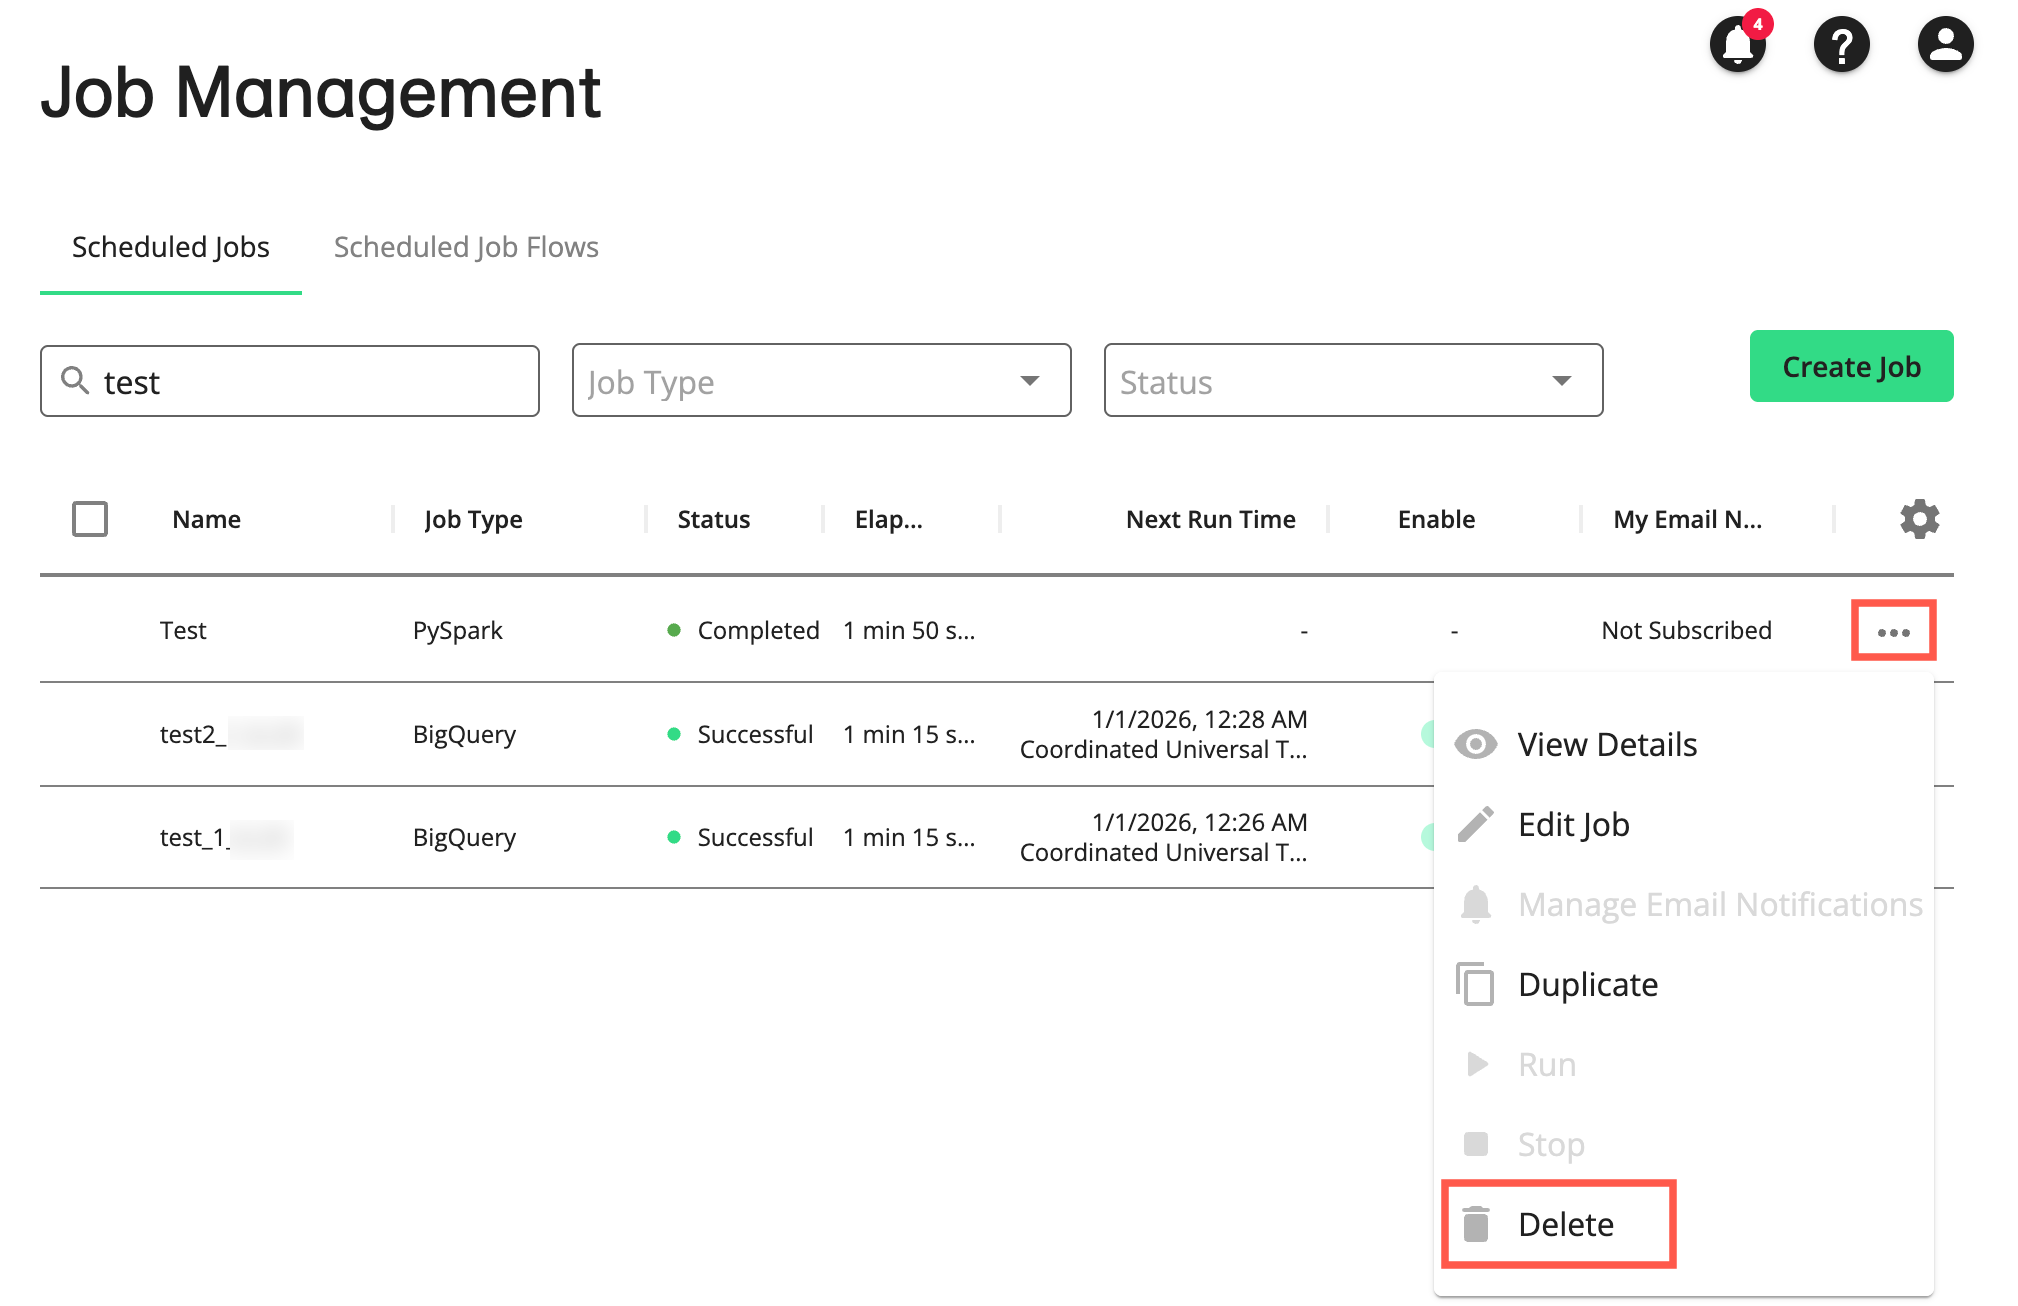
A confirmation dialog asks if you want to delete the job (the name of the job is listed after "Delete" in the confirmation dialog).
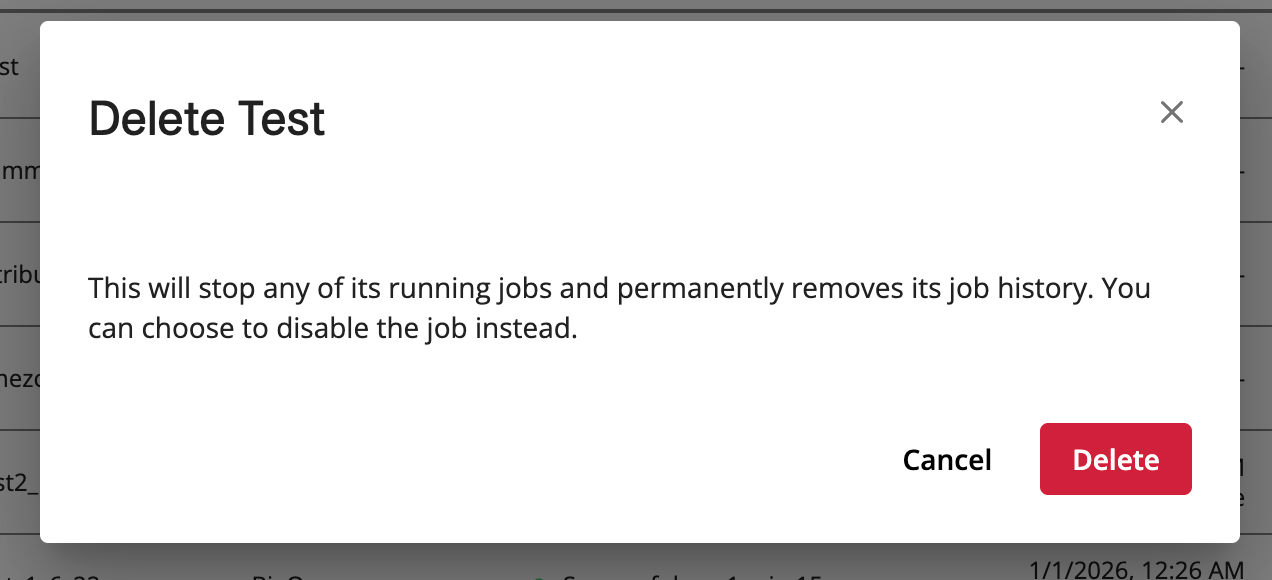
Click .
Manage Email Notifications
You can subscribe to or manage email notifications on the Job Management page for specific jobs.
Once you subscribe to a notification, you can edit it to add or remove a notification type (Successful or Failed).
On the Job Management page, find the job in the list.
From the job's More Options menu (
), select .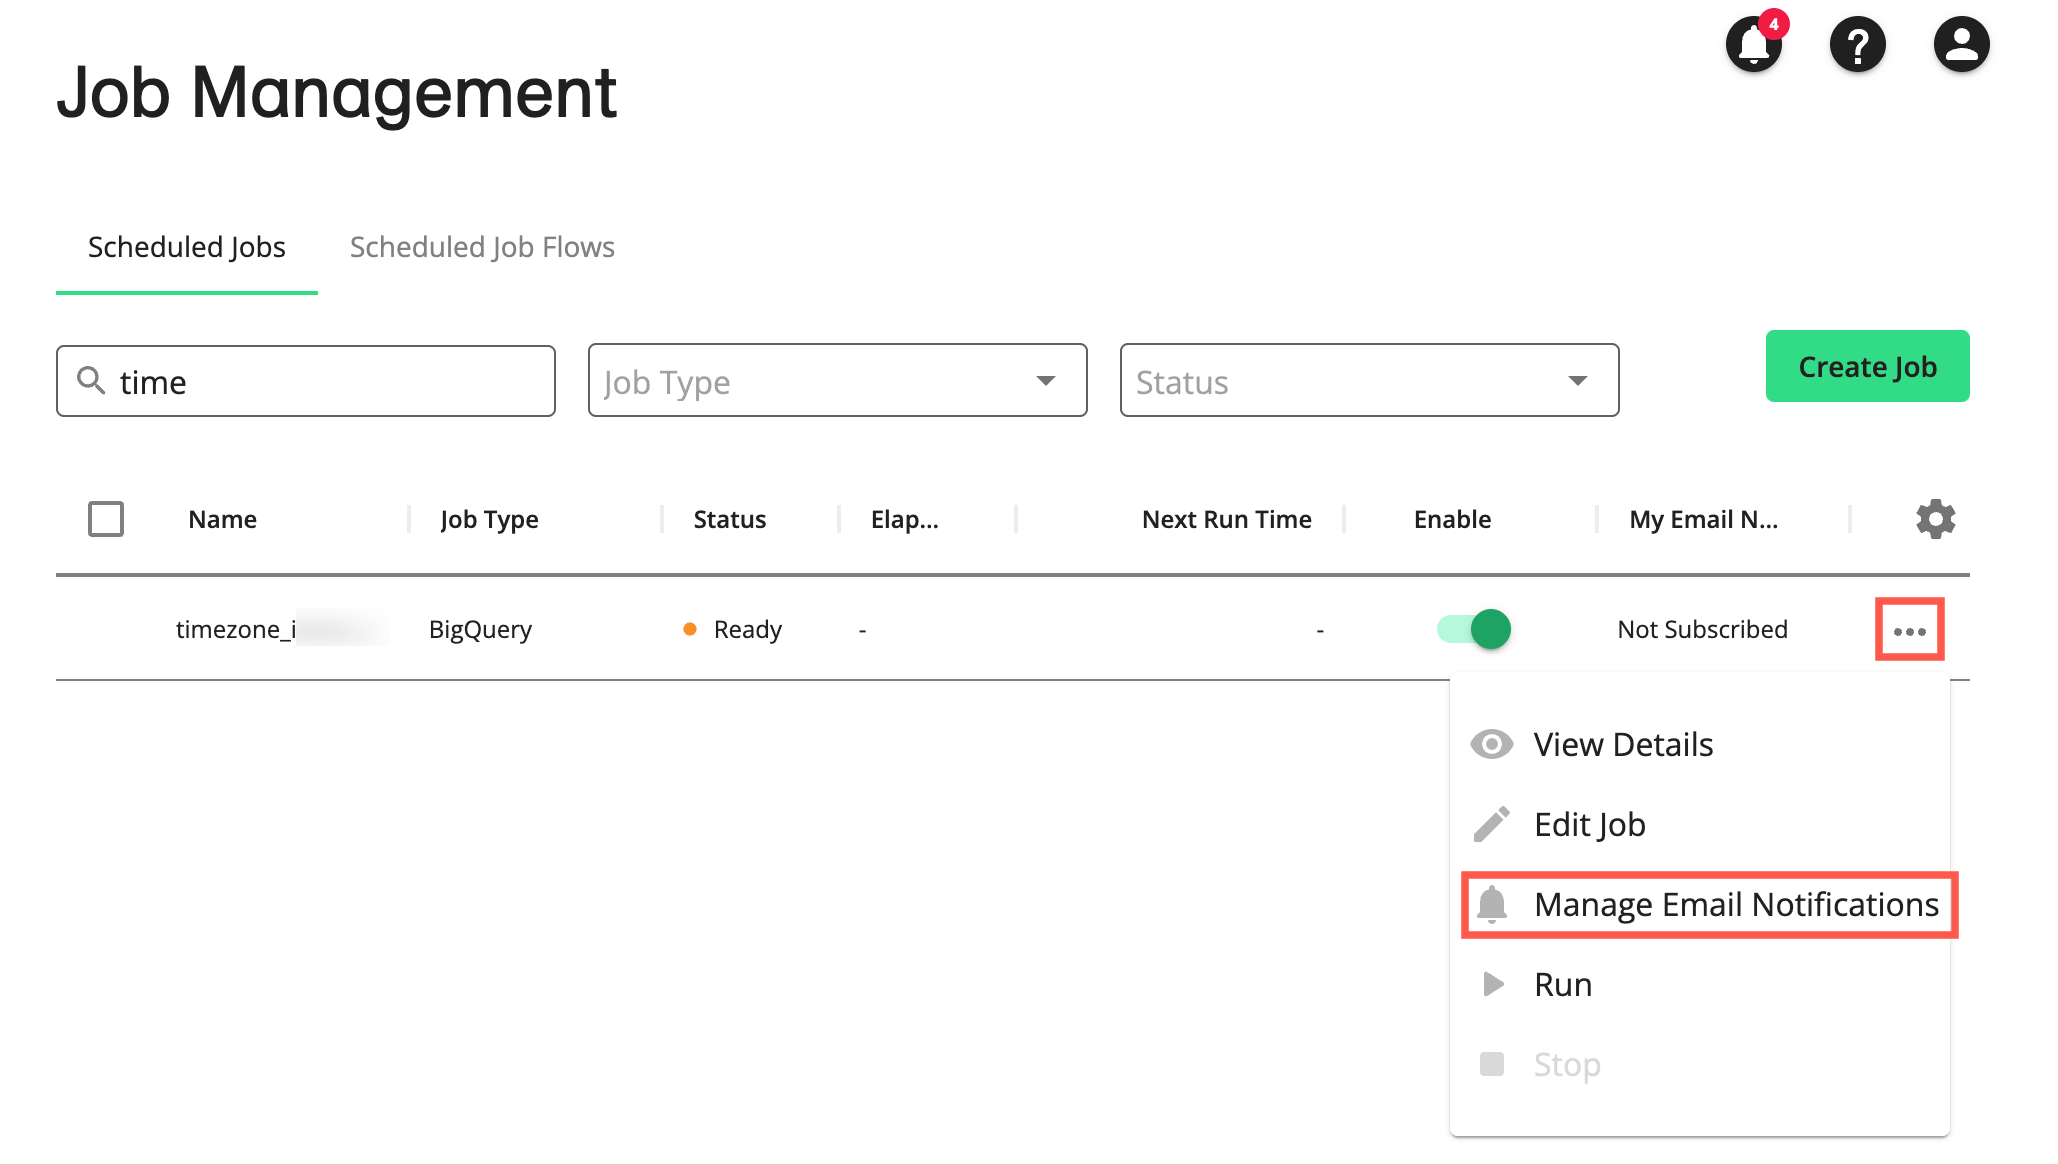
If you want to manage notifications for multiple jobs, select the check boxes for the jobs and click
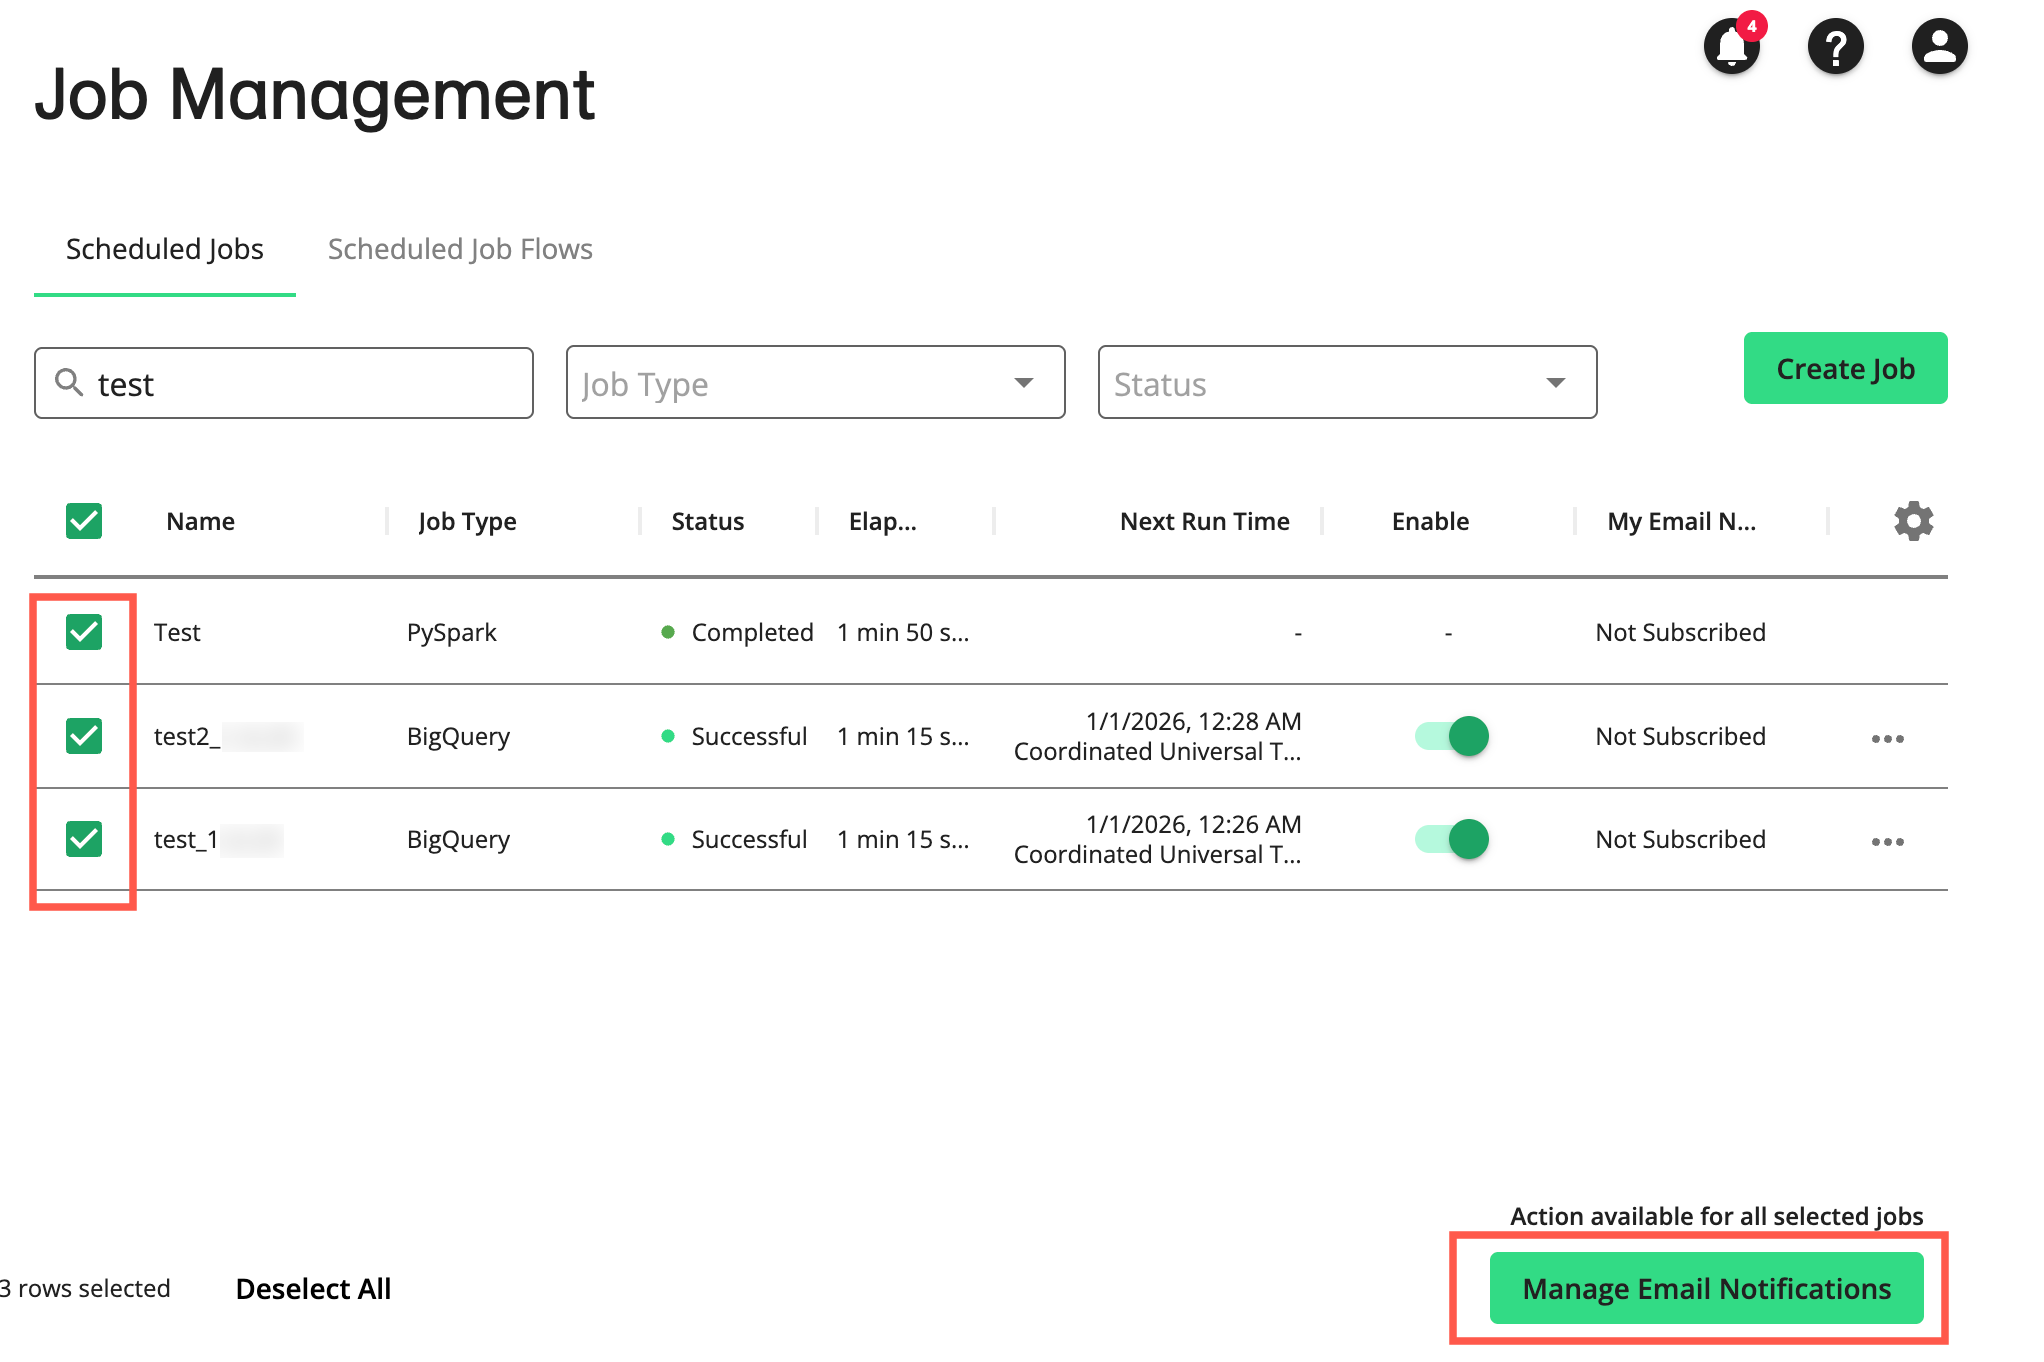
The Manage Email Notifications page is displayed.
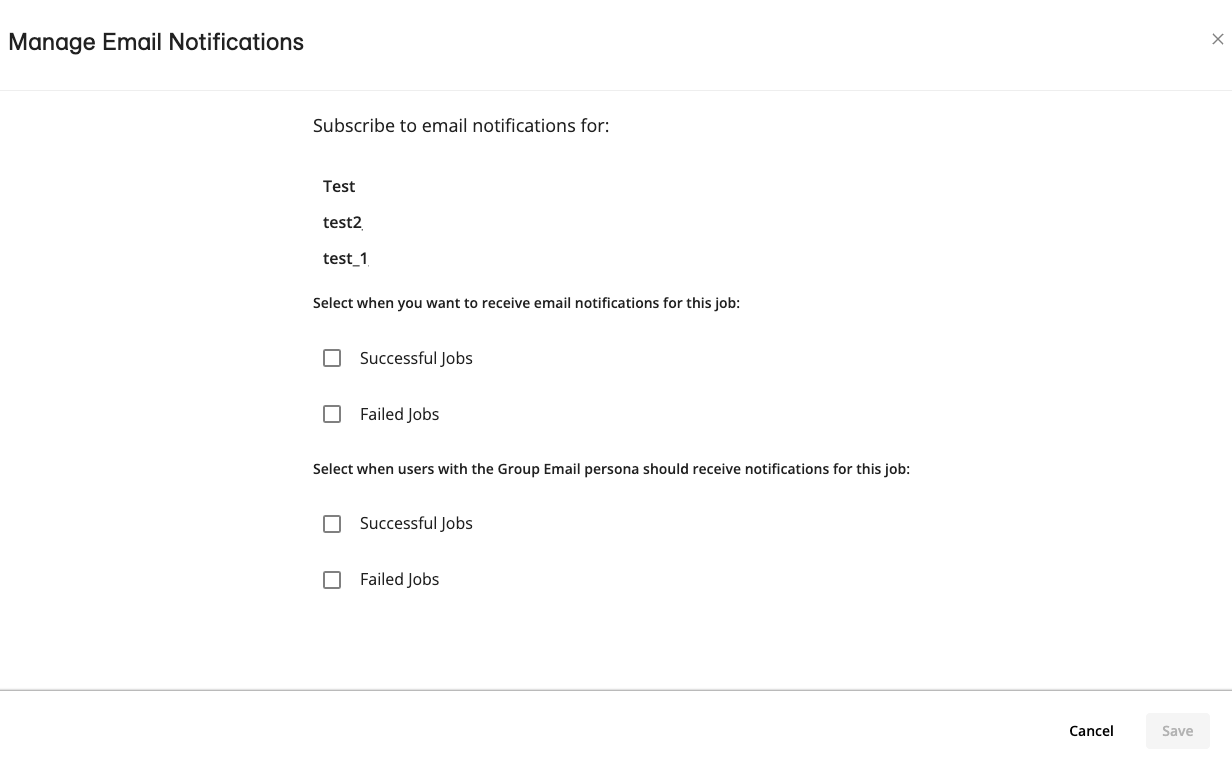
You can select when you and/or the Group Email persona should receive notifications for the job(s). Select one or both of the following notification options:
Successful Jobs: Select to be notified each time this job successfully completes.
Failed Jobs: Select to be notified each time this job fails.
Note
The Group Email persona can be added to each user by an admin. The email address of each user account with this persona is then included in the distribution list for job notifications.
Click . The success alert is displayed.
You and/or the group email associated with the Group Email persona will receive the corresponding email notifications from "liveamp_safehaven_ae@liveramp.com".