Use JupyterLab's GitLab Extension
If enabled for your account, you can use JupyterLab's GitLab extension to provide version control for your code in JupyterLab. To request the GitLab extension, create a case in the LiveRamp Community portal.
Note
Jupyter Notebook does not support the GitLab extension.
The following instructions provide examples of how to use the GitLab extension and assume that you have experience using the Git source control system for tracking file changes. For more information about Git, see the "git" website.
Open the Analytics Environment virtual machine desktop and sign in using two-factor authentication.
From the virtual machine desktop landing page, click the appropriate JupyterLab tile.
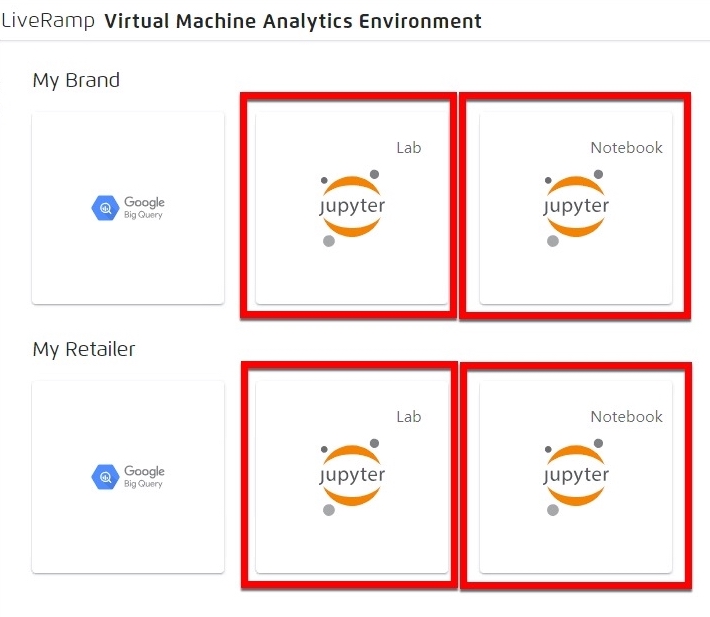
Tip
If your account has access to more than one tenant, choose the tile for the desired tenant account.
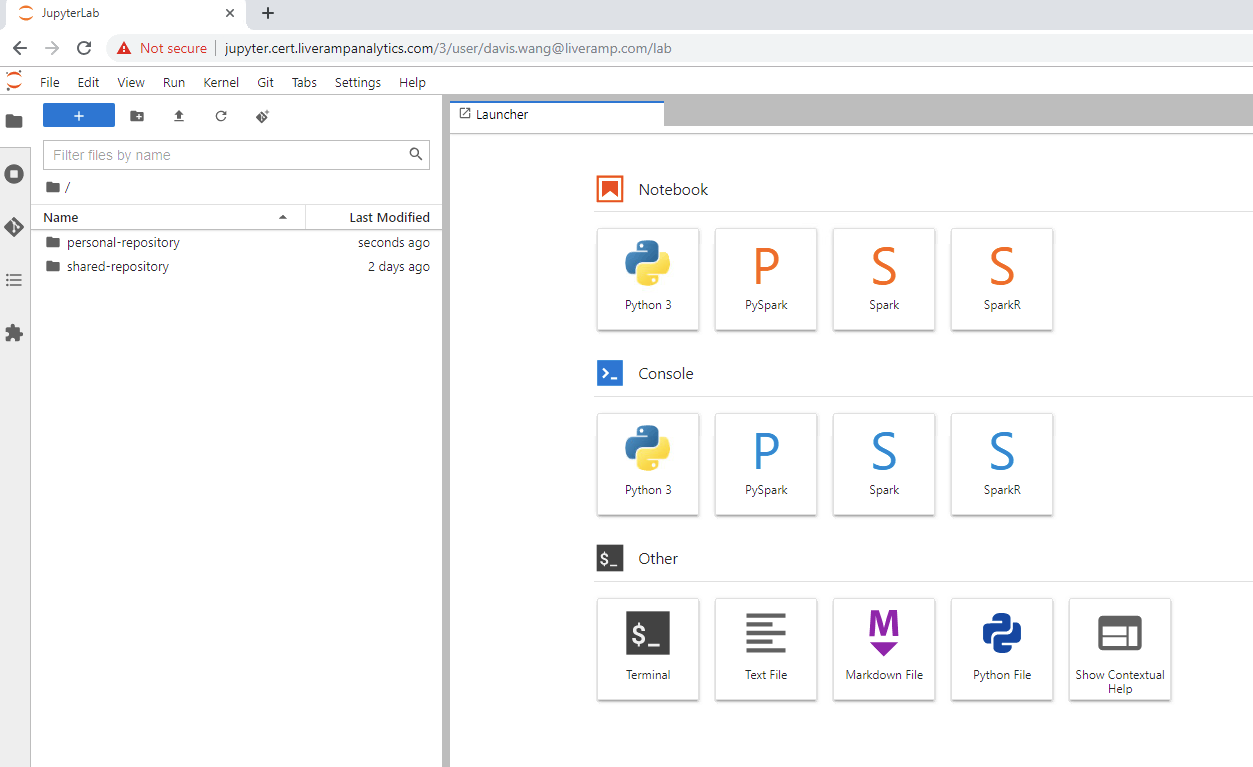
JupyterLab shows the following repositories:
personal-repository: Only you have permission to view code that you write to this folder.
shared-repository: If you write your code to this tenant-level folder, all the users in this tenant can view your code.
Caution
The following default branches of the shared-repository are protected, so you cannot push code directly to them:
main
origin/head
origin/main
You can create branches of the shared-repository, commit code to them, and use them to share code with other users.
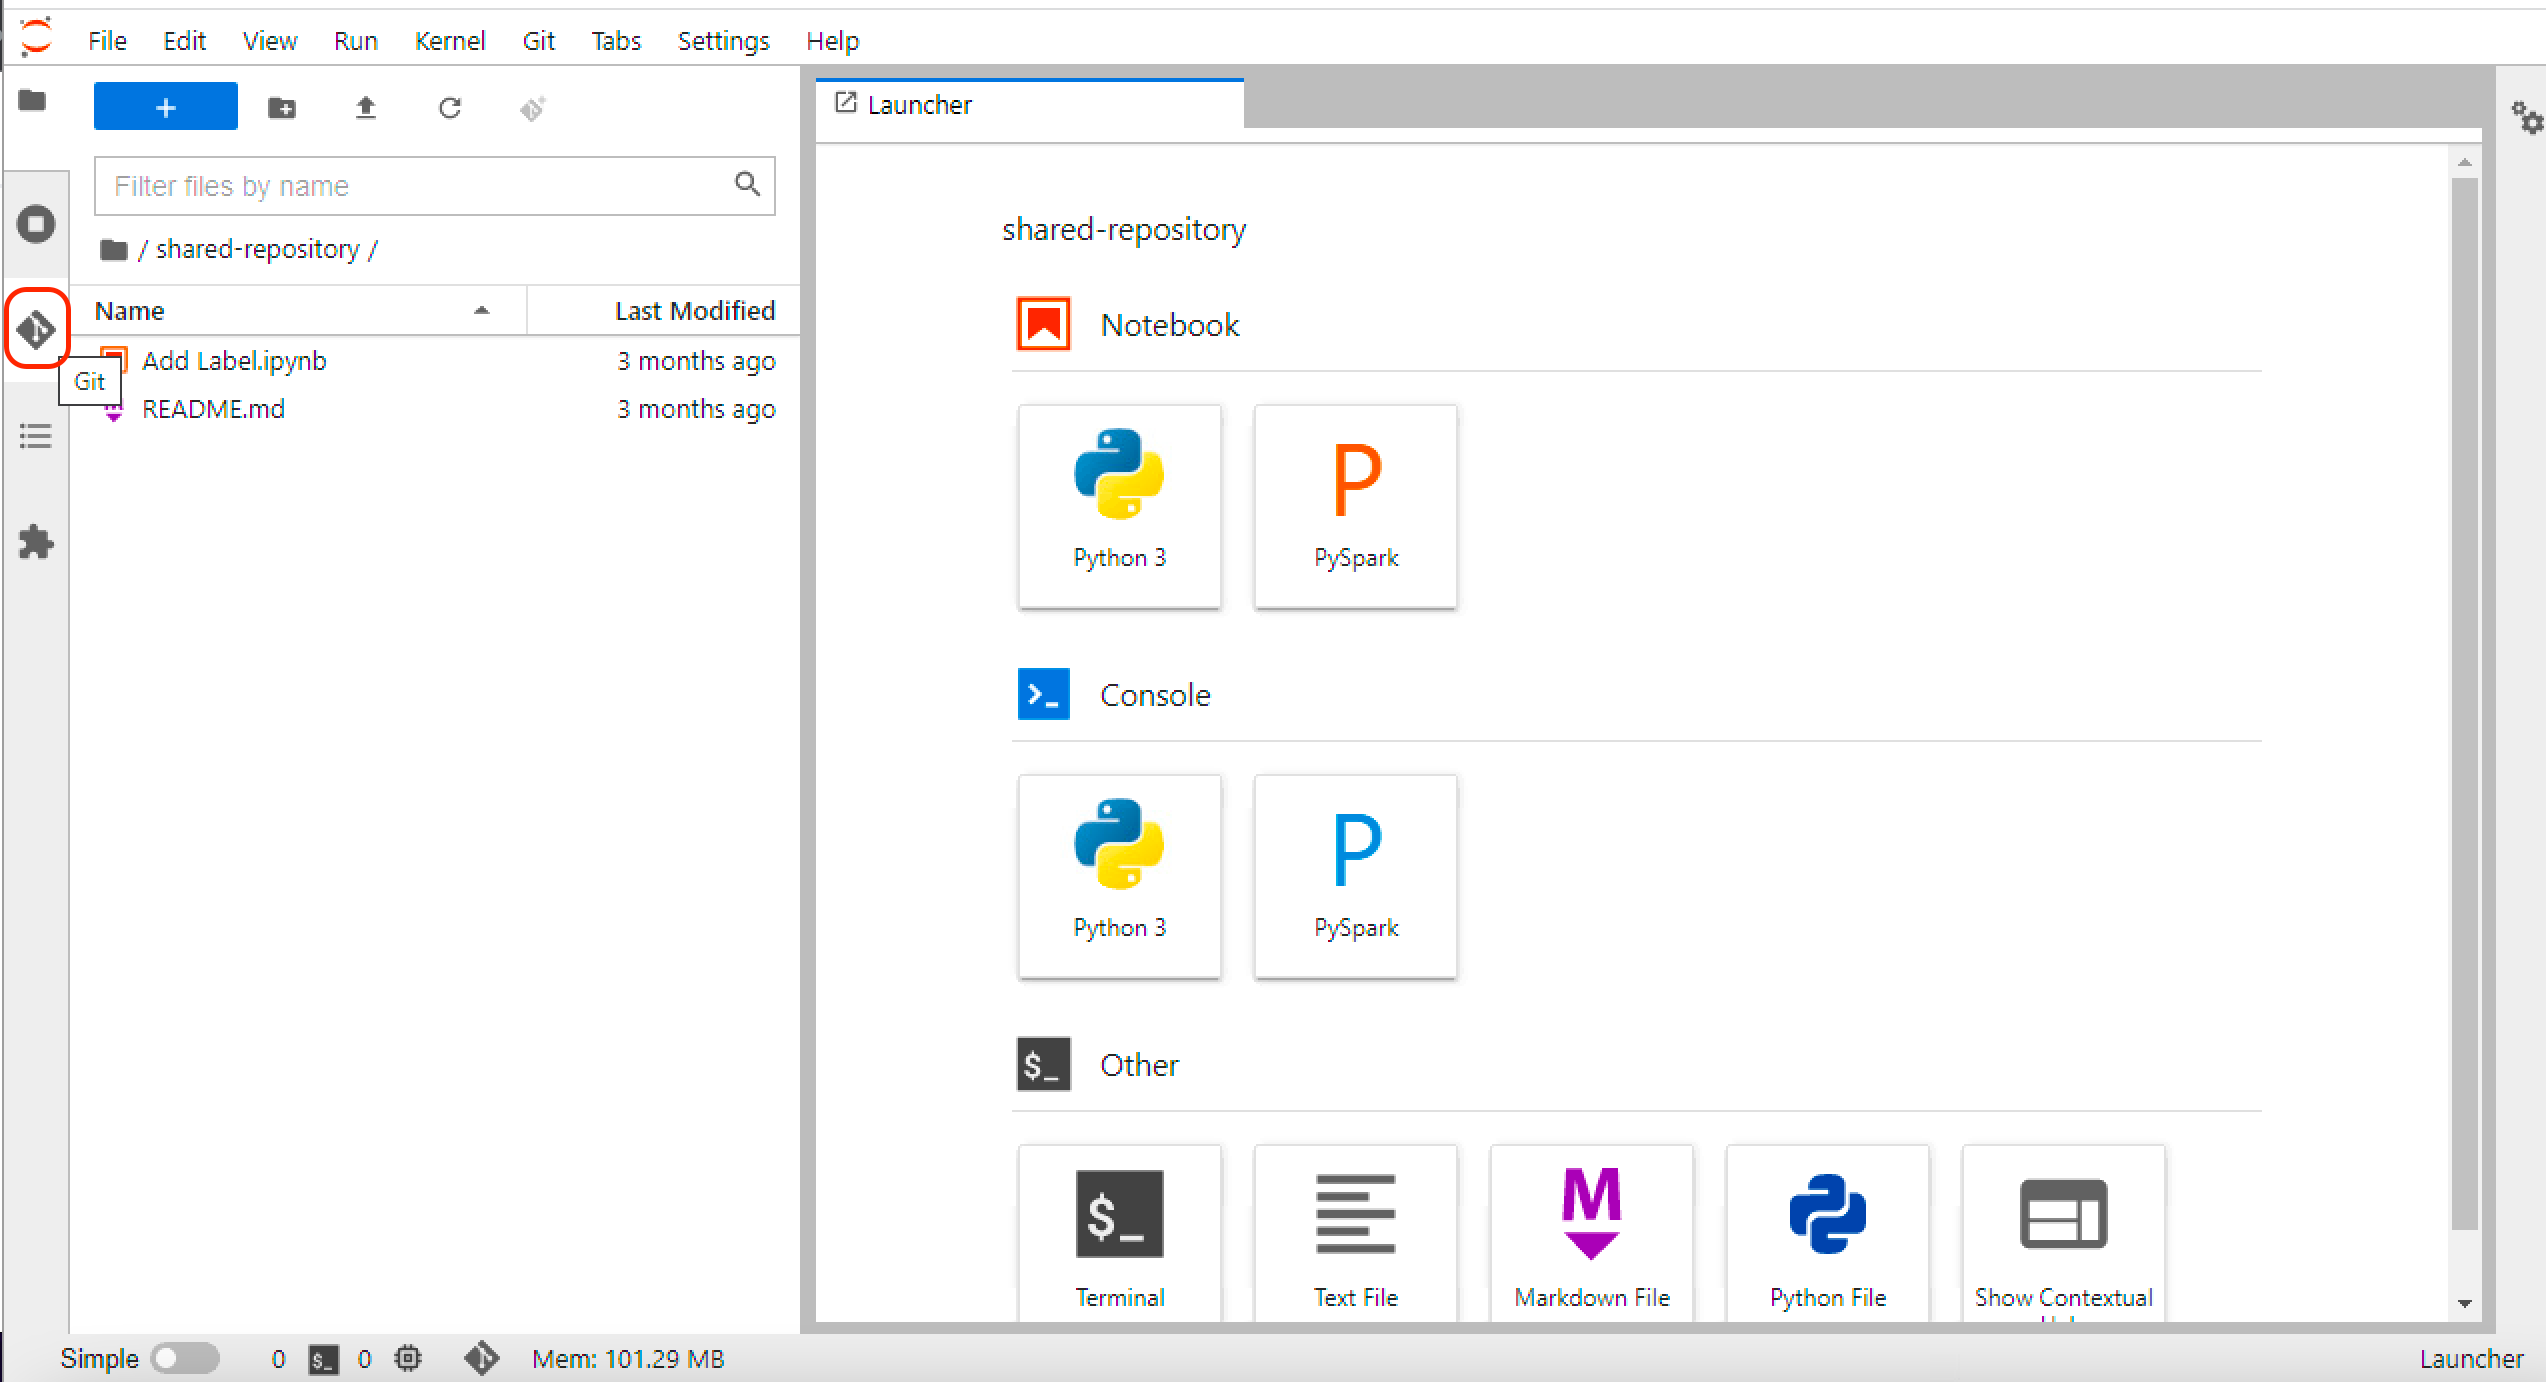
Click and open the shared-repository and then click the GitLab extension icon
 .
.
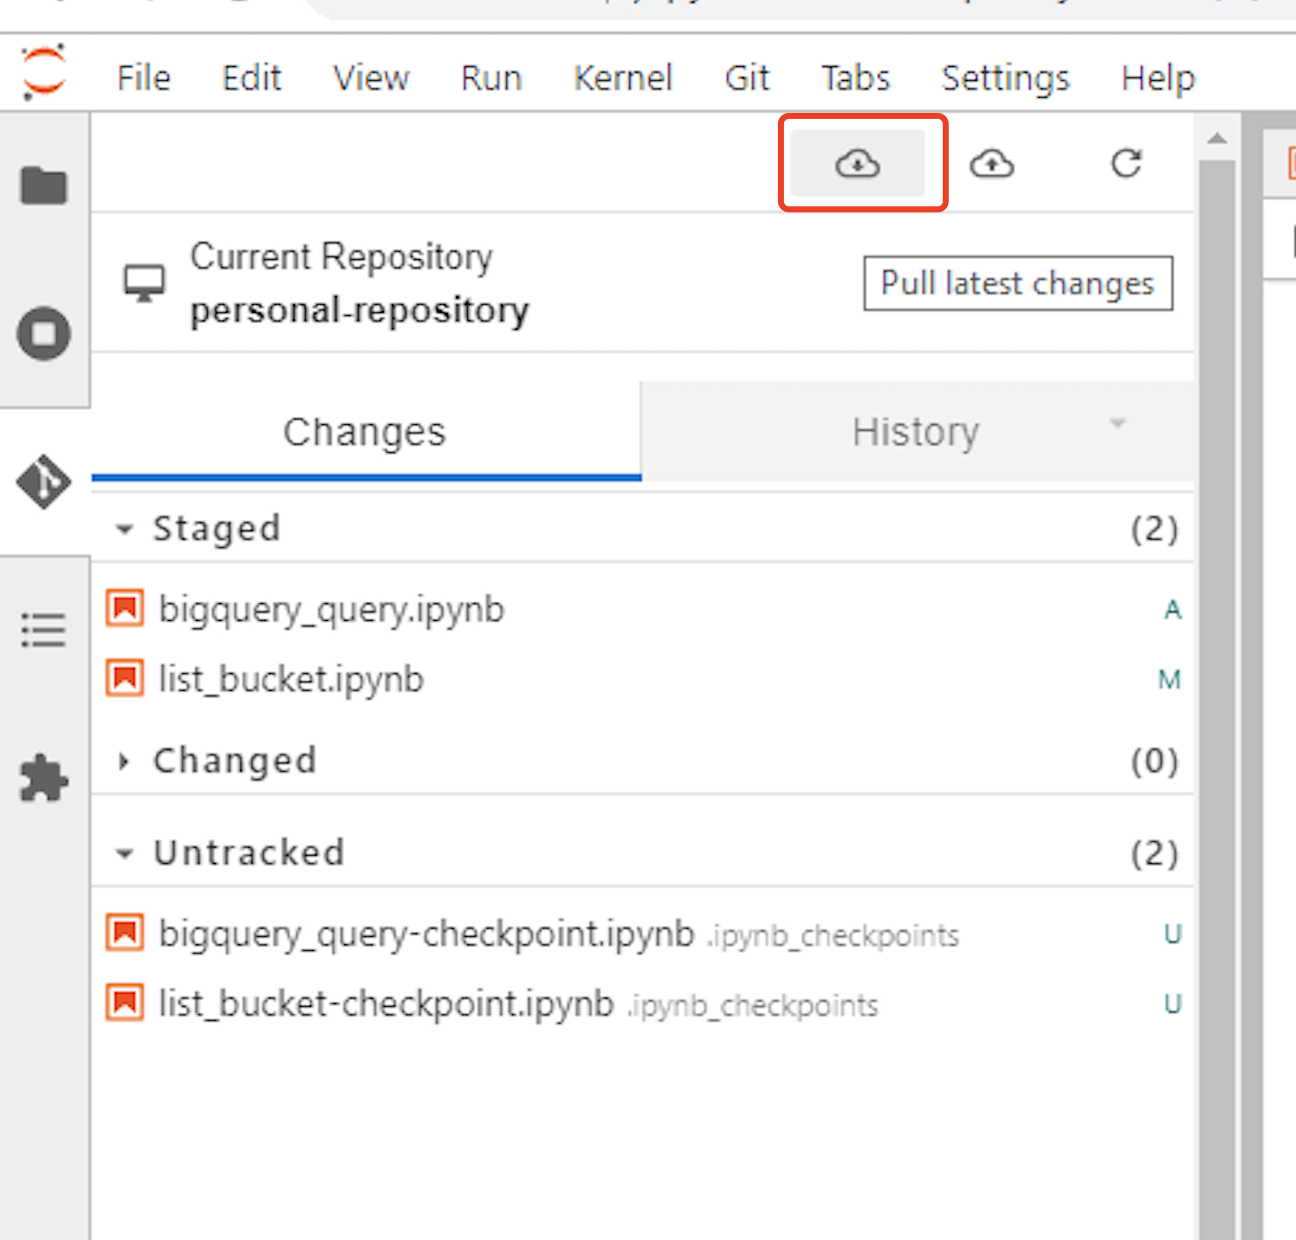
To pull the latest changes from GitLab, click the download icon.
To share files in the shared-repository, create a branch because its main branch is protected. You cannot push code directly to its main branch.
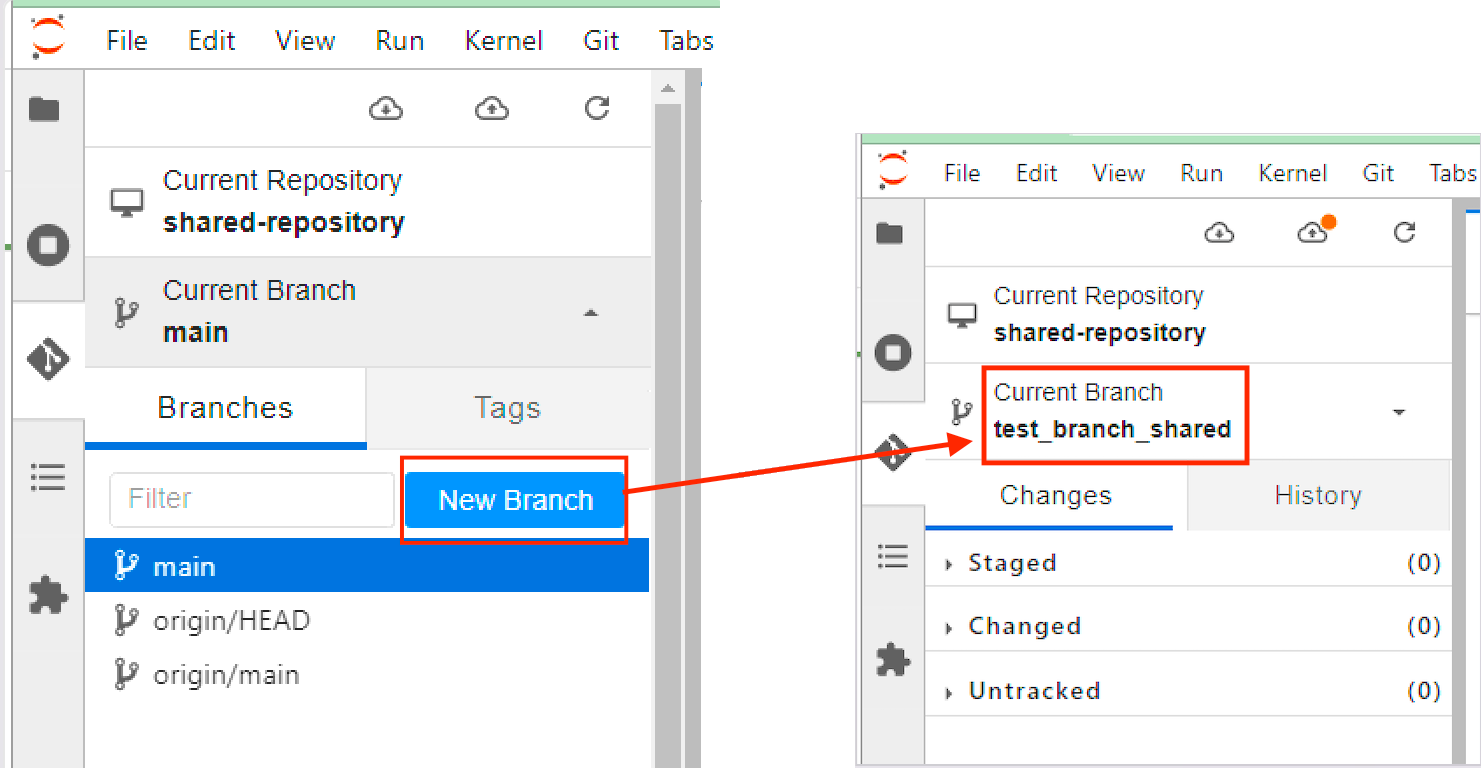
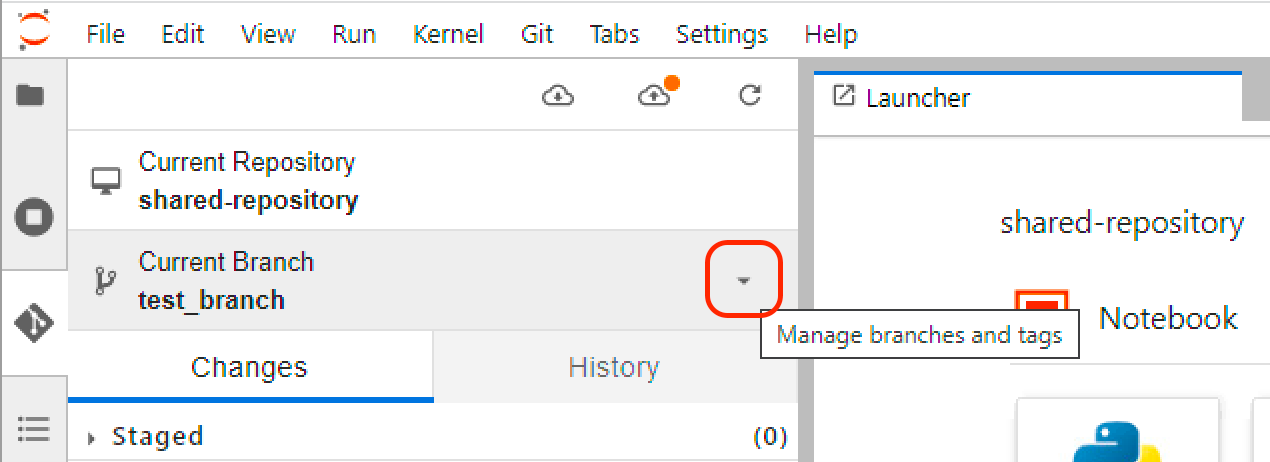
Click Manage branches and tags.
On the Branches tab, click .
Enter a name for the branch and then click .
You and other users can now share code to the shared-repository.
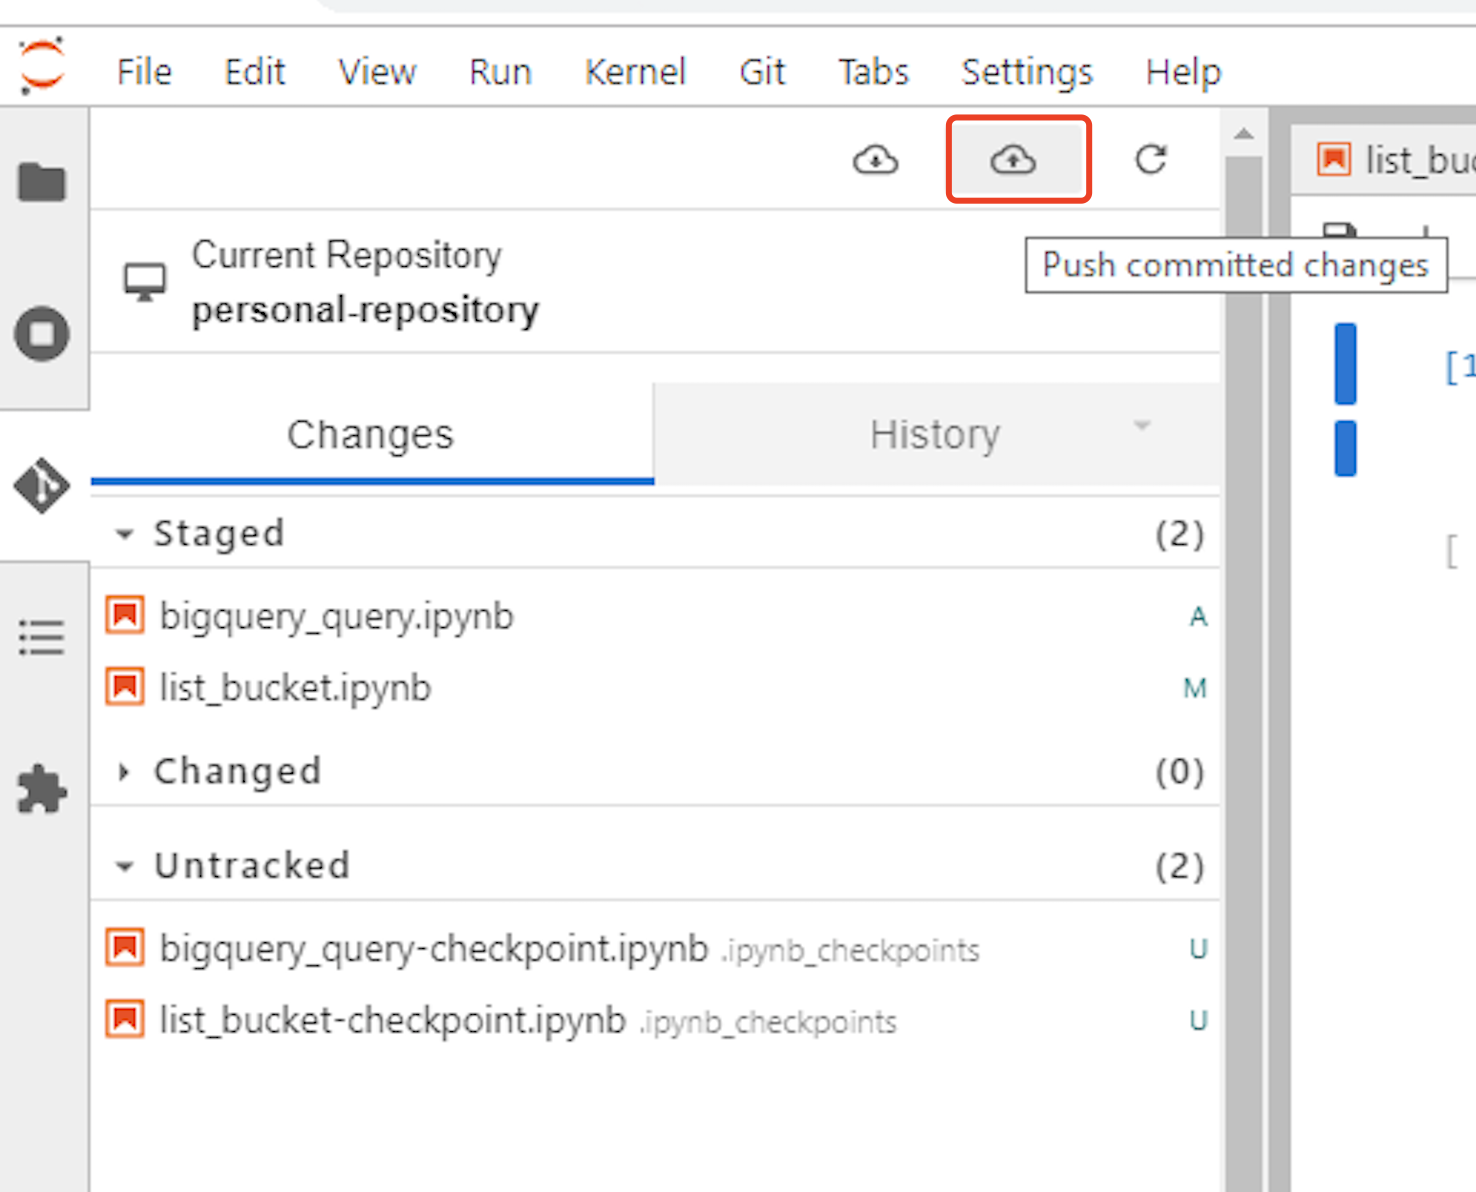
Click the Changes tab to add files to be tracked.
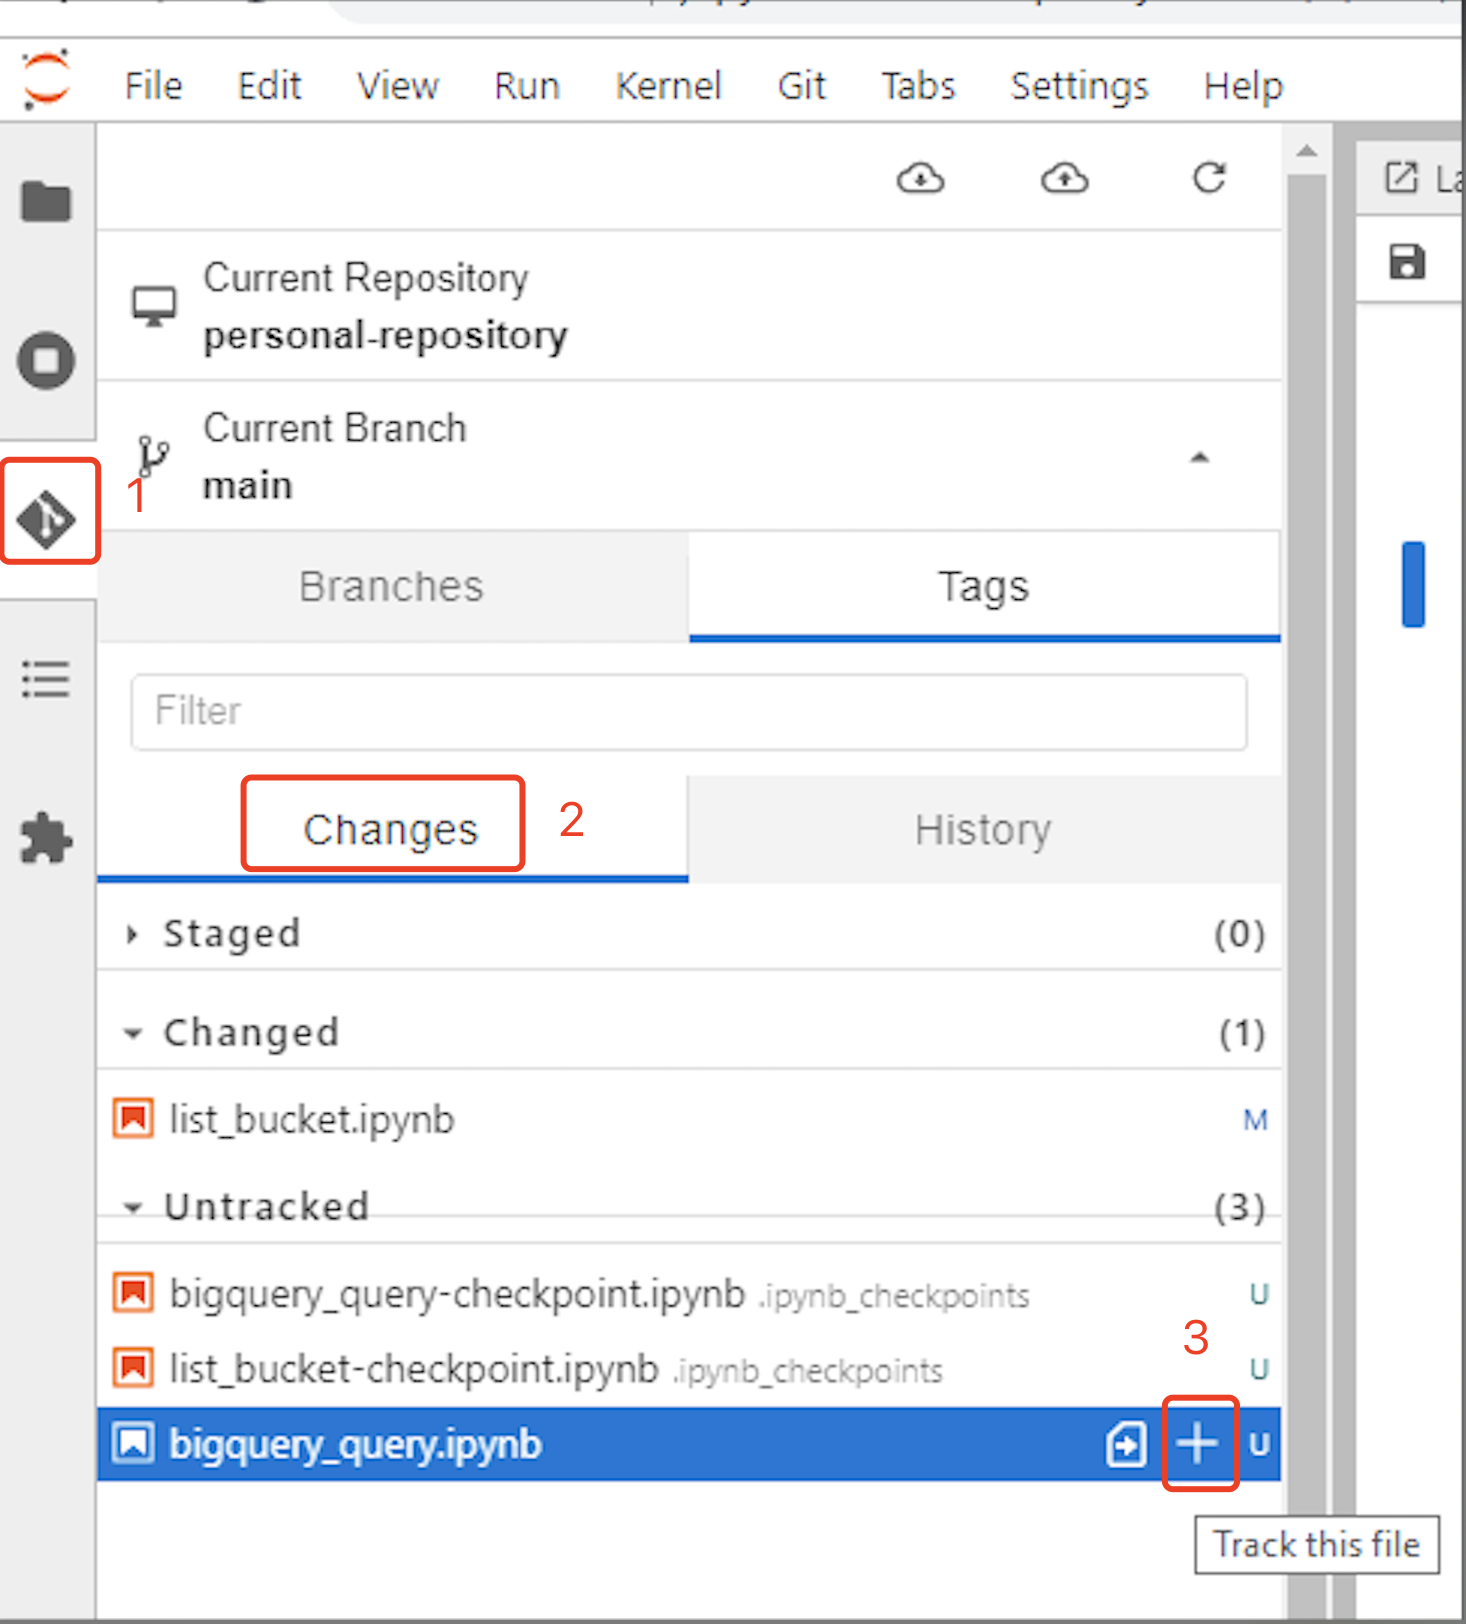
Tip
Do not track files that end with _checkpoints because JupyterLab generates these automatically when it saves files.
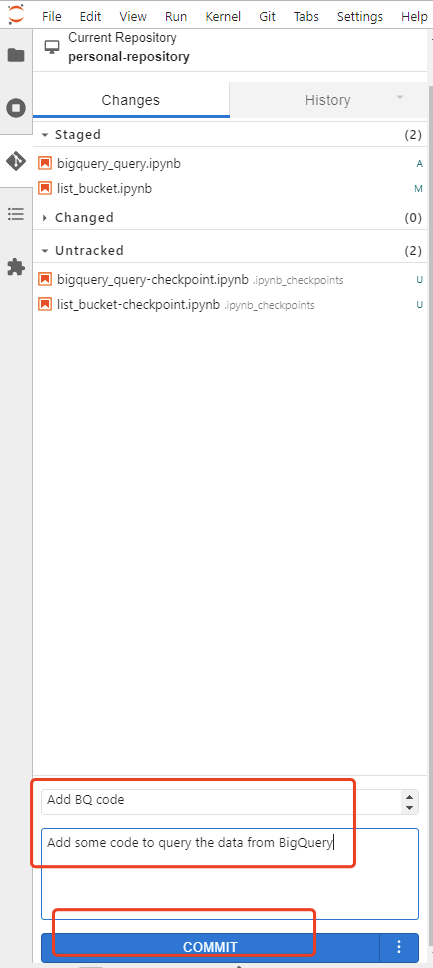
To commit the tracked files, enter a description and click . Enter your user name and email if needed.
To view any differences between what you have changed and what is in GitLab, click the Diff icon.

To push your changes to GitLab, click the upload icon.
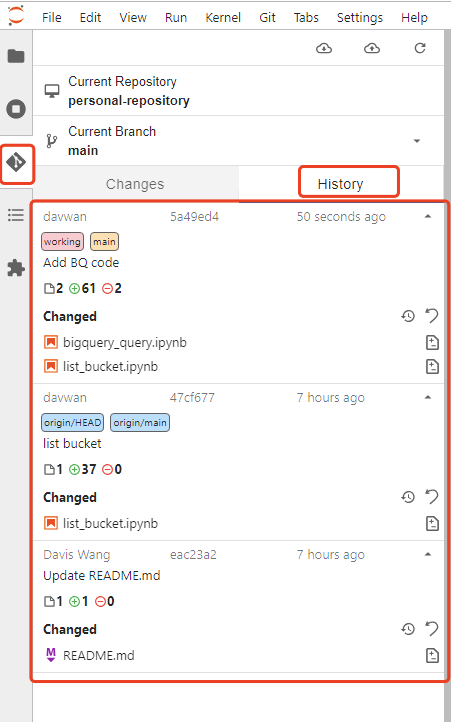
To track changes to your files, click the History tab and view who changed what file when.
For another user to pull any changes that you want to share with them, they need to click the download icon
 .
.