Create a Permission for a Table or View
Creating a data permission for a table or view allows you to:
Control what data are permissioned.
View the applications and use cases that will be enabled in conjunction with that data.
Track what was permissioned and edit or revoke that permission.
Considerations
Only users with the LSH Admin persona can create a permission for a table or view so that the selected partner can use that table or view in the Analytics Environment for the use cases and time range you specify.
You can only permission tables and views to partners that have been allowlisted in your account. To add a new partner to your allowlist, create a case in the LiveRamp Community portal.
An Analytics Environment user will first need to label the table or view to allow permissions in BigQuery by adding a label with a key of "permission" and a value of "ready."
For a table or view that does not currently contain RampIDs, make sure to understand whether that table or view will contain RampIDs in the future because that will change the use cases that the table or view can be used for.
Once the permission reaches the end date, the table or view will be deleted from the partner's Analytics Environment. However, any data contained in tables, audiences, or any other file types that use the original table or view cannot be deleted.
Once you create a permission for a table or view to a particular partner, you cannot create another permission for that table or view to the same partner while the previous permission is still active. You can edit the permission to change its dates or revoke the permission if you want to create a permission for the same asset with a different use case.
If the underlying data in the table or view does not contain RampIDs, some use cases will only be enabled if the data are updated in the Analytics Environment and RampIDs are introduced.
An Analytics Environment user will first need to label the table or view to allow permissions in BigQuery by adding a label with a key of "permission" and a value of "ready."
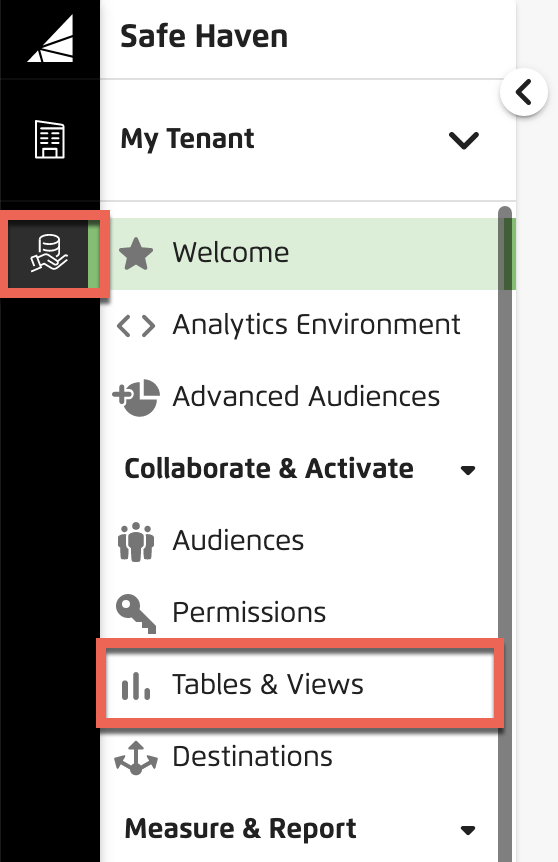
In the left navigation bar, click Tables & Views.
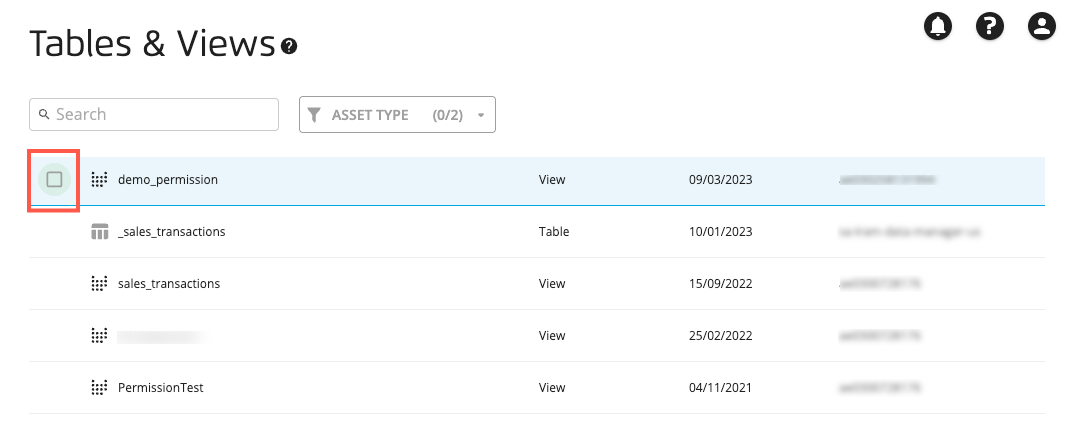
On the Tables & Views page, hover and select the check boxes for one or more tables or views that you want to permission:
Caution
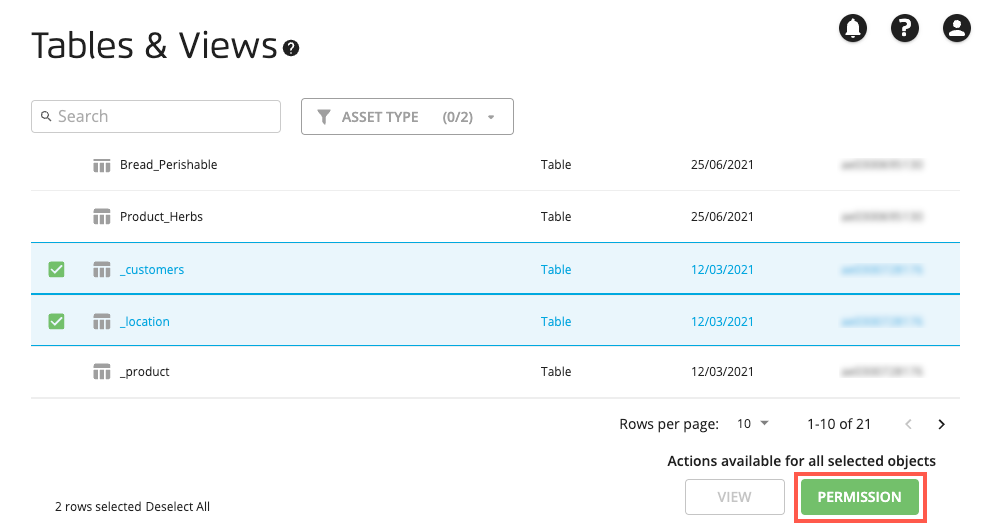
You can permission multiple tables or multiple views at one time, but you cannot permission a mix of tables and views. Once the permission reaches the end date, the table or view will be deleted from the partner's Analytics Environment. However, any data contained in tables, audiences, or any other file types that use the original table or view cannot be deleted.
Click .
The Create Permissions dialog displays its Details page.
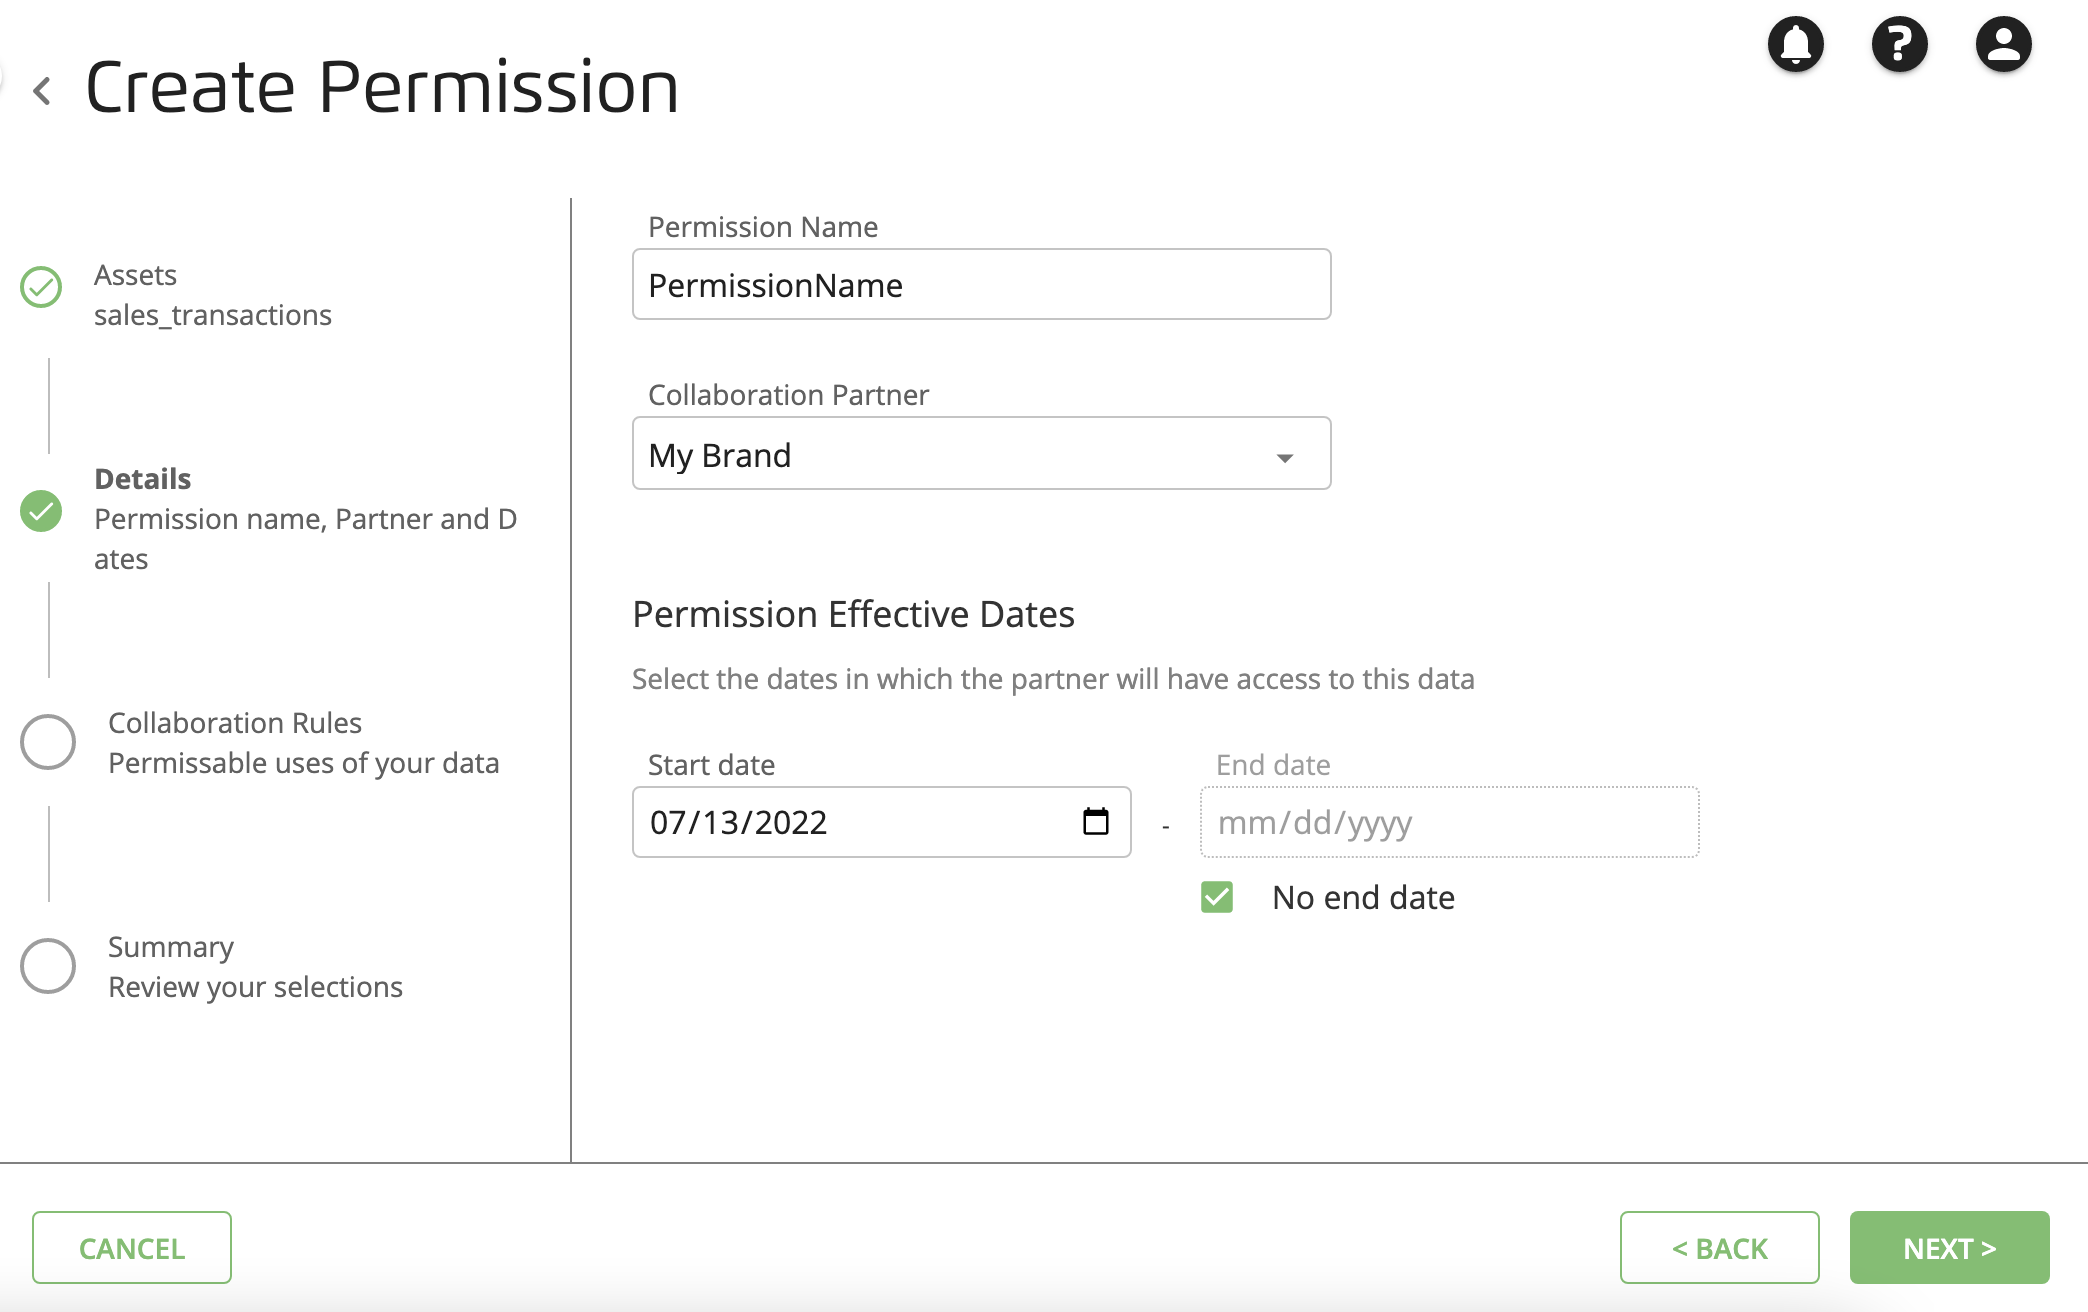
Enter a unique name for the permission, select the partner for whom you want to create a permission, specify start and end dates, and then click .
Note
Permission names can only contain letters, numbers, hyphens (-), or underscores (_), must not be longer than 240 characters, and must not include spaces.
To allow the data to be available to the partner indefinitely or until you revoke the permission, select No end date.
The Collaboration Rules page displays the Audience Creation tab.
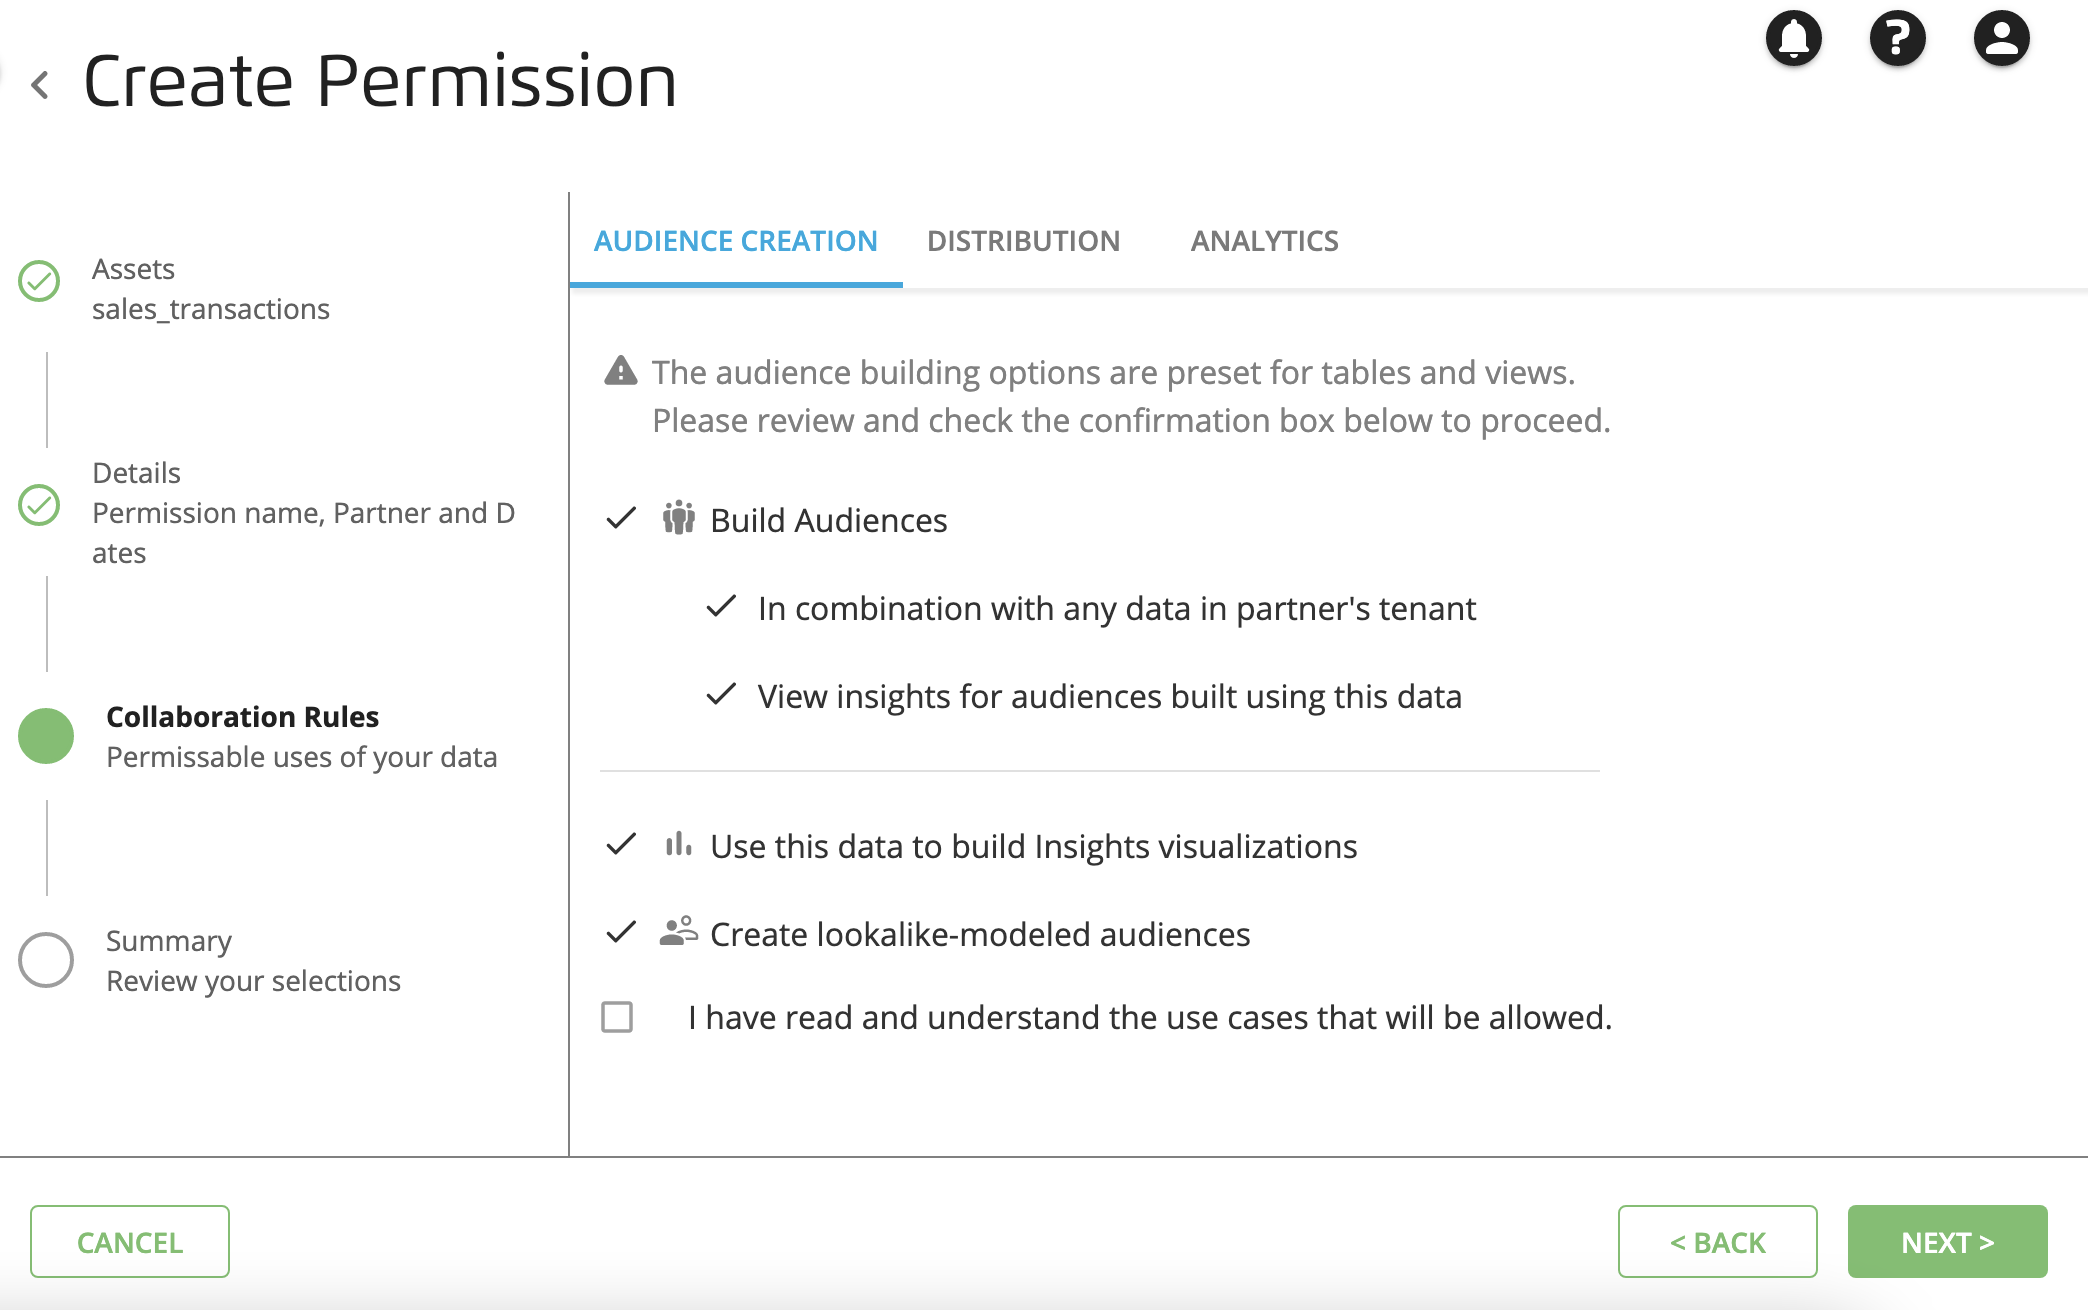
Review the information, select "I have read and understand the use cases that will be allowed" check box, and click . The Distribution tab is displayed.
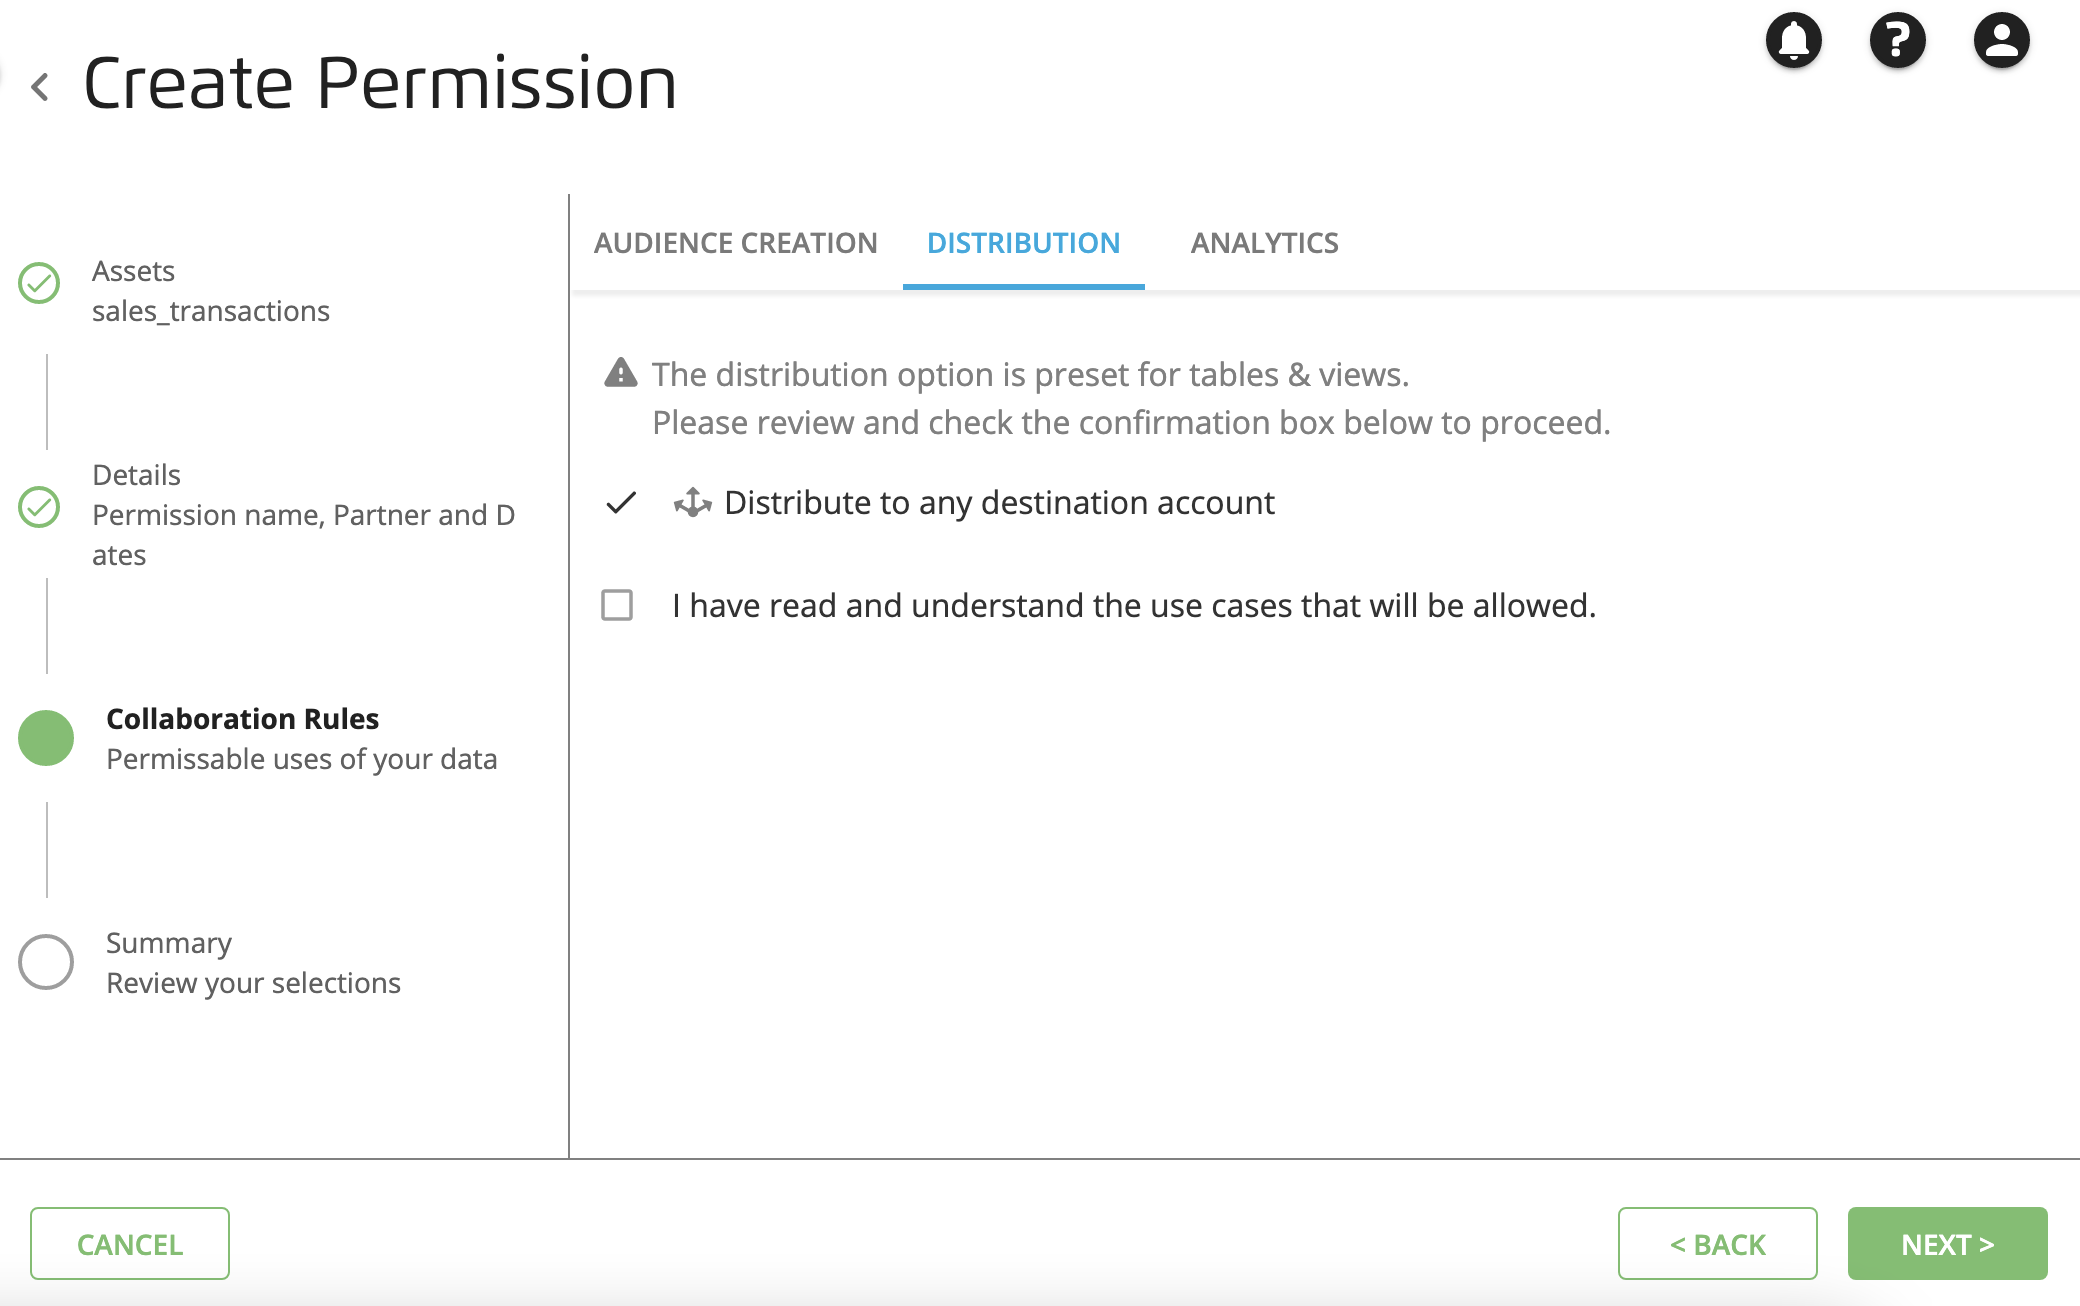
Review the information, select "I have read and understand the use cases that will be allowed" check box, and click . The Analytics tab is displayed.
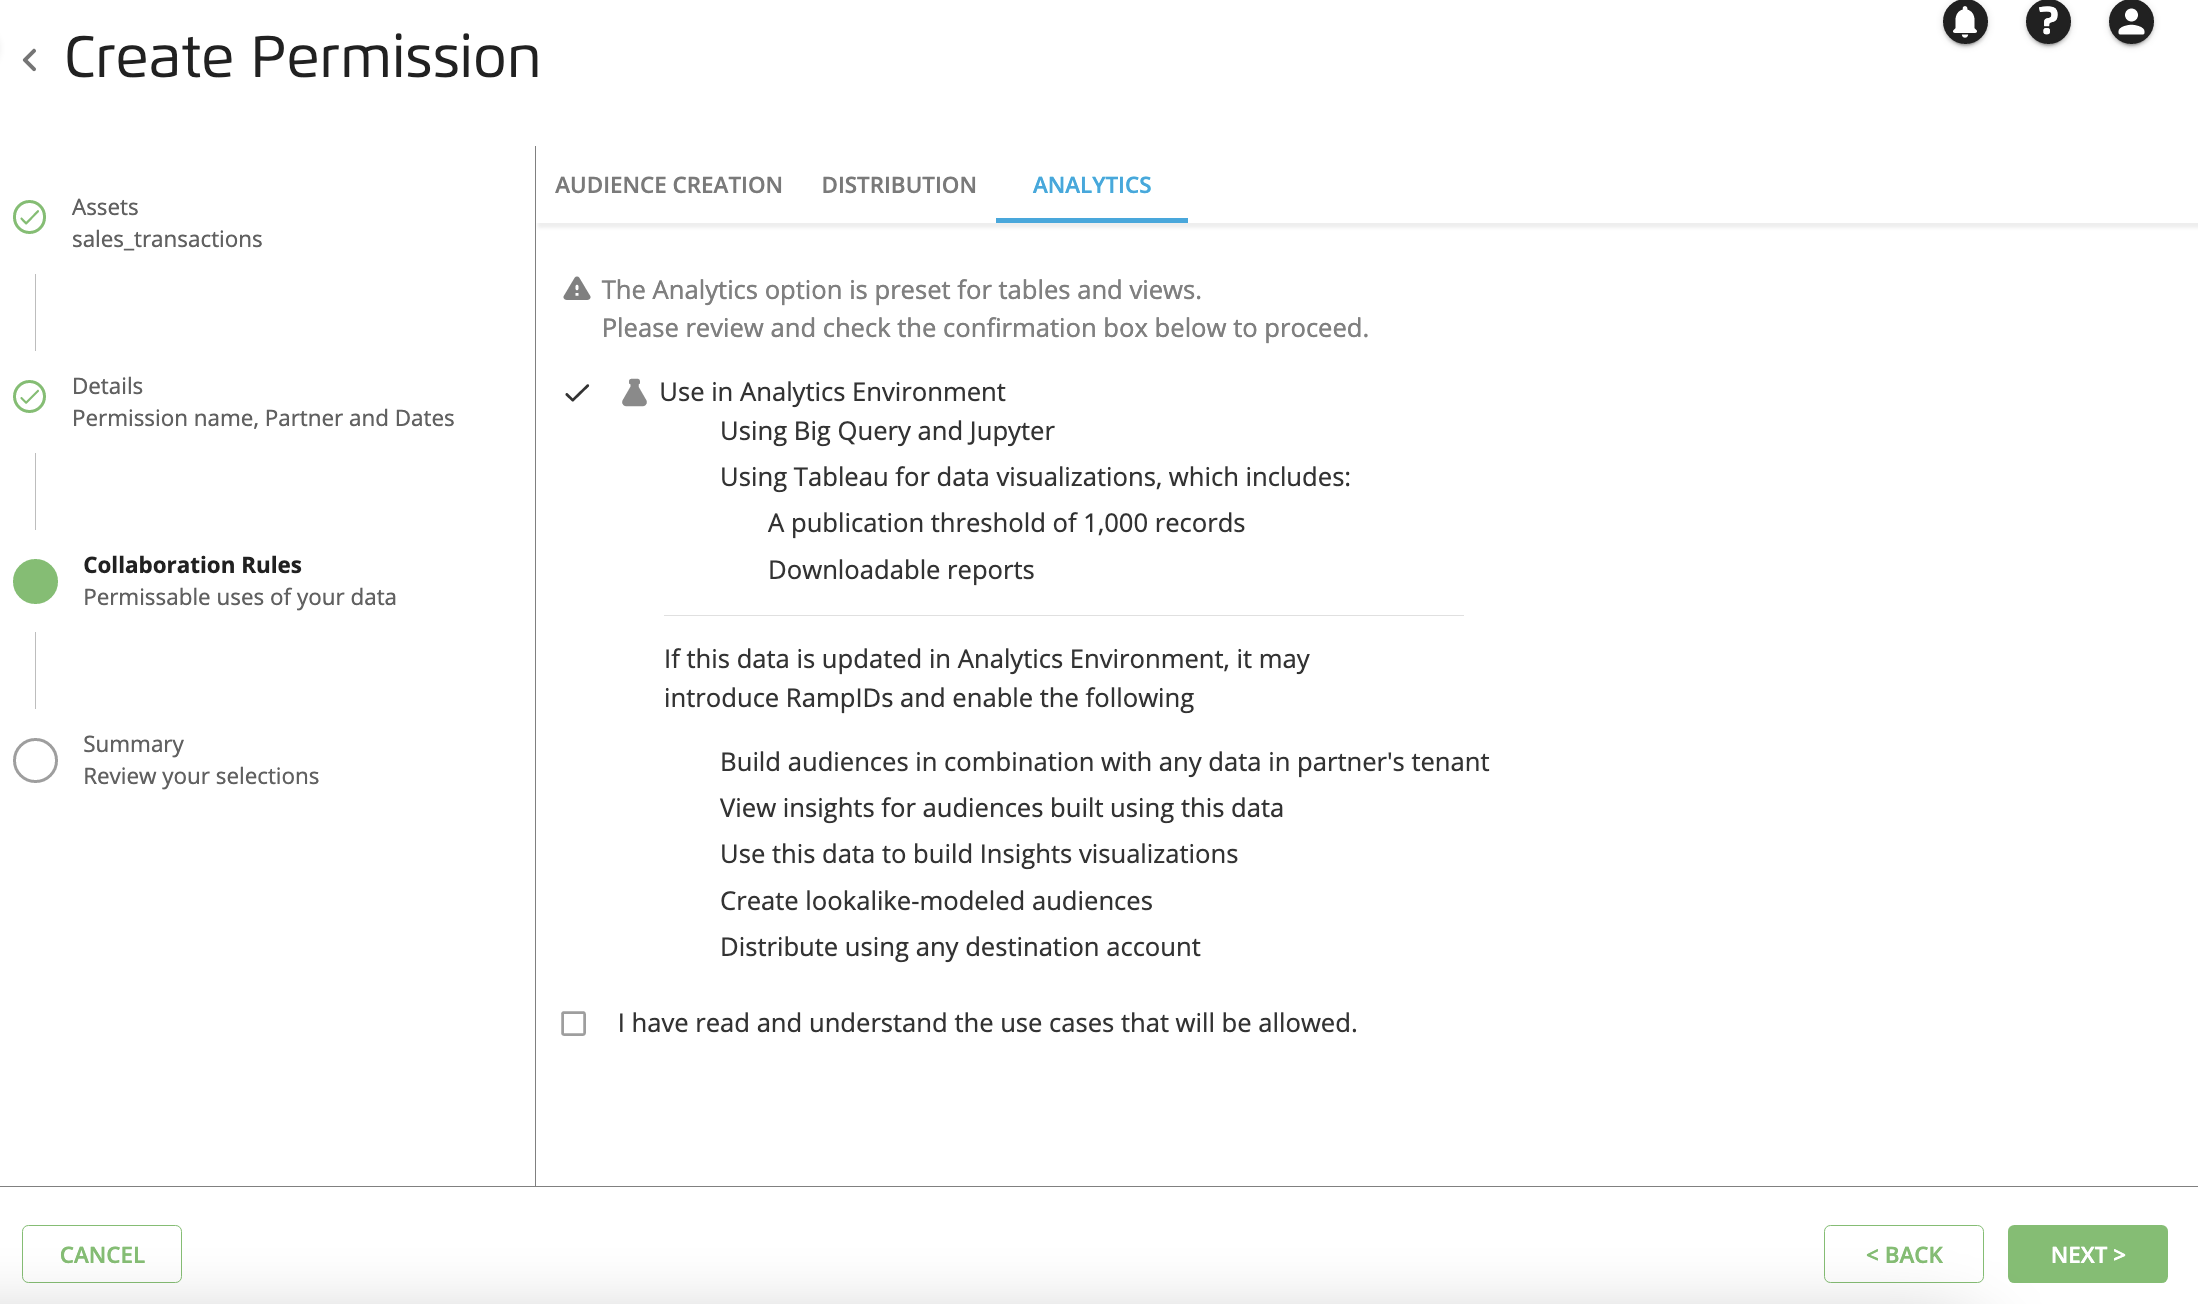
Review the information, select "I have read and understand the use cases that will be allowed" check box, and click . The Summary page is displayed.
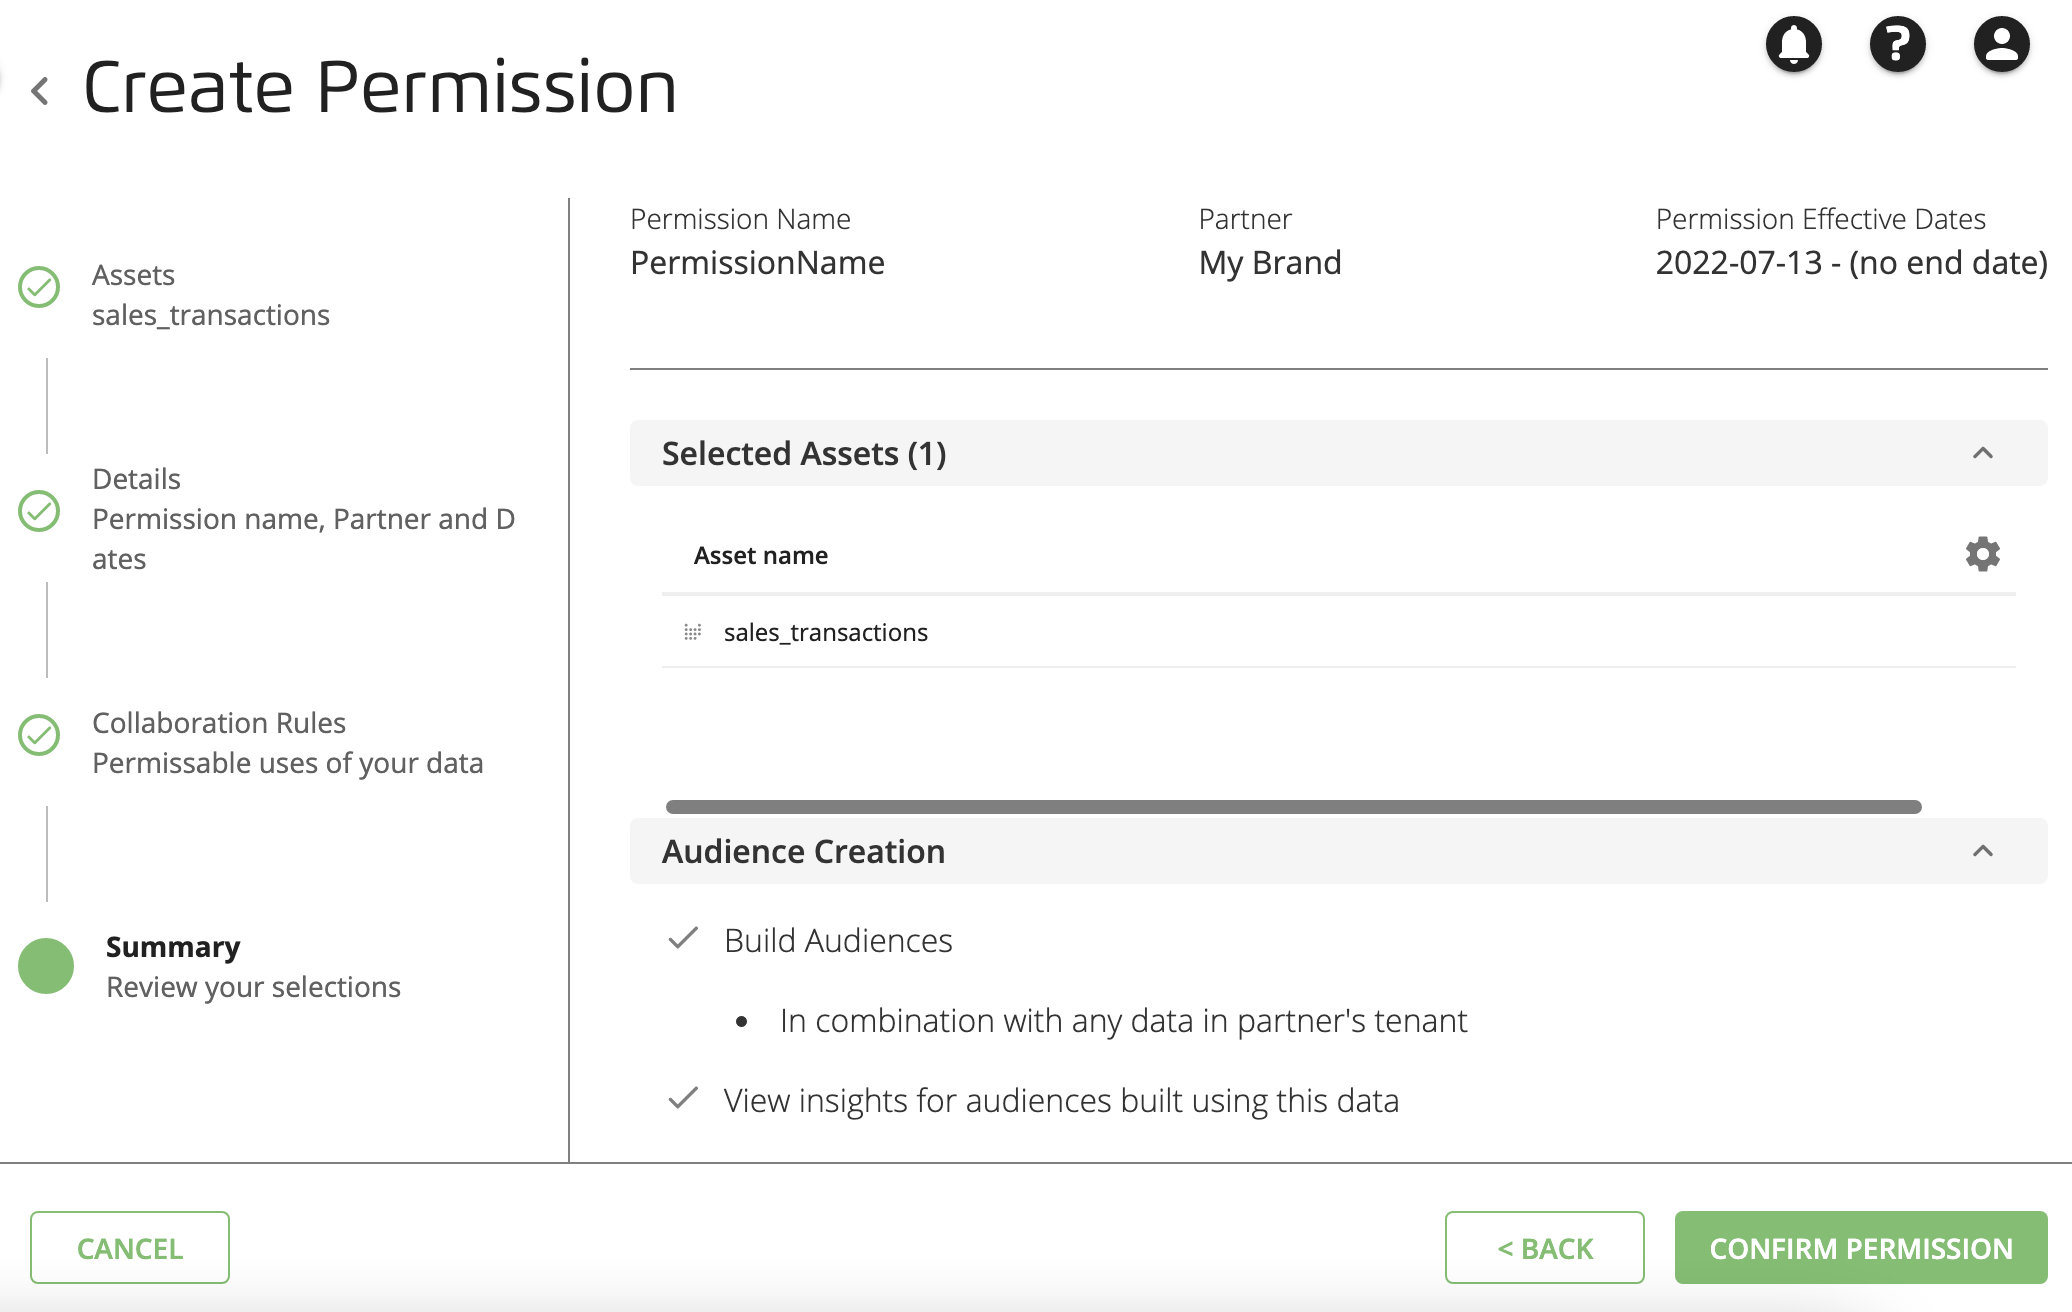
Review the use cases for which the partner will be allowed to use the data and then click or click if you decide to adjust the permission.
The permission is available on the Permissions page, where you can view its status, details, modification history, and expiration. You can edit and revoke the permission at any time on the Permissions page.
Once processing is complete and its dates are in effect, the data should be available in the _sub dataset in the partner's Analytics Environment.