- Safe Haven Documentation
- Customer Profiles for Data Collaboration
- Creating a Permission for Data
- Create a Permission for an Audience or Taxonomy
Create a Permission for an Audience or Taxonomy
Only users with the LSH Admin, LSH CP Admin, or LSH Campaign Planner persona can create a data permission for an audience or taxonomy so that a partner can use that data for the specified use cases and time ranges.
Note
You can only create audience and taxonomy permissions for partners that have already been allowlisted in your account. If you want to allowlist a new partner, create a Safe Haven case in the LiveRamp Community portal.
Once you create a permission for a particular audience or taxonomy, you cannot create a new permission for the same asset and the same partner while the previous permission is still active. You can edit the permission to change its dates or revoke the permission if you want to create a permission for the same asset with a different use case.
You can create multiple permissions to the same audience or taxonomy if you grant each permission to a different partner.
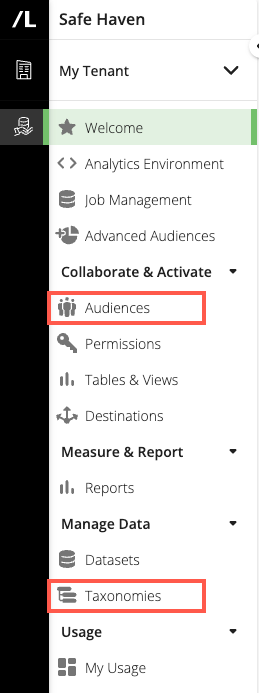
In the left navigation pane, click either Audiences or Taxonomies depending on whether you want to grant permissions for an audience or a taxonomy.
Select the data you want to permission:
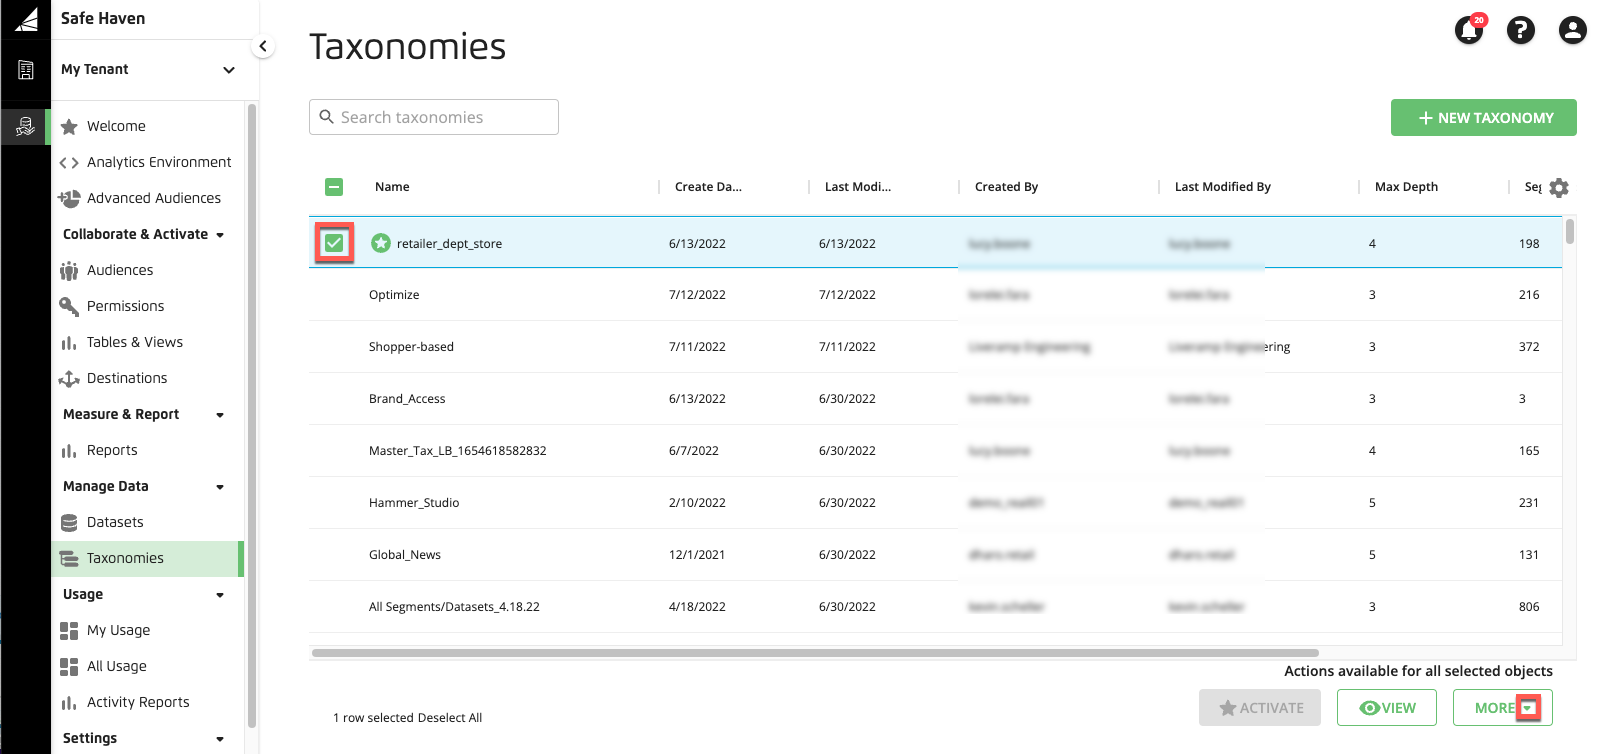
For taxonomies, select one or more check boxes of taxonomies for which you want to create a permission.
Note
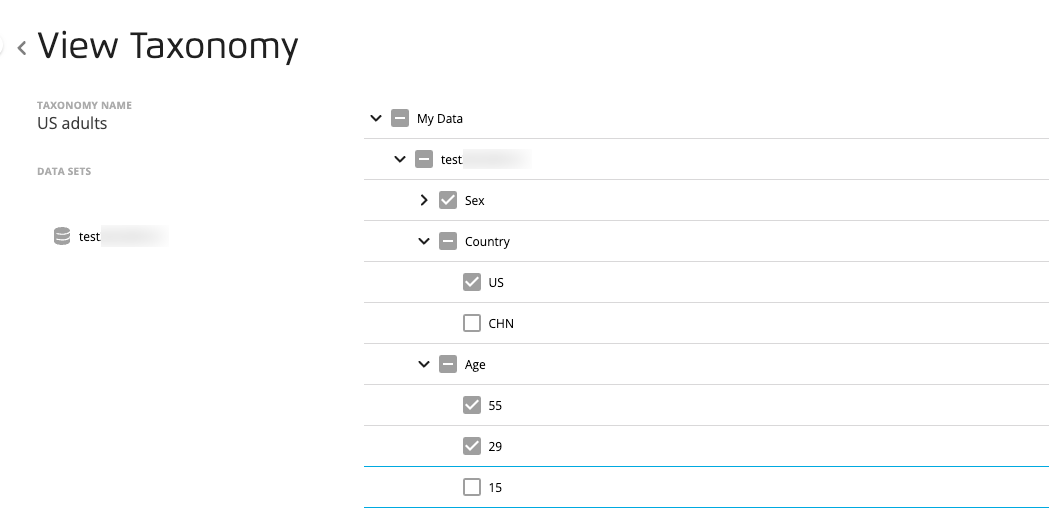
Only segment nodes with a checkmark next to them will be permissioned. Newly ingested segment nodes are automatically added to the active "My Data" folder taxonomy. However, to protect against unintended permissioning of shared segments, newly ingested segments are not automatically added to the inactive "My Data" folder taxonomy. You can either manually add them or contact your LiveRamp representative to have your tenant configured to automatically add these nodes.
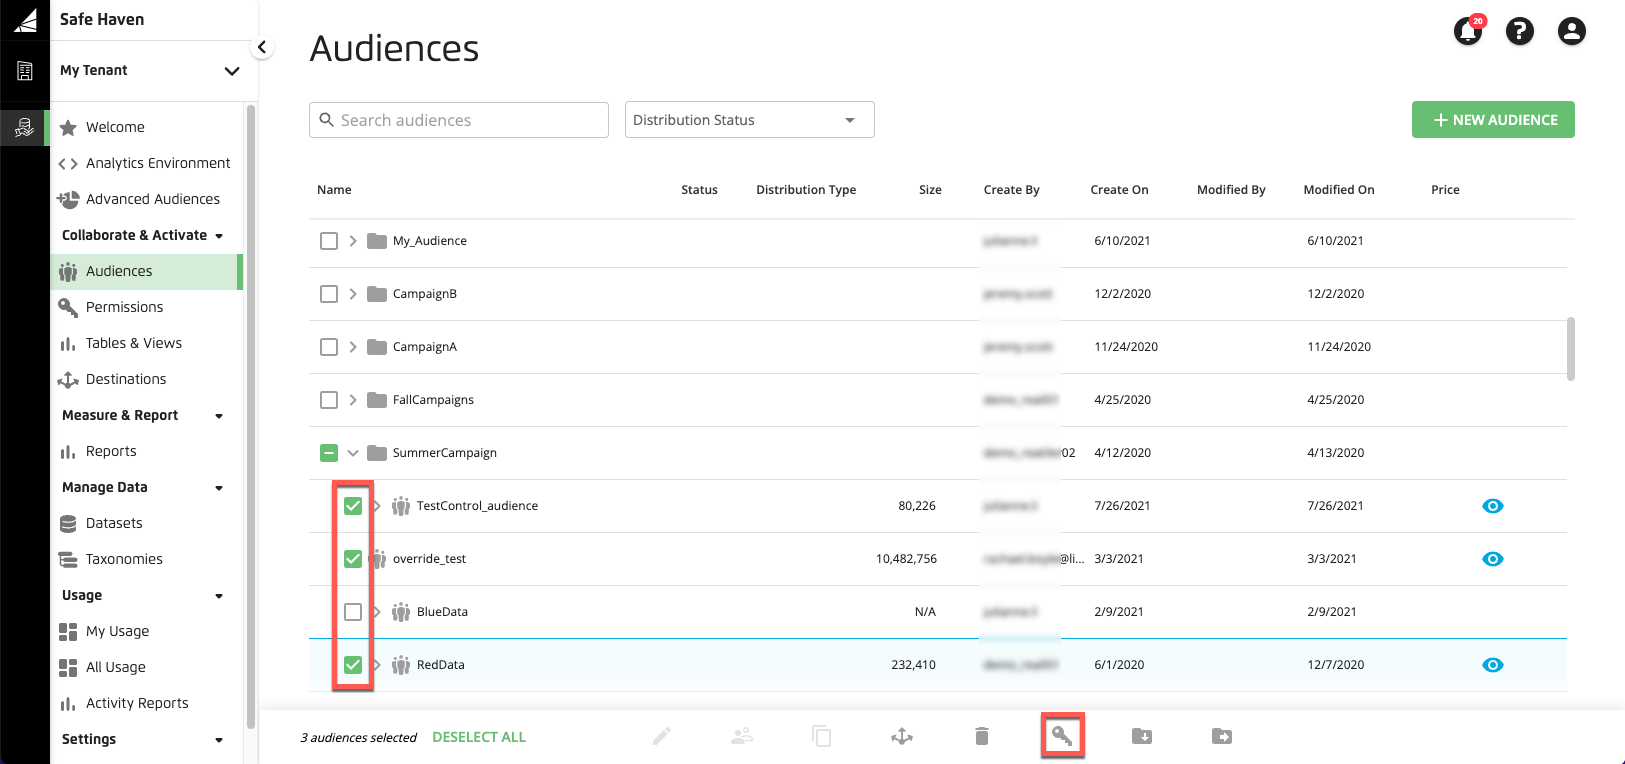
For audiences, select the check boxes for the audiences for which you want to create a permission. Selecting a folder selects all of the subfolders and audiences in that folder.
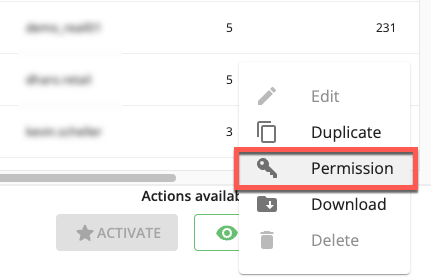
Click Permission.
For taxonomies, click More and then select Permission.
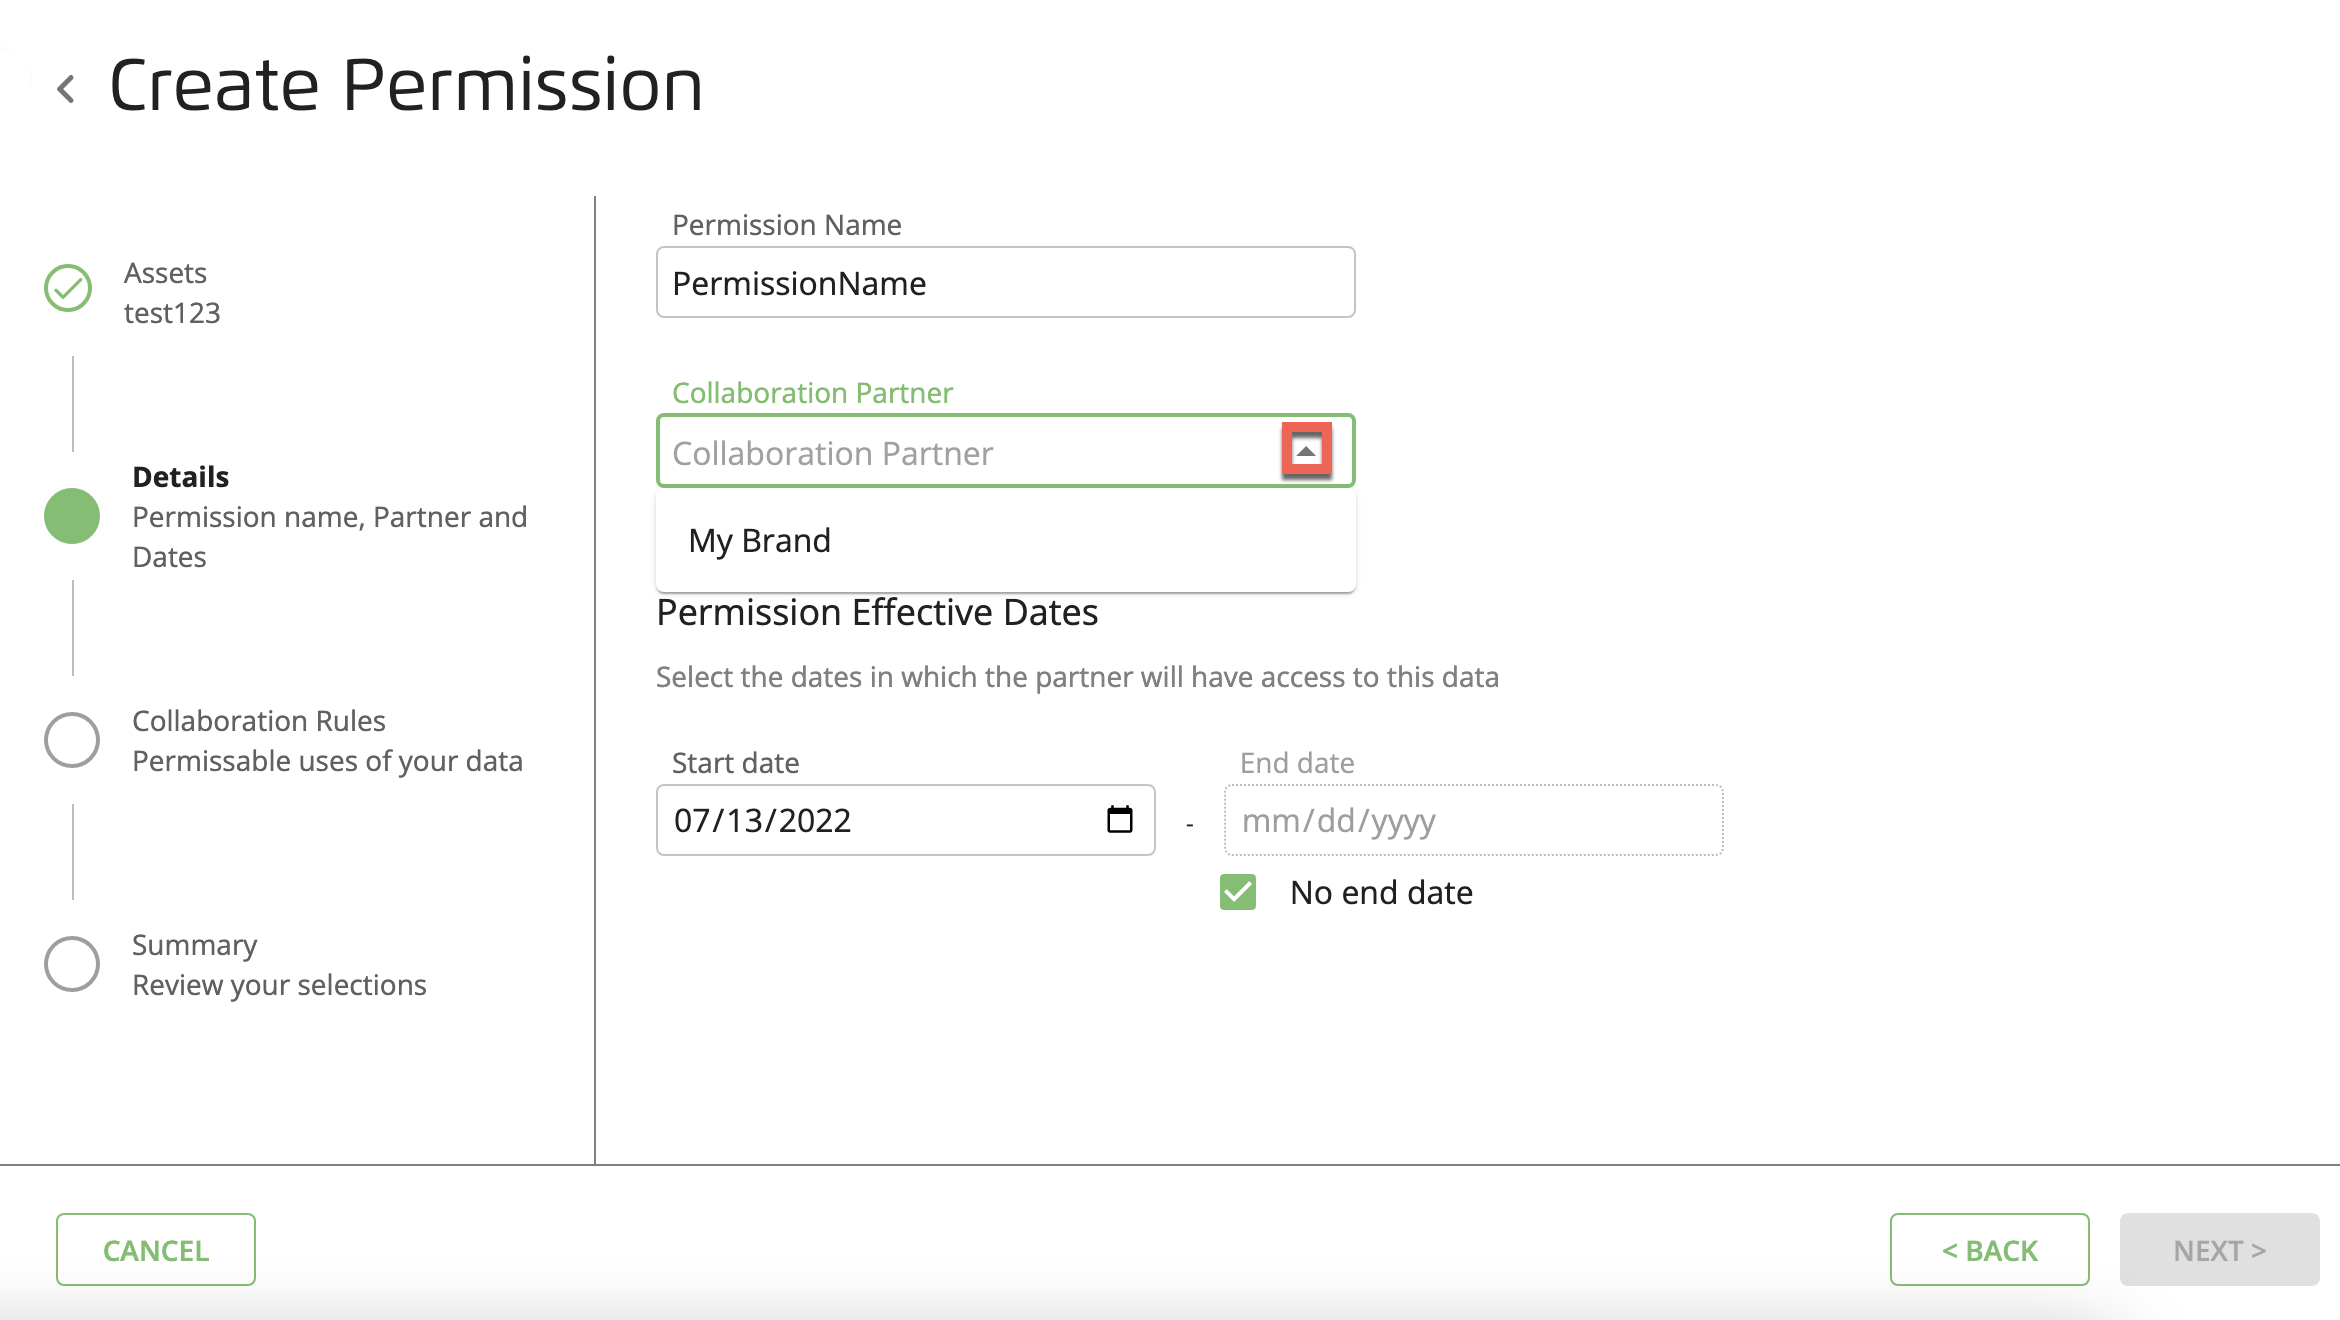
The Create Permissions dialog displays its Details page.
Enter a unique name for the permission, select the partner for whom you want to create a permission, specify start and end dates, and then click Next.
Note
Permission names can only contain letters, numbers, hyphens (-), or underscores (_), must not be longer than 240 characters, and must not include spaces.
To allow the data to be available to the partner indefinitely or until you revoke the permission, select No end date.
The Collaboration Rules page displays the Audience Creation tab.
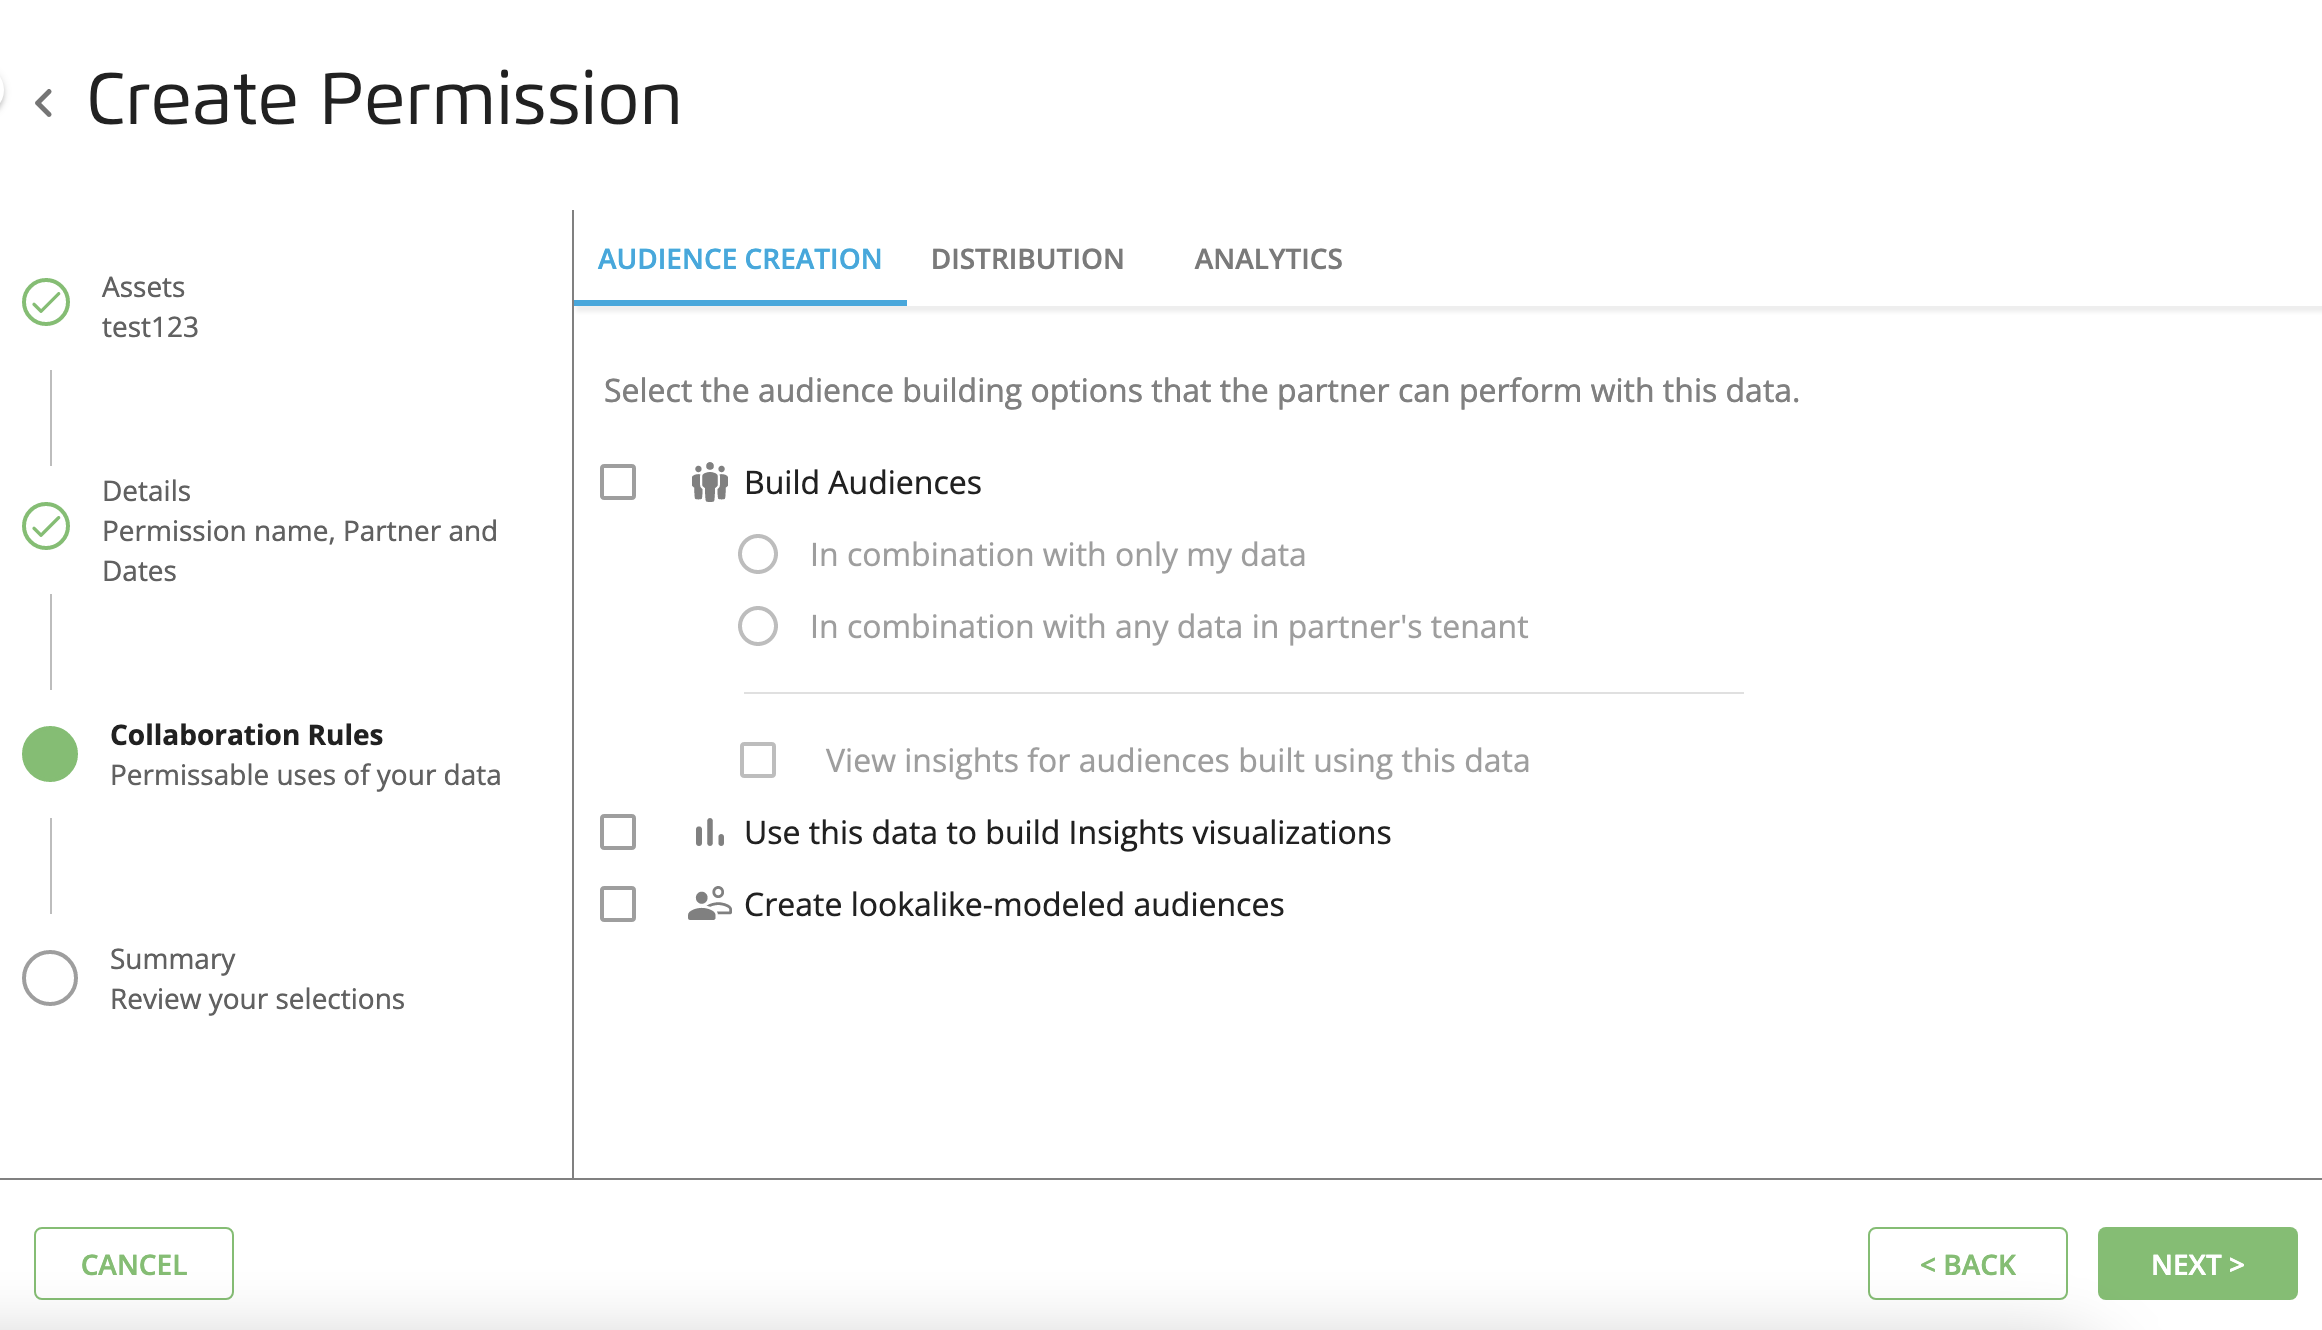
Select the check boxes for the use cases you want to allow the partner to use your data for:
Build audiences: The partner can build audiences using data only in combination with data for which you created a permission ("In combination with only my data") or in combination with any data in their account ("In combination with any data in partner's tenant"). You can also allow the partner to view insights for audiences built using the permissioned data.
Use this data to build Insights visualizations: The partner can use the data to build a visualization in an Insights profile on the Profiling page. This Insights profile can then be used for any audience built in that partner's account. See "Edit a Profile" for information on building a visualization and "View Audience Insights" for information on viewing visualizations.
Create lookalike-modeled audiences: The partner can use the audiences or taxonomies (or any combination audience built using the taxonomy or audience) as a seed for a lookalike audience.
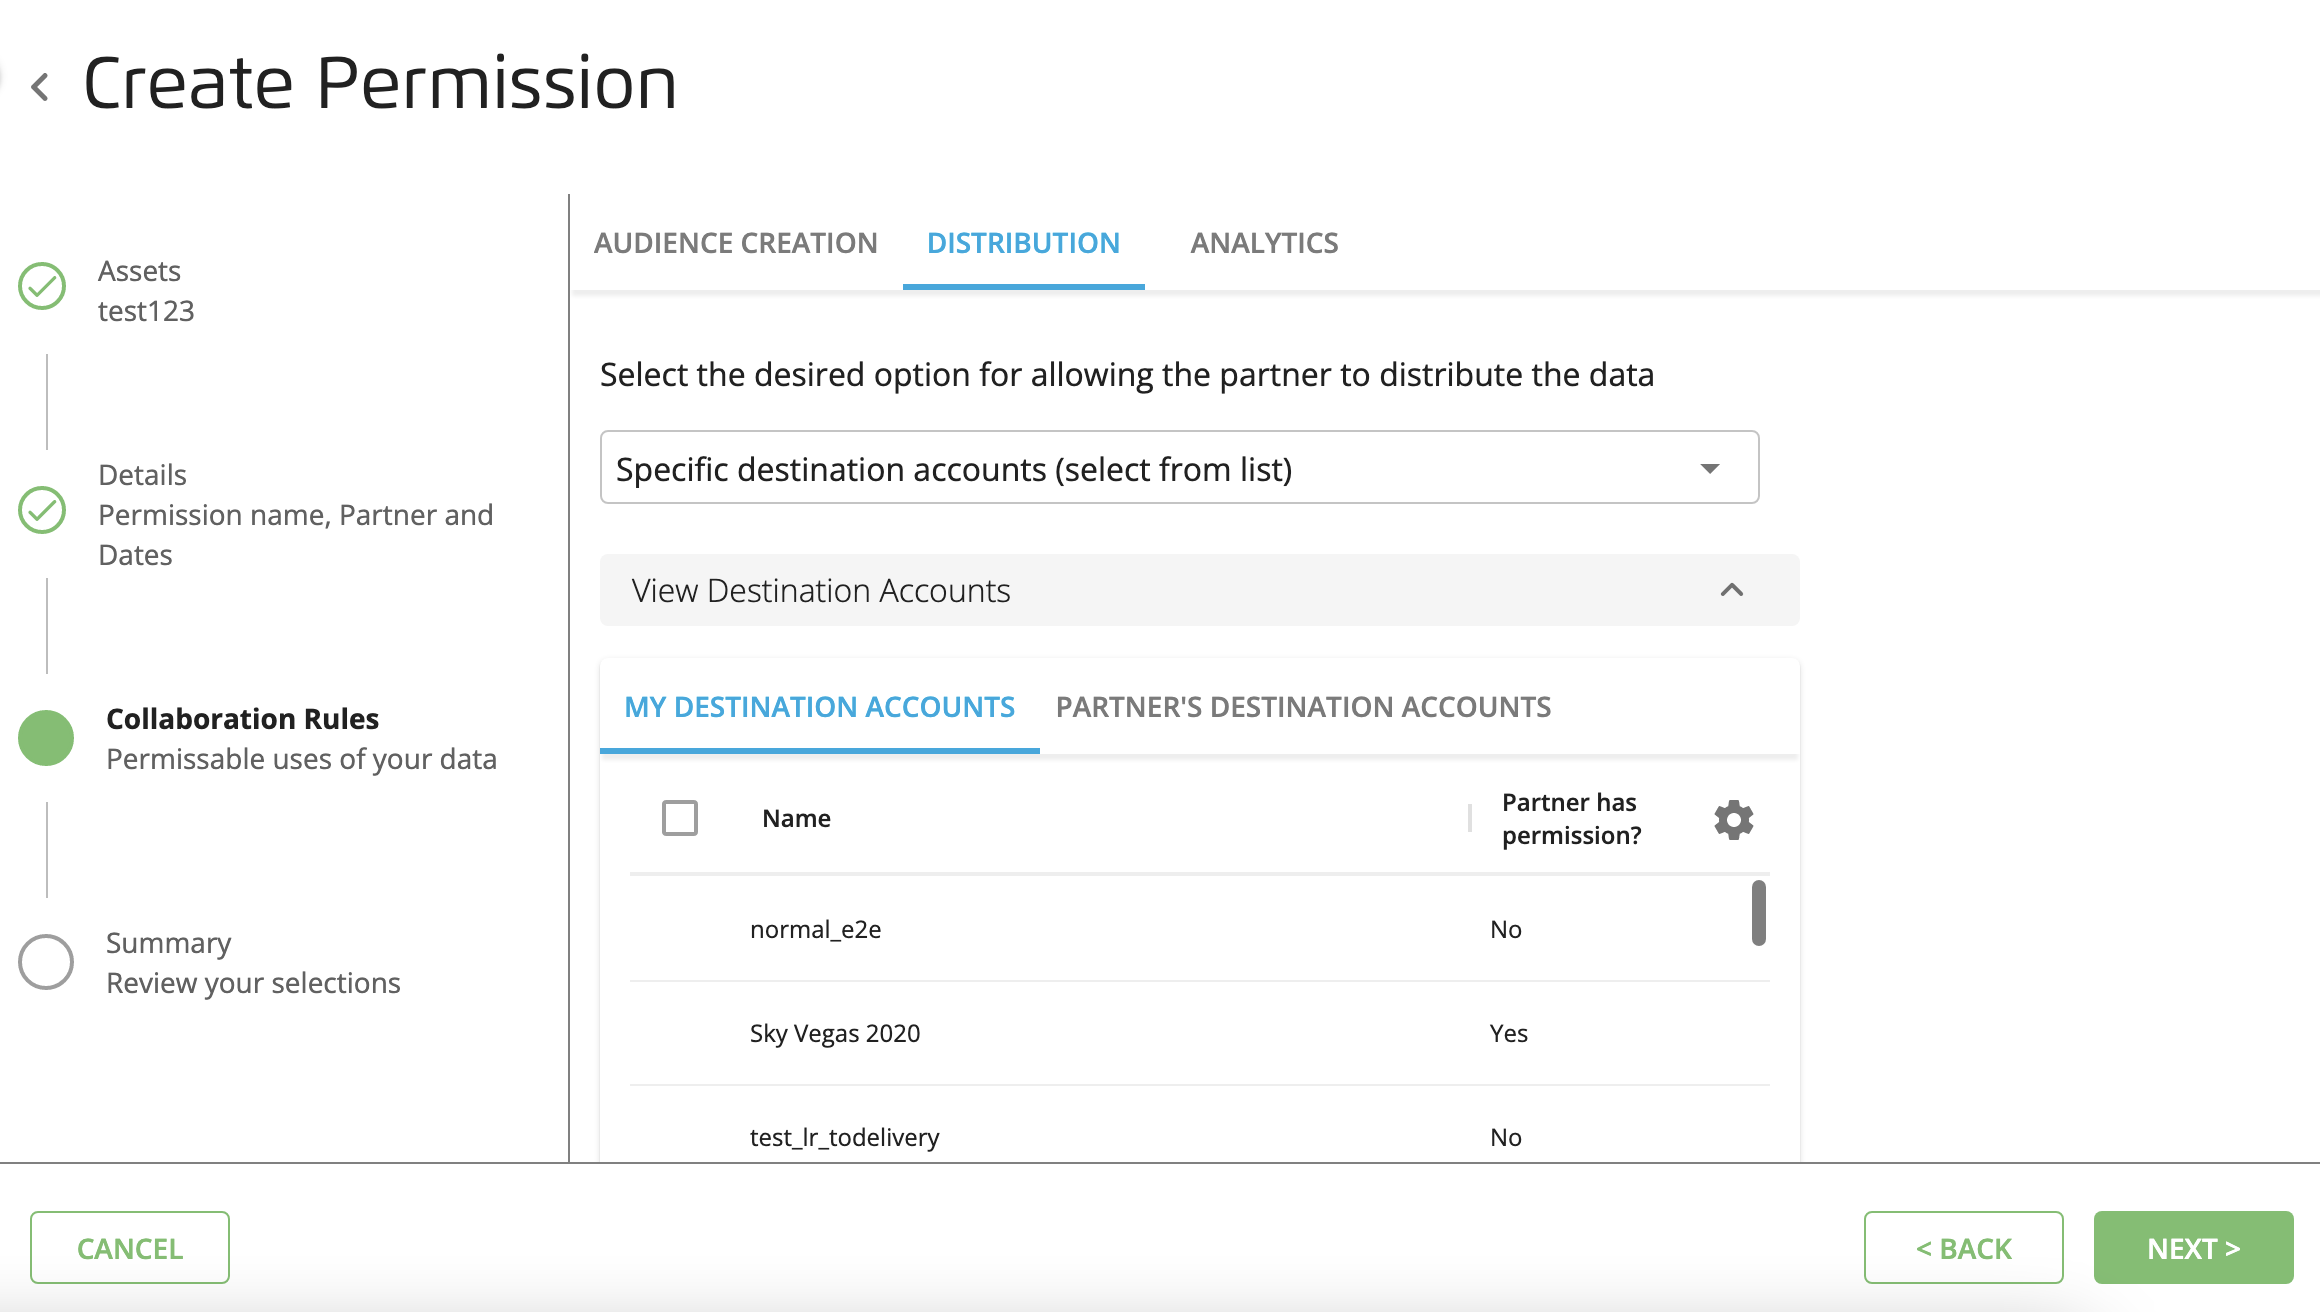
Click Next. The Distribution tab displays the following options:
No distribution: Do not permit the partner to distribute the data.
Distribute using any of my permissioned destination accounts: Permits your partner to distribute the data using only your destination accounts that you have granted permission to use.
Distribute to any destination account: Permits your partner to distribute the data to any current or future destination accounts they have available to them in their tenant until the permission reaches its end date (if any). This includes any permissioned destination accounts granted by you or another partner.
Specific destination accounts (select from list): The partner can distribute the data to destinations that you specify. Once you select this option, you can specify destinations in your list of destination accounts and your partner's.
Click Next. The Analytics tab displays the Use in Analytics Environment option, which allows the partner to use the data for analysis with all of the tools they have access to (such as BigQuery, Jupyter, and Tableau). The partner's Analytics Environment access determines what applications they can use, what type of data can be used in Tableau reports, and whether audiences created in the Analytics Environment can be used in Customer Profiles and distributed.
You can enable Automatically add to the partner's Analytics Environment to allow your data to be added to the partner's Analytics Environment automatically. If this option is enabled, the permissioned audience or taxonomy will directly be in "Distributing" status on your partner's account as the data is distributed to Analytics Environment. Note that for taxonomies, you can only enable this option if there are fewer than 200 segments.
Note
Enabling Automatically add to the partner's Analytics Environment is equivalent to providing permissions to the partner for a taxonomy or audience and then distributing the taxonomy or audience to Analytics Environment in the partner’s Audiences page. This results in the data being sent to the partner’s
customer_profiles_segmentstable in BigQuery.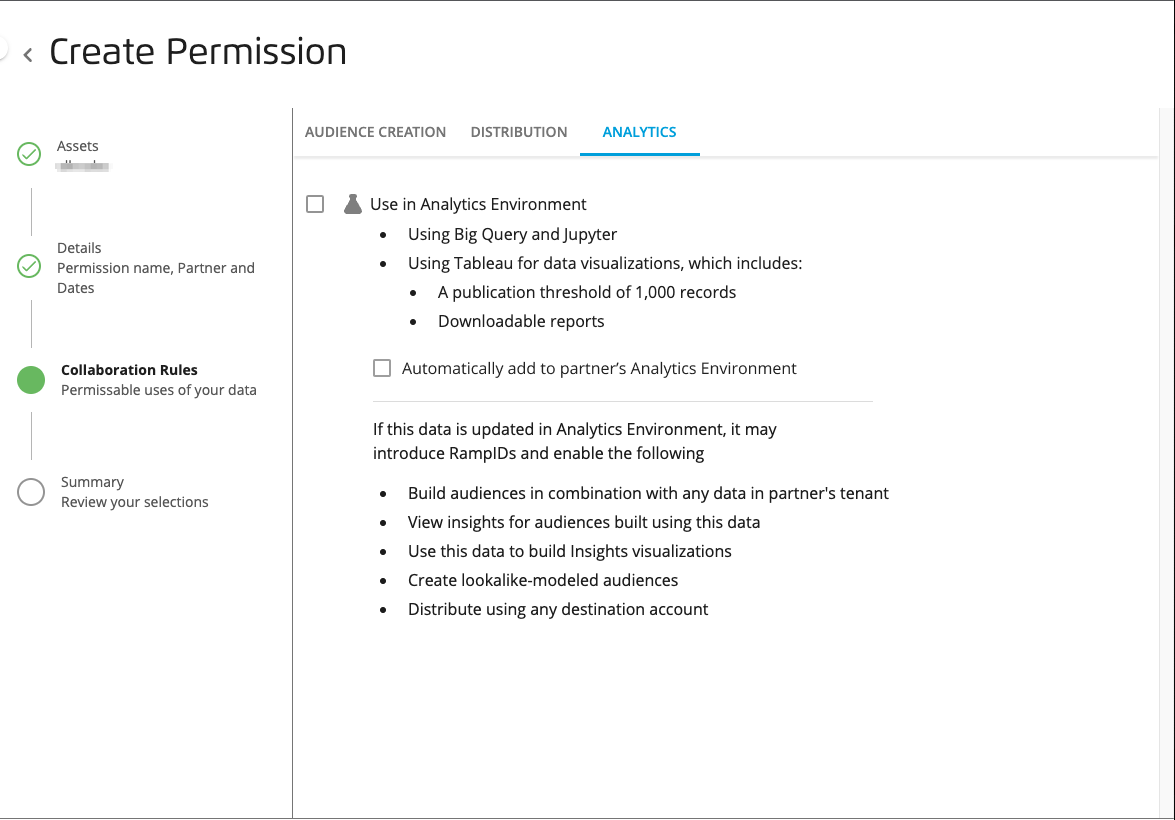
If you selected the "Use in Analytics Environment" use case, review the displayed capabilities and then click Next.
The Summary page is displayed.
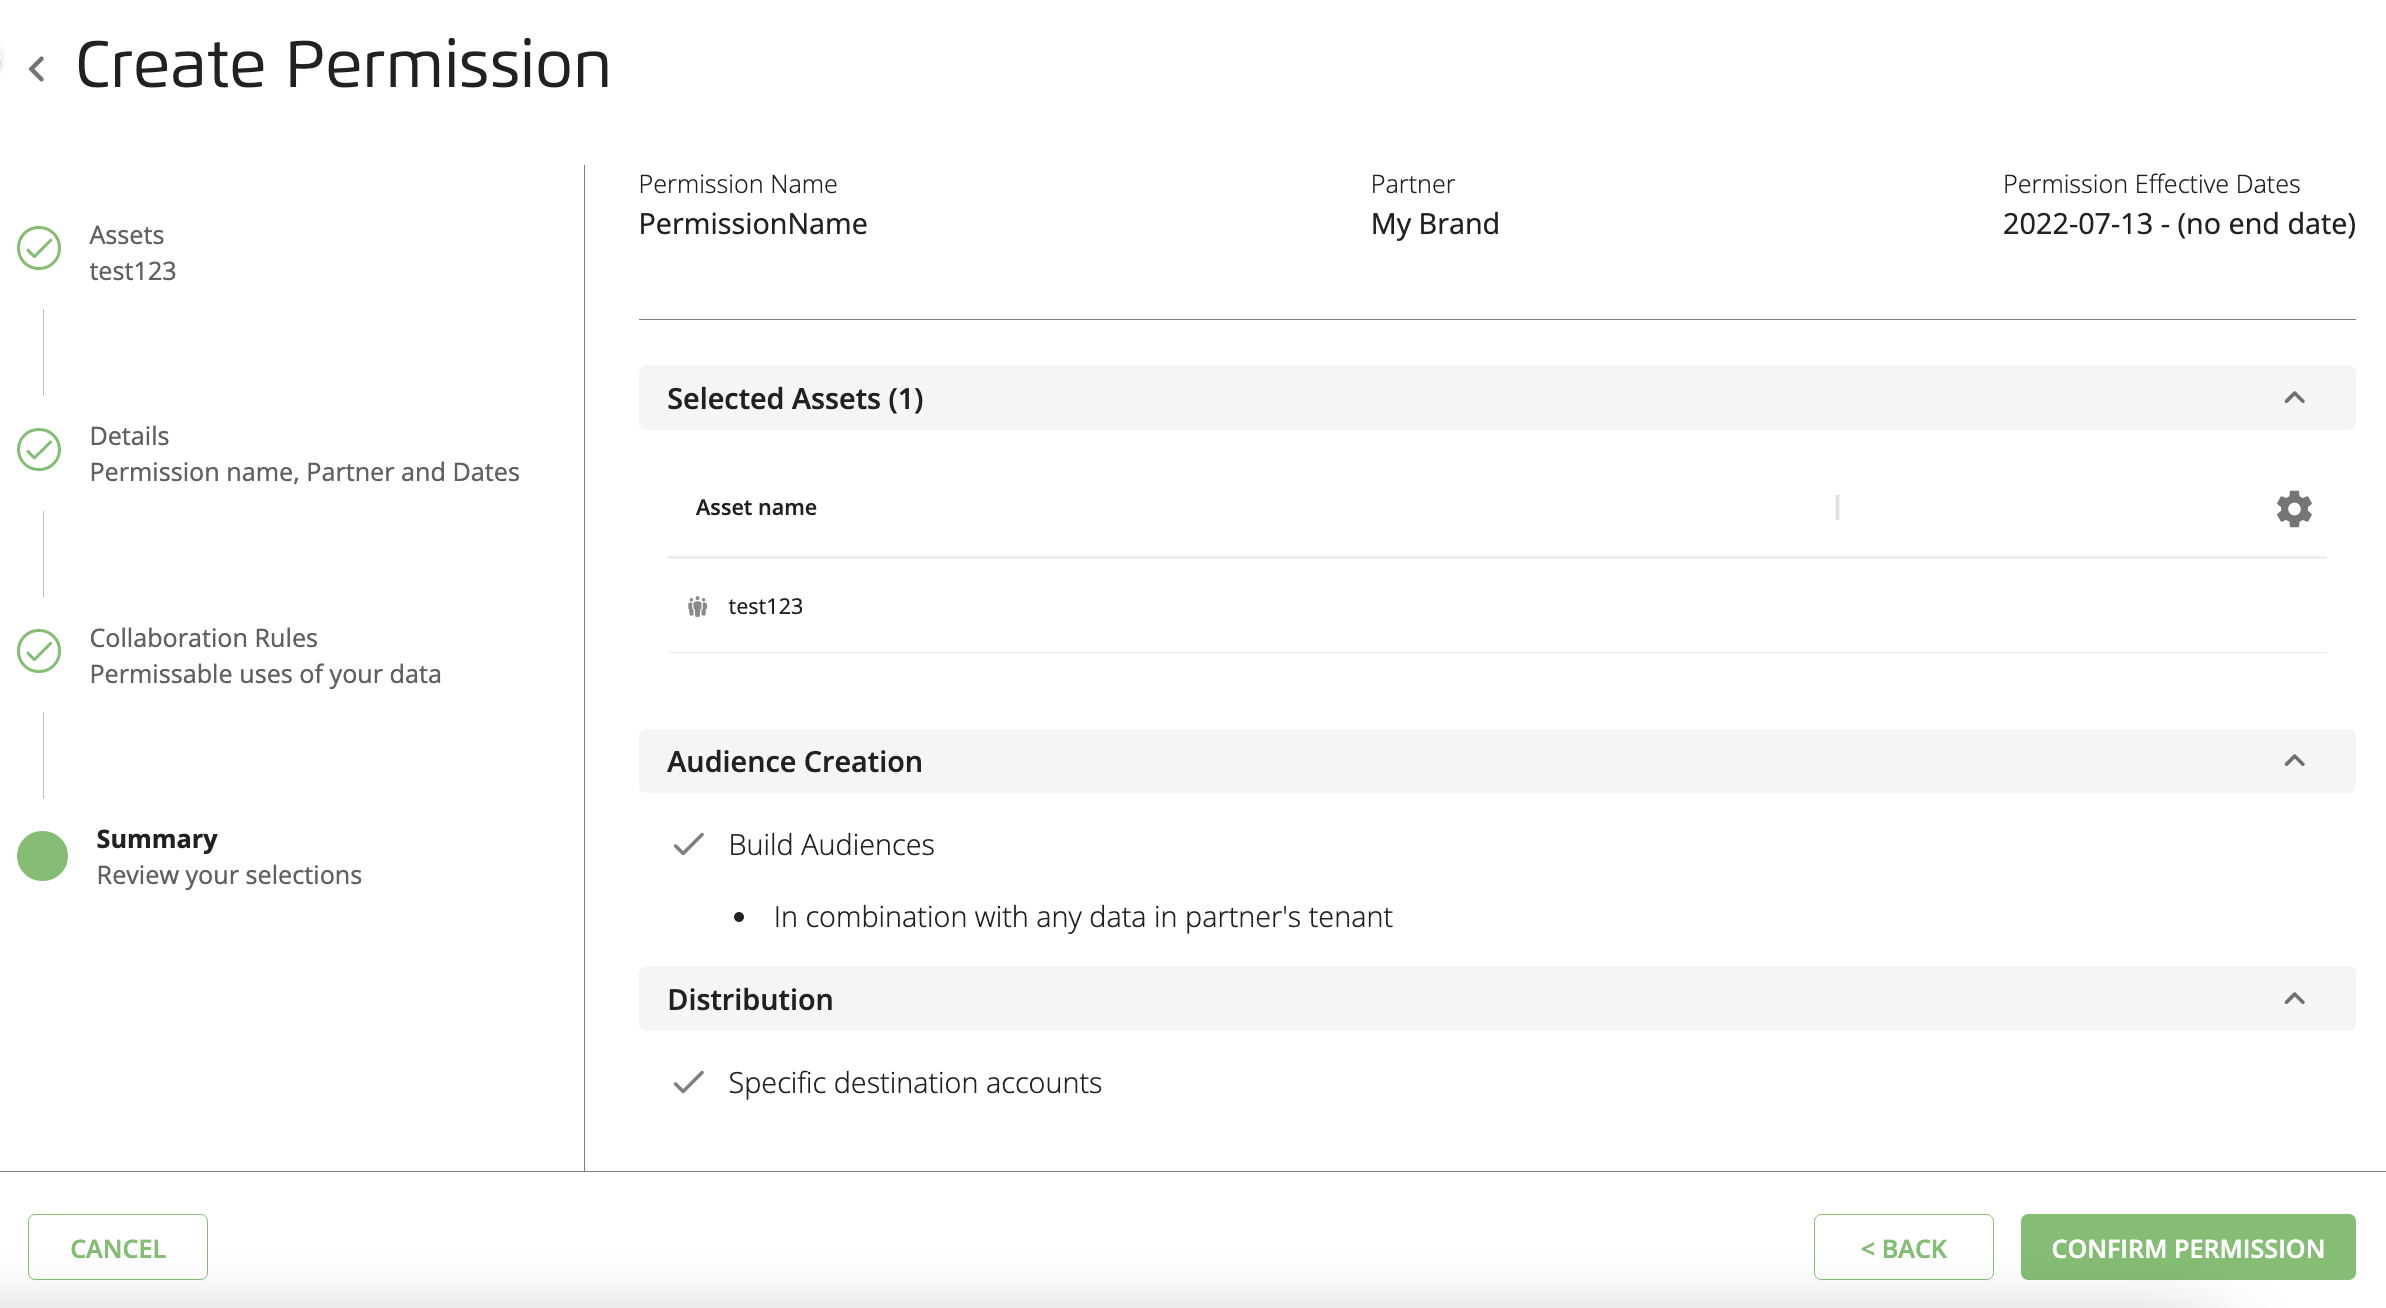
Click Confirm Permission or click Back if you decide to adjust the permission.
The permission is available on the Permissions page, where you can view its status, details, modification history, and expiration. You can edit and revoke the permission at any time on the Permissions page.
Once processing is complete and its dates are in effect, your partner can access its assets. If you created a taxonomy permission, it will show up in the partner's Audience Builder in a "Permissioned Taxonomy" folder. If you created an audience permission, it will be in a "Permissioned Audience" folder.