The Workflows Page
A workflow is a set of sequential processes you can schedule and run to create your first-party graph. The Workflows page enables you to manage your existing workflows or create a new workflow.
Log in to the Data Collaboration Platform. The home page appears.
If you belong to multiple organizations, use the organization switcher to select your Identity Engine organization.
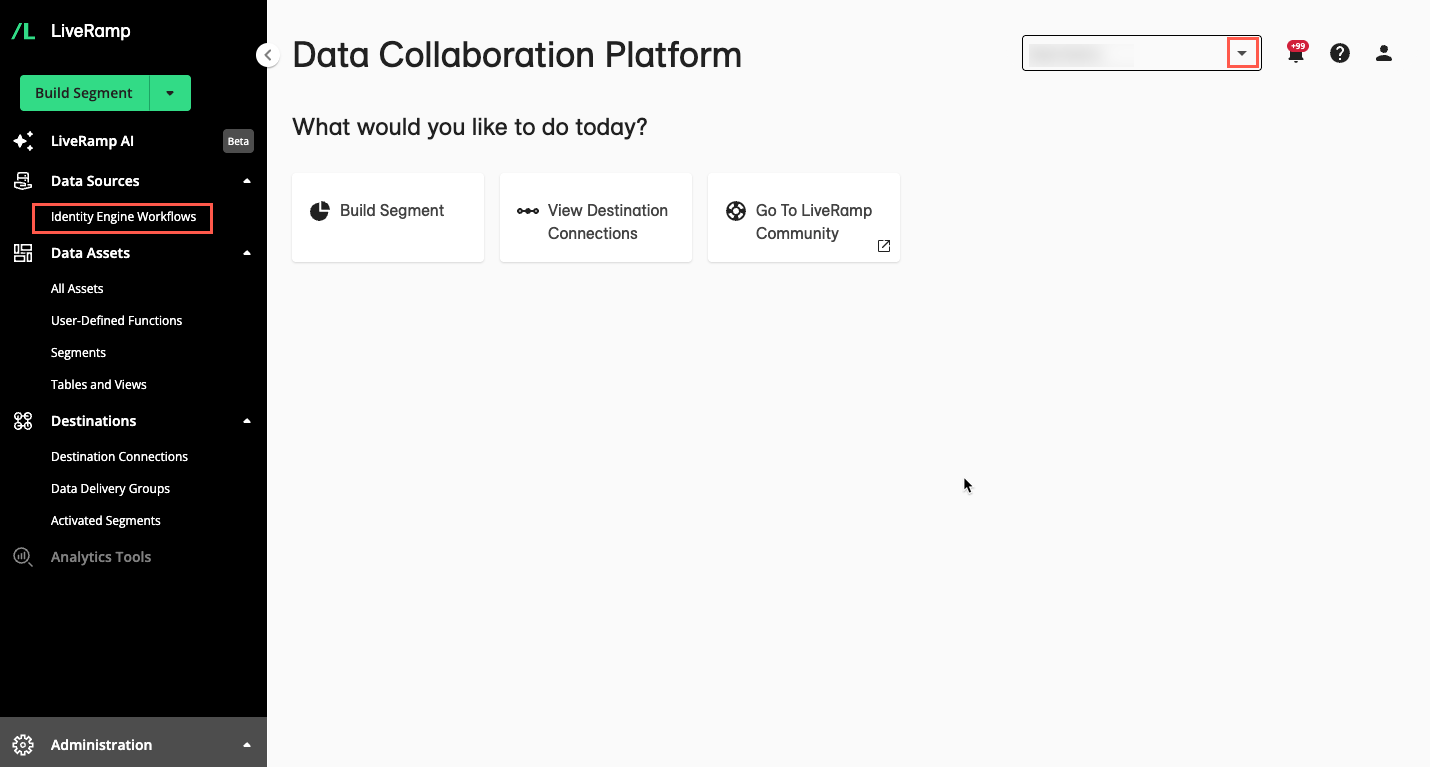
From the left navigation pane, click Identity Engine Workflows.
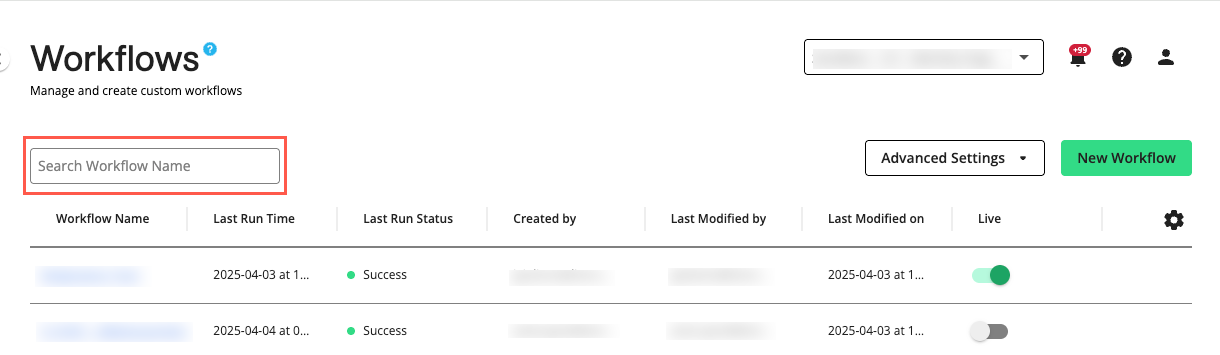
The Workflows page displays your existing workflows.

Workflows Page Column Headings
The Workflows Page table displays the following columns:
Note
To change the columns that are displayed, column order or width, the table sort order, or the table row spacing, follow the instructions in Changing the Table Display.
Column | Description |
|---|---|
Workflow Name | The full name of the workflow. You can search for the workflow in the Workflows Page table by this name. |
Last Run Time | The last time the workflow was run (YYYY-MM-DD at HH:MM) |
Last Run Status | The resulting status of the workflow when it was last run:
|
Live | Whether the workflow is “live” or “inactive”:
|
Created by | The user who created the workflow. |
Last Modified by | The user who last modified the workflow. |
Last Modified on | The date and time when the workflow was last modified (YYYY-MM-DD at HH:MM) |
Process Count | The number of processes (data preparation, resolution, and export) in the workflow. Not displayed by default. |
Created on | The date and time the workflow was created (YYYY-MM-DD at HH:MM). Not shown by default. |


Search for Workflows
You can search for workflows by entering the workflow name in Search Workflow Name.
Actions You Can Perform on the Workflows Page
You can use the Workflows page to do the following:
Note
Some actions below might not be available to your user role. For more information, see Roles and Permissions.
Create a new workflow by clicking .
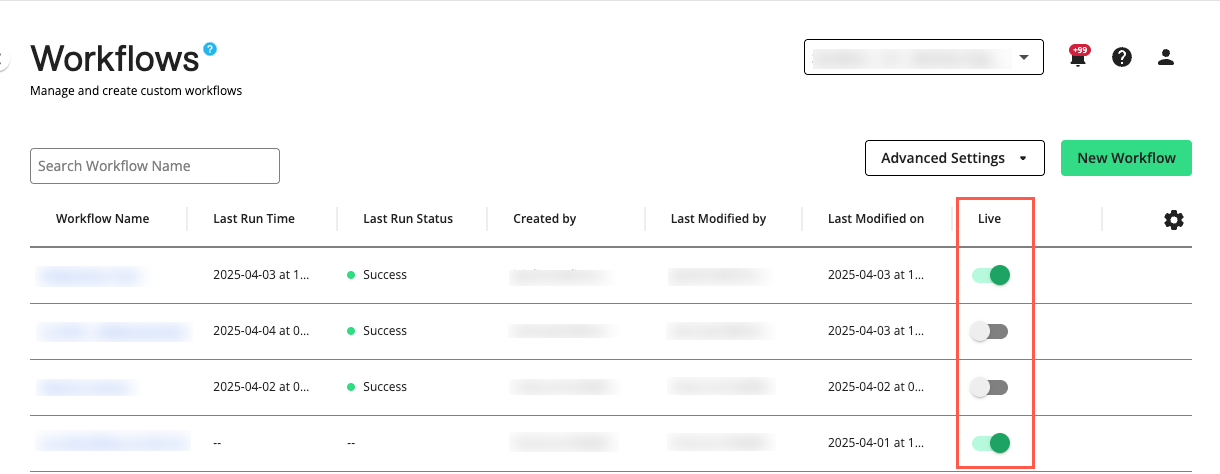
Set a workflow to live or inactive using the “Live” switch in the workflow’s row.
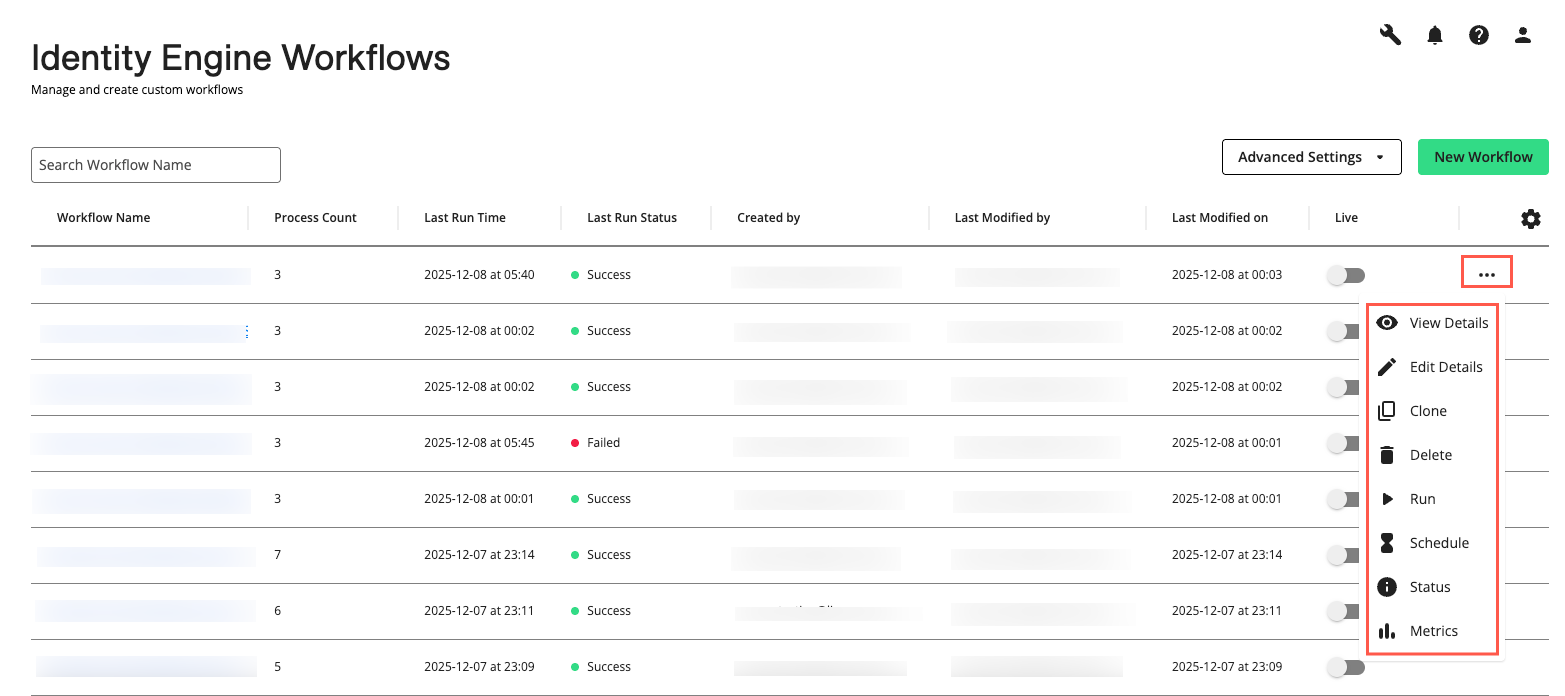
View workflow details including workflow metadata and process list by selecting the workflow's More Options menu (
 ) and clicking .
Open an existing workflow in the Workflow Editor by selecting the workflow's More Options menu (
) and clicking .Schedule a workflow by selecting the workflow's More Options menu (
) and clicking .View the workflow status by selecting the workflow's More Options menu (
) and clicking .Review workflow metrics by selecting the workflow's More Options menu (
) and clicking .Clone a workflow by selecting the workflow's More Options menu (
) and clicking .Delete a workflow by selecting the workflow's More Options menu (
) and clicking .
Set a Workflow to Live or Inactive
All workflows that have been run are live by default, regardless of their run status. You can set a live workflow to inactive to stop it from actively delivering data to production. This action is a prerequisite for deleting a workflow. You can also set an inactive workflow to live to start it actively delivering data to production. Live workflows cannot be deleted.
To set a workflow's status to live or inactive on the Workflows page, locate the workflow's row and toggle the switch to either "on" (live) or "off" (inactive).
Caution
Setting the workflow to "Live" will deliver data to endpoints. Verify the workflow configuration before setting it to “Live”.
Configure Advanced Settings
You can configure the following from the dropdown list:
Resource Configuration: Edit the Identity Engine resource configuration which includes your service account details, bucket locations, cluster settings, and additional properties.
Cluster Management: View existing or create custom cluster profiles that you can assign to processes when you run or schedule a workflow. To create a new cluster profile, click and fill in the parameters as defined by Dataproc in the side panel. View "Dataproc documentation" to learn more.