Build a Segment with the Segment Builder
To build a segment with the Segment Builder:
Tip
To view a tour that contains interactive walkthrough demos of the elements of the segment building process, click here.
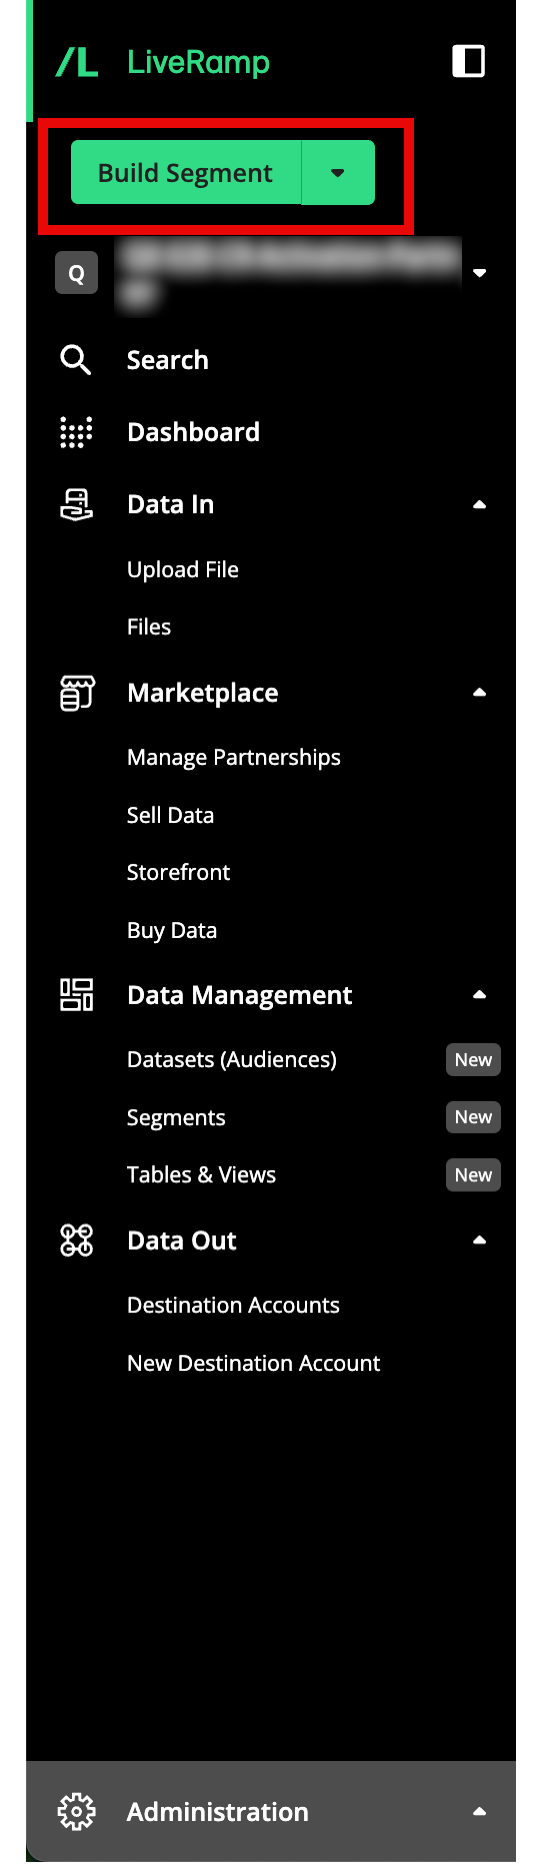
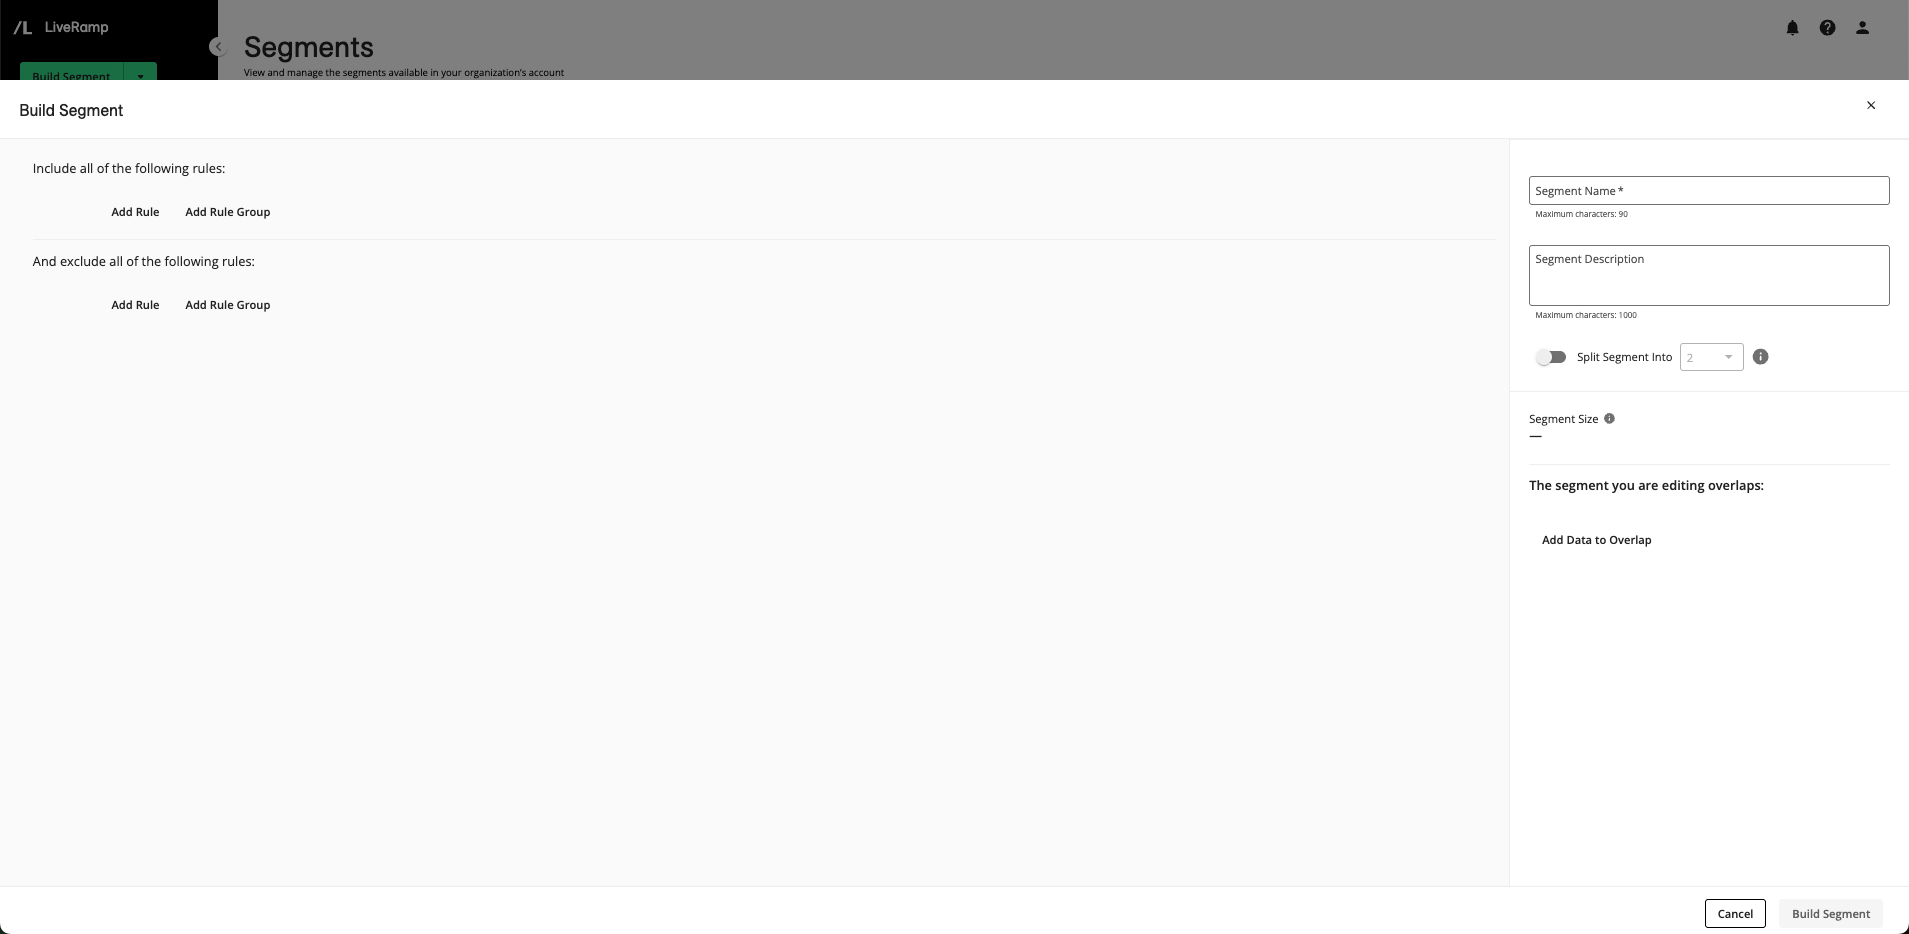
From the Quick Actions dropdown list in the navigation pane, click to open the Segment Builder.
Note
You can also open the Segment Builder from the Segments page by clicking or from the home page by clicking the "Build Segment" tile.
From the "Include all of the following rules:" area, click one of the following options:
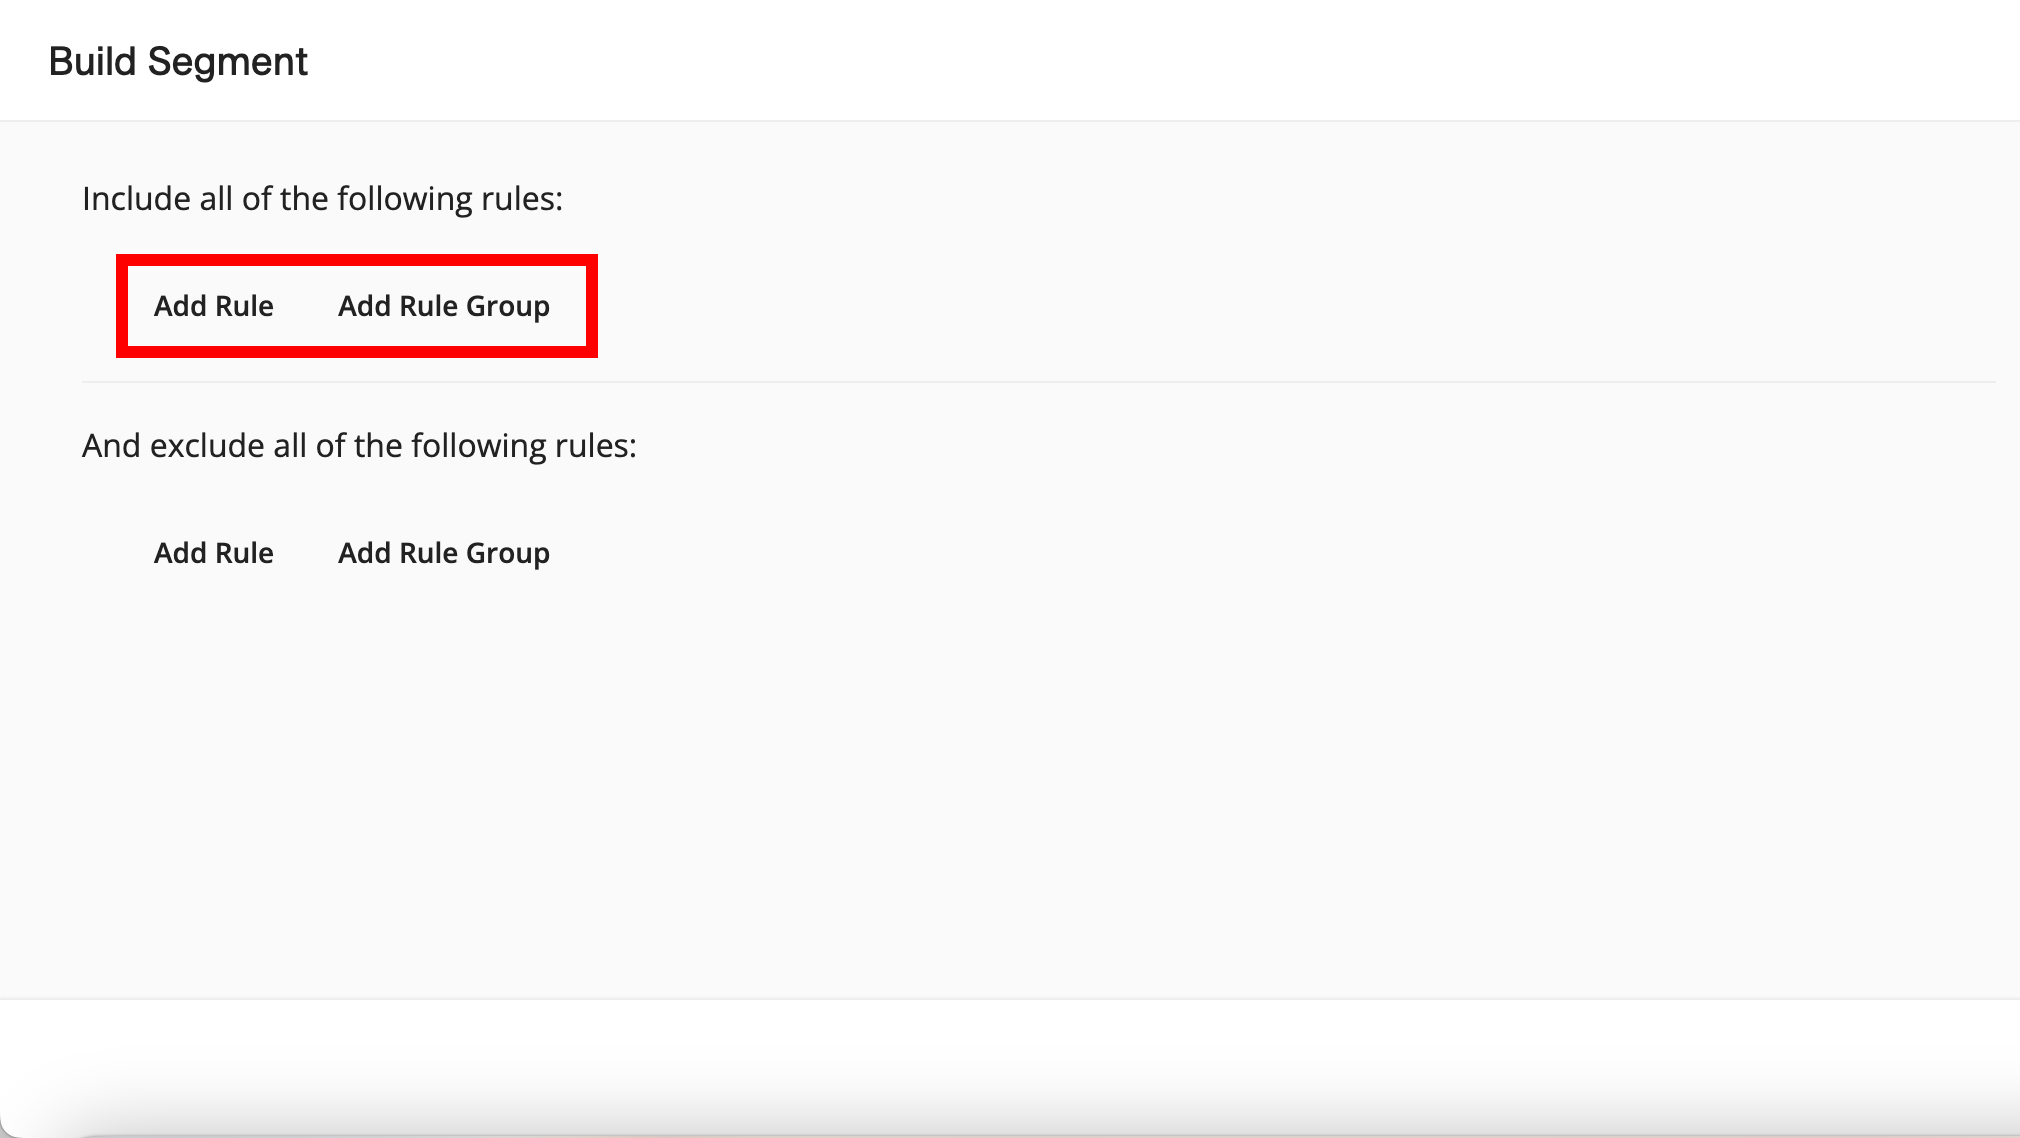
To create an individual filter rule, click . The Segment Builder displays a data asset dropdown list with categories for datasets, built segments, and events.
To create a filter rule group out of multiple filter rules at the same level, where all rules will be joined by the same conjunction, click . The Segment Builder displays data asset selection fields for two filter rules joined with the conjunction "AND". If desired, you can change the conjunction to "OR".
Note
If your organization has been enabled to use the AI-Assisted Segment Builder, you can access that from the regular Segment Builder by typing your prompt into the chat field that appears at the top of the Segment Builder and then clicking "enter" or the up arrow.
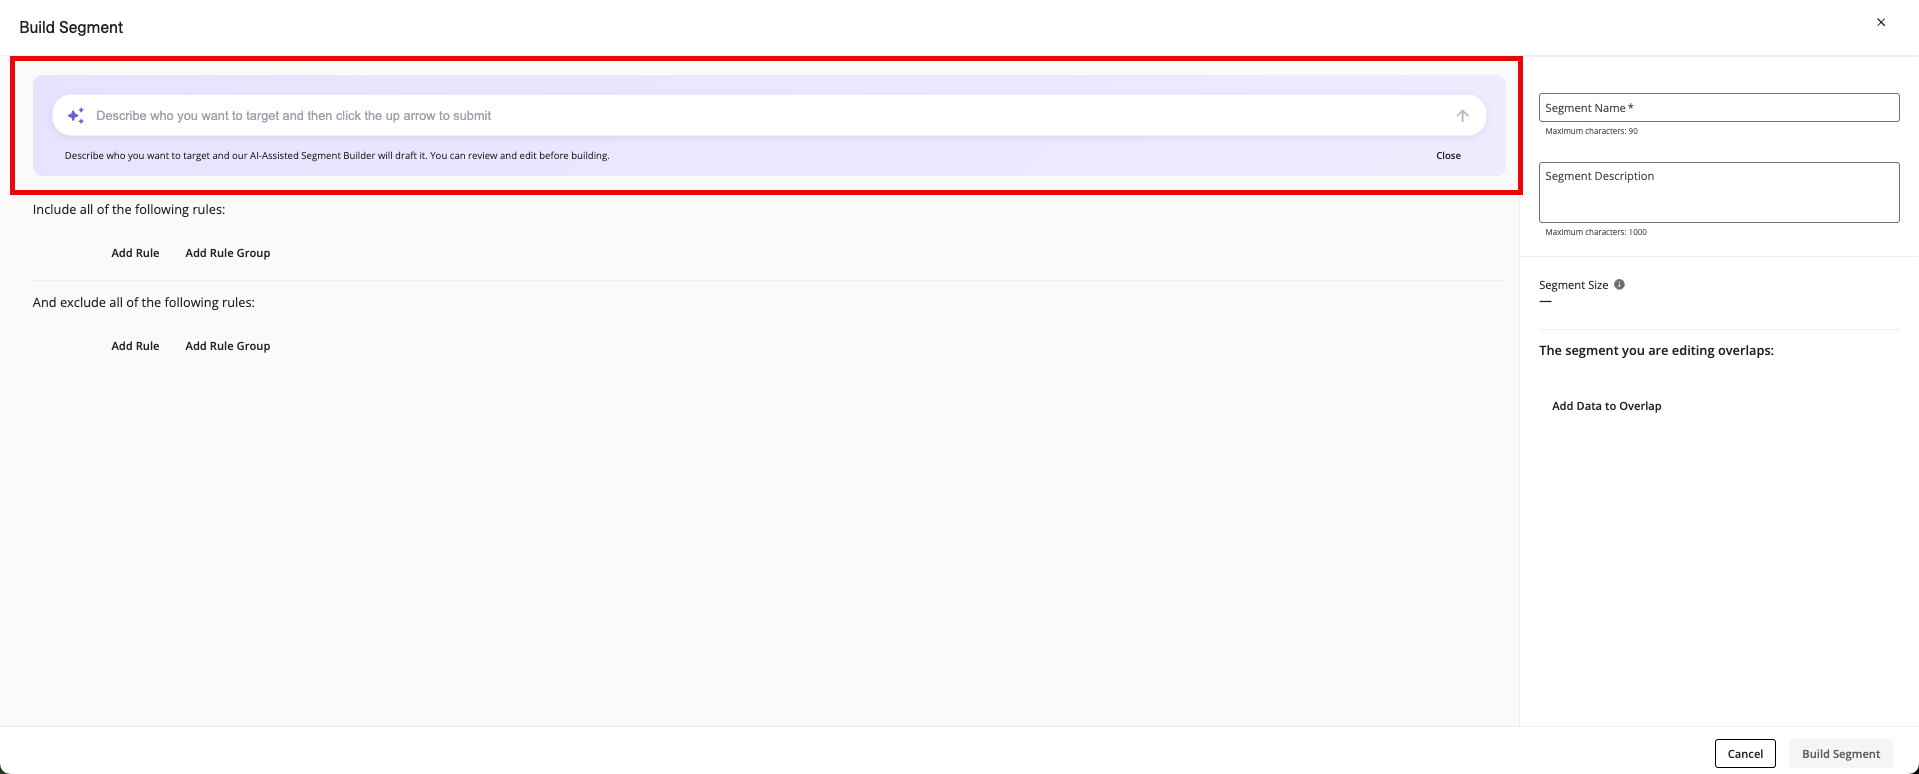
Once you’ve submitted your initial prompt, the AI-Assisted Segment Builder opens. For more information, see “Build a Segment with the AI-Assisted Segment Builder”.
From the data asset dropdown list, expand the appropriate folder and select the desired data asset to use to build the segment from:
Note
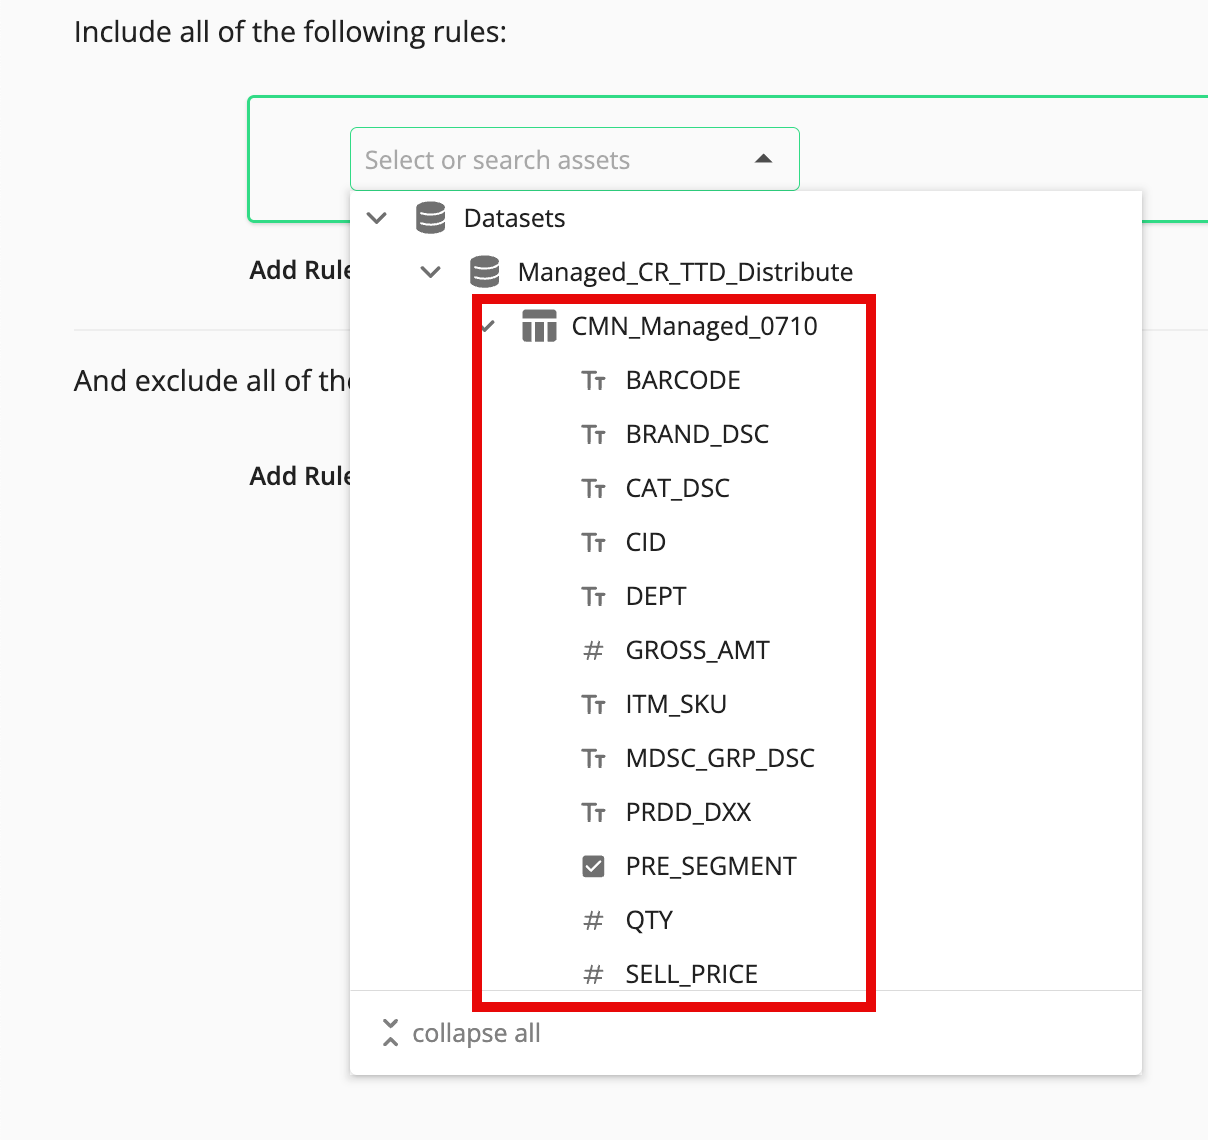
When you expand a table, you'll see options to select the individual table attribute columns, in addition to being able to select the entire table.
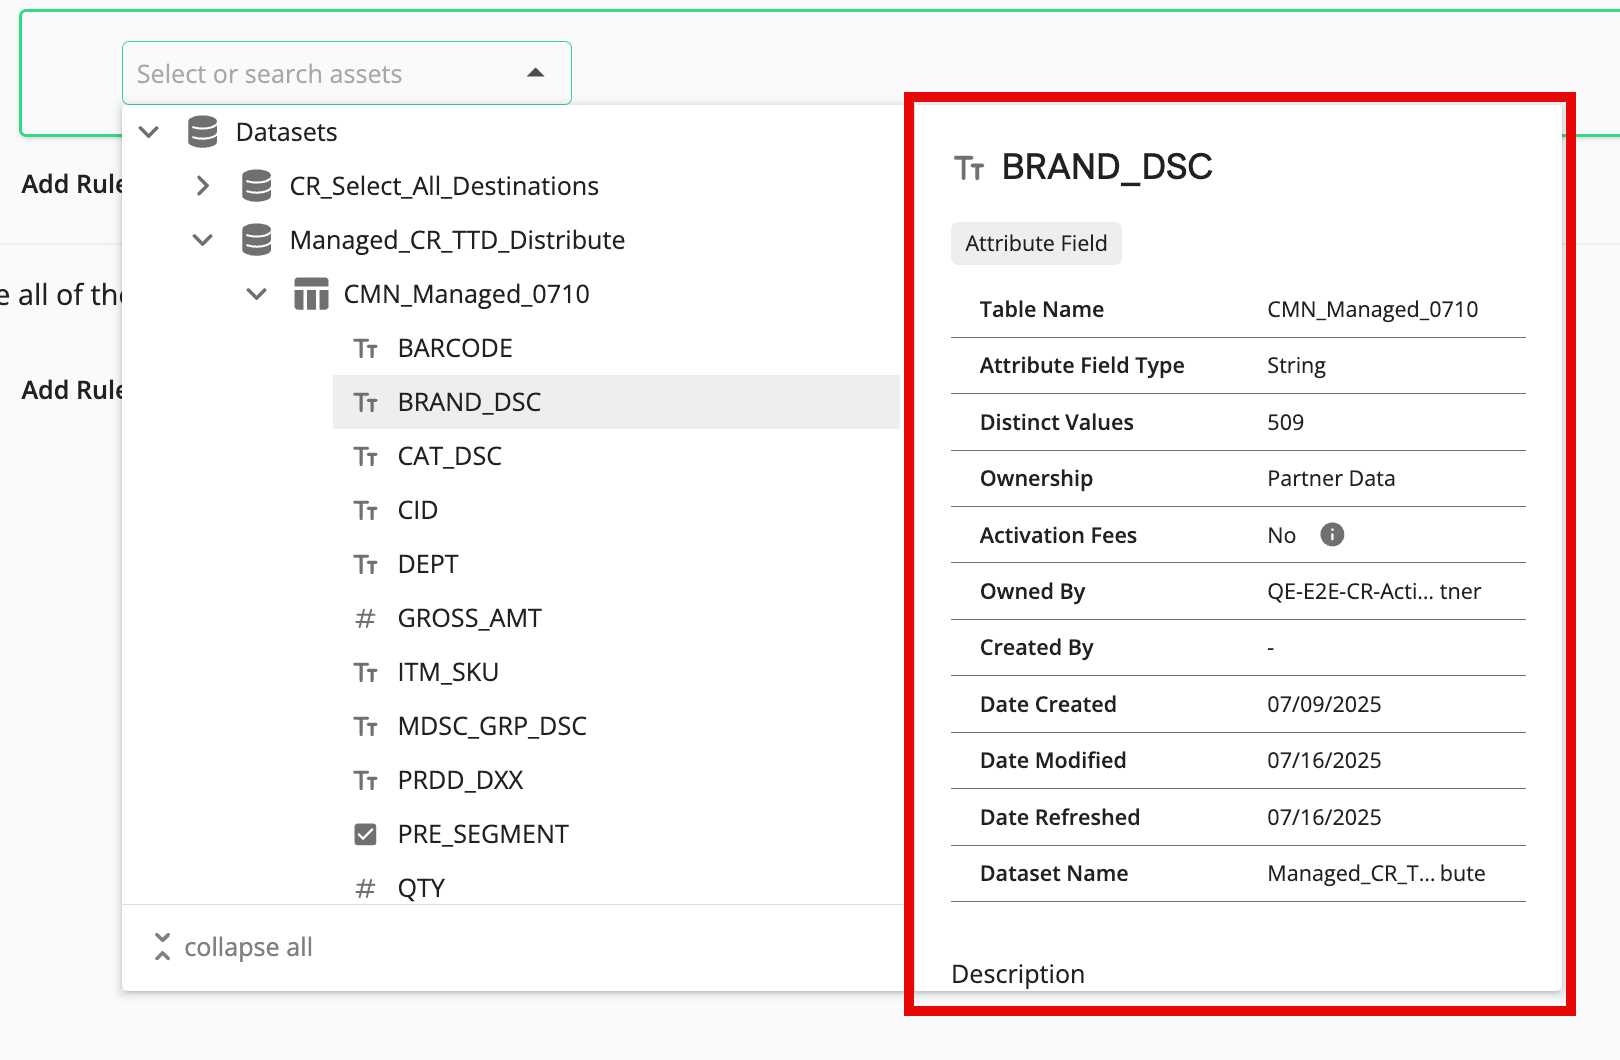
When you hover over an individual data asset, a side panel appears with information about that asset (such as date created, date modified, owner, and more). For Data Marketplace segments, additional information (such as Data Marketplace pricing and permitted use cases) is also displayed.
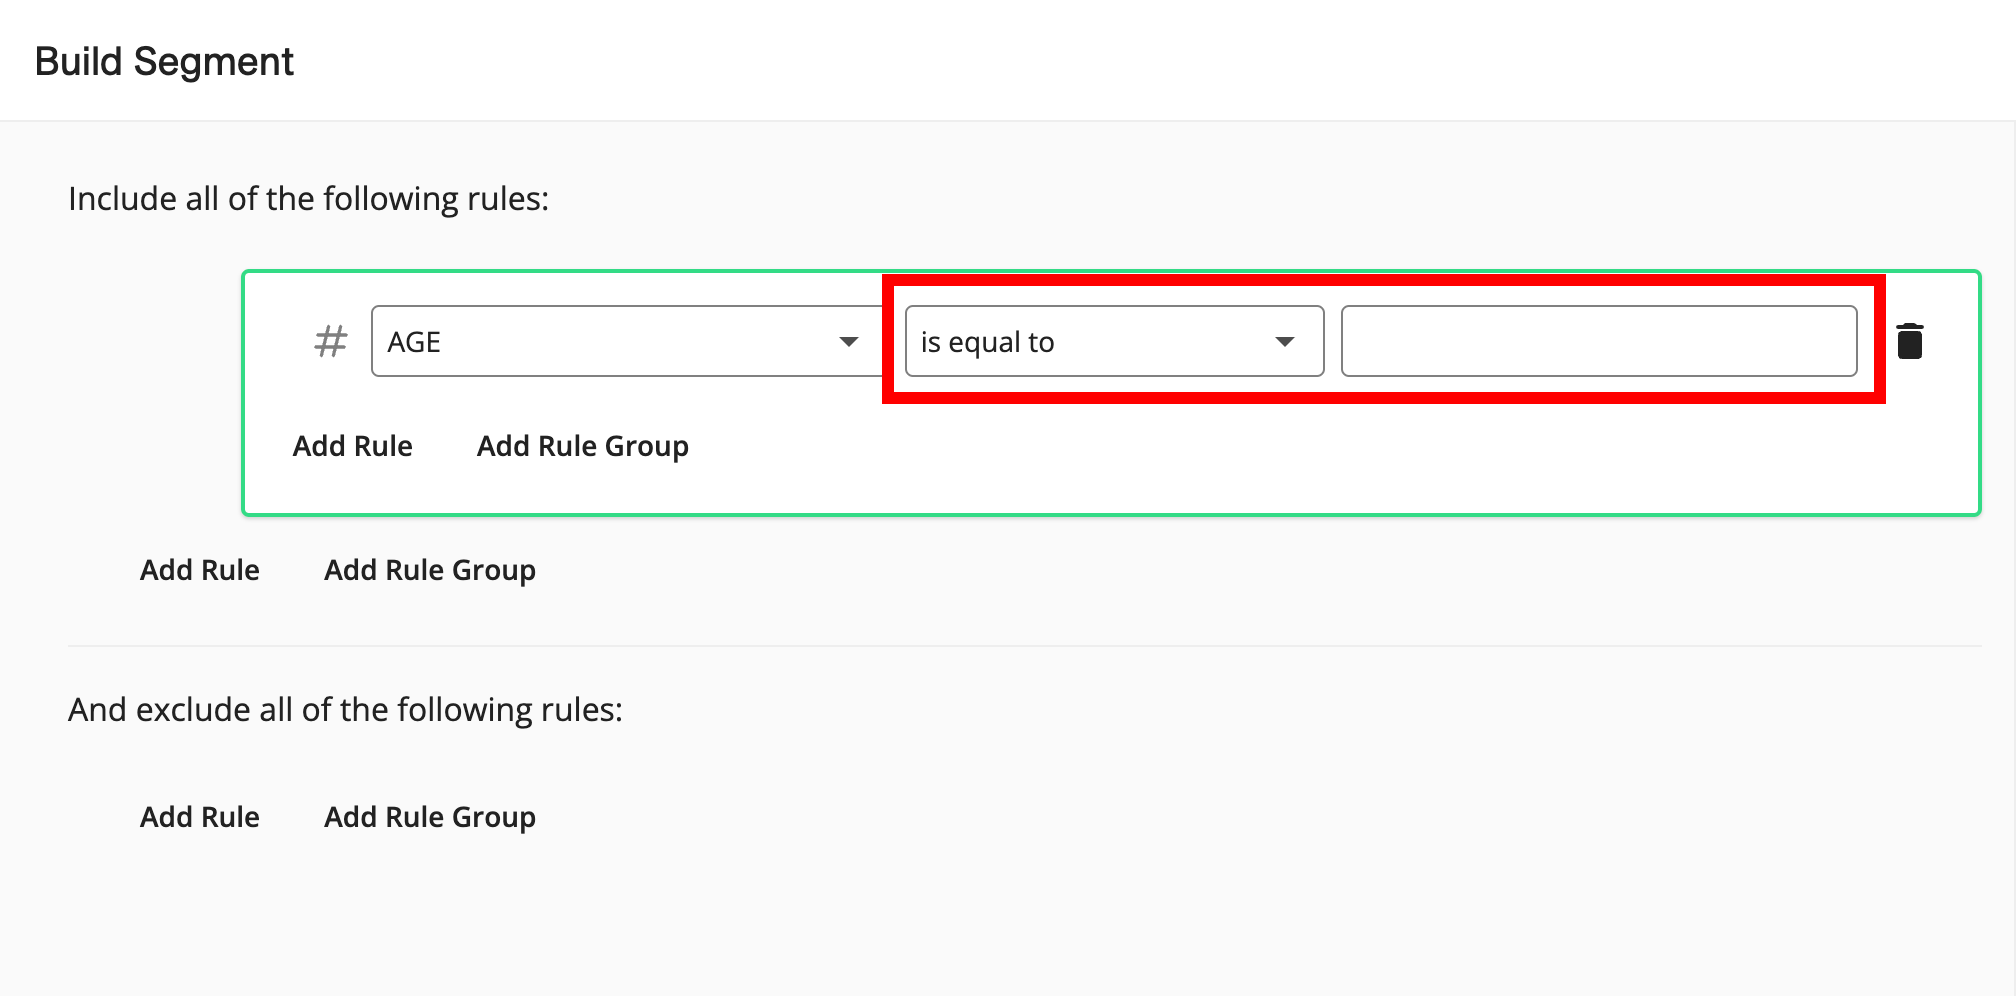
When you select a table attribute, fields for the operator and value are displayed.
When you select a table, all members of the table are included in the filter rule (no fields for operator or value are displayed).
When you select a built segment, all segment members are included in the filter rule, and the segment size in maintained RampIDs appears to the right of the segment name (no fields for operator or value are displayed).
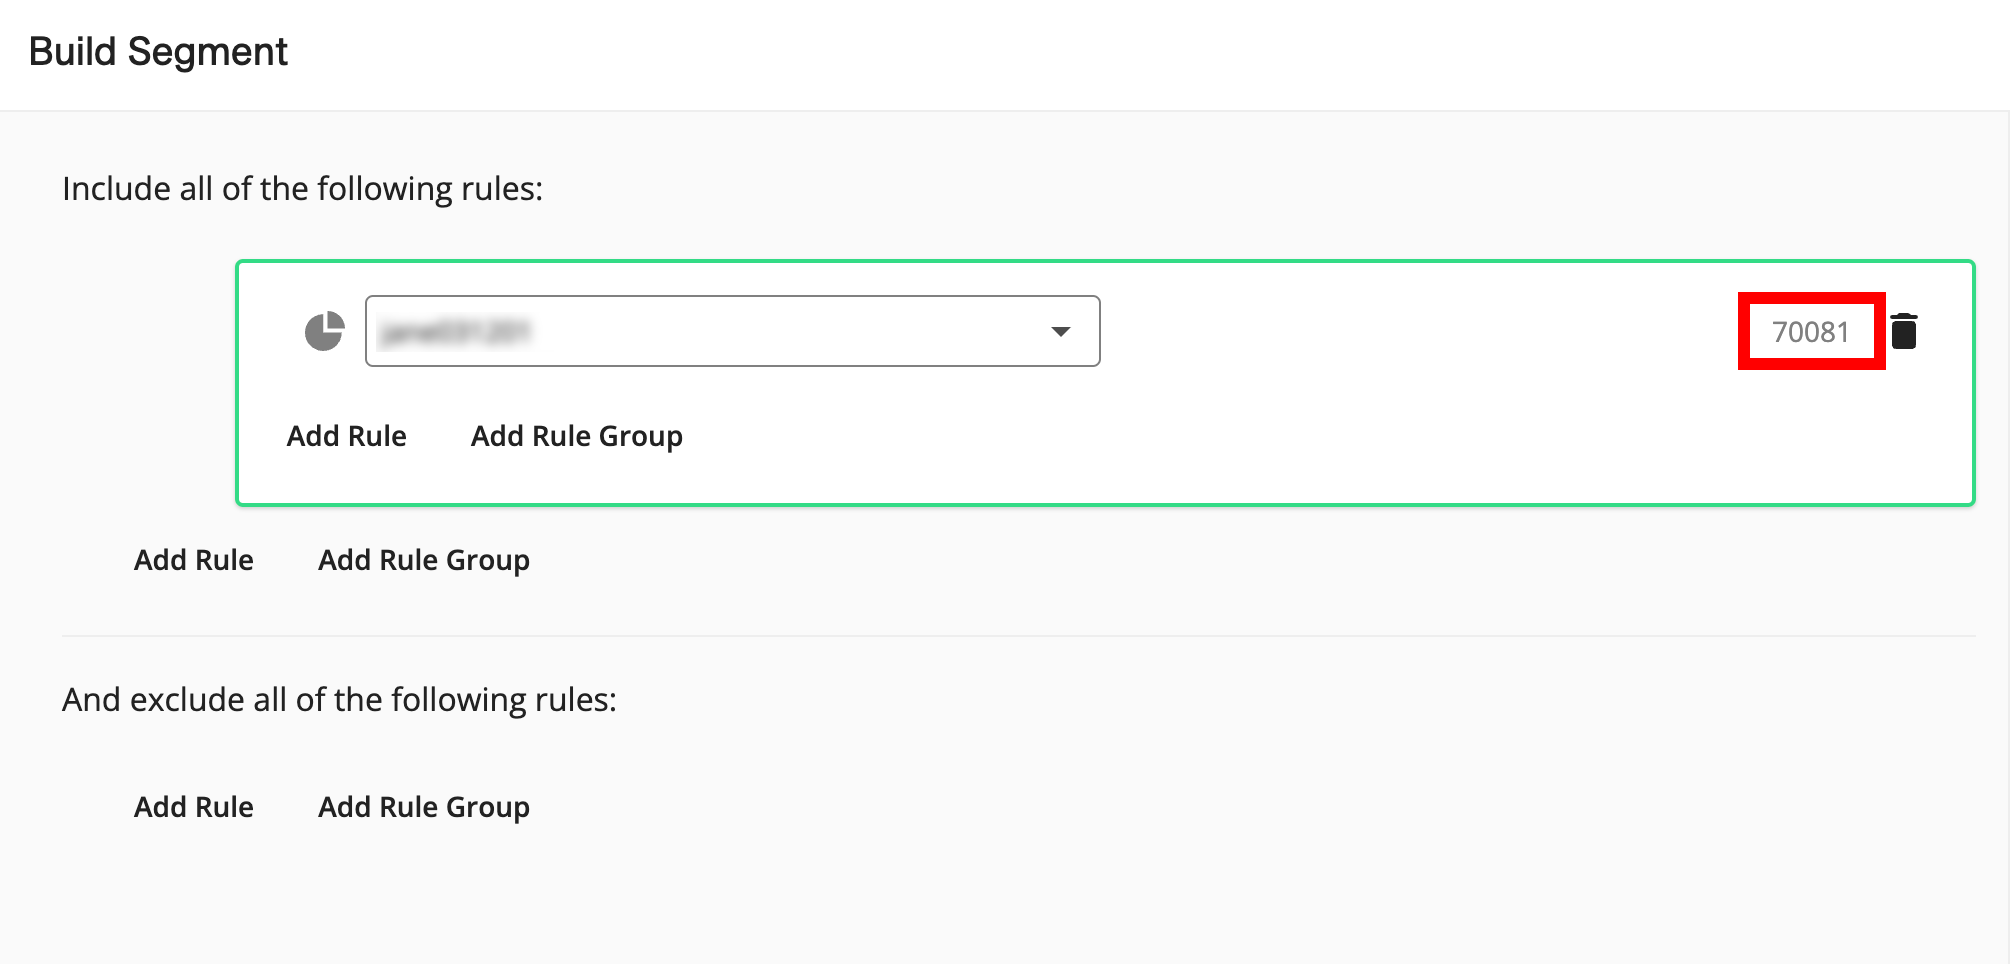
When you select a Data Marketplace segment that you've requested, all segment members are included in the filter rule, and the segment size in maintained RampIDs appears to the right of the segment name (no fields for operator or value are displayed). A "Purchased Data" icon also appears in the rule row.
If you've selected a table attribute, complete the filter rule:
Note
If you selected a segment, an event, or all members of a table in the previous step, skip this step.
From the operator list, select the desired operator.
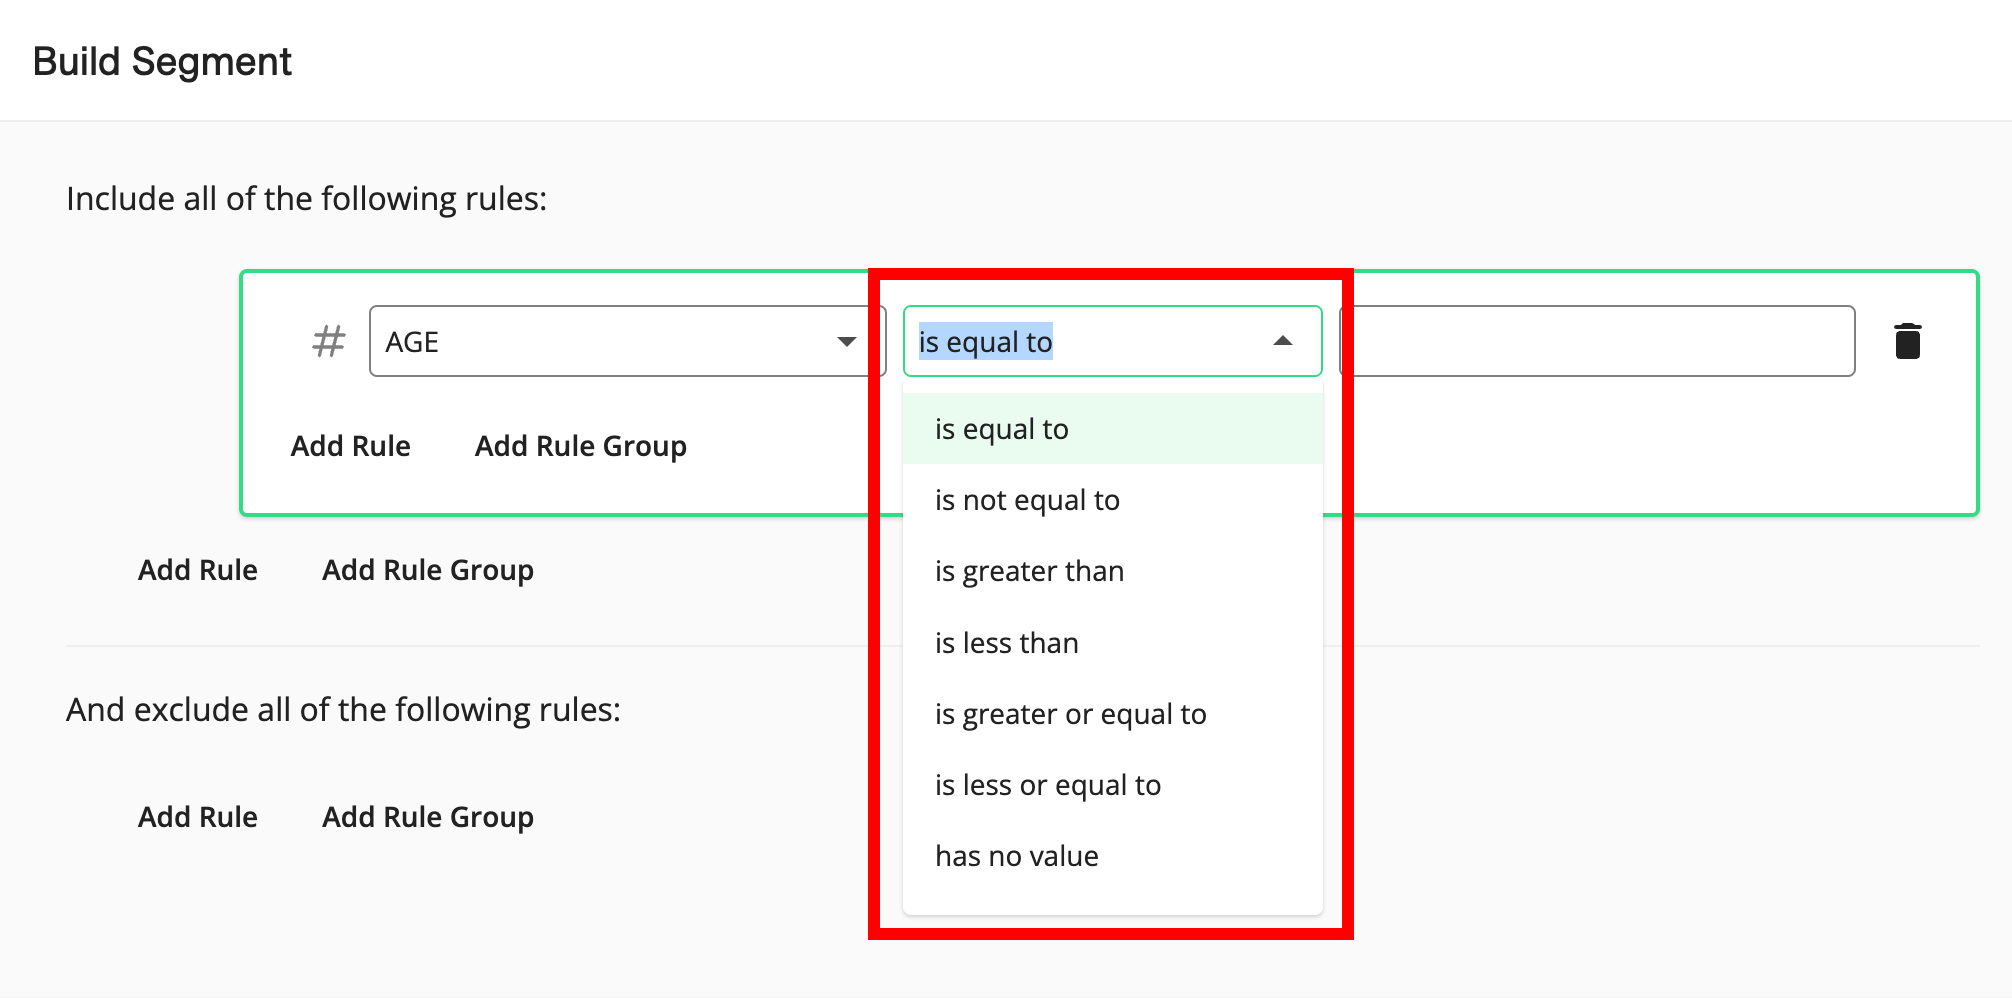
Note
The options available vary depending on the field type of the attribute you've selected. For more information, see "Available Filter Operators for the Segment Builder".
In the value field, enter or select the values to filter on (entered values can contain spaces).
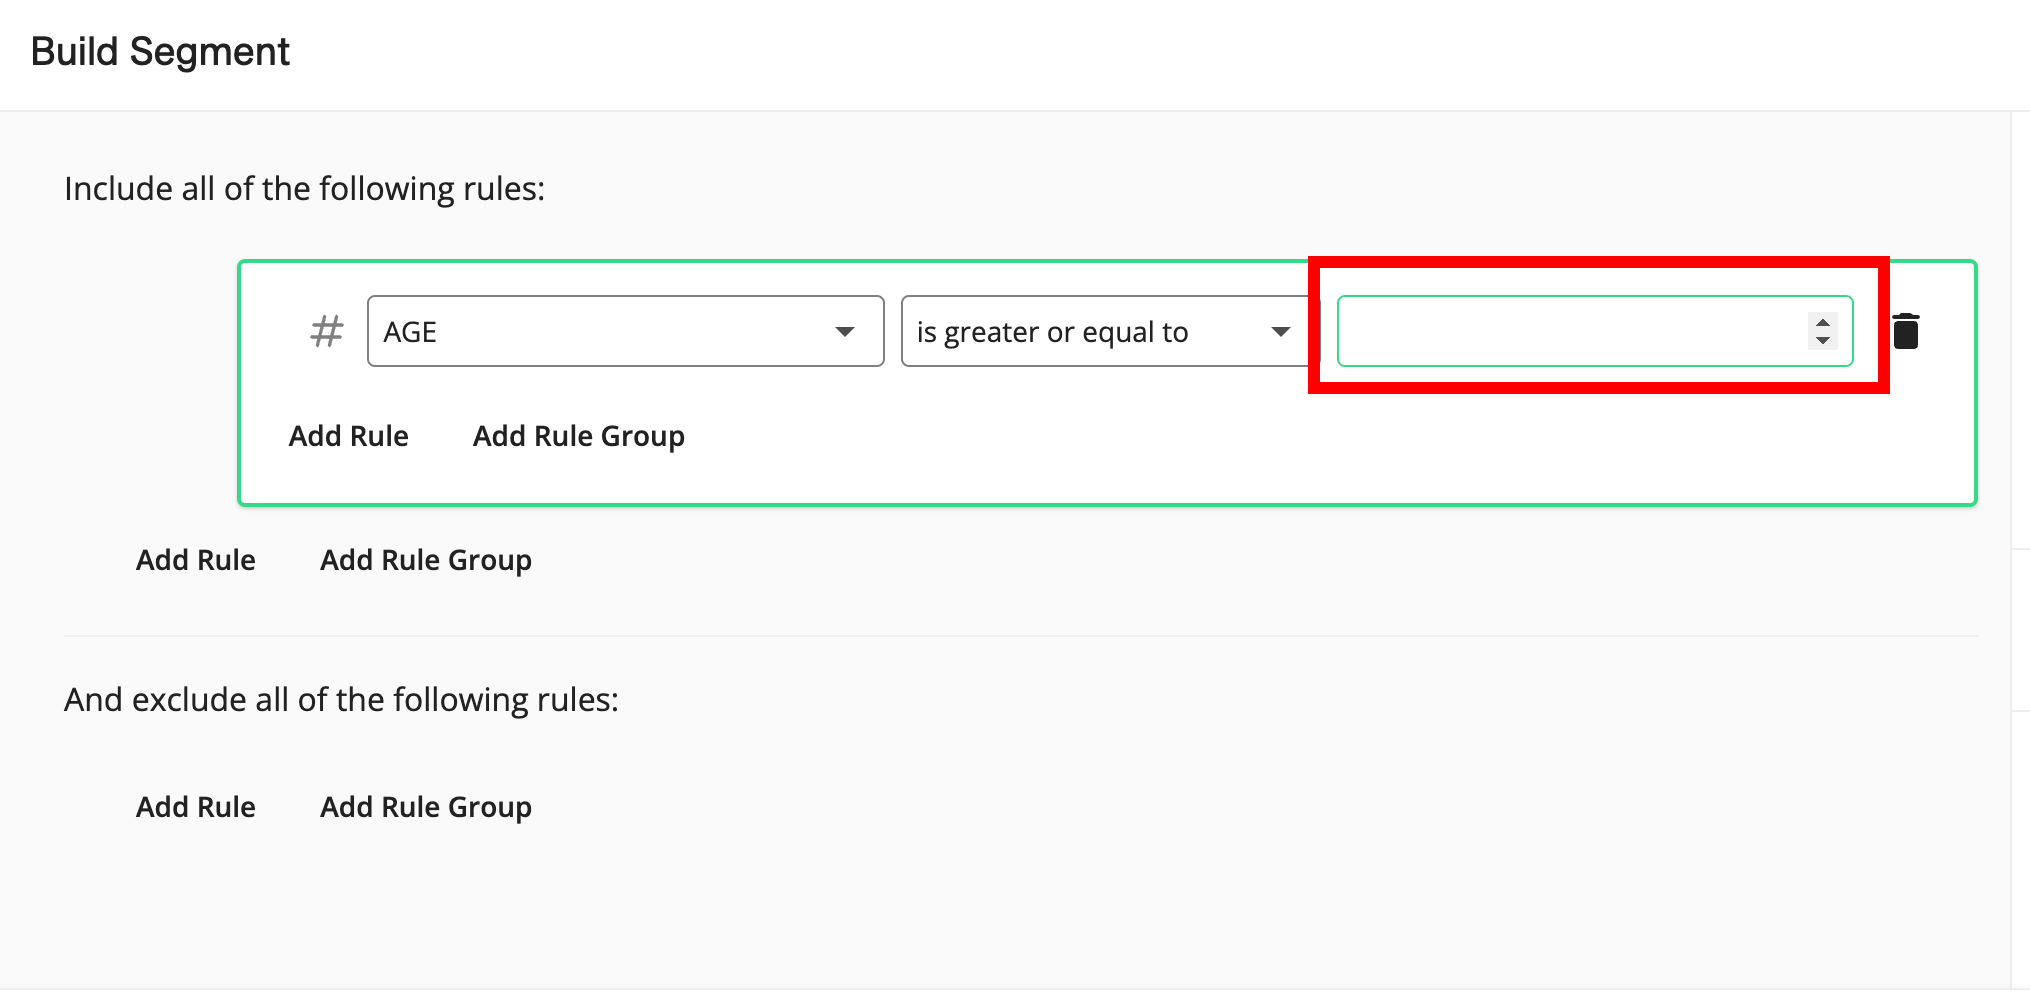
Note
For certain operators, such as "has a value", no value field will appear.
For string field types, when you select either the "is" or "is not" operator, the available attribute values appear as check boxes in the value field after a few seconds (a loader appears under the field while value loading is processing), and you can select multiple values.
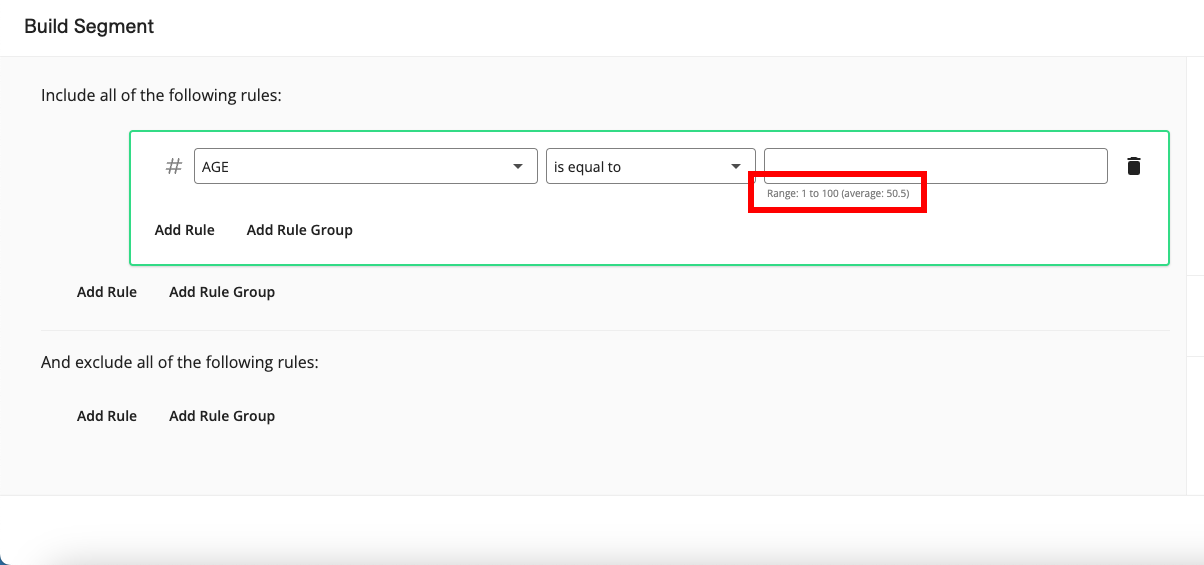
For the field types "numeric" and "integer", the range and average values for the field are displayed below the value field in the Segment Builder to give you insights into the values that the field contains (during the calculation process, you'll see a spinner and the text "Range being calculated").
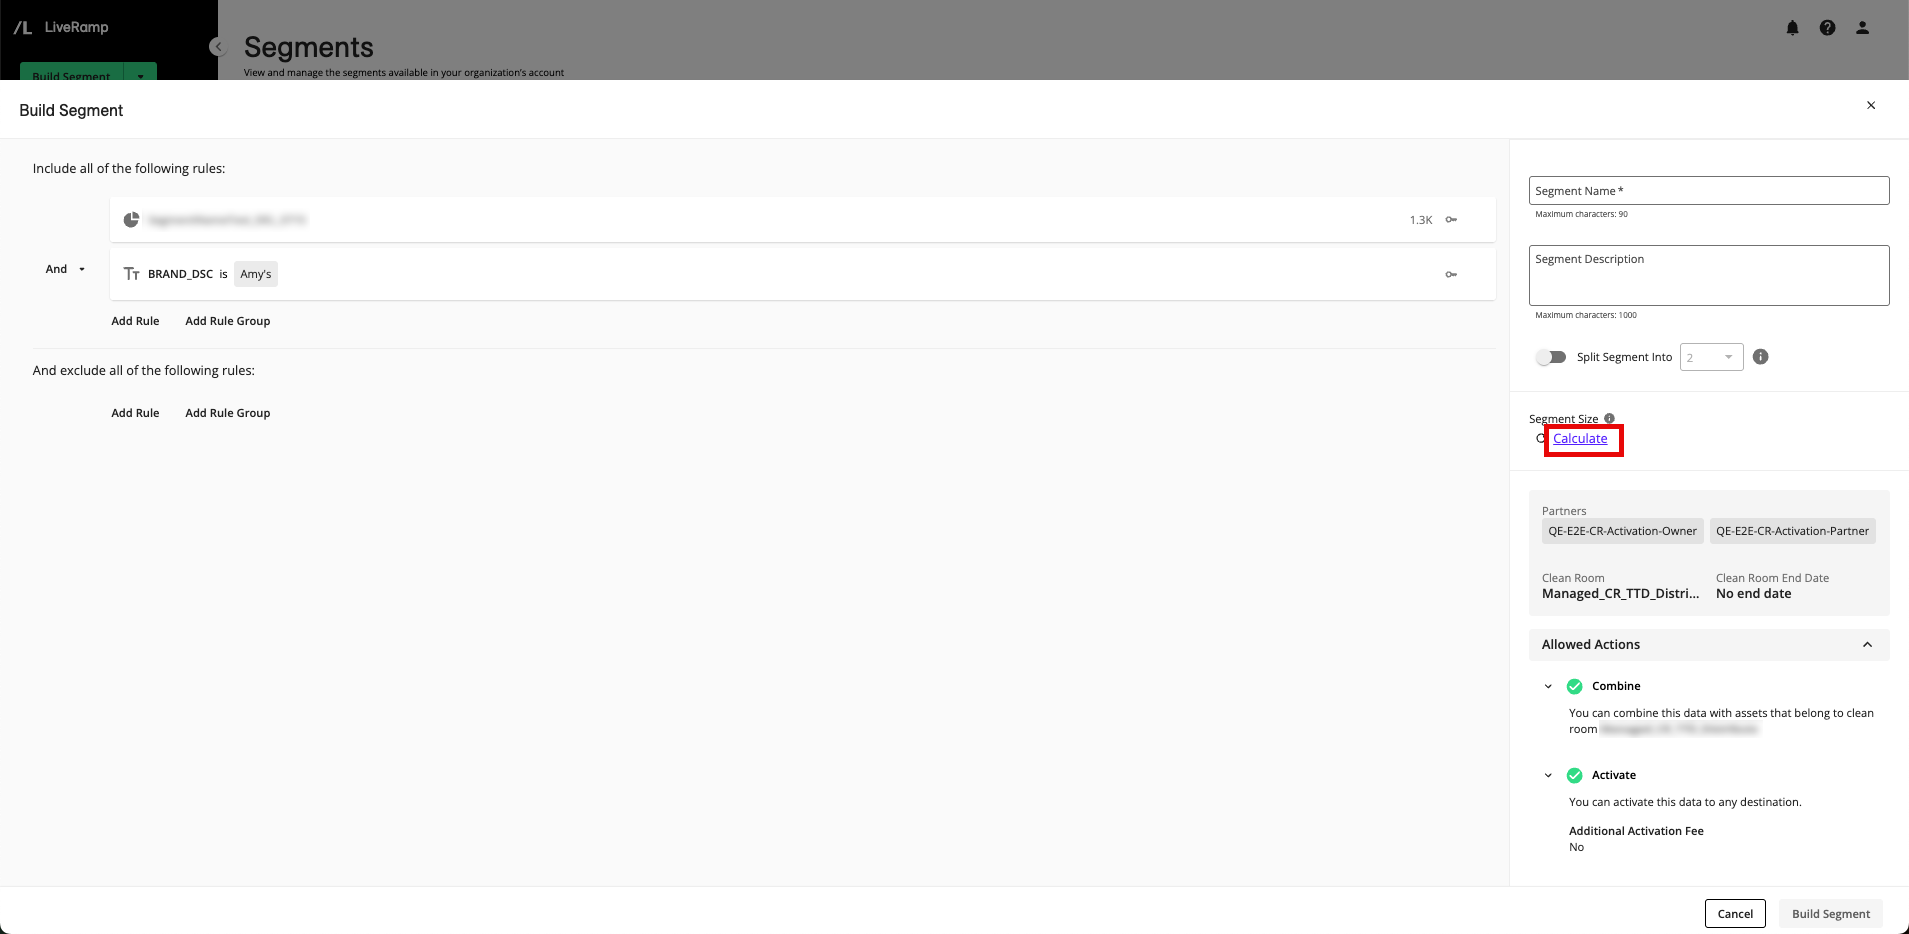
To see the number of RampIDs in the current version of the segment, click the "Calculate" text.
Note
Any incomplete filter rules will be removed to perform the calculation.
Segment size cannot be calculated during building for segments that contain Data Marketplace data.
If all of the data is from one dataset, the size will be displayed in terms of the number of deduplicated segment members (rows).
Each time the filter rules are changed, you will have to click the "Calculate" text again to see the updated segment size.
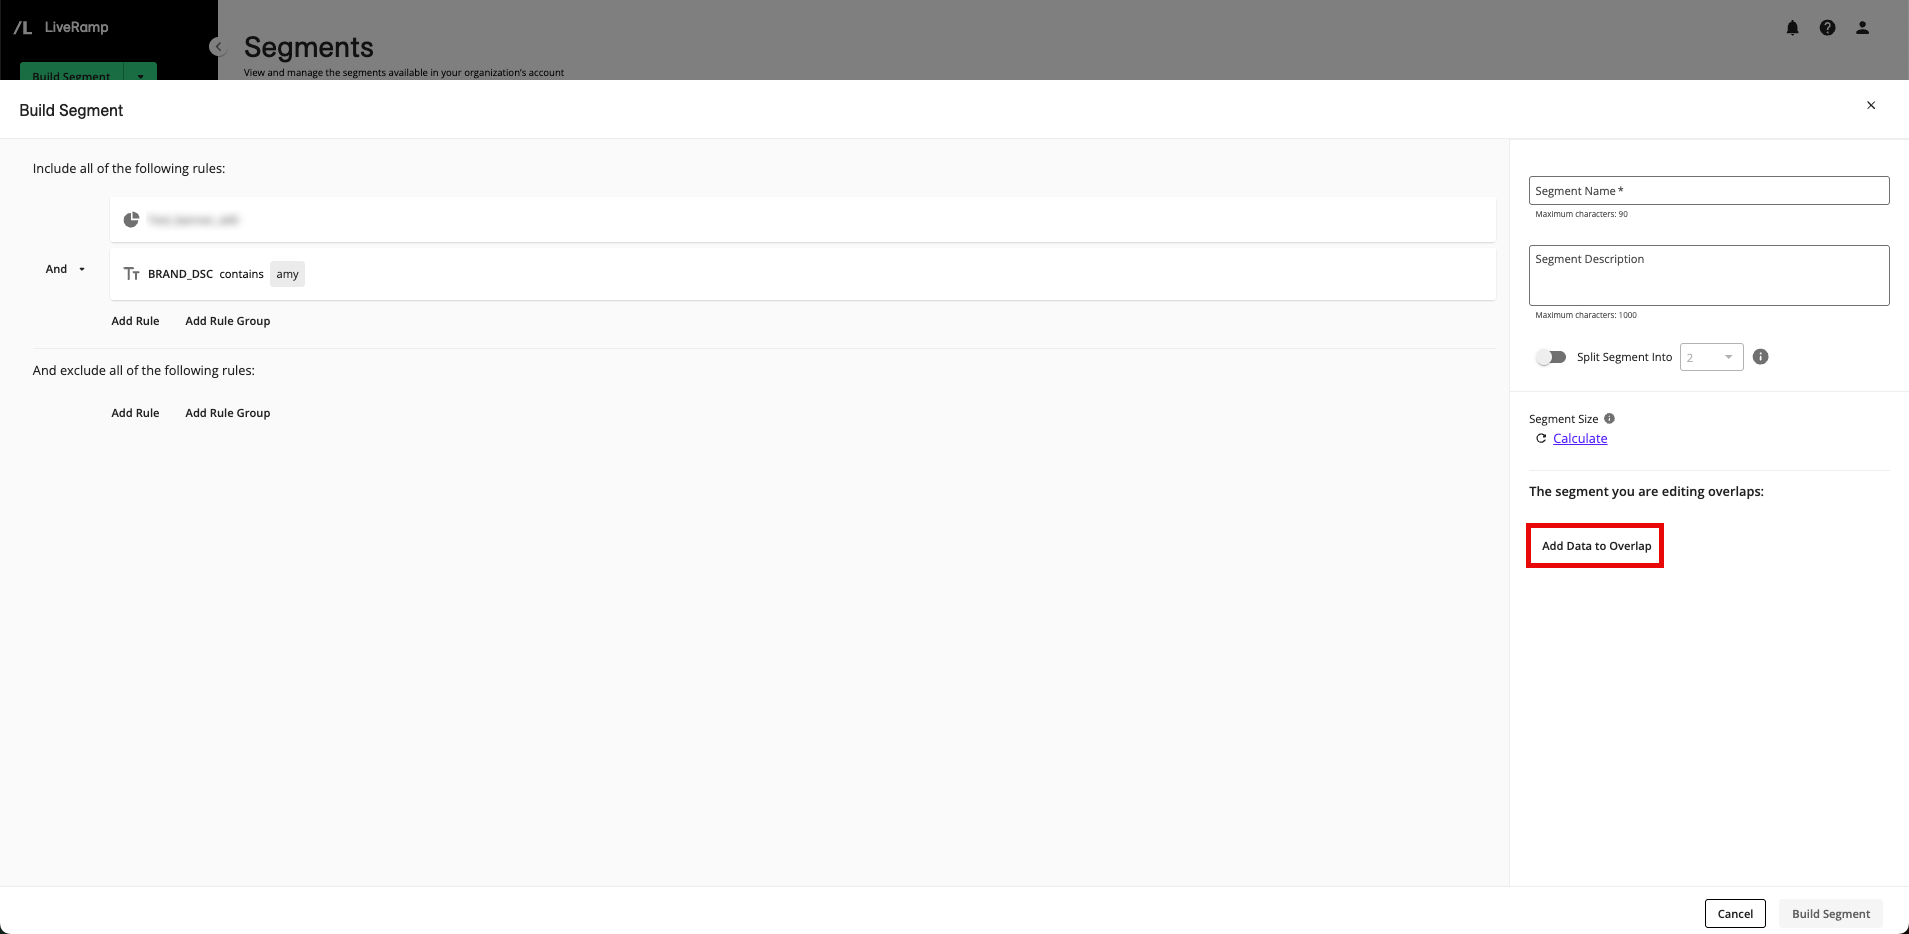
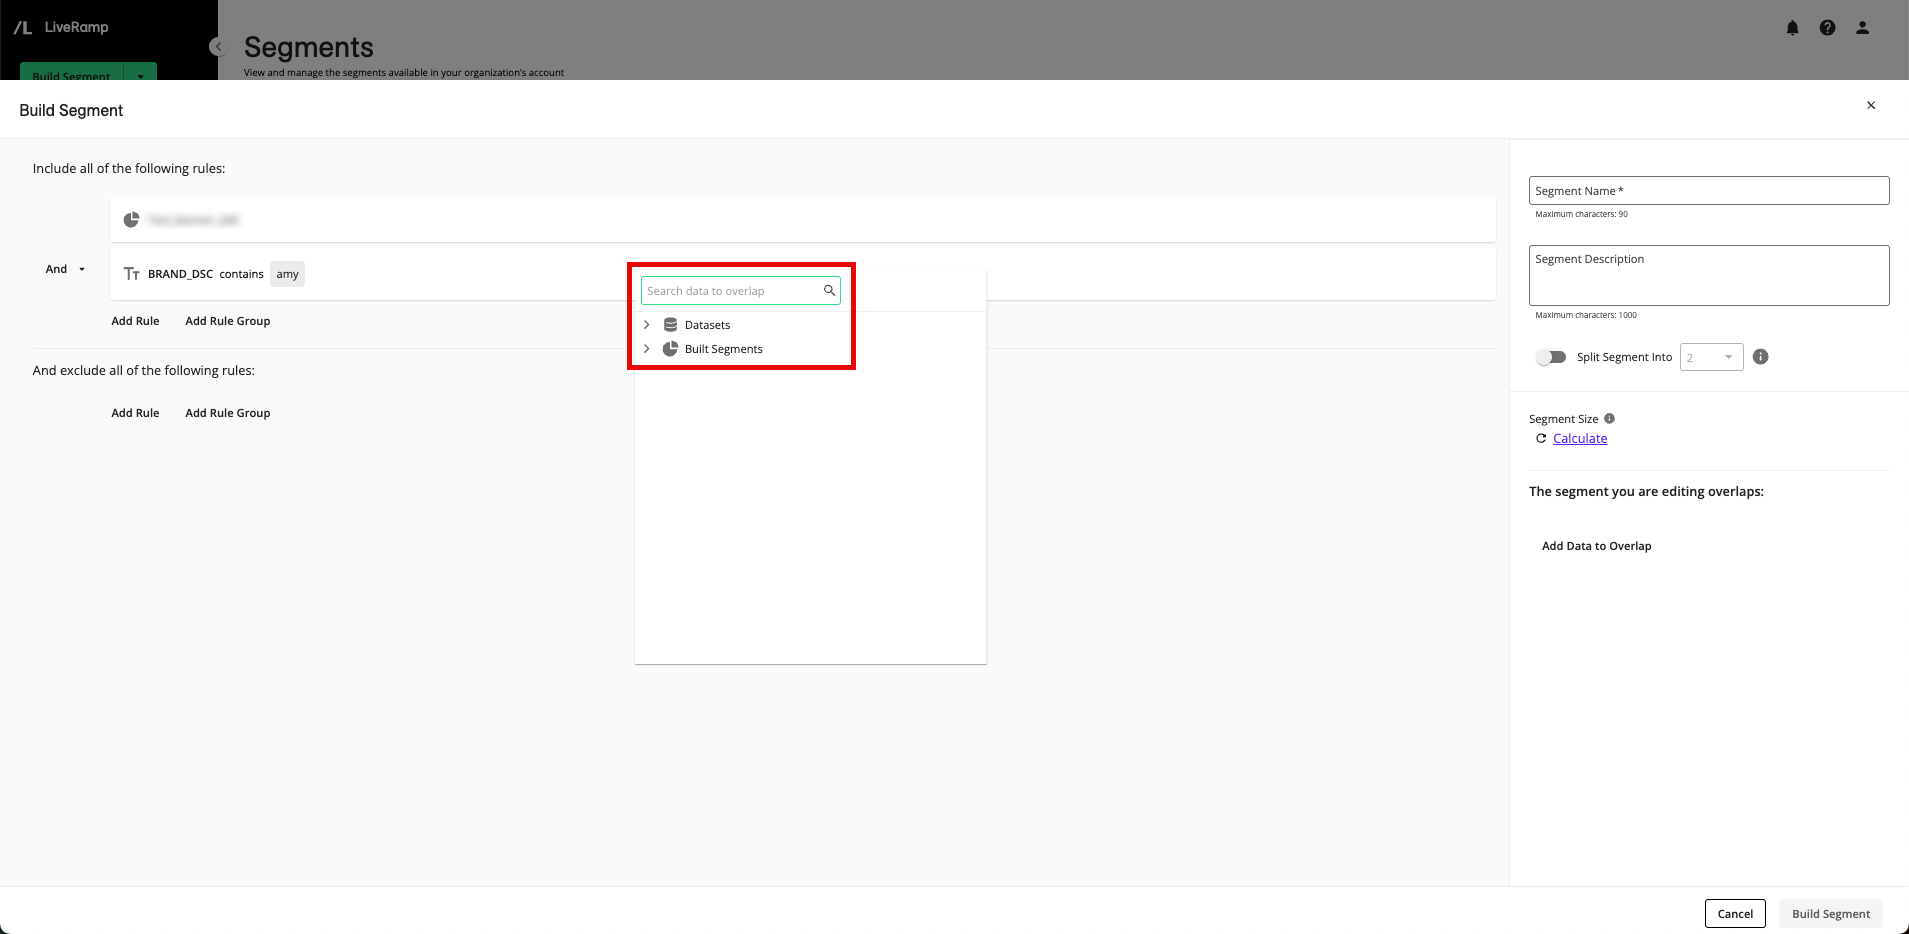
To view the overlap between the current segment and other data assets in your account, click and select the desired asset to overlap (for more information, see "Overlap Data Assets").
Note
You can only view overlaps when building a segment from your first-party data assets.
You can only select your first-party segments and tables that are not in an error or pending status. You cannot select a user-defined function, a segment, or a table that is in an error or pending status to perform an overlap.
If you modify the current segment, you will need to click the "Calculate" text again to see the updated overlaps.
To include additional filter rules or rule groups, perform one of the steps below (in either the area to include or the area to exclude) and then populate the appropriate fields:
Note
If your first rule contained a Clean Room data asset, you can only select additional assets that are contained in the same dataset as your initial selection.
If your first rule contained a Data Marketplace segment, you can only select additional Data Marketplace segments from the same data seller as your initial selection.
You can use data assets from up to three offline datasets, whether those datasets are your first-party data or Data Marketplace data.
If you initially added an individual filter rule, you can create a filter rule group using that first filter rule by clicking the More Options menu (the three dots) that appears to the right of the rule when you hover over the rule and then clicking Turn Into a Rule Group.
If you initially added a filter rule group, populate the additional filter rules.
Note
If the first rule uses a table attribute, all rules in the group must use attributes from the same table.
If the first rule uses a built segment, all rules in the group must use built segments (no mixing with table attributes inside that group).
To create an additional filter rule or rule group at the same level as the first filter rule, click either or outside of the first filter rule box.
To create a filter rule group nested within the first filter rule, click inside the first filter rule box.
Note
If your first rule contained a Clean Room data asset, you can only select additional assets that are contained in the same dataset as your initial selection.
You can use data assets from up to three offline datasets, whether those datasets are your first-party data or Data Marketplace data.
For more information on managing filters and filter rule groups, see "Managing Filters and Filter Rule Groups".
If necessary, click the caret next to a conjunction (an "And" or an "Or") to adjust that conjunction to create the desired segment statement.
Note
The conjunction you set at a particular level will be the same for all of the conjunctions at that level.
In the Segment Name field, enter a unique name for the segment.
Note
Segment names must start with a letter and can contain letters, numbers, spaces, and underscores. Segment names cannot contain special characters, except for commas or >, <, -, _, %, and *.
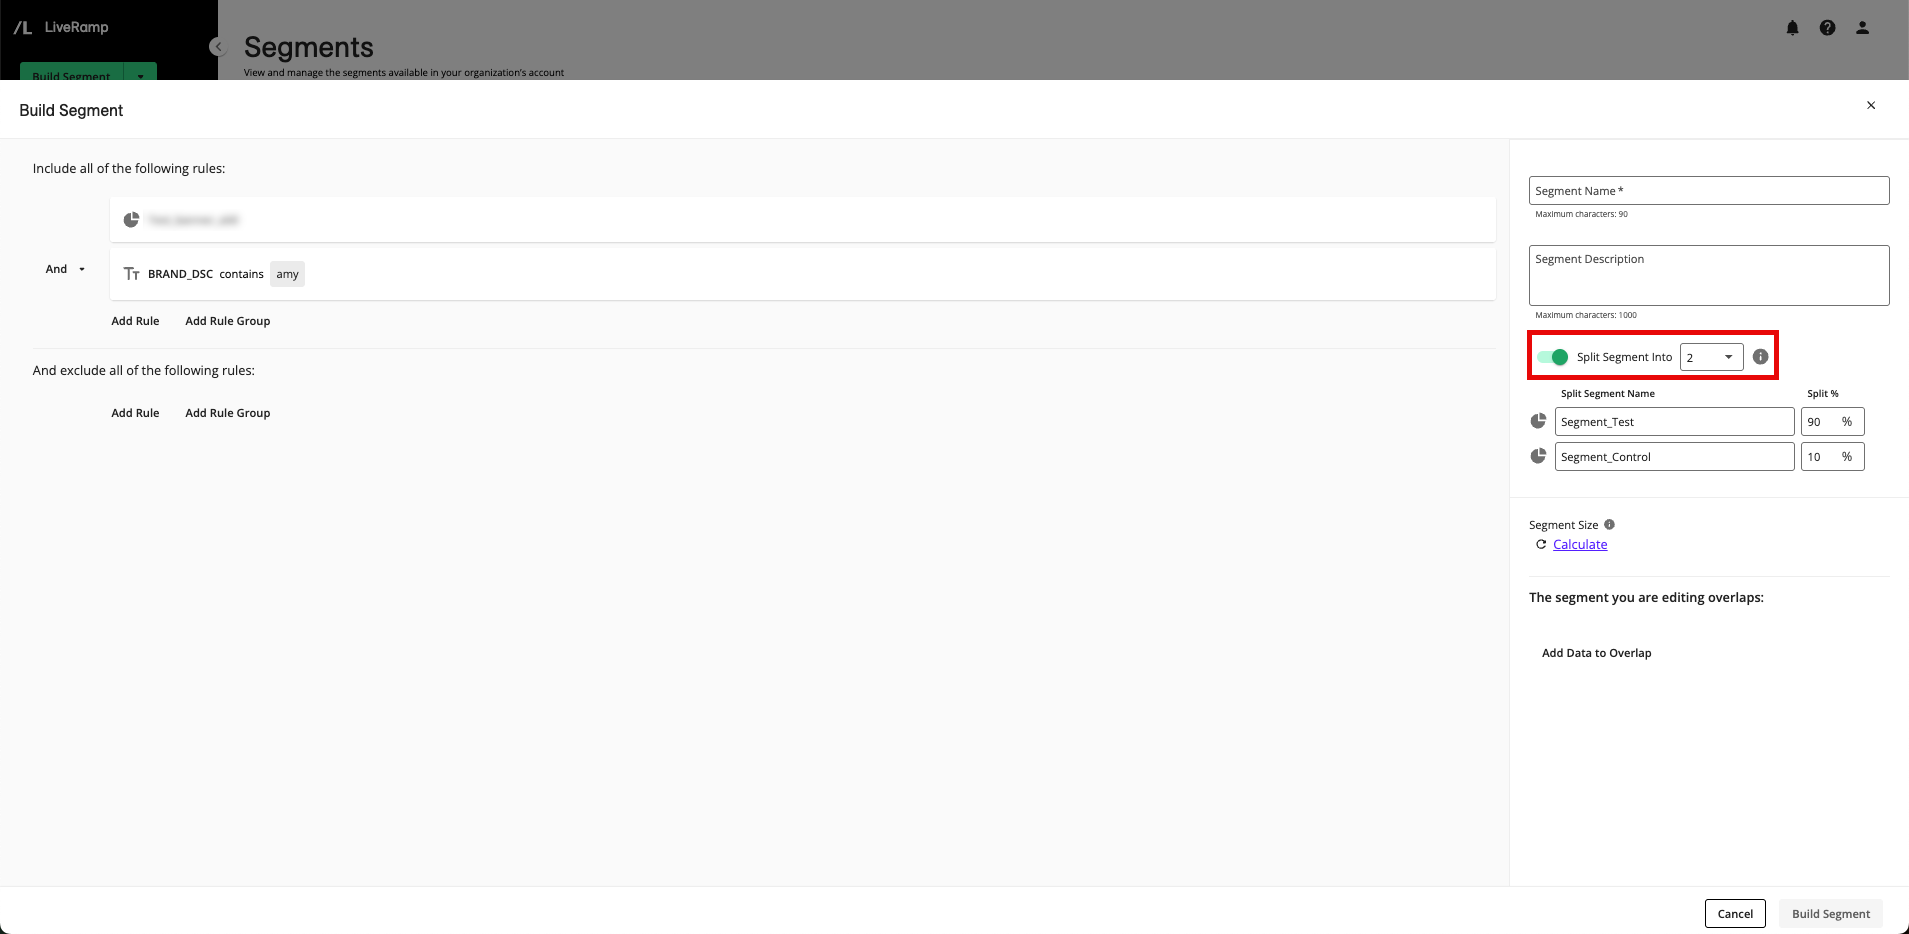
When using the AI-Assisted Segment Builder, you can also request changes to the segment names and percentages with a prompt.
By default, segment names for segments that contain Data Marketplace data start with "LiveRamp Combinations >".
When using the AI-Assisted Segment Builder, you can also request changes to the segment names and percentages with a prompt.
If desired, enter a description in the Segment Description field.
If desired, you can randomly split the segment into test and control segments, based on the percentages you specify, by sliding the Split Segment Into toggle to the right (for more information, see "Split a Segment Into Test and Control Segments").
When you're finished building the segment, click .
Note
If there are any incomplete filter rules (filter rules that were added but haven't been completed), a dialog will appear to confirm that you want to remove the incomplete filter rules before saving.
A success message appears. You can view the segment on the Segments page in the “Built Segments” area. Once the segment's status is "Ready", you can activate it at your desired destinations, depending on the activation permissions for that segment (for more information, see "Distributing Data").
Note
Some segments might not immediately succeed at the segment creation step. Segment creation will be retried several times and will show a status of "Processing" during that time. If the segment fails to create after the attempts to retry creating it, it will show a status of "failed" once the retries have completed. If the segment fails to create, contact your LiveRamp account representative.
If the segment consists entirely of your organization's first-party data, you can edit the segment rules once the segment has a status of "Ready" or "Creation Failed". For more information, see "Edit a Segment".