Upload a File via Connect
Files 500 MB and smaller can be uploaded via Connect.
Note
Files larger than 500MB and files for Measurement Enablement workflows cannot be uploaded through Connect. See "Getting Your Data Into LiveRamp" for more information on other methods for these types of files.
If the audience you're uploading to has more than one auto import configuration ("AIC"), uploading via Connect might result in your file not being associated with the correct audience. In this situation, uploading via one of our other methods is recommended. If you do upload a file via Connect to an audience that has more than one AIC, you might need to create a support case to have the file associated with the correct AIC and audience.
To upload Simple Onboard files via Connect, follow the instructions in "Simple Onboard Workflow Steps".
Make sure that the file is formatted correctly and not password-protected.
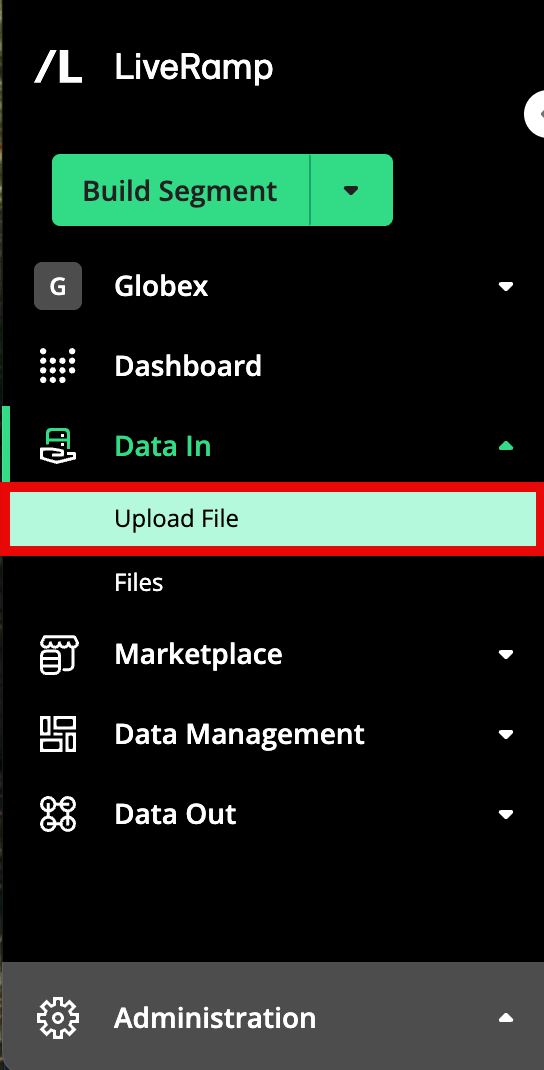
From the Quick Actions menu, select Upload File to navigate to the Upload Files page.
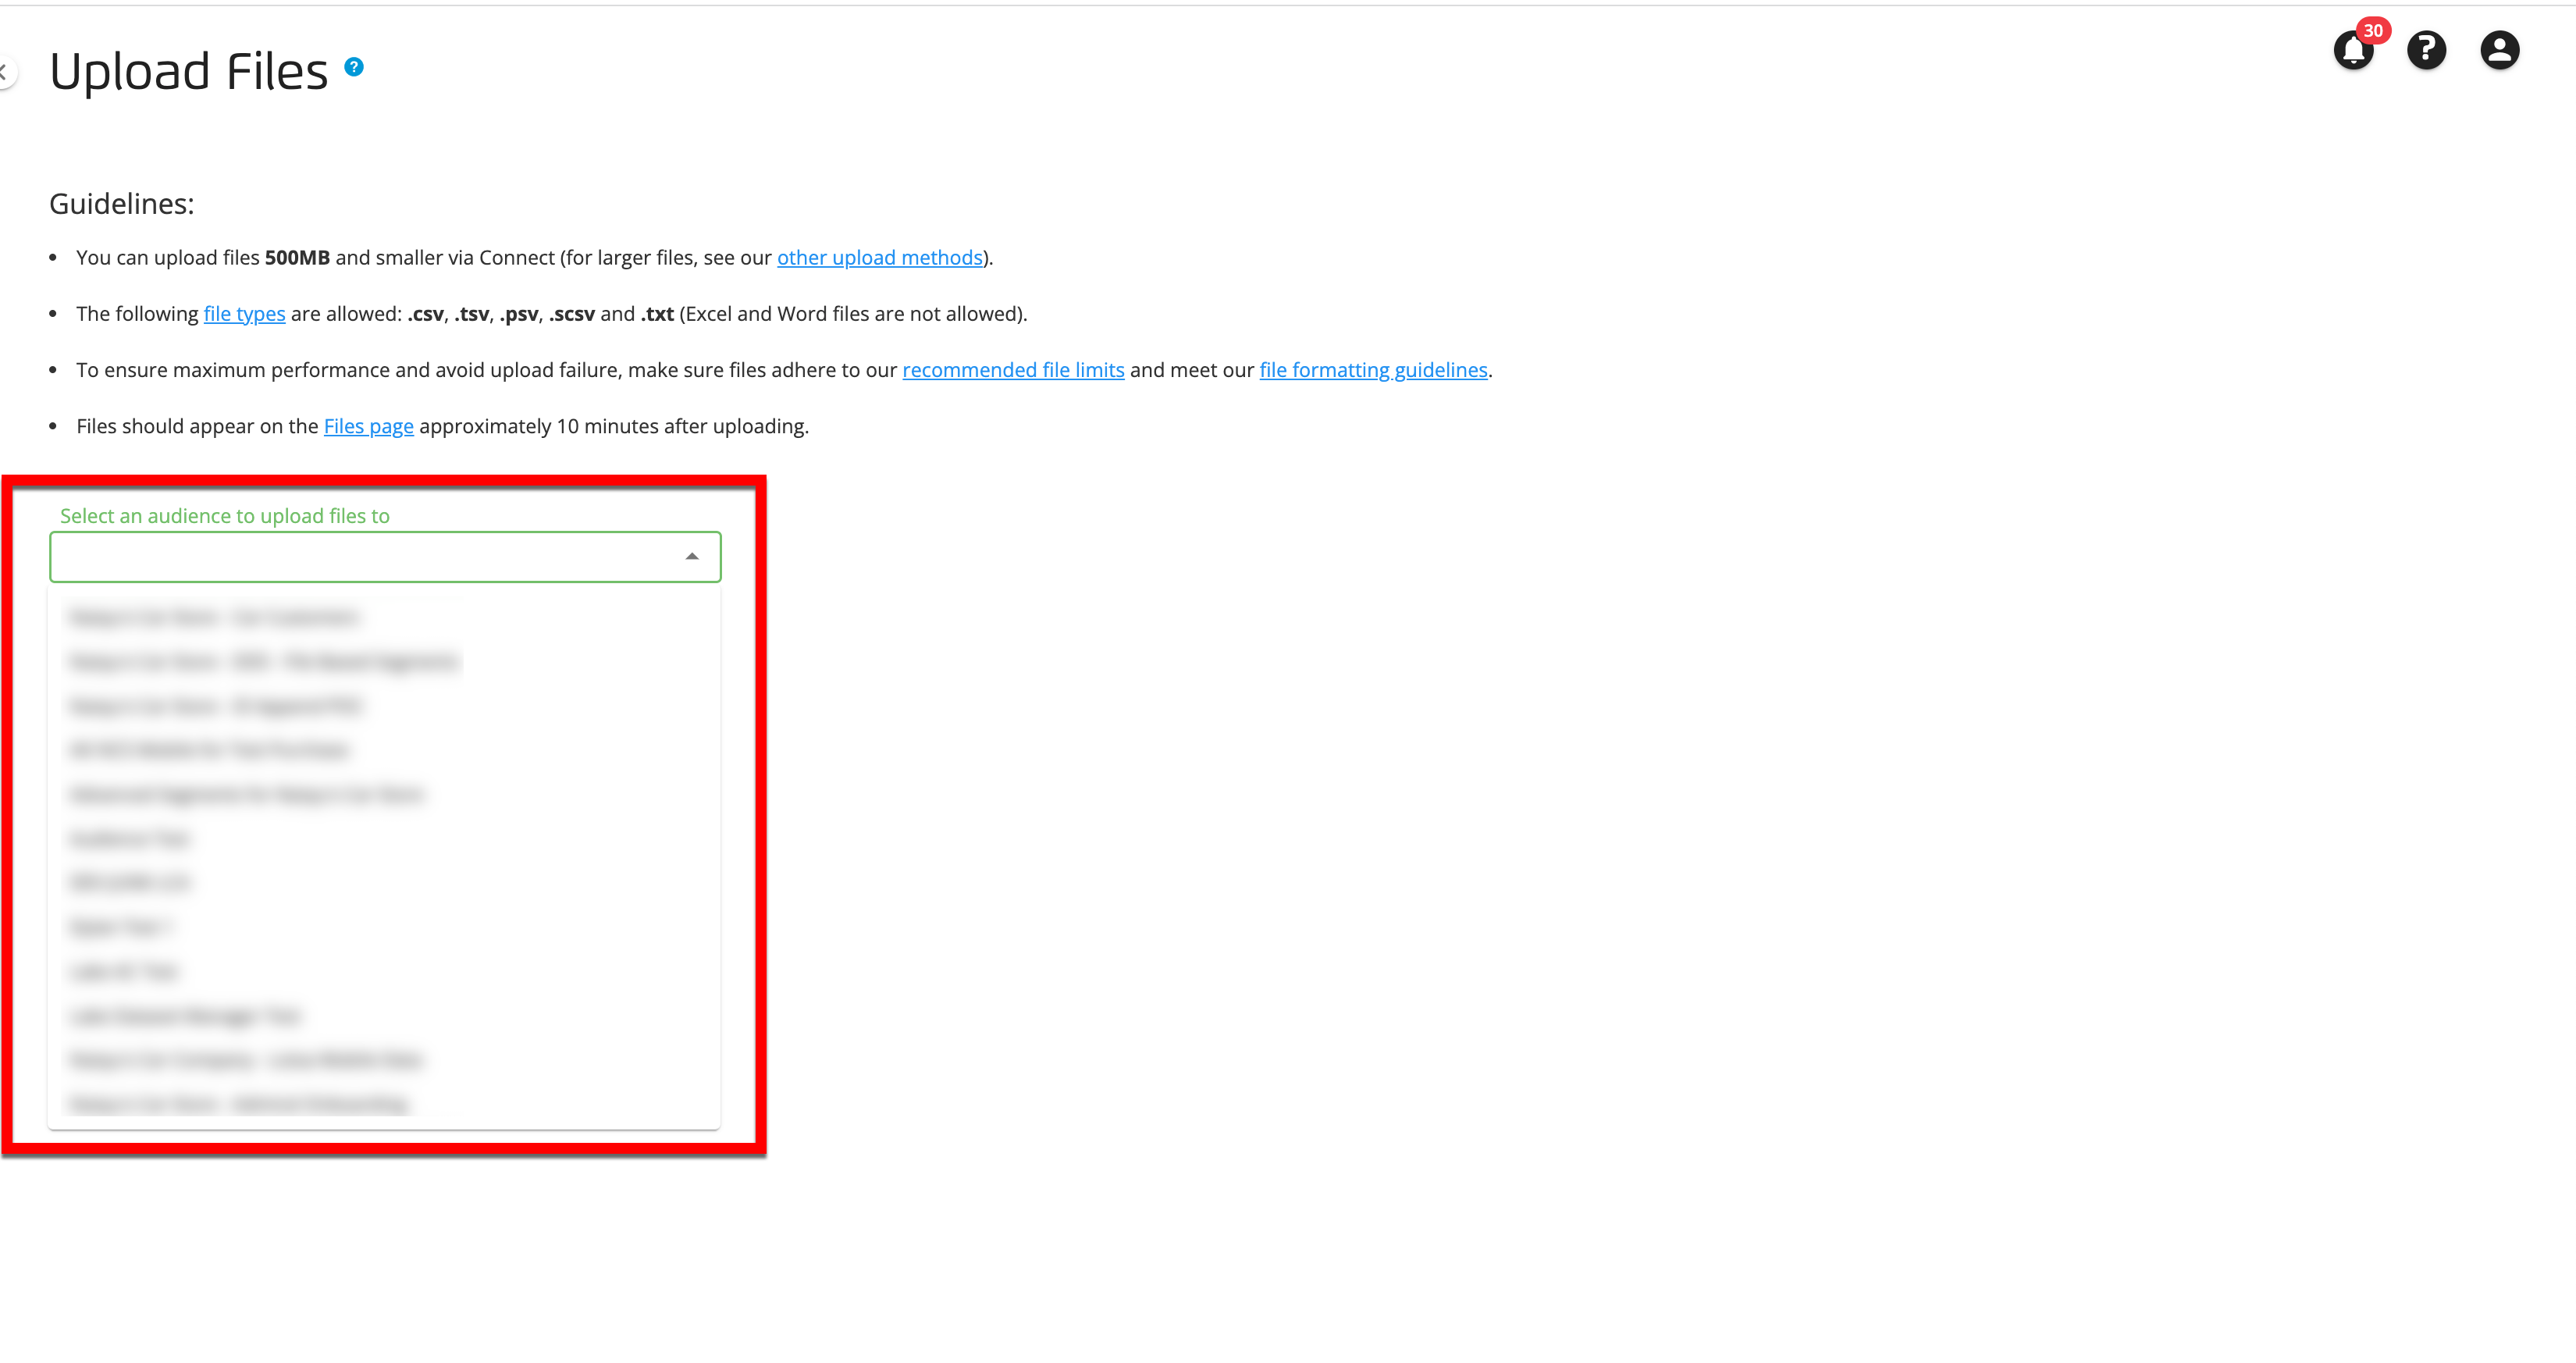
Select the audience the file should be uploaded to from the Audience dropdown menu (for more information, see "Determining the Audience to Upload Data To").
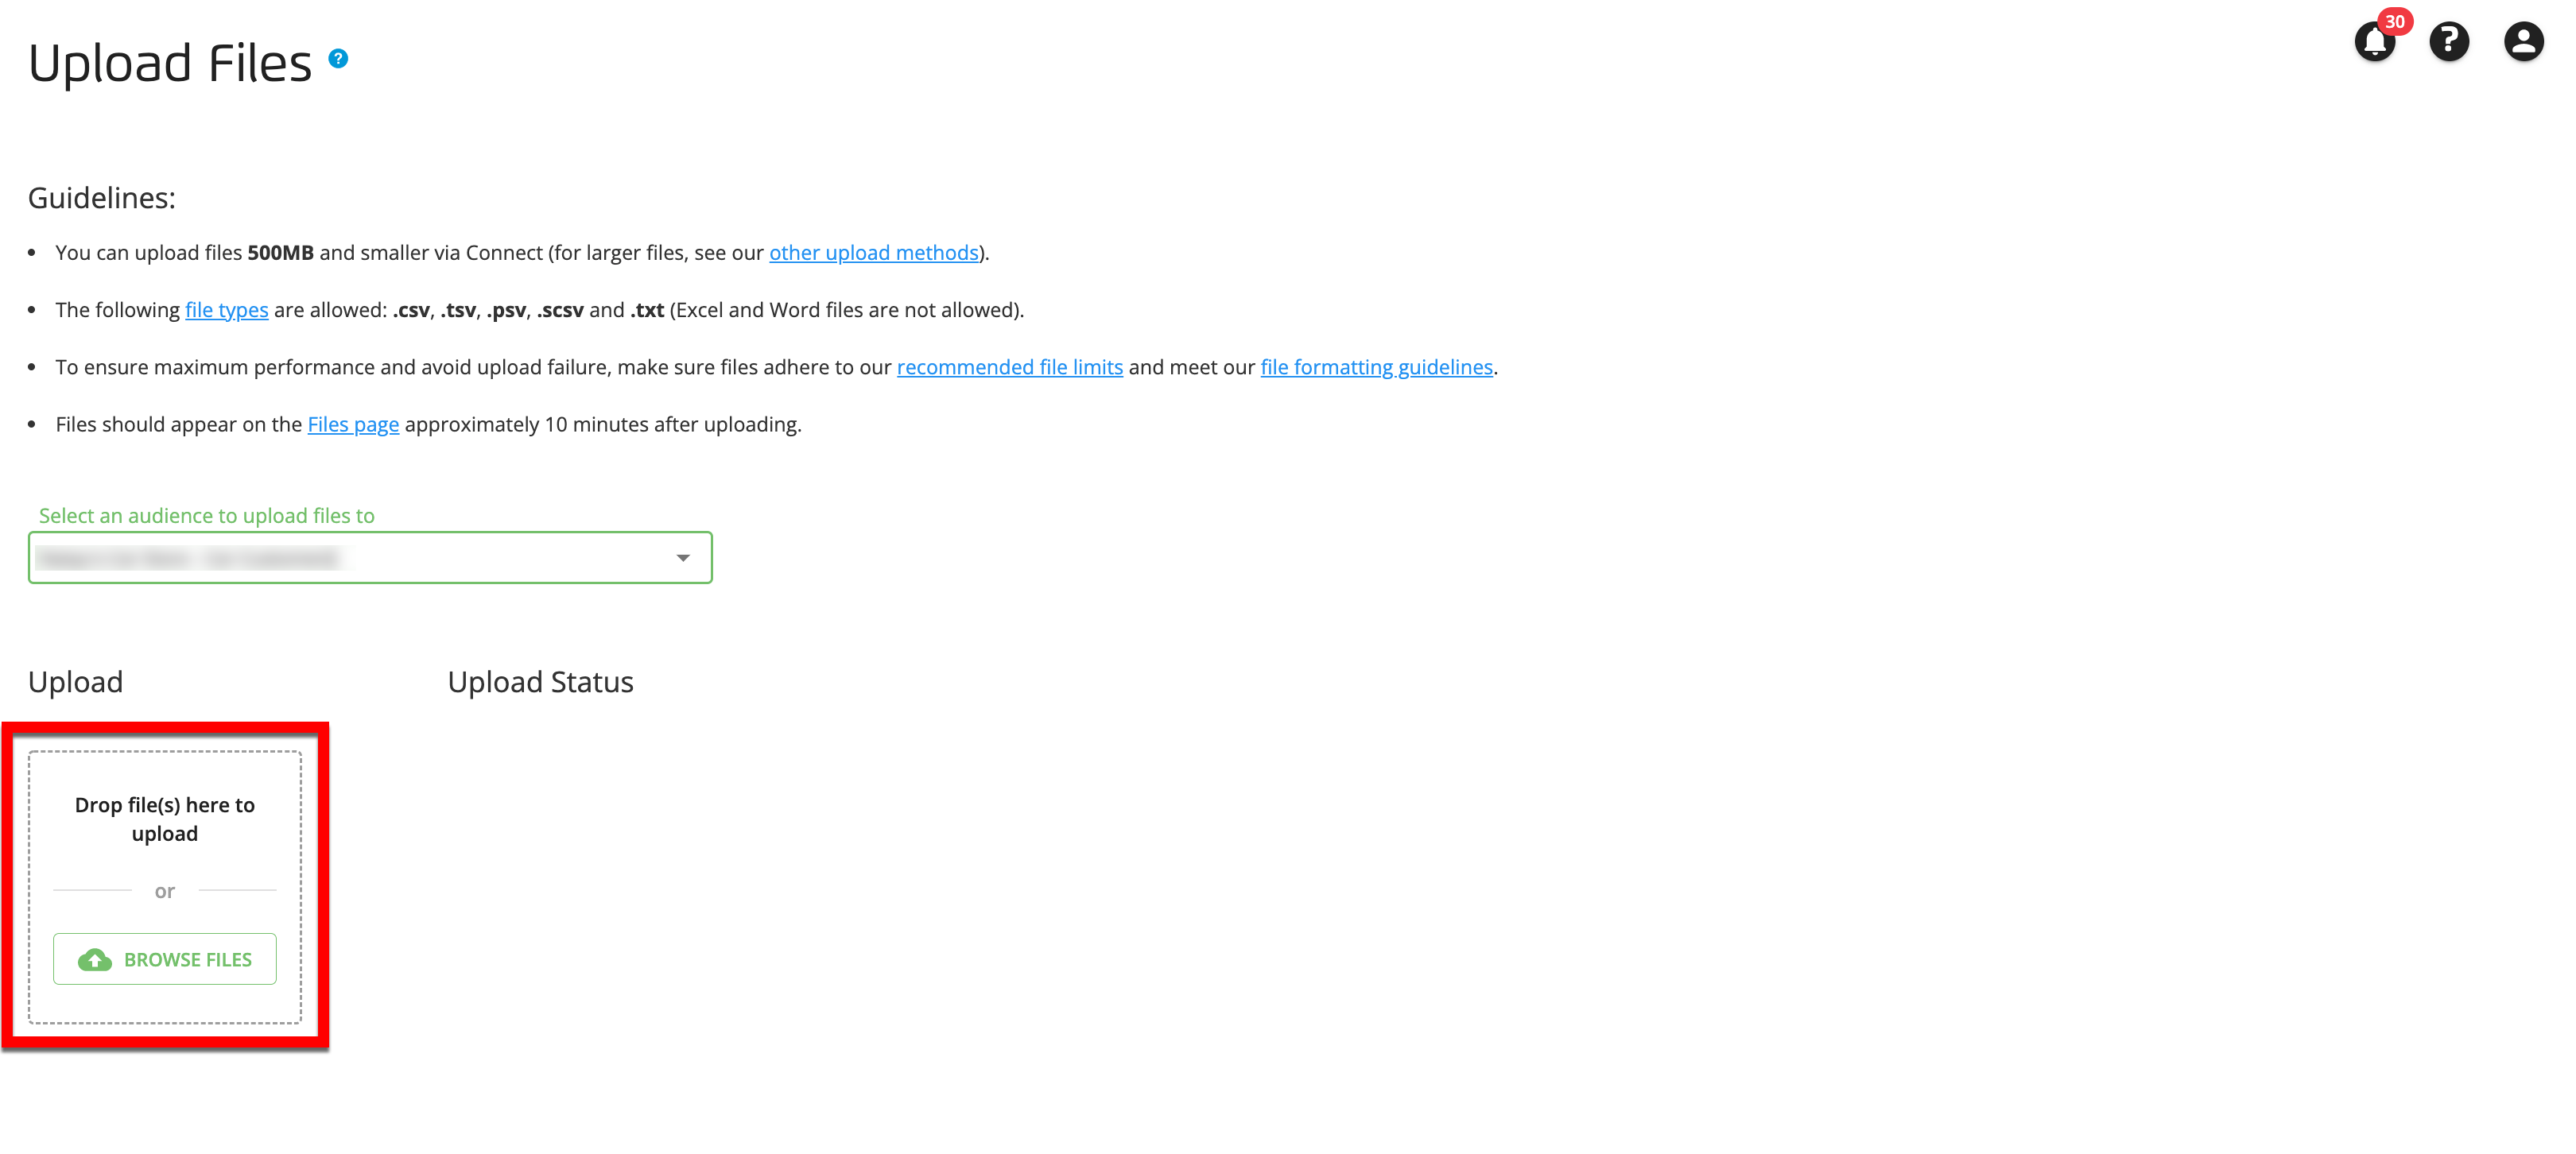
Either drag the desired file into the upload area, or click BROWSE FILES and then choose the file to upload.
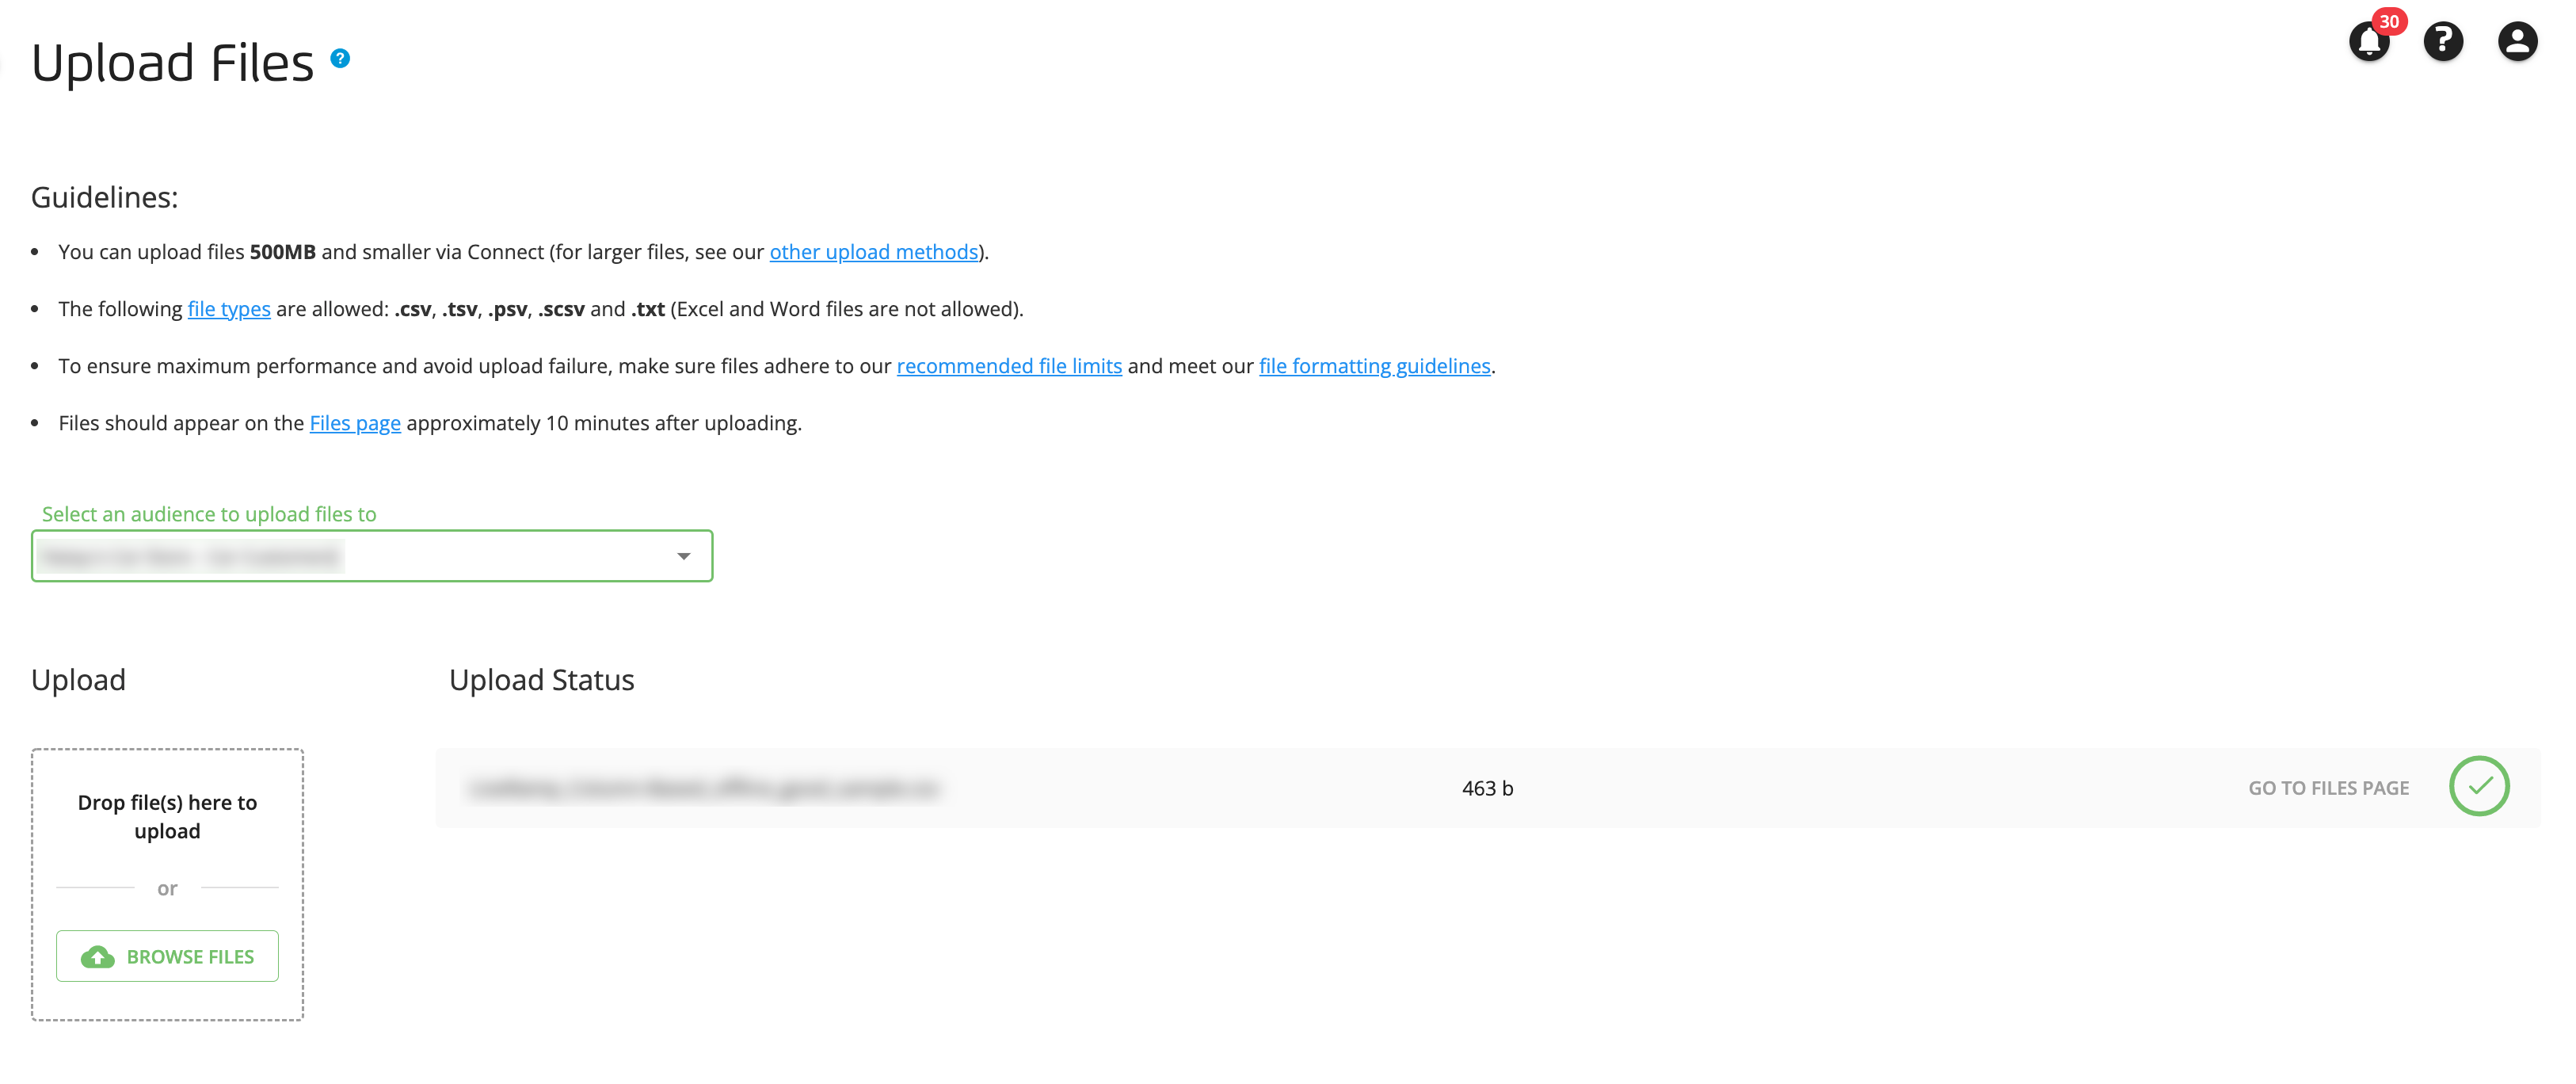
The upload process starts automatically. A confirmation message displays:
Note
Some file upload errors will result in an error message during upload. However, other errors might occur later in processing and will result in an email notification and/or notification in Connect, depending on your notification settings (see "Viewing and Managing Notifications" for information on viewing or adjusting your settings).
Repeat the previous step to upload any additional files.
Tip
Next Steps
For offline (PII-based) data, if this is the first file you're uploading to this audience, create a support case so the support team can make sure everything ingests correctly. See 'Considerations When Uploading the First File to an Audience" for more information.
Within about 20 minutes after uploading, you can check the ingestion status of your uploaded files on the Files page, either by clicking the "GO TO FILES PAGE" link or by selecting Data In → Files in the navigation menu. For more information on the ingestion process for Activation workflow files, see "Overview of the File Ingestion Process for Activation Workflow Files".
Once your data has been ingested (usually within 1-3 days), you can manage it in Connect and distribute it to your desired destinations.