Managing OAuth Connections
Some of our destinations use OAuth authorization for security. Before data can be distributed to an OAuth destination, a validation must be performed to confirm that the correct permission level exists for the user at that destination platform.
Because of this, you can only activate a destination account for an OAuth destination if you have the appropriate permission level to perform OAuth authorization at that destination.
Connect allows you to create a destination-specific authorization "connection" that you can reuse for multiple destination accounts.
Note
A connection can only be created by a user with the appropriate permission level at that destination.
If your login credentials at the platform change (such as your email address changes), you will need to reauthenticate your connection with your new credentials.
For security reasons, only the user who created the connection (the "connection owner") can reuse the connection.
The Connections tab of the Company Settings page lets you view and manage your OAuth connections.
Destinations That Require Authorization Using OAuth
Currently, the following destinations require authorization using OAuth before any data can be distributed to the destination account:
LinkedIn (see "Distribute Data To LinkedIn" for more information)
Microsoft (Bing) (see "Distribute Data to Bing" for more information)
Pinterest (see "Distribute Data to Pinterest" for more information)
Snapchat (see "Distribute Data to Snapchat" for more information)
TikTok (see "Distribute Data to TikTok" for more information)
X (see "Distribute Data to X (FKA Twitter)" for more information)
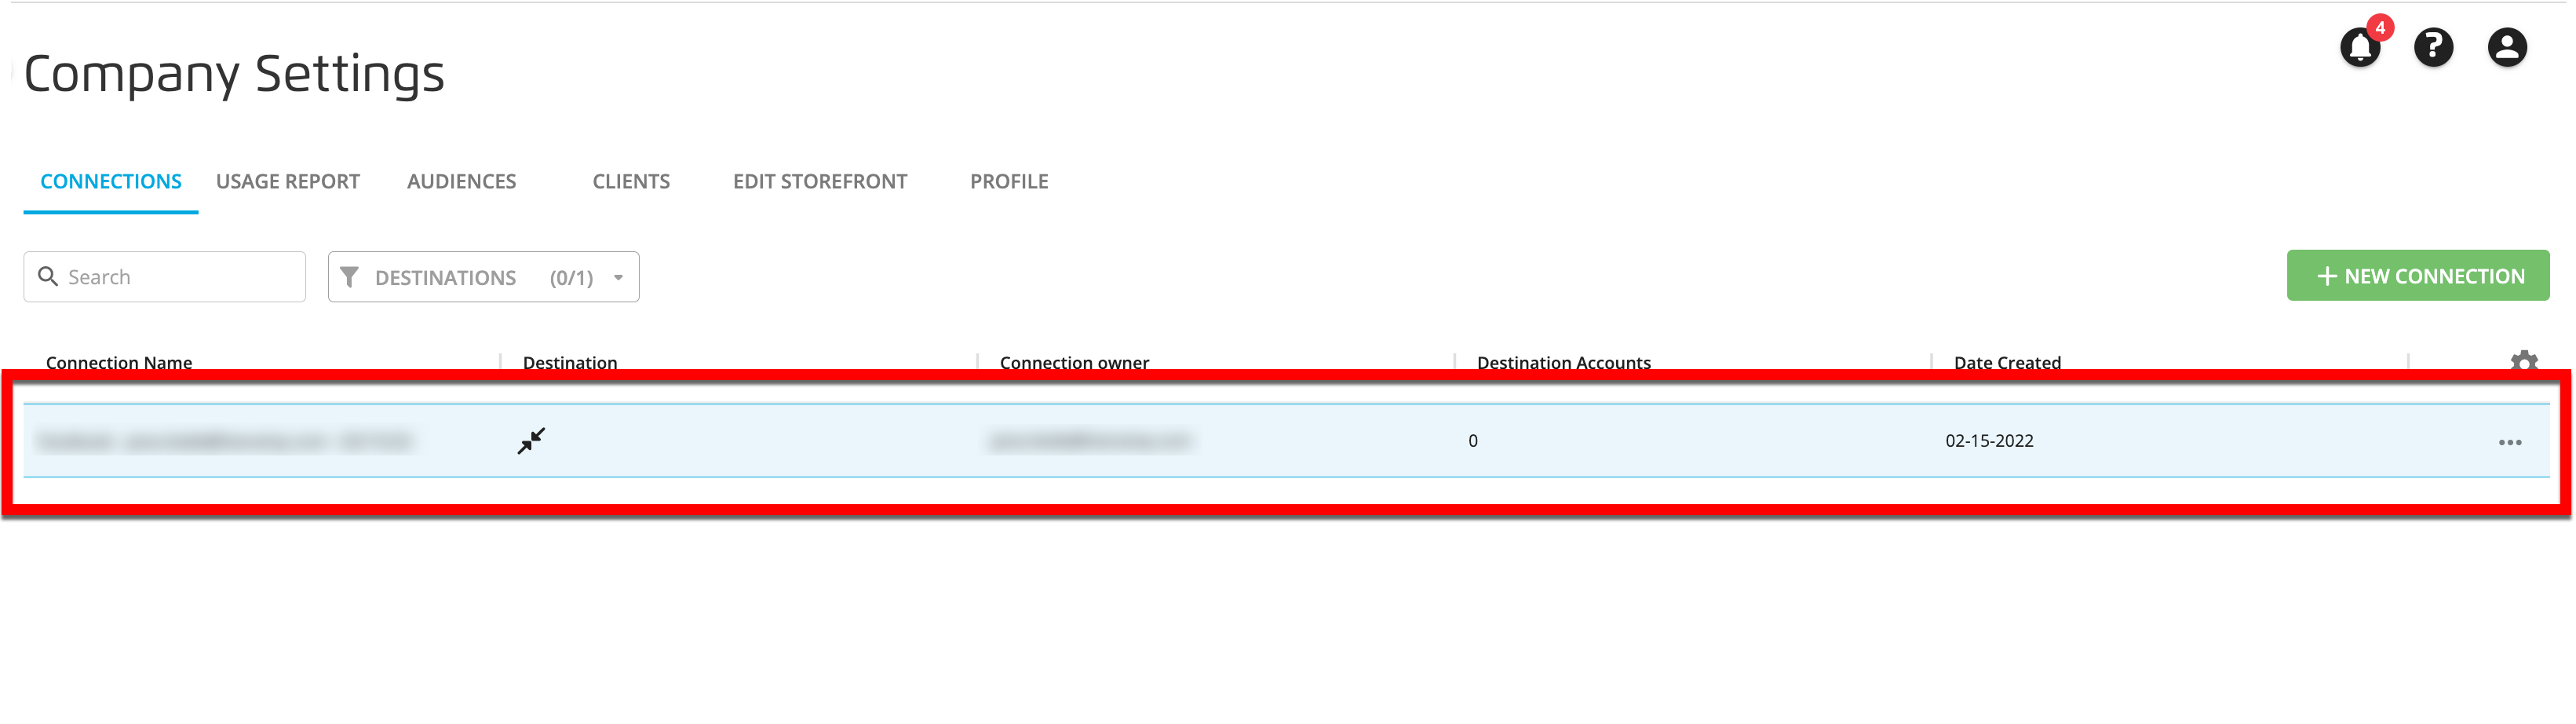
The Connections table on the Connections tab of the Company Settings page lists all of the OAuth connections for your account (in reverse-chronological order based on when they were created), along with basic information on each connection.
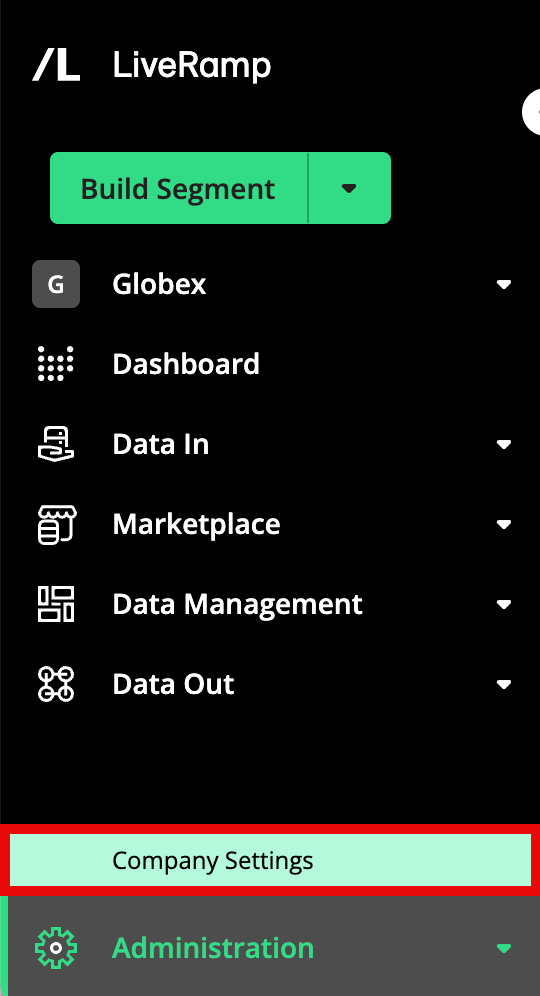
From the navigation menu, select Administration → Company Settings to navigate to the Company Settings page.
Select the Connections tab.

The table displays the following columns:
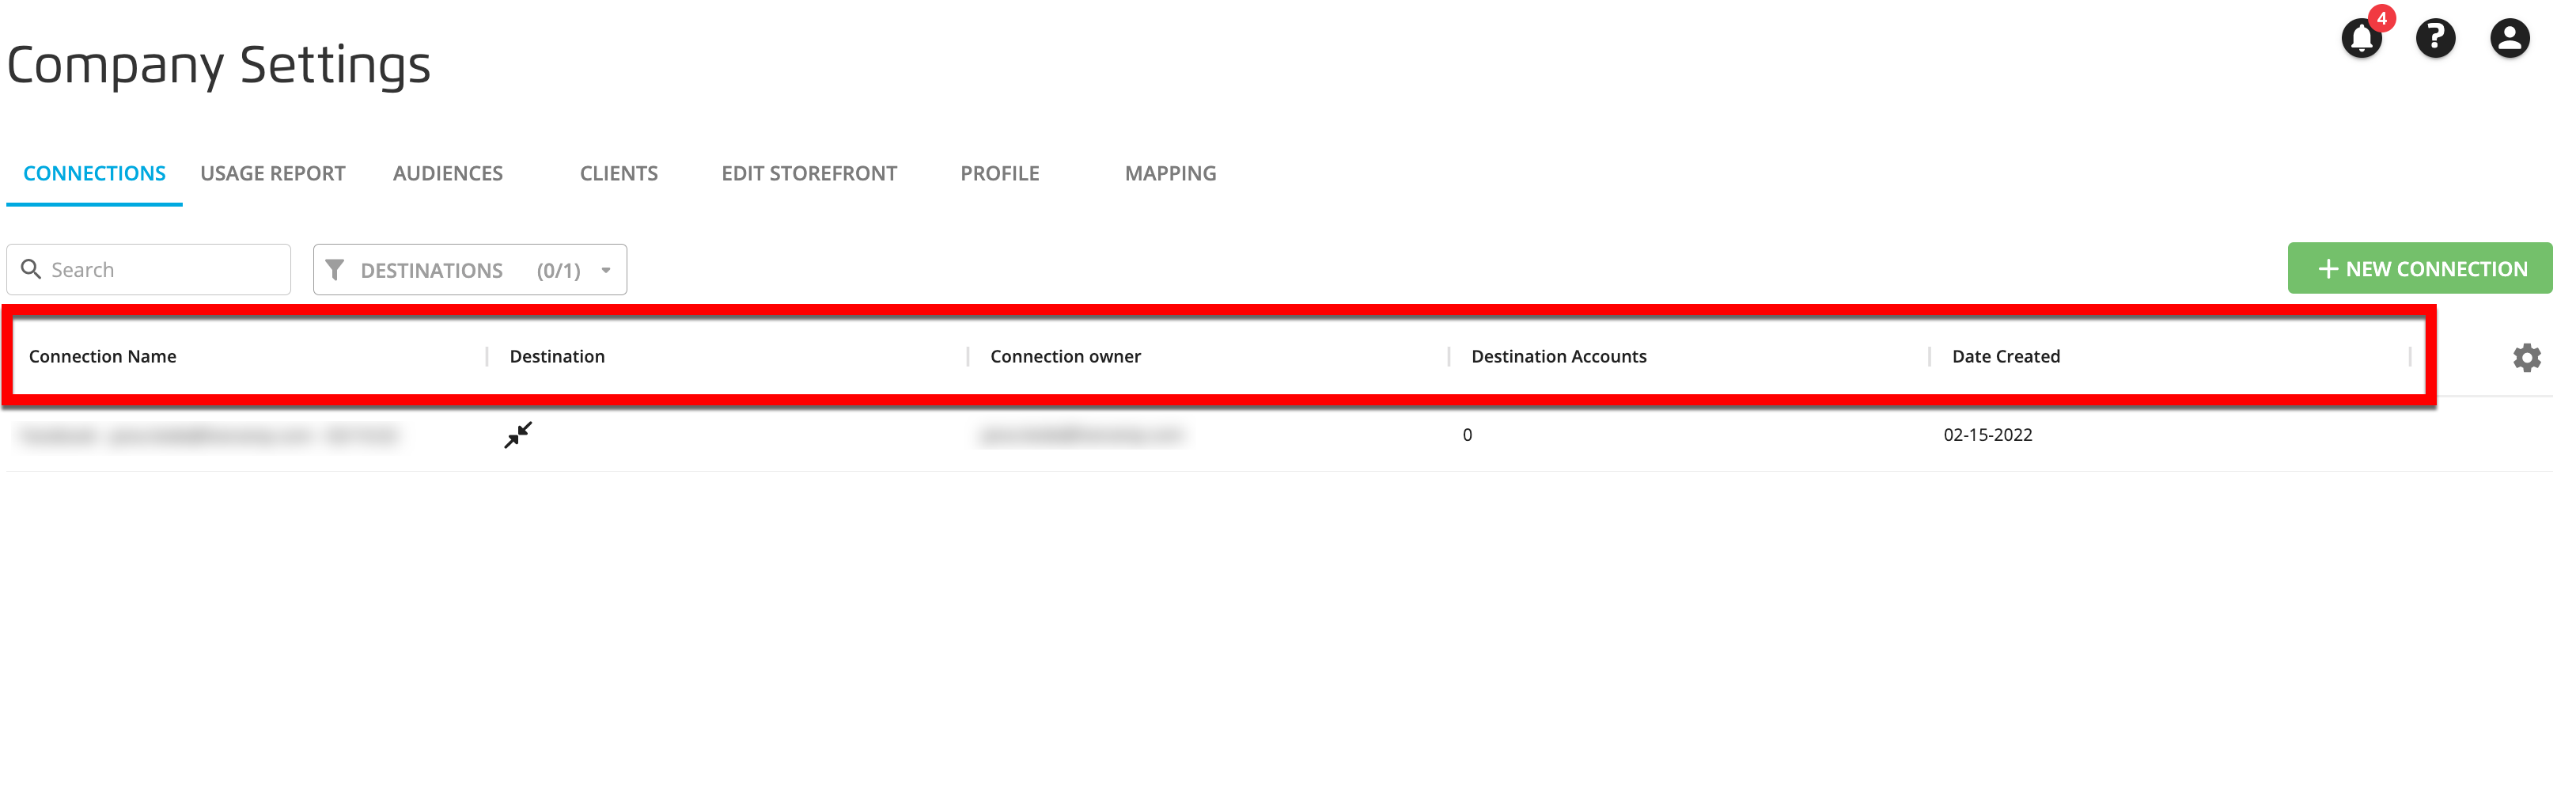
Connection Name: The name of the OAuth connection.
Note
If you are the connection owner, you can edit the connection name.
Destination: The destination that the OAuth connection is for.
Connection Owner: The email address of the person who created the connection.
Destination Accounts: The number of destination accounts that use the connection.
Date Created: The date the connection was created.
Note
If the connection is reauthenticated, this date will not change.
You can sort the table by columns, and adjust the column display and the table density. See "Changing the Table Display" for more information.
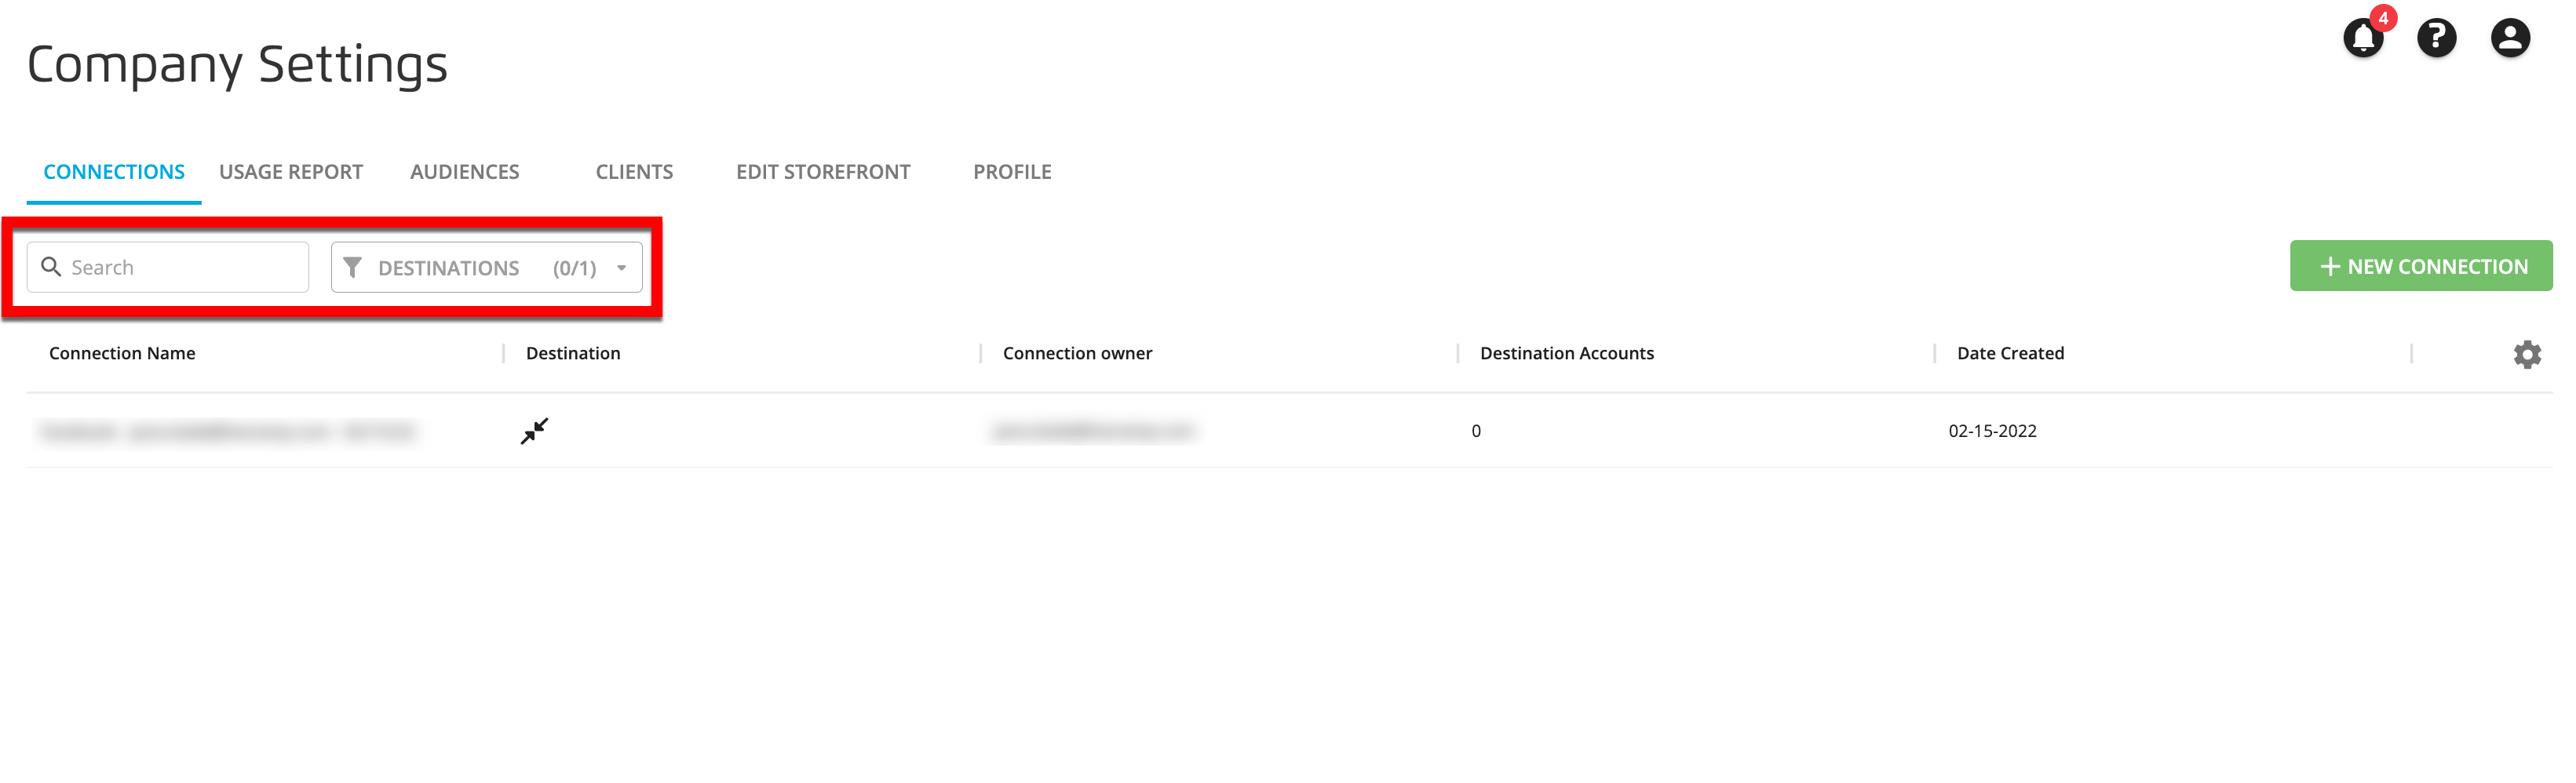
If you have a large number of connections, you can use the Search bar to filter based on connection name or the Destinations dropdown to filter based on destination.
To view more details about a particular connection (or to edit the connection name, if you're the connection owner), click the connection's row to open the details panel.
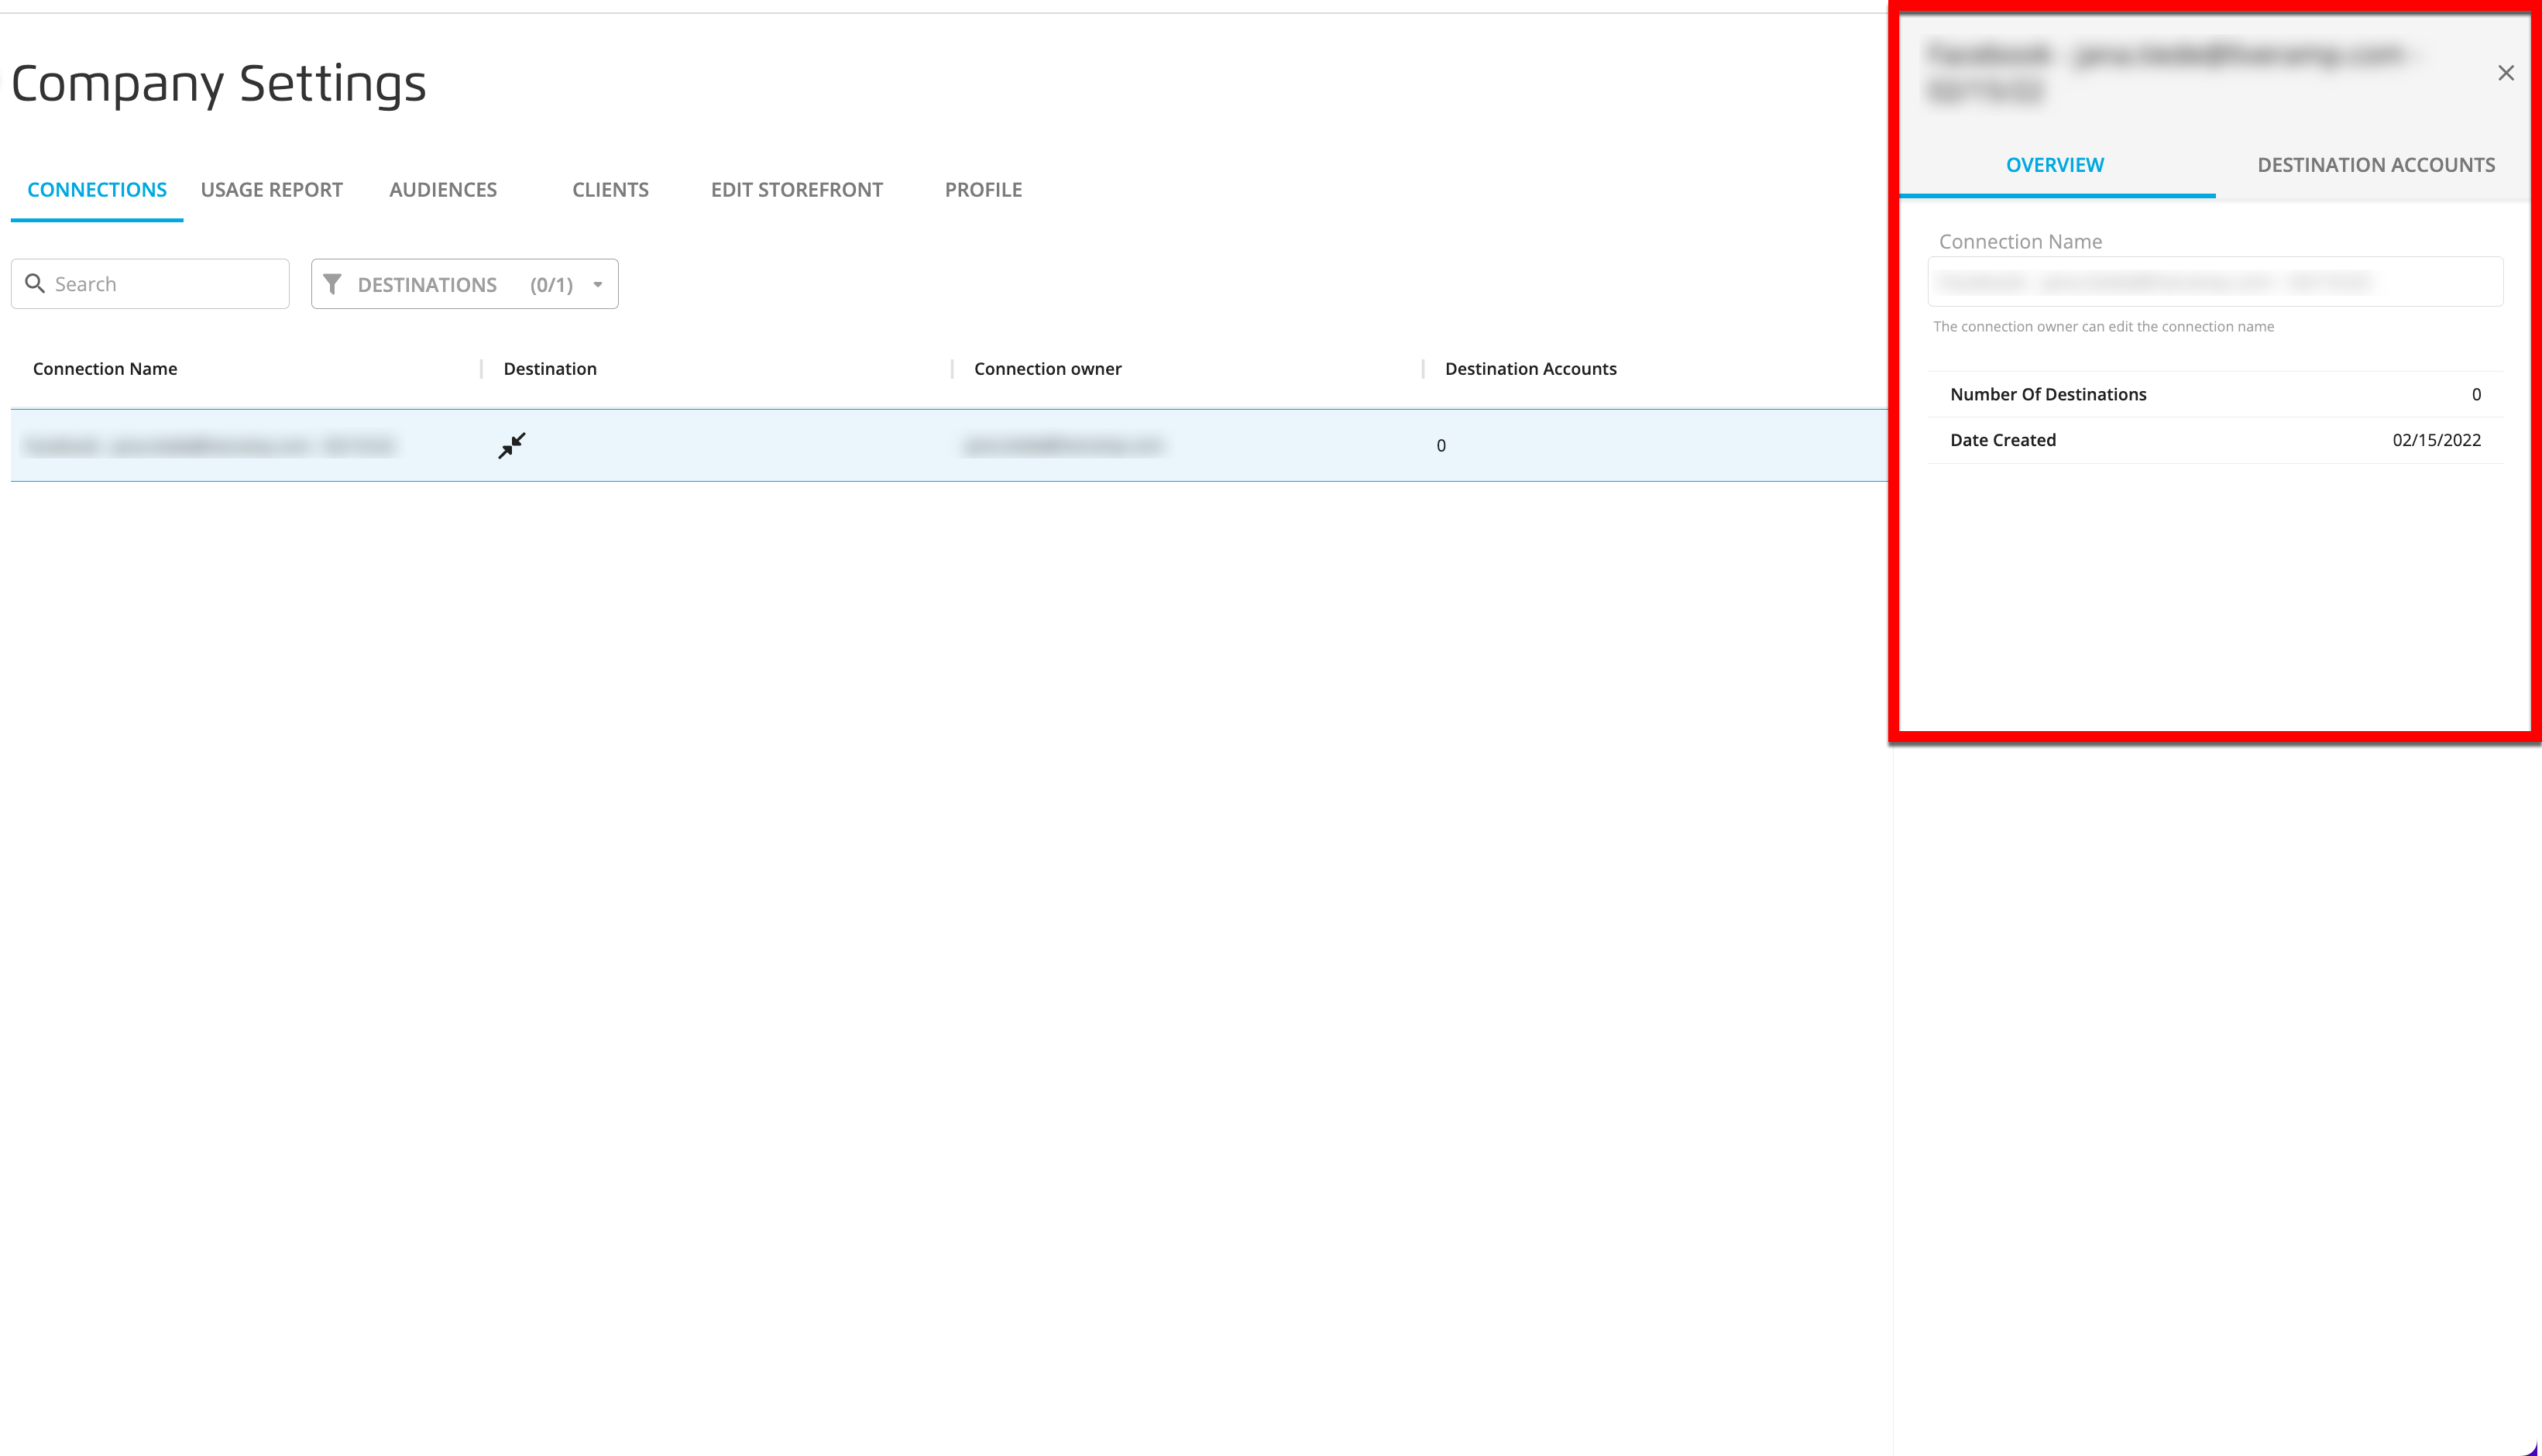
To edit the connection name, edit the Connection Name field in the Overview tab.
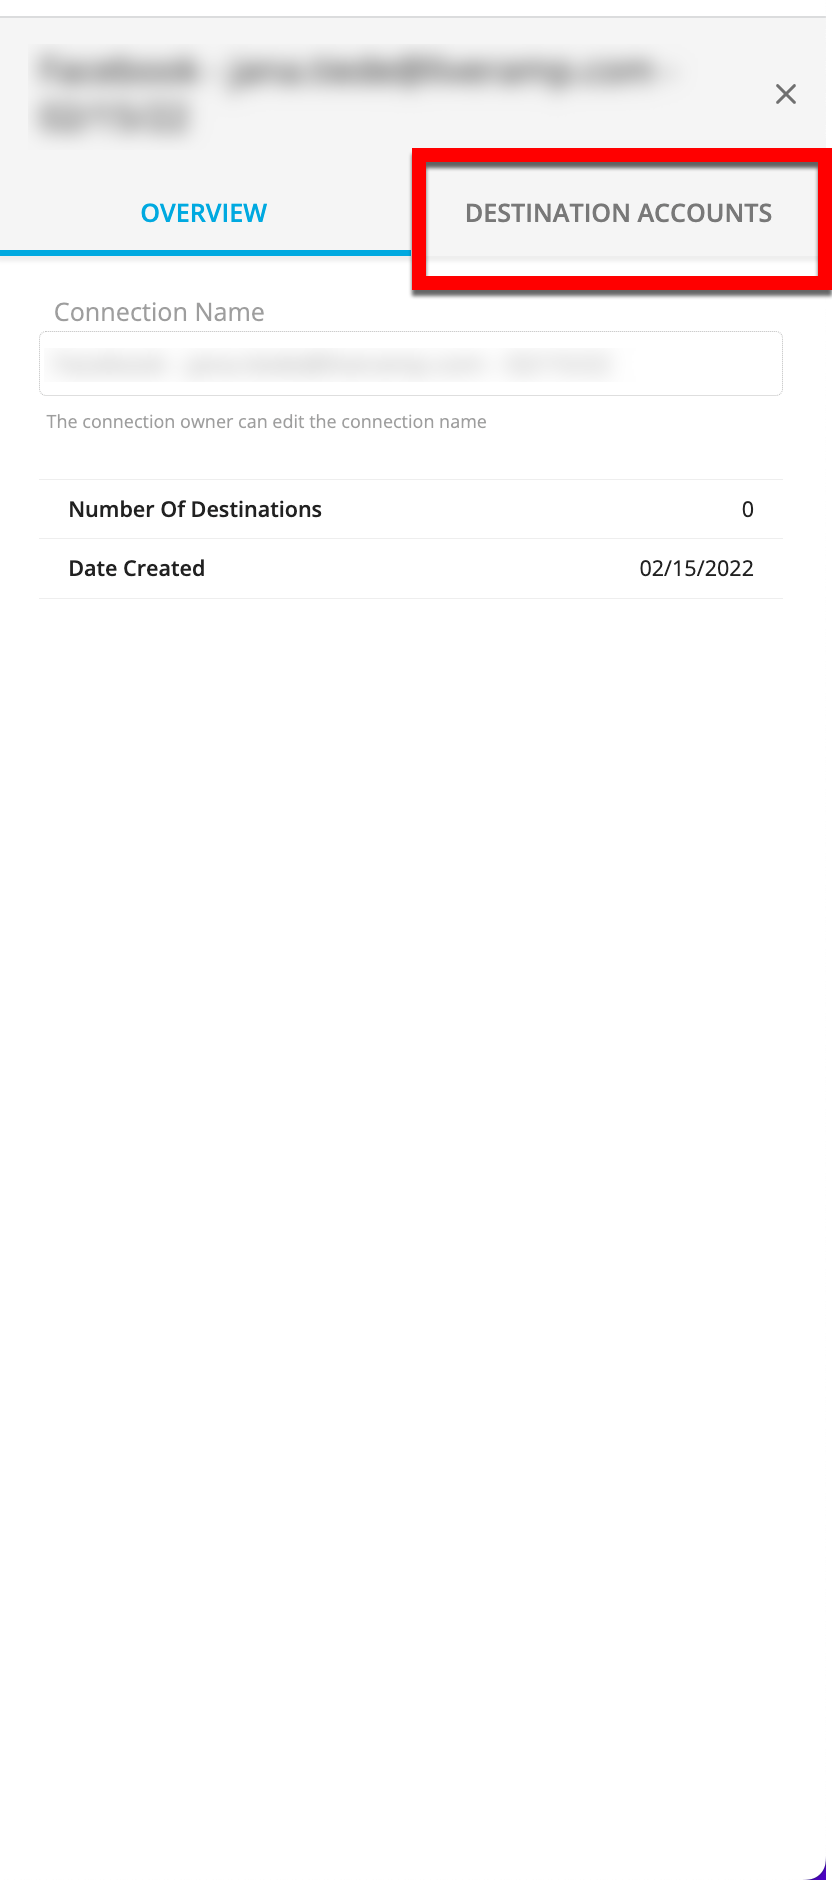
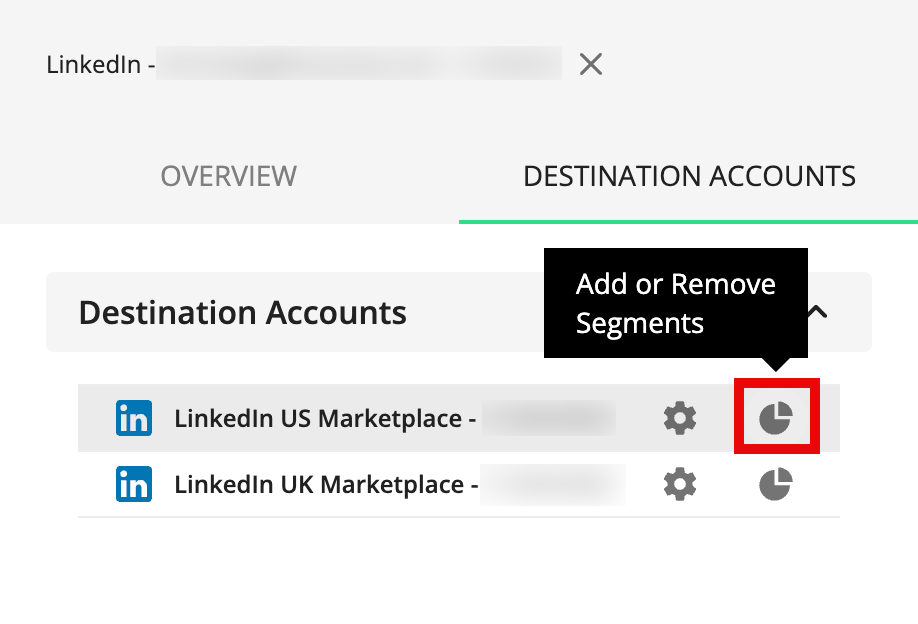
To view the list of destination accounts that use this connection, select the Destination Accounts tab.
To view or edit the settings for a particular destination account, click the "Settings" icon (the gear icon) that appears when you hover over that destination account and then click from the confirmation dialog that appears.
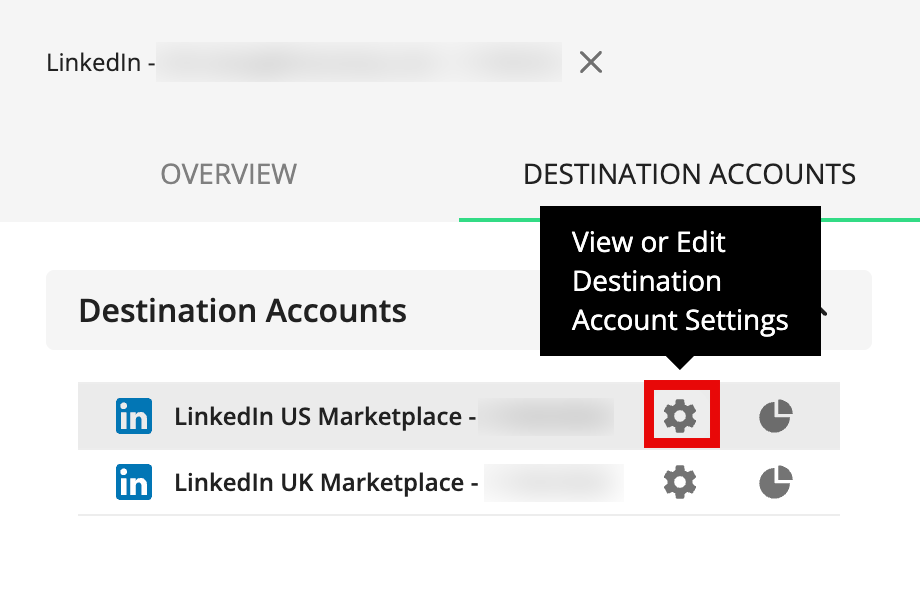
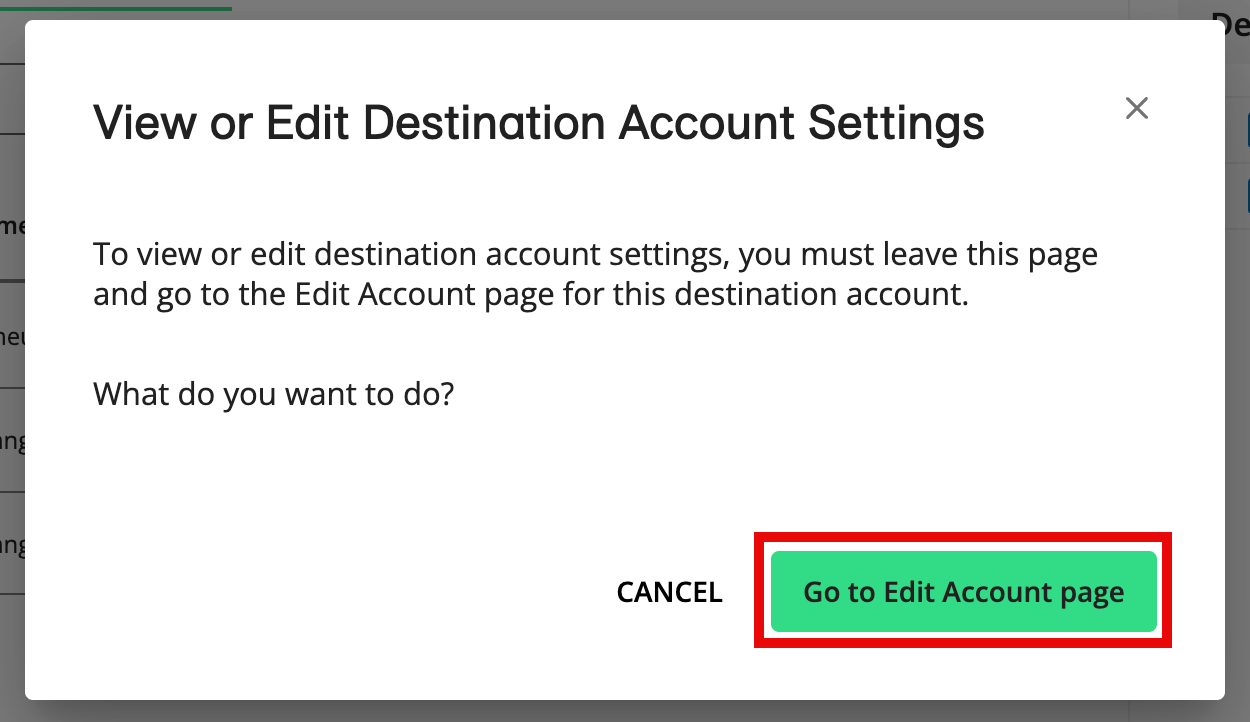
Note
To decrease the risk of delivery issues, making changes to destination account settings requires that the OAuth connection be re-validated. For security purposes, if you do not own the existing connection, you will have to enable a connection that you own (or create a new one) to edit the settings.
To add segments to distribution, or remove segments from distribution, for a particular destination account, click the "Add/Remove Segments" icon (the pie icon) that appears when you hover over that destination account and then click from the confirmation dialog that appears.

Create a New OAuth Connection
If you have the appropriate permissions at a destination that requires OAuth authorization, you can create a new OAuth connection to that destination. You can create the new connection when activating a new destination account for that destination or from the Connections tab of the Company Settings page.
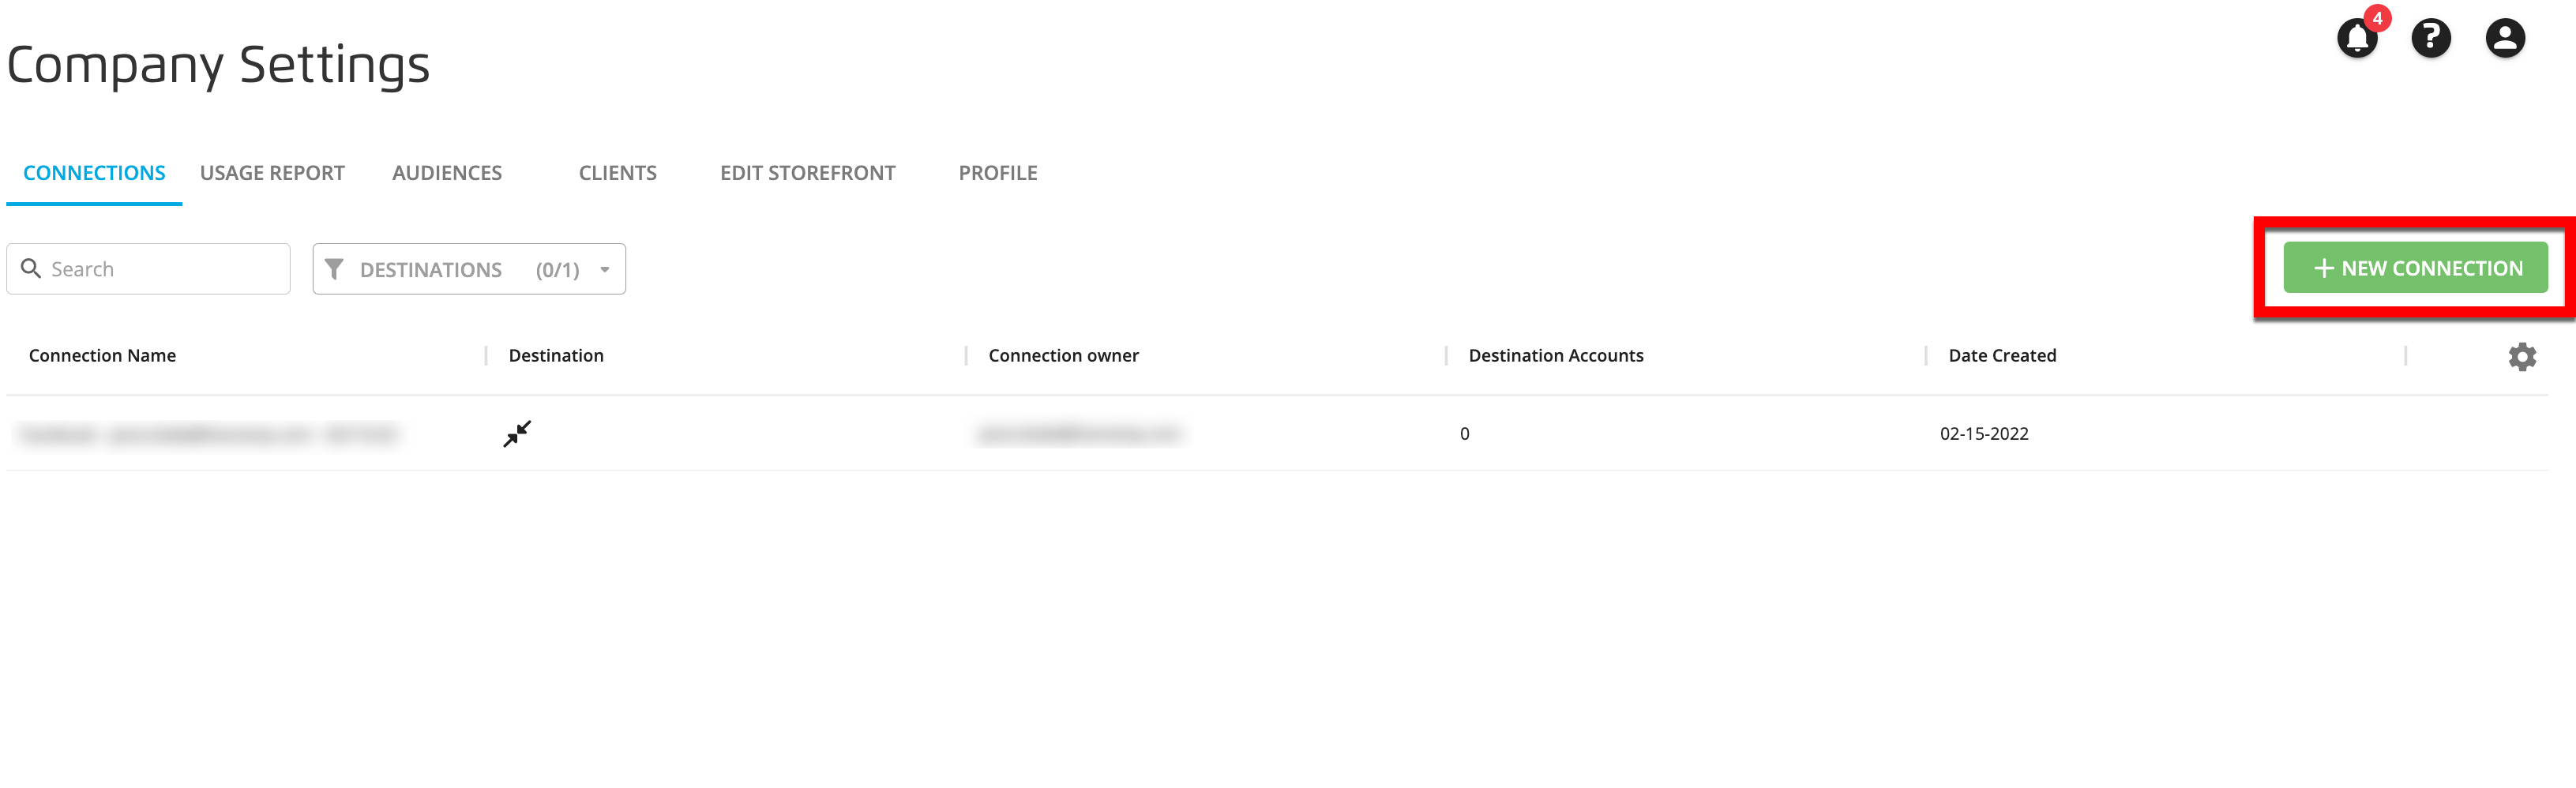
To create a new OAuth connection from the Connections tab:
From the navigation menu, select Administration → Company Settings to navigate to the Company Settings page.
Select the Connections tab.
Click .
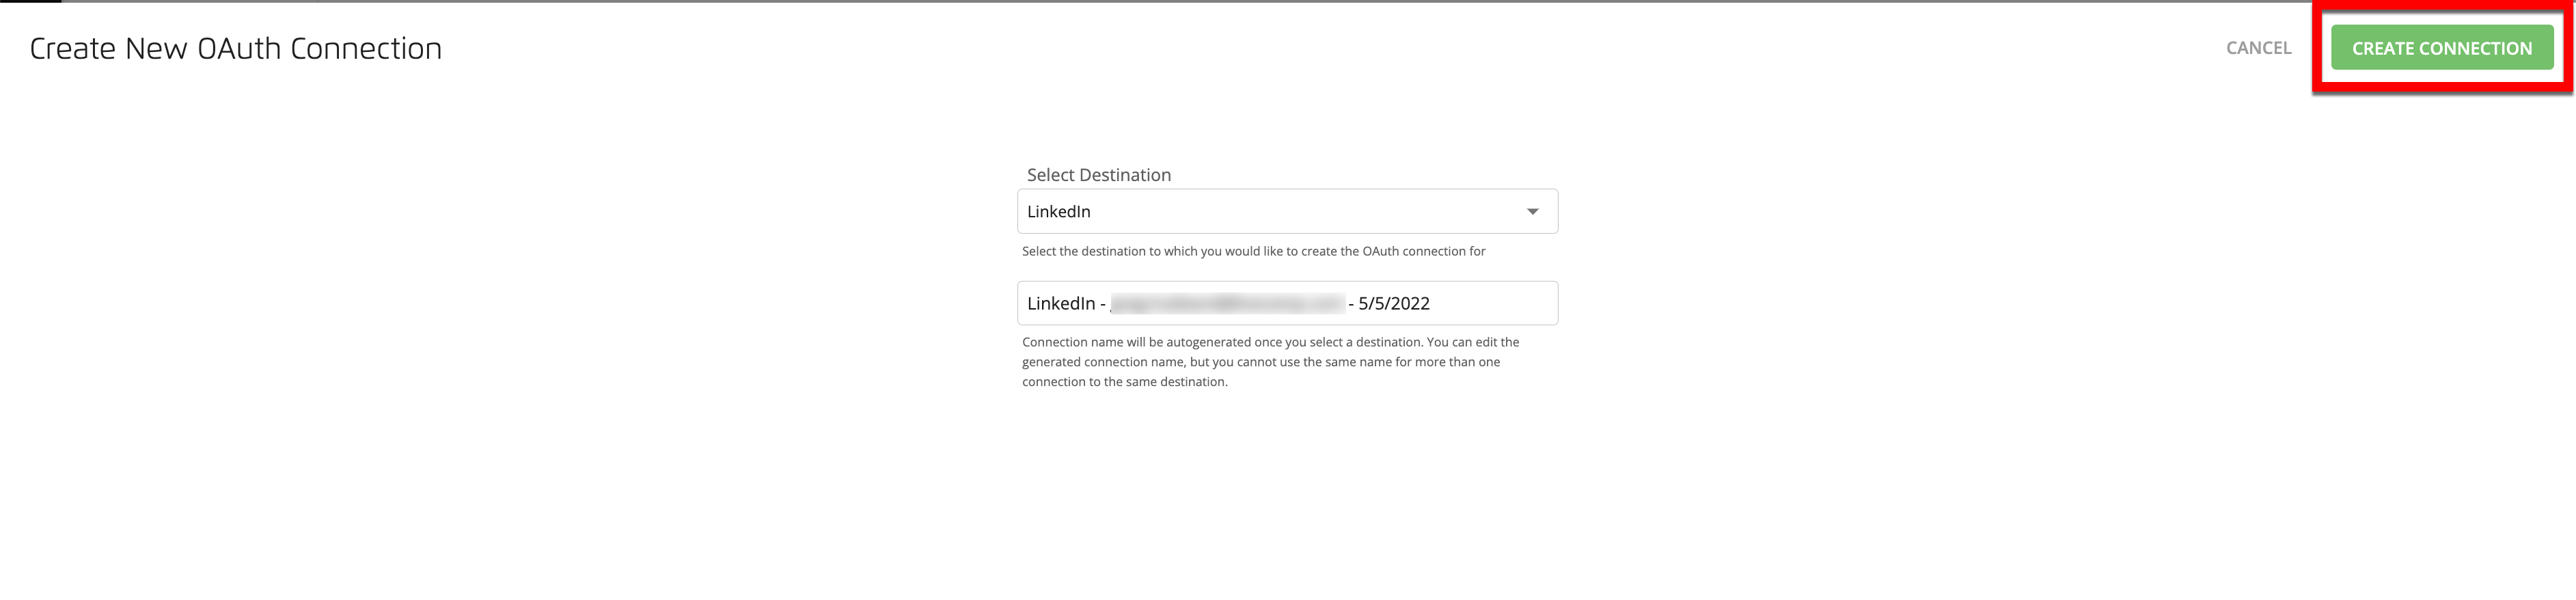
From the Create New OAuth Connection dialog, select the desired destination from the dropdown menu.
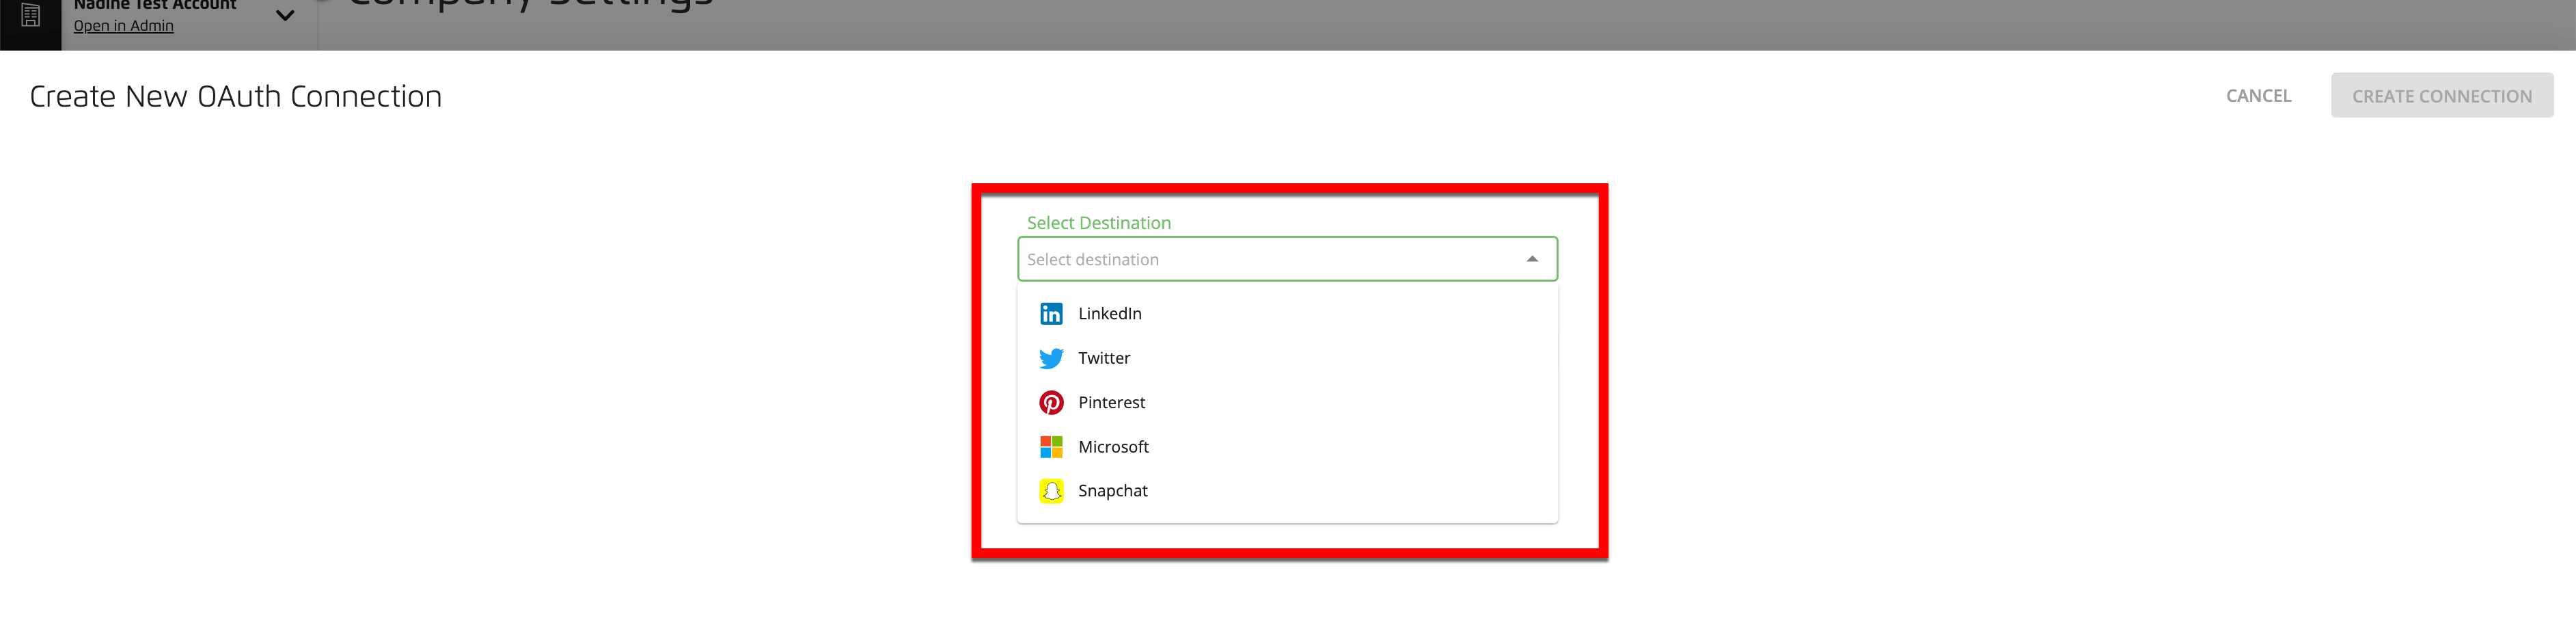
If desired, edit the auto-generated connection name.
Note
You cannot use the same name for more than one connection to the same destination.
Click .
A new window opens with that destination's sign in or login screen.
Note
See the sections below for specific instructions for certain destinations.
Enter your credentials and follow the destination's process to give access.
After you complete the process, the new connection appears in your list of connections and a success banner appears.
Perform OAuth Authorization for LinkedIn
Caution
LiveRamp's OAuth integration with LinkedIn was updated on October 3, 2022. If you are the creator of one or more LinkedIn OAuth connections used by your LinkedIn destination accounts, you might need to take action as a result of this update. See this announcement for more information.
Account type required: The LinkedIn account needs to be a campaign manager account and must correspond to the account ID entered on the destination account.
OAuth expiration: OAuth credentials at LinkedIn expire 1 year after authorization. After 1 year (or if you notice your distributions are not going through), perform OAuth authorization at LinkedIn again.
Required destination account fields:
Accountid: The 9 digit LinkedIn account ID. This ID can be found in the URL when logging into Campaign Manager (after "/accounts/"). Contact your LinkedIn account representative if unsure of which value to use here.
Steps to perform OAuth for LinkedIn:
Once the LinkedIn login dialog appears, enter your credentials and then click Sign in.

You’ll be directed back to the destination account screen and should see the blue success banner at the top of the screen.
Perform OAuth Authorization for Bing
Permission level required: Super Admin or Standard User
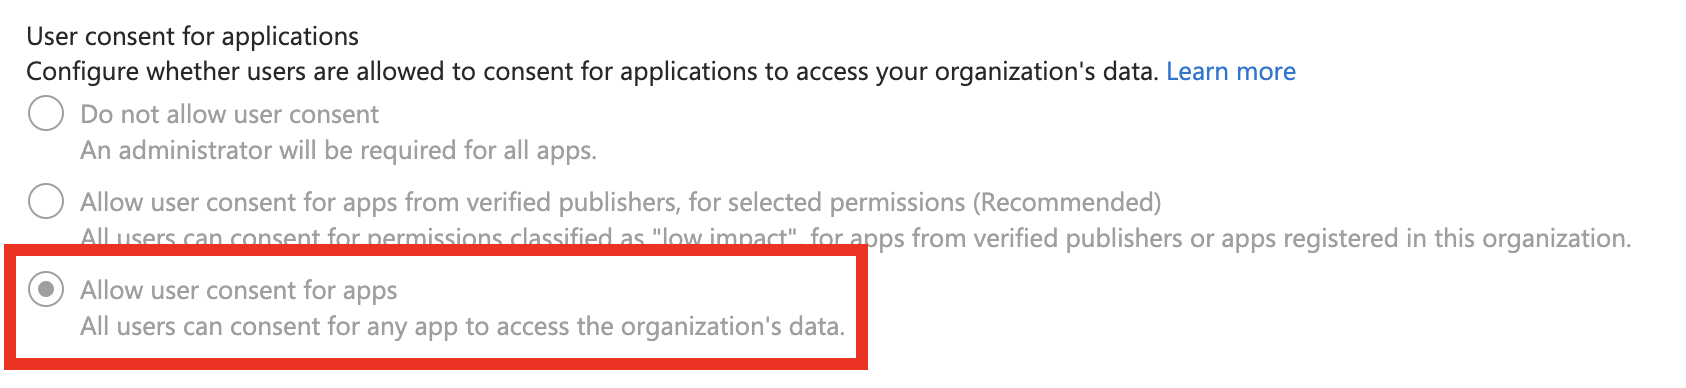
Prerequisites: Bing requires that your Microsoft ads accounts be configured to allow users to consent to apps before OAuth authorization can be completed. To enable this setting, a user with either a Global Administrator or Privileged Administrator role will need to follow these instructions and select the "Allow user consent for apps" option (the third selection in the image below). If you have any issues, contact your Bing representative.
Note
LiveRamp is not able to provide workarounds for these settings. Contact Microsoft to troubleshoot the Azure Admin requirements.
Required Account Type: Contact your LiveRamp account representative for Required Account Type information.
OAuth expiration: None
Required destination account fields: Customer ID
Steps:
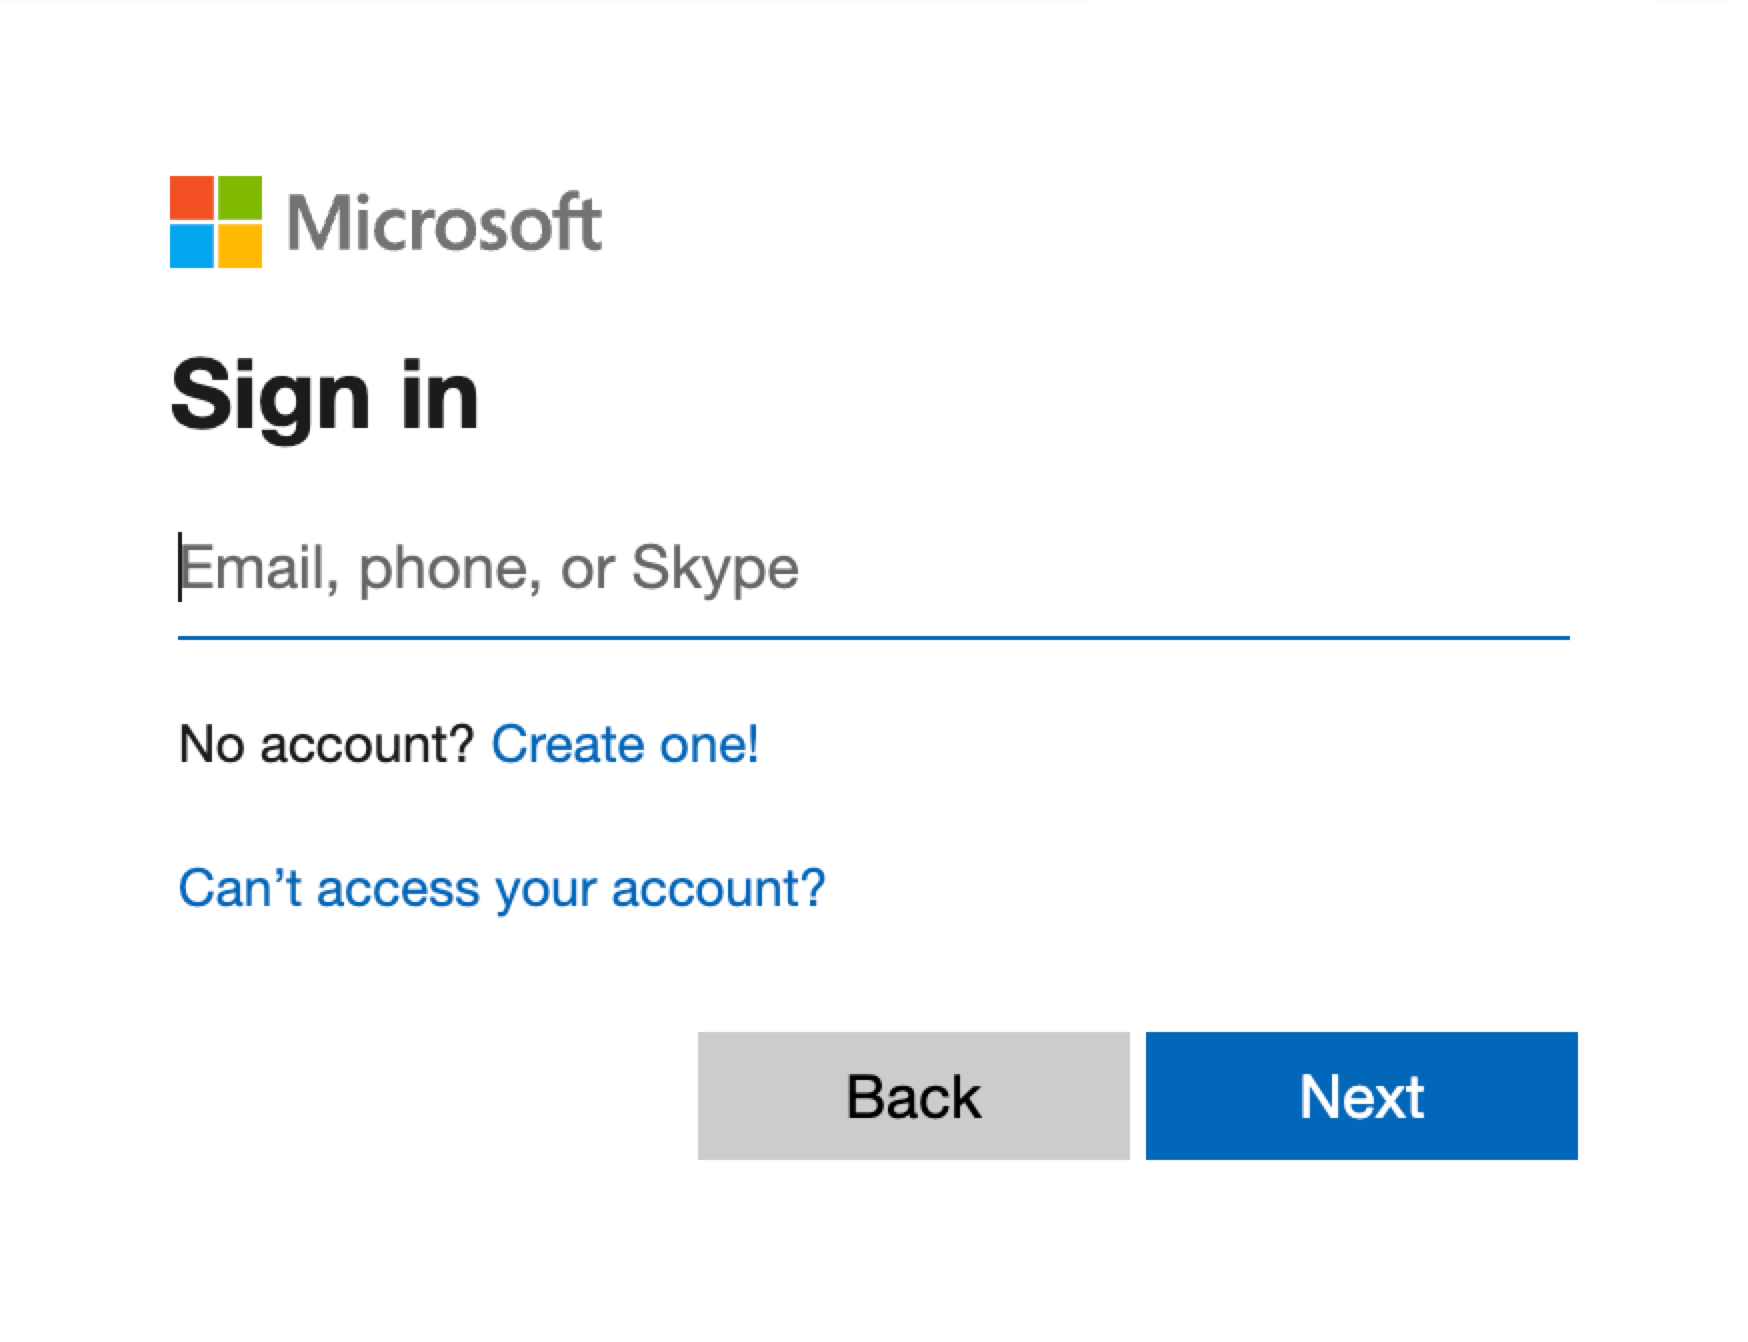
Once the Microsoft login dialog appears, enter your credentials and then click .
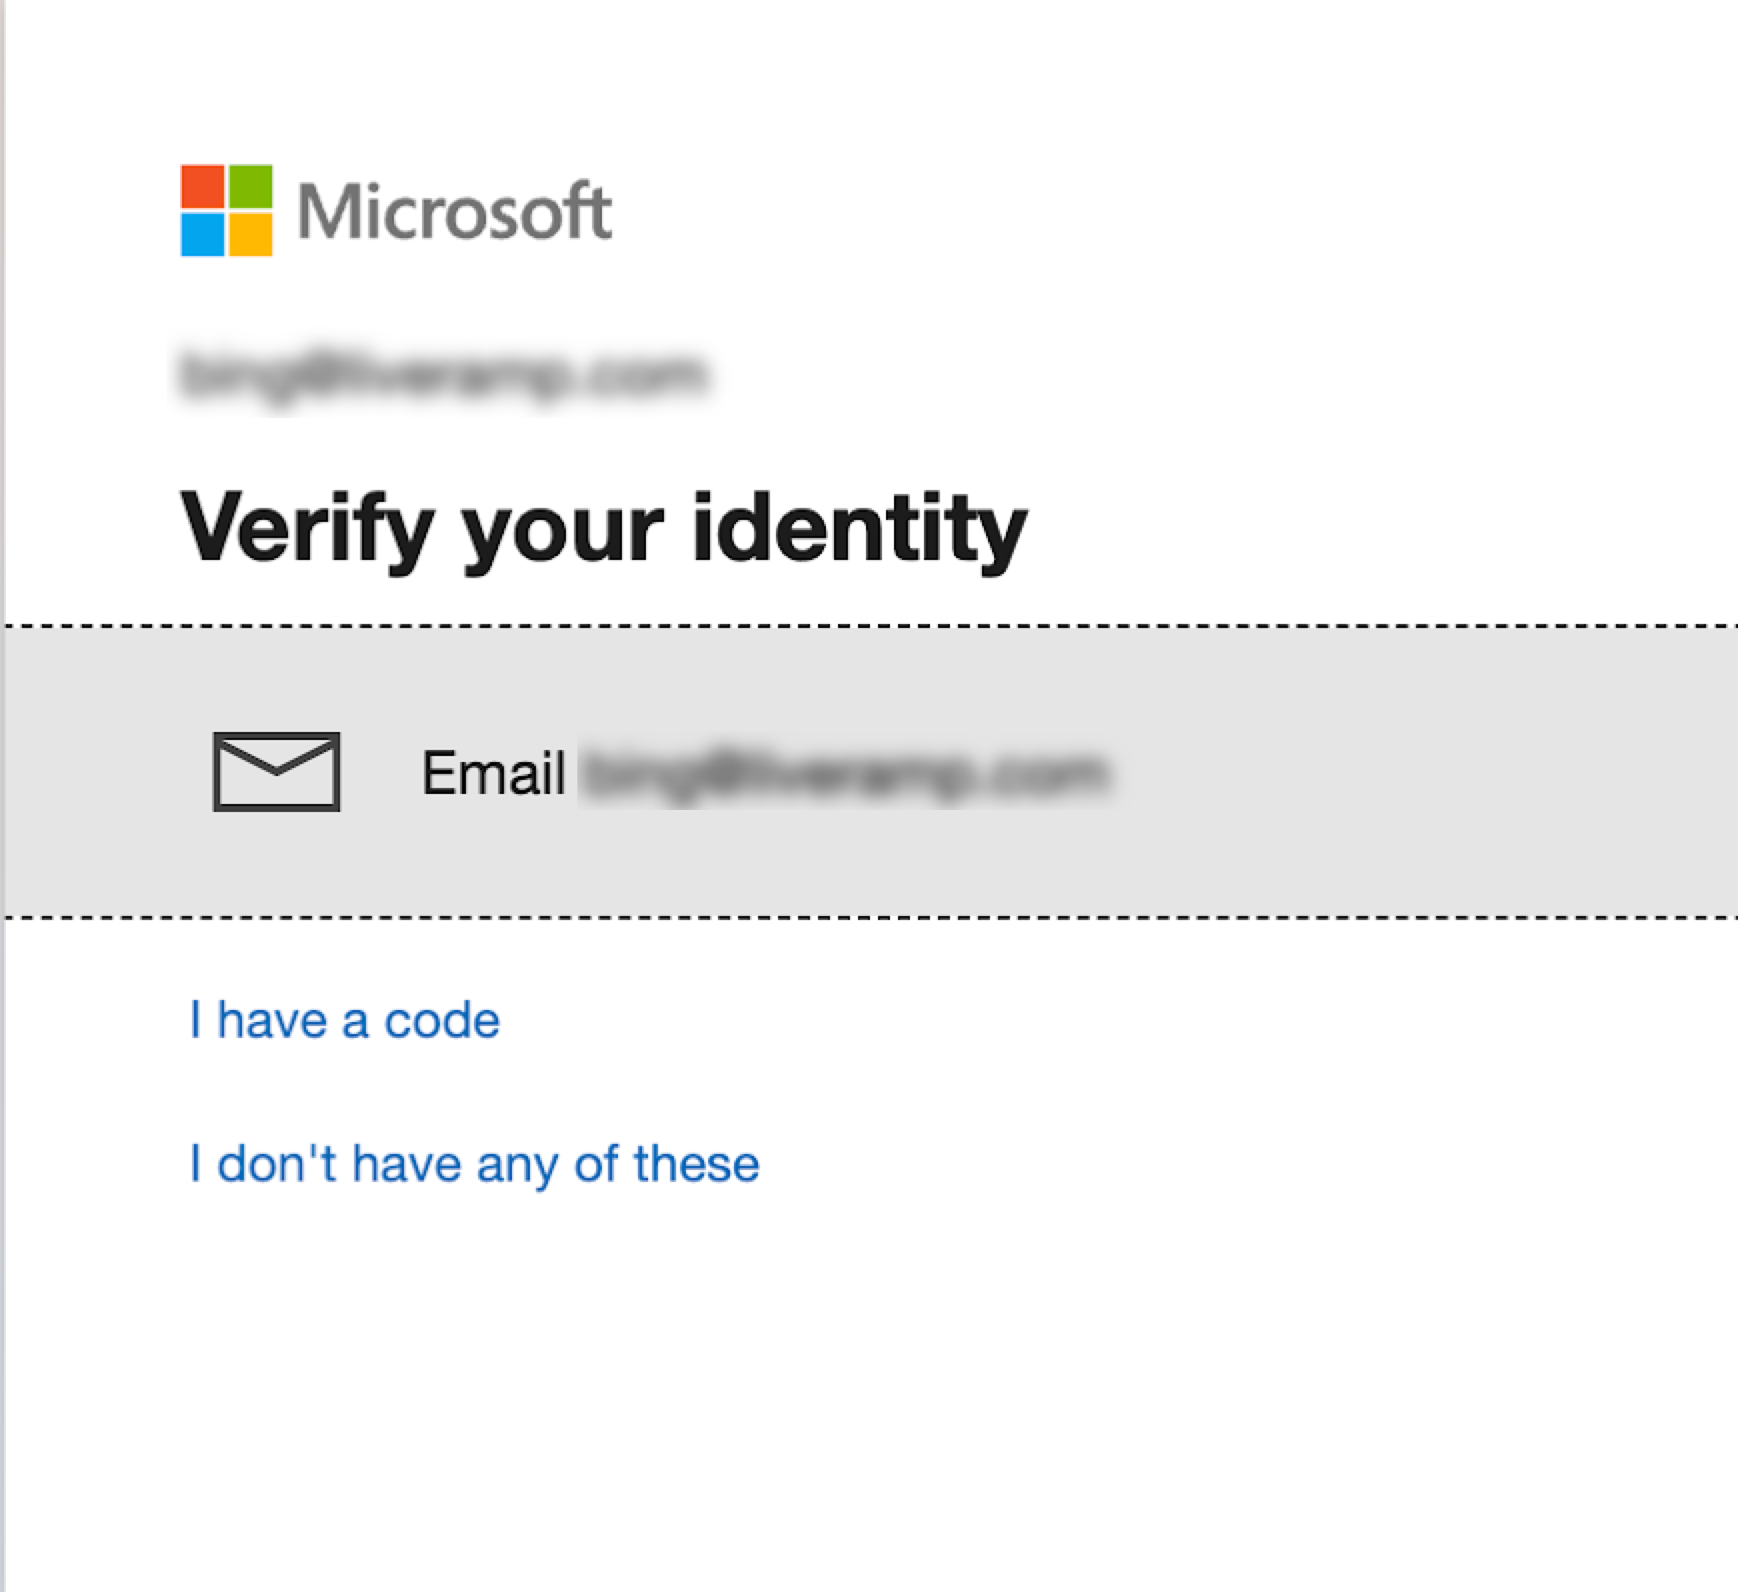
Complete the Multi-Factor Authentication process.
From the Authorize app dialog, review the access granted and click .
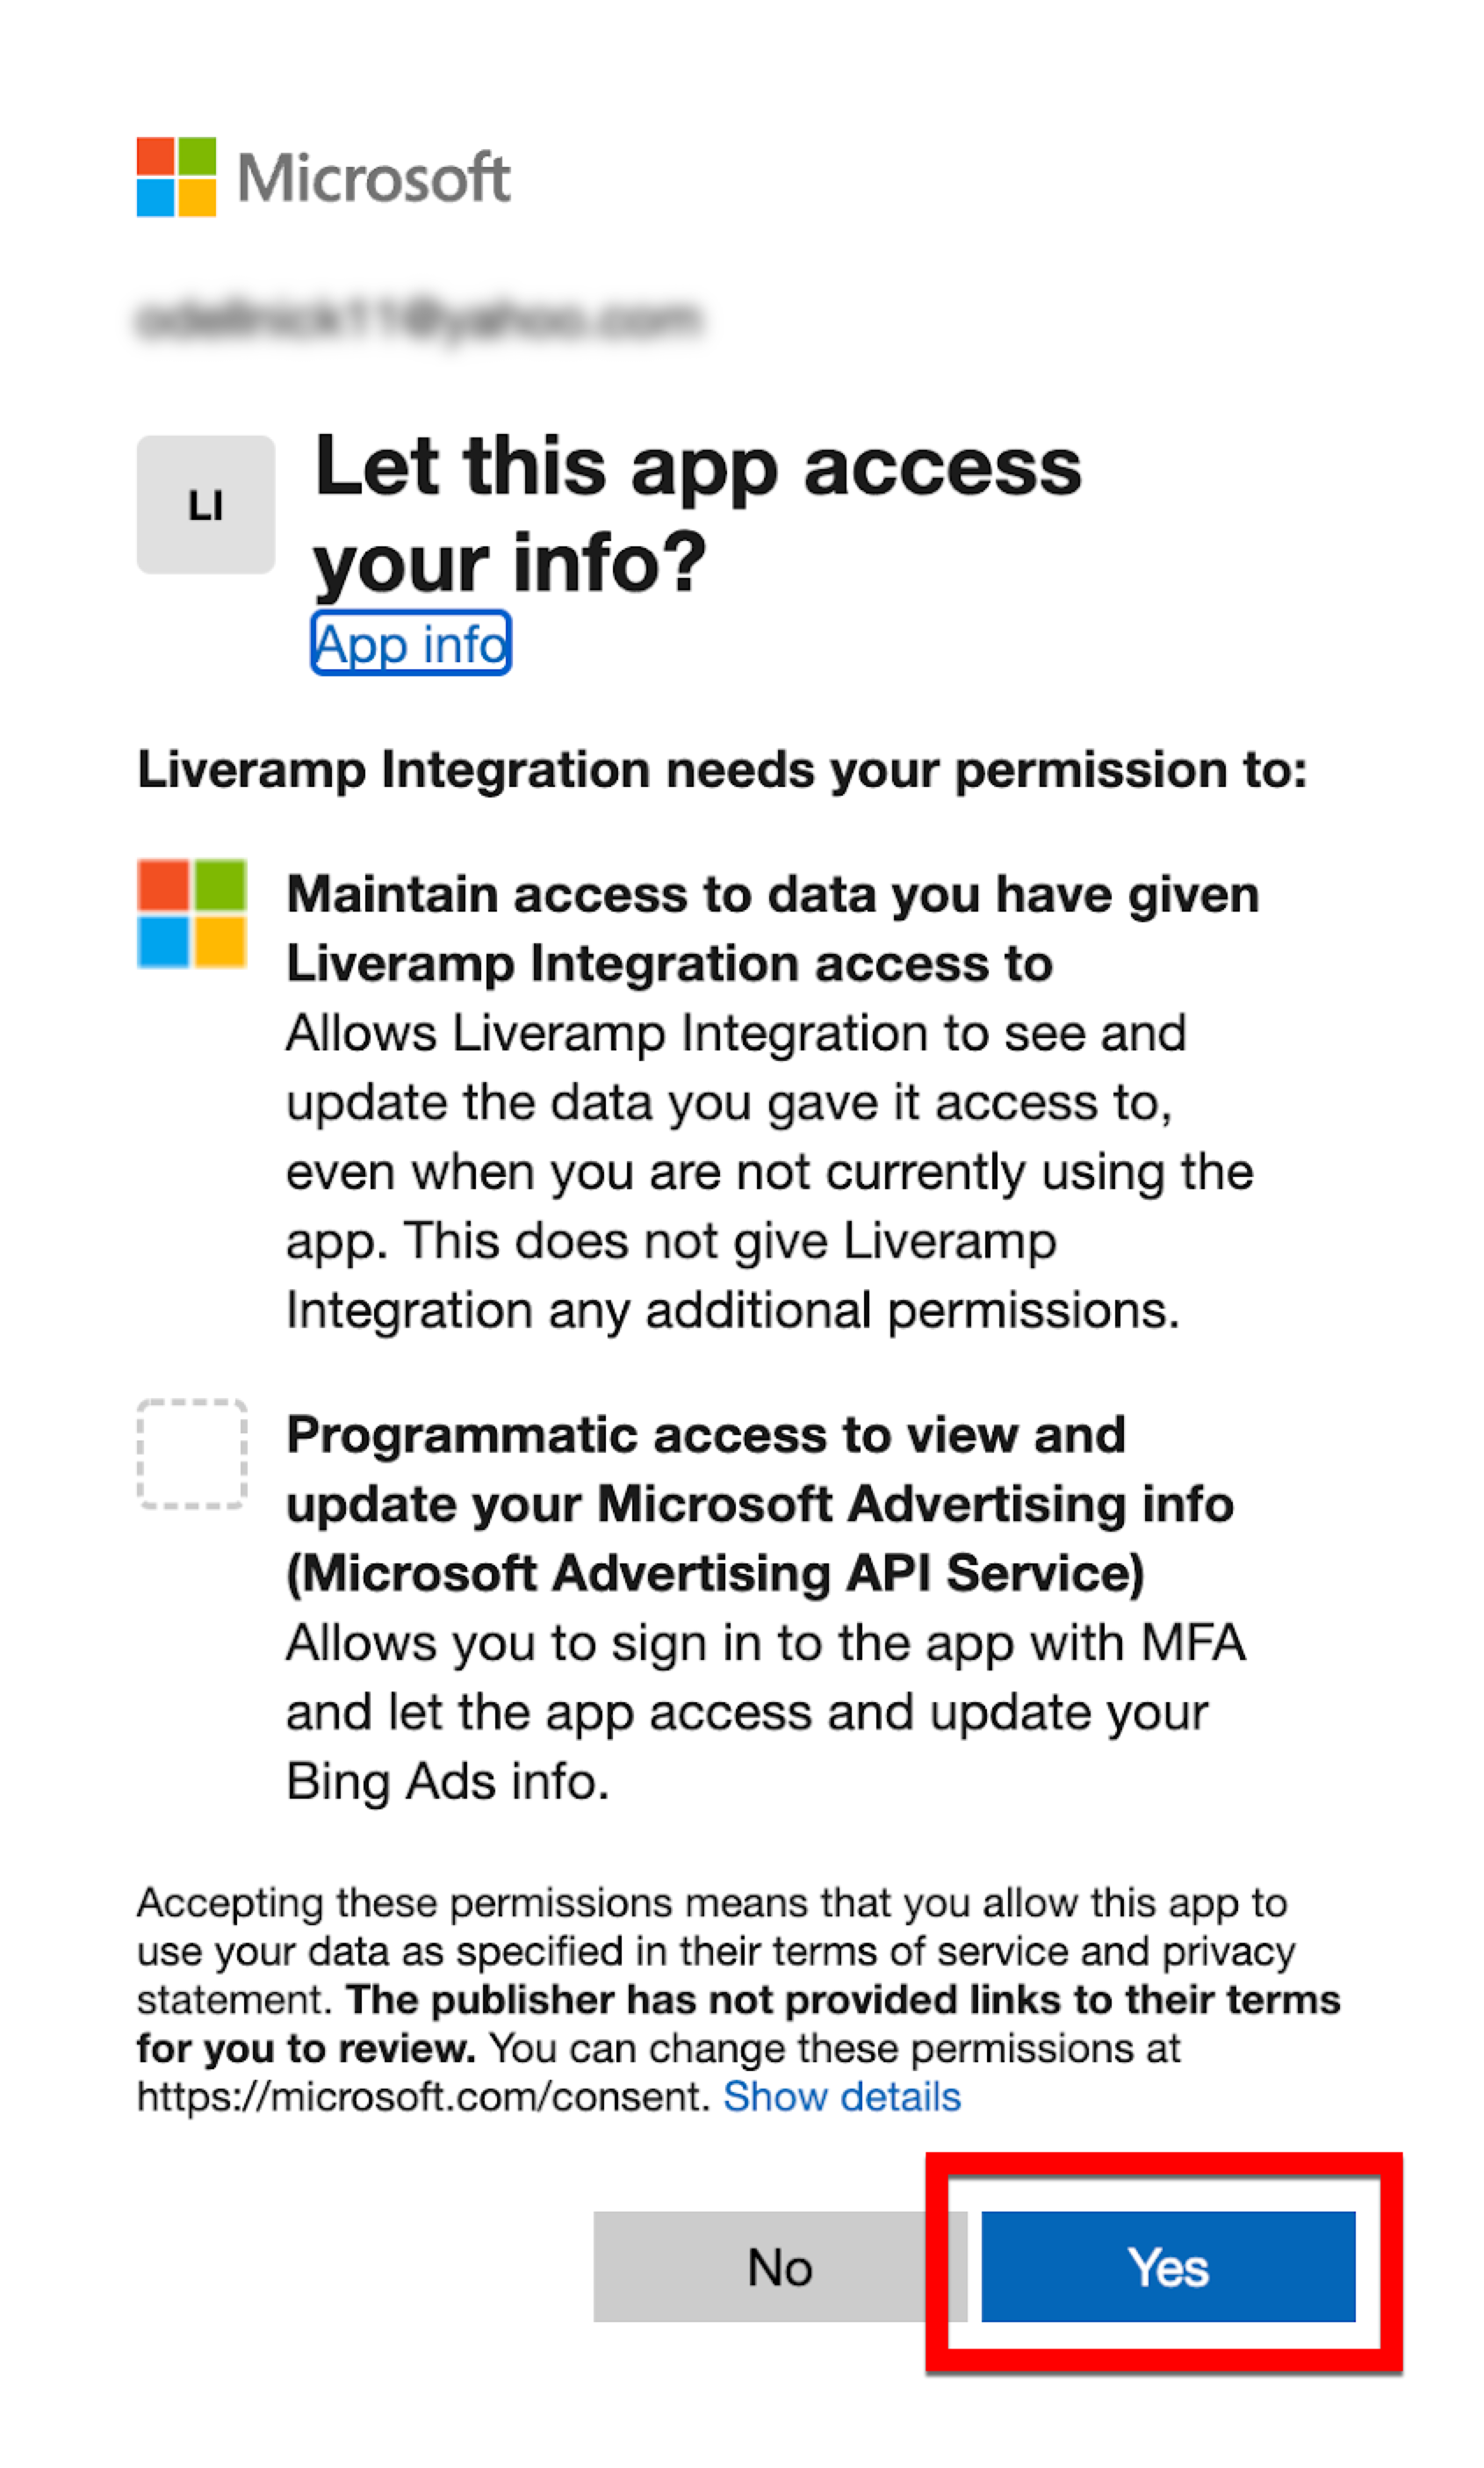
You’ll be directed back to the destination account screen and should see the blue success banner at the top of the screen.
Troubleshooting Bing OAuth Issues
If you're having issues with your Bing OAuth connection, try these troubleshooting steps:
Confirm that you have “Super Admin” or “Standard User” permission levels on your account.
Confirm that the Microsoft Ads account is configured to allow users to consent to apps. To enable this setting, a user with either “Global Administrator” or “Privileged Administrator” will need to follow these instructions and select the "Allow user consent for apps" option (the third selection). For further assistance, reach out to your Bing rep.
Once confirmed, create a new OAuth connection and use that connection to validate the destination account.
Note
If multiple unused Bing OAuth connections exist, remove them, create a new connection, and use that connection to validate the destination.
If the above steps do not resolve the issue, create a support case.
Perform OAuth Authorization for Pinterest
Permission level required: Admin or Audience level
OAuth expiration: OAuth credentials at Pinterest never expire (Pinterest automatically refreshes the credentials, but if you have an issue try re-authenticating first).
Required destination account fields:
Advertiser ID: Your Pinterest-provided advertiser account ID. Should be numeric.
Steps to perform OAuth for Pinterest:
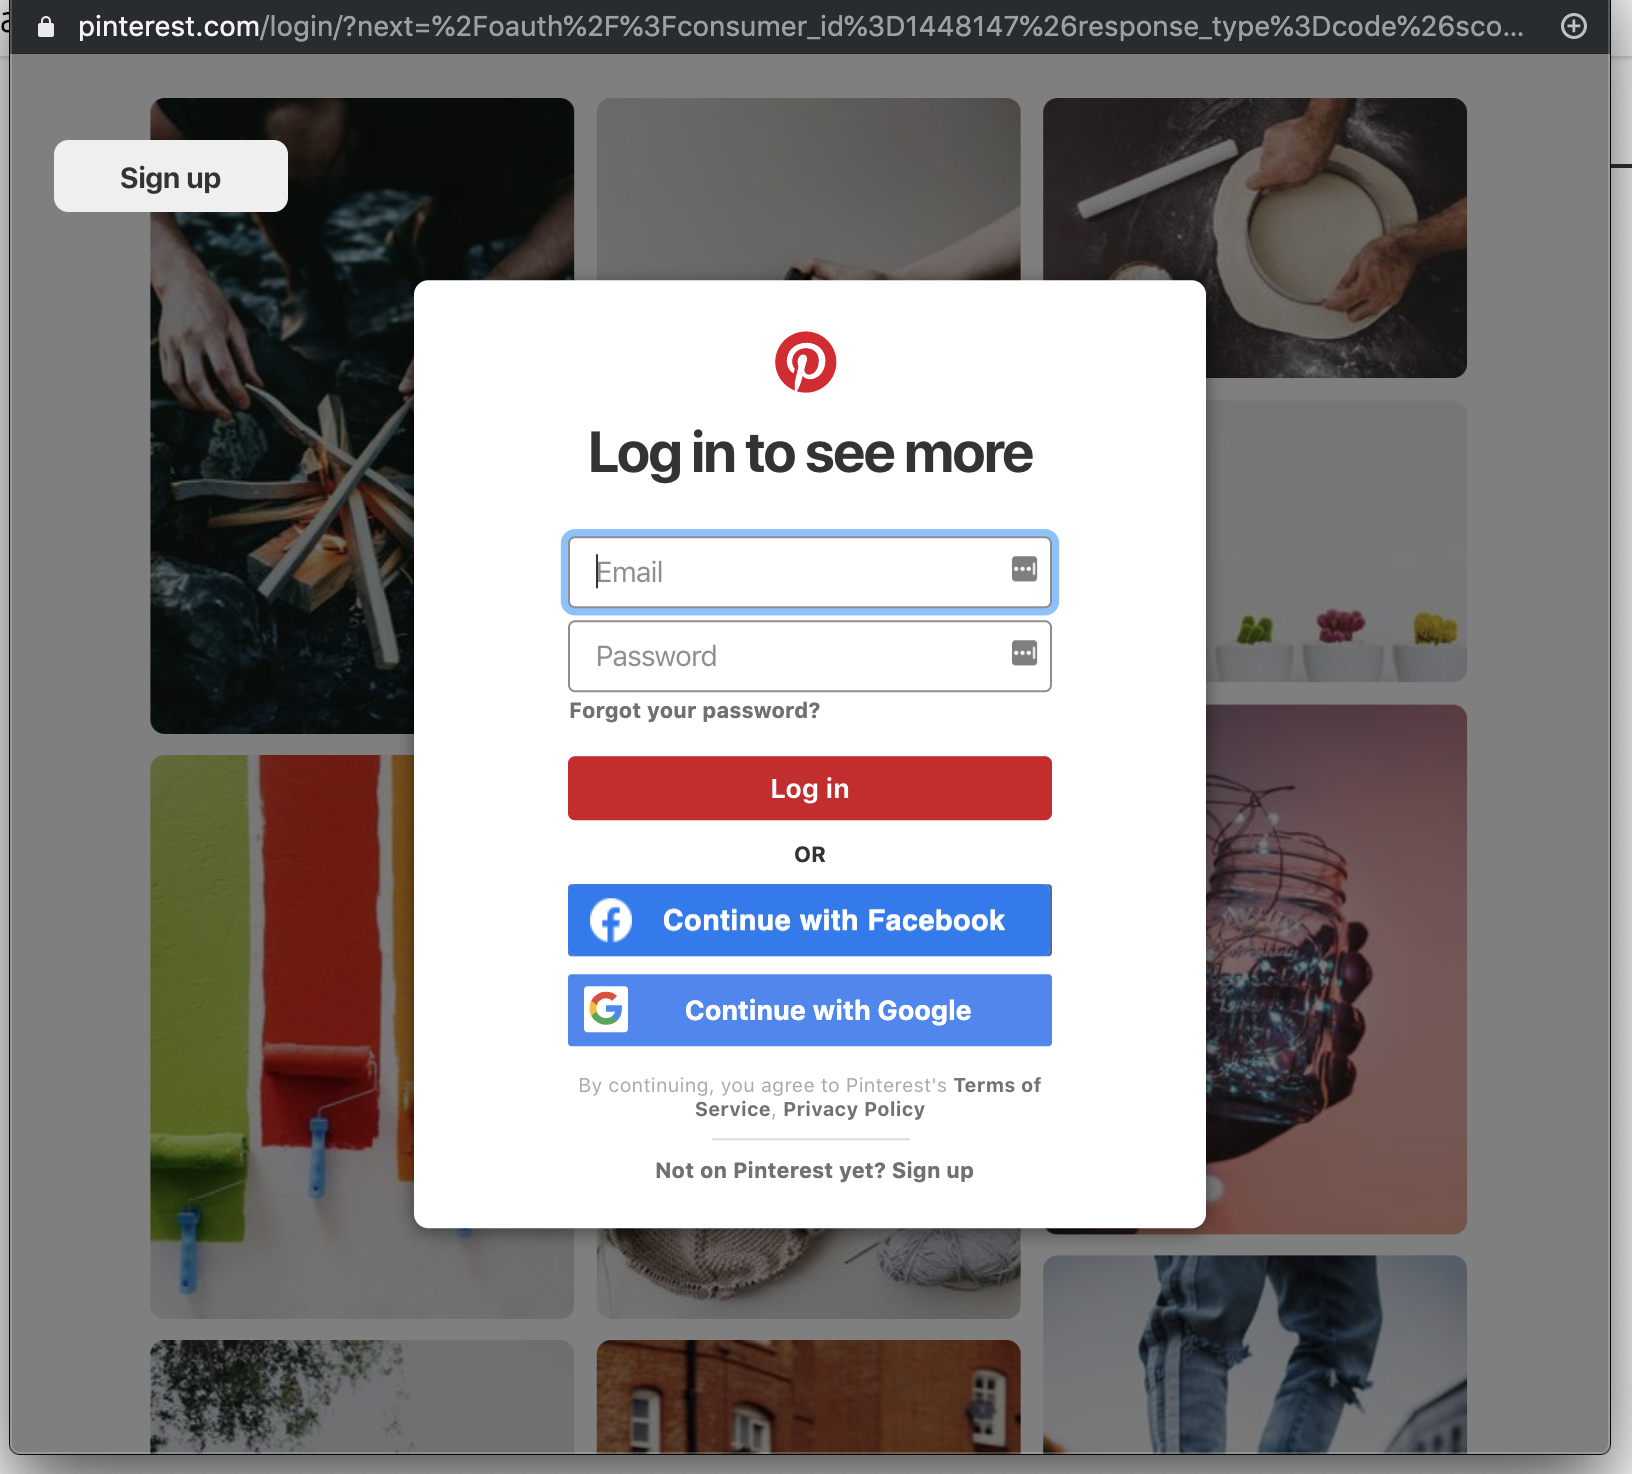
After the Pinterest login dialog appears, enter your credentials and then click .
From the Authorize app dialog, click .
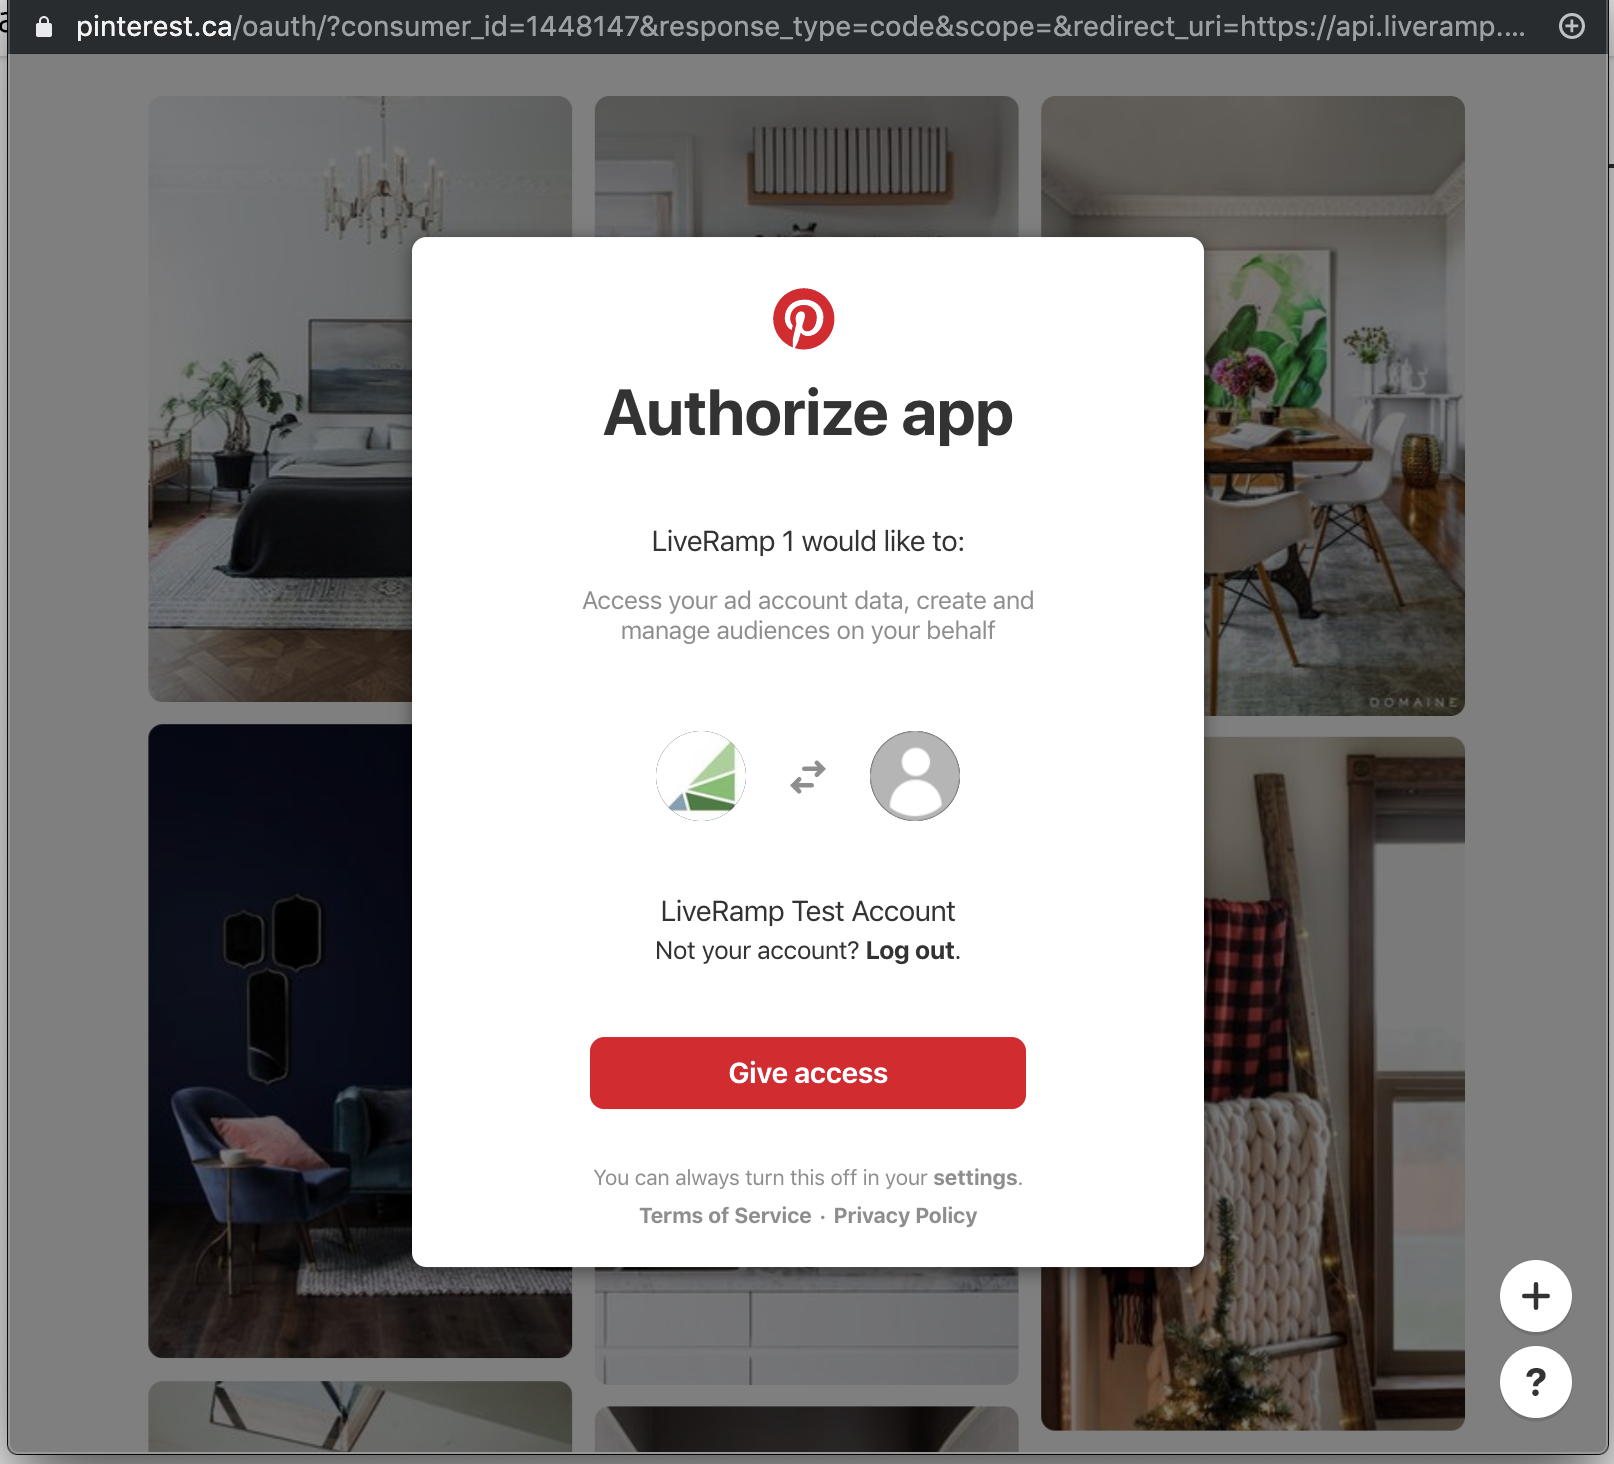
You’ll be directed back to the destination account screen and should see the blue success banner at the top of the screen.
Perform OAuth Authorization for Snapchat
Snapchat account requirements: The account must be a Business Ad Account with Snapchat.
Permission level required: The Snapchat user must either be an Organizational Admin, or a user with Campaign Manager or Data Manager permissions.
Required destination account fields:
Client: The name of your company or account at Snapchat. Contact your Snapchat account representative if unsure of which value to use here. Do not include whitespace or other special characters (e.g., use "CompanyName" or "Account_Name").
Snapchat Ad Acct ID: The Ad Account ID issued to you by Snapchat. Contact your Snapchat representative for more information.
Steps to perform OAuth for Snapchat:
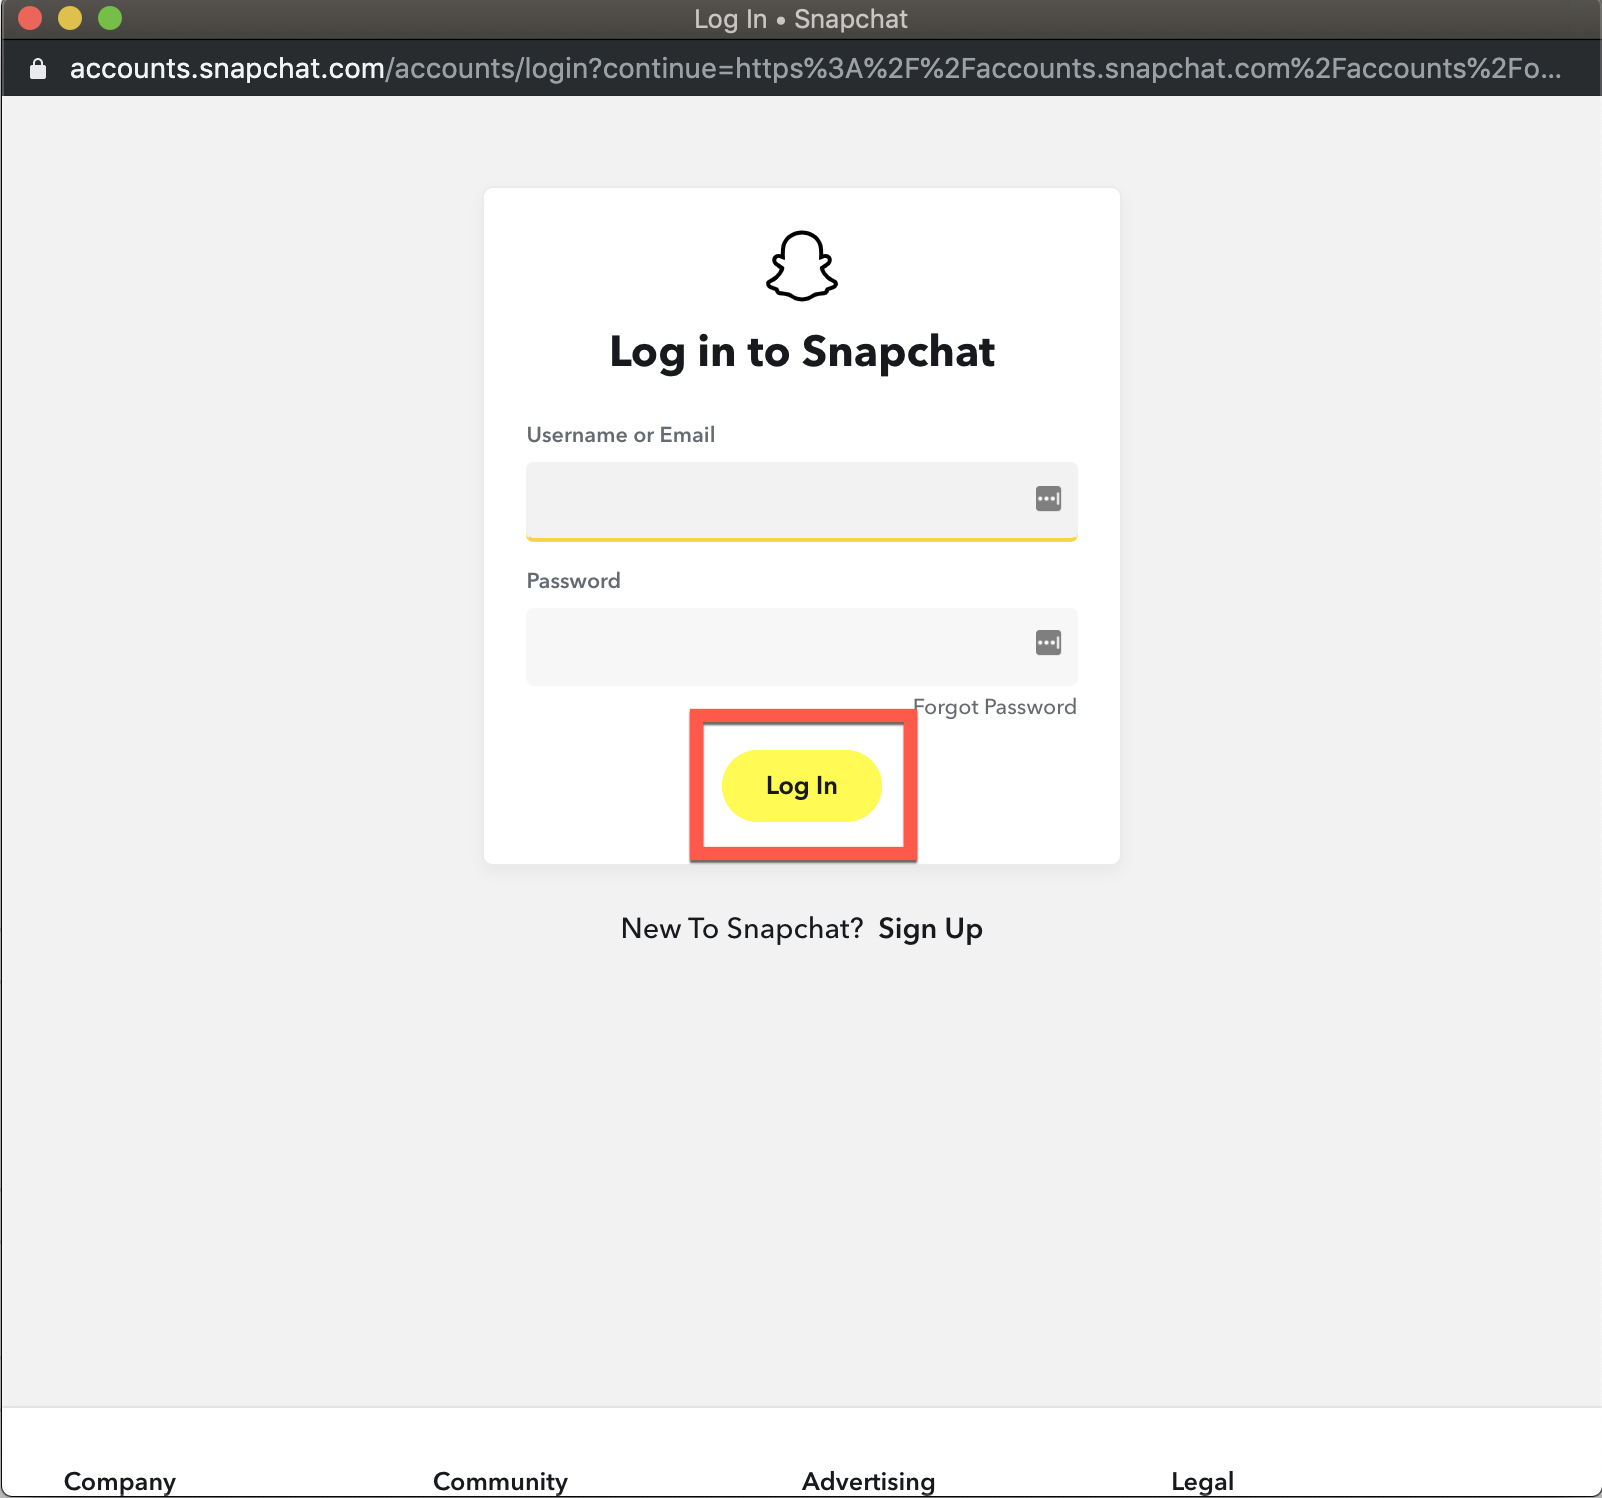
After the Snapchat login dialog appears, enter your credentials and then click Log in.
From the dialog that appears, click Continue to grant access.
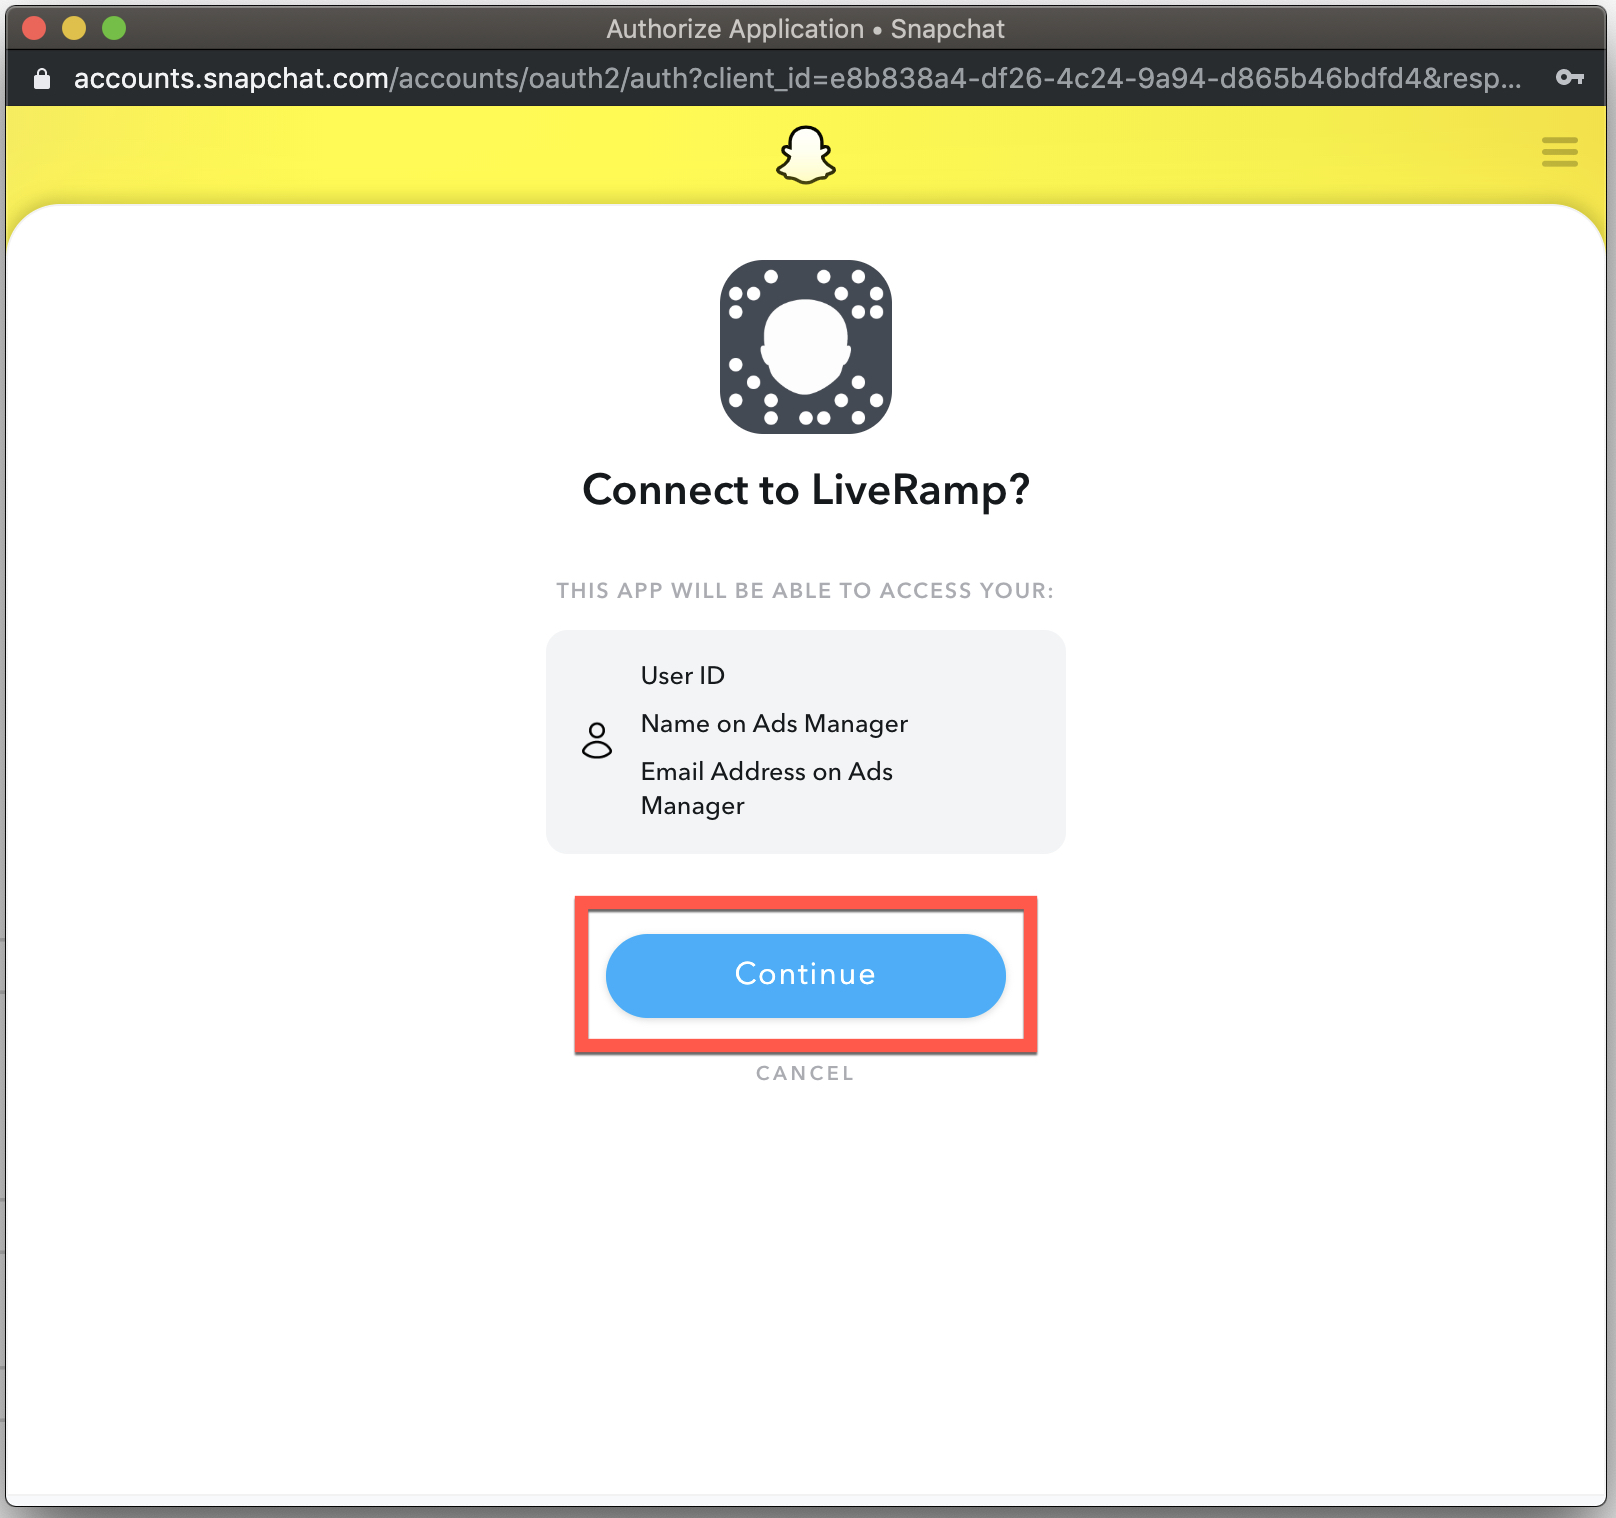
From the dialog that appears, click Continue to return to the destination account screen, where you should see the blue success banner at the top of the screen.
You’ll be directed back to the destination account screen and should see the blue success banner at the top of the screen.
If you receive an authorization error, confirm that the account is a Business Ad Account and that the user performing the authorization has the appropriate permission level.
More info on Snapchat User Roles and Permissions can be found here.
Perform OAuth Authorization for X (FKA Twitter)
OAuth expiration: None
Required destination account fields:
Account ID: Alphanumeric string of characters that indicate the ads account ID that the segments will be sent to.
Ttl In Days: Number of days that users added to a segment will be active in the segment. The default value is 180 days. This can be changed after the DA is created.
Caution
Data sellers that make distributions to X on behalf of their end clients follow a different process. See "Data Sellers Distributing to X" for more information.
Steps to perform OAuth for X:
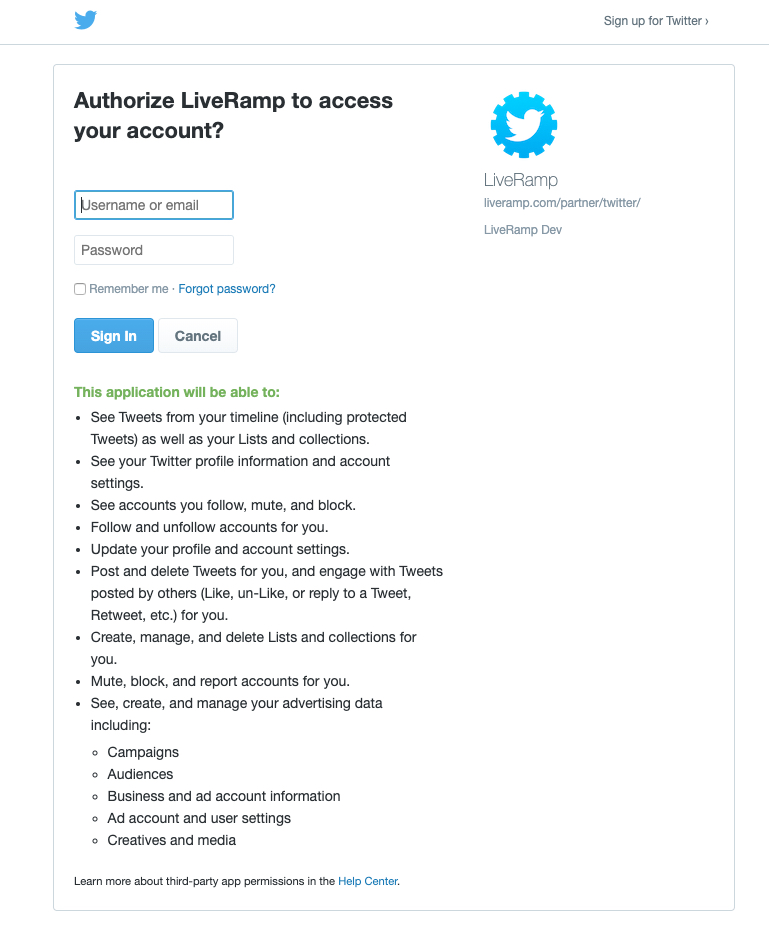
After the X authorization dialog appears, enter your X credentials and then click Sign In.
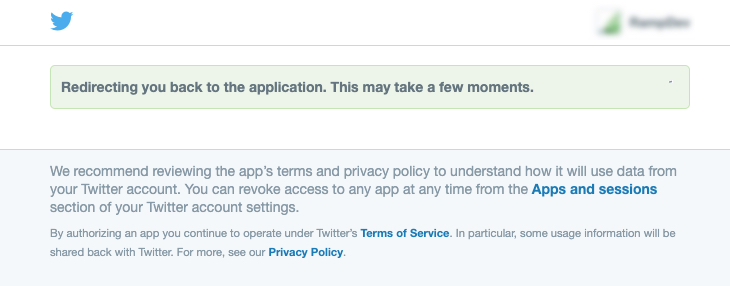
You’ll briefly see a redirect dialog.
You’ll be directed back to the destination account screen and should see the blue success banner at the top of the screen.
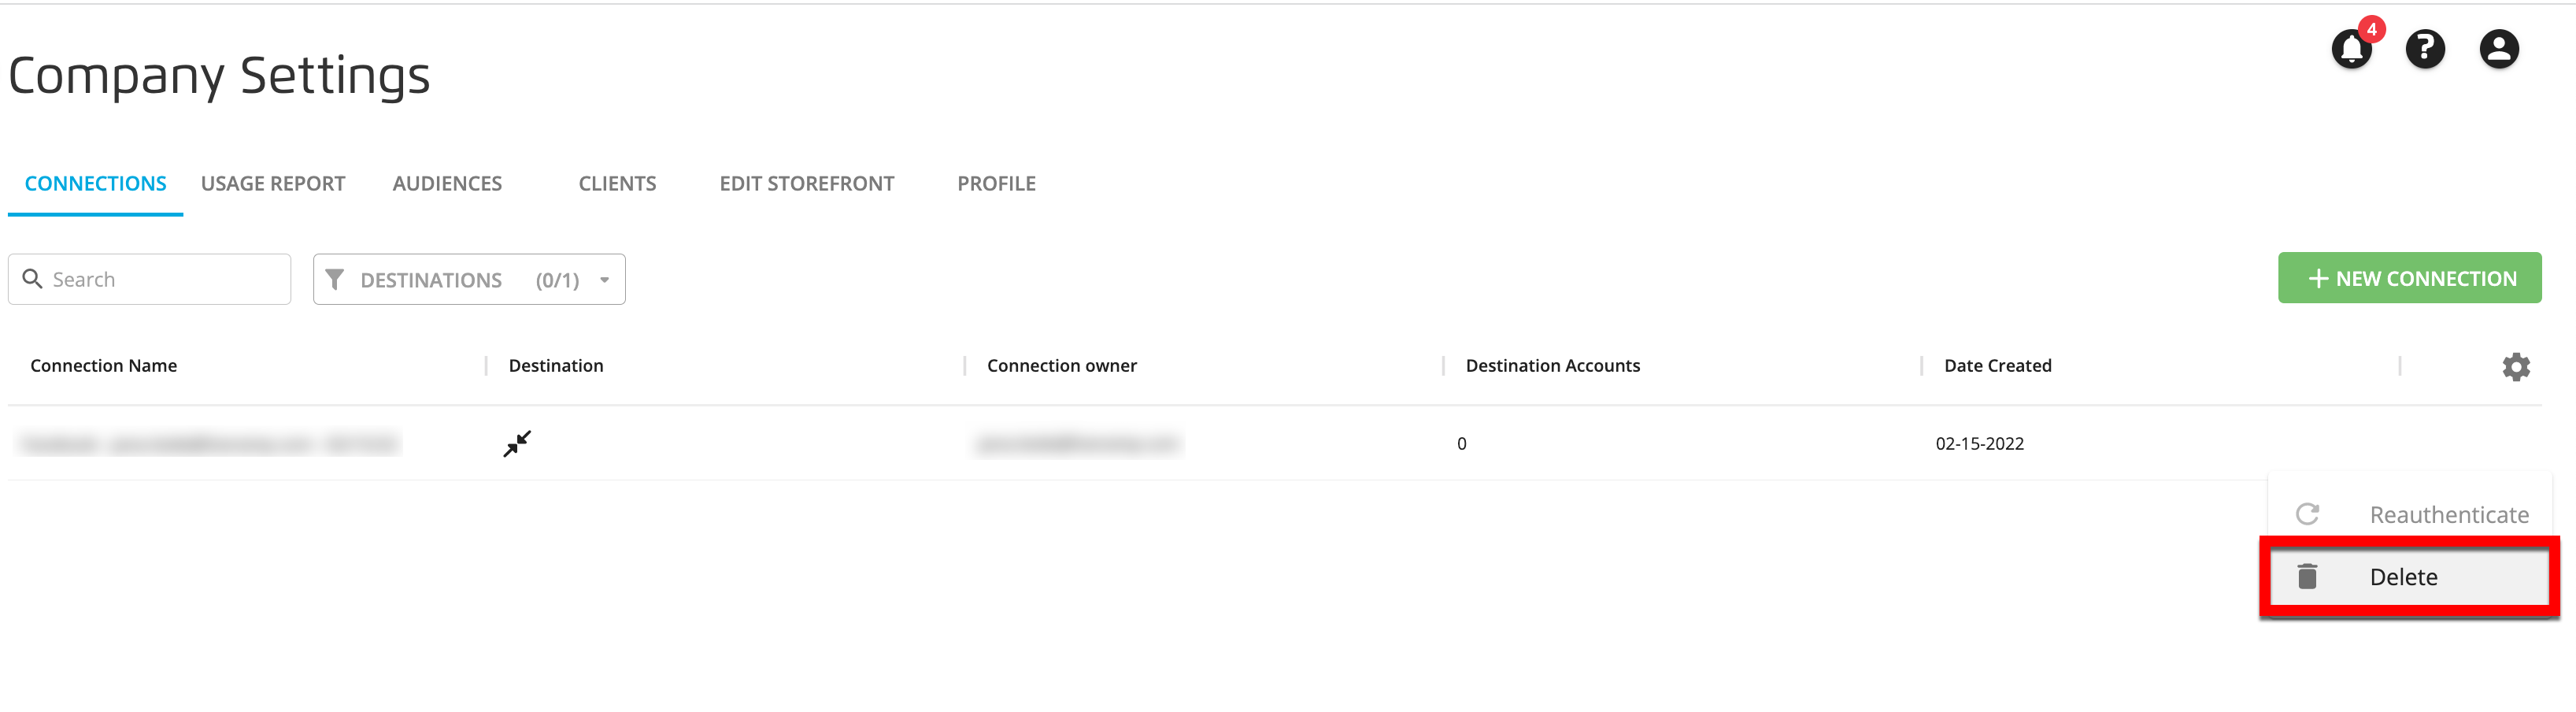
If you no longer need a particular OAuth connection, you can delete it (as long as it is not being used by any destination accounts):
Note
Any user can delete an OAuth connection, not just the connection owner.
If the connection you want to delete is being used by one or more destination accounts, you must first edit each of those destination accounts to use a different OAuth connection. See "View OAuth Connections" above for information on how to view and edit the destination accounts that are used by a particular connection.
From the navigation menu, select Administration → Company Settings to navigate to the Company Settings page.
Select the Connections tab.
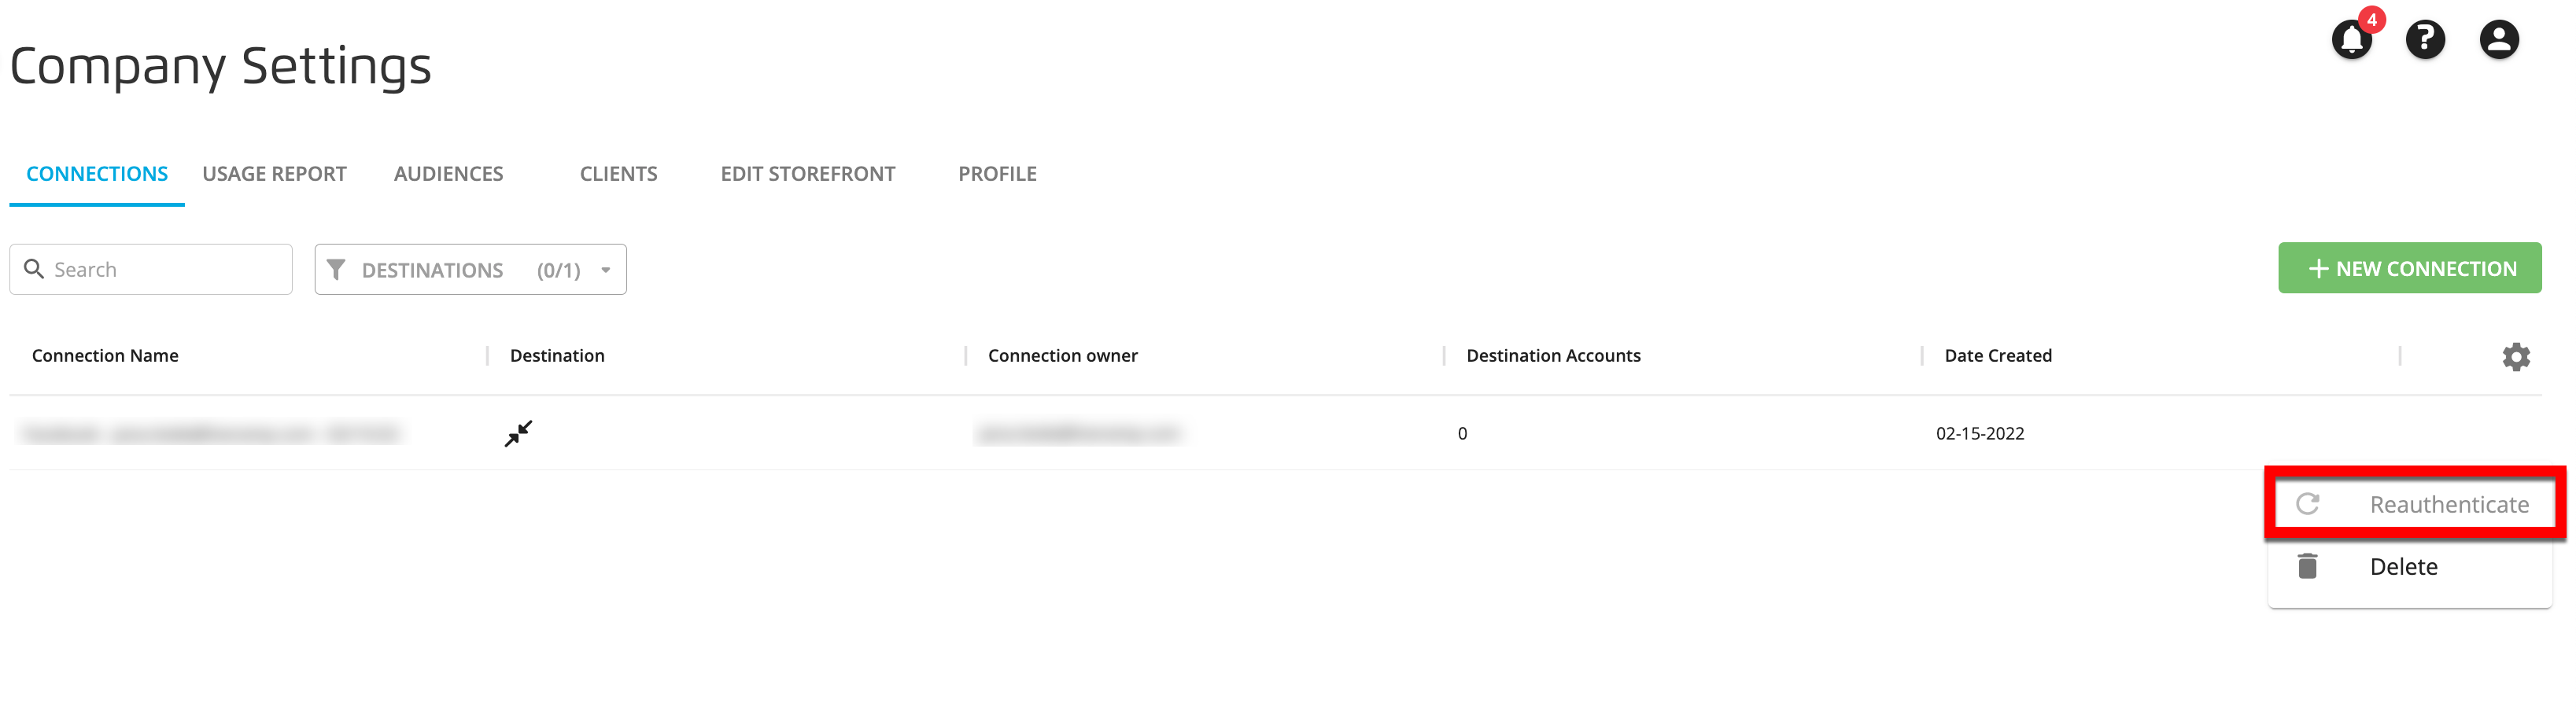
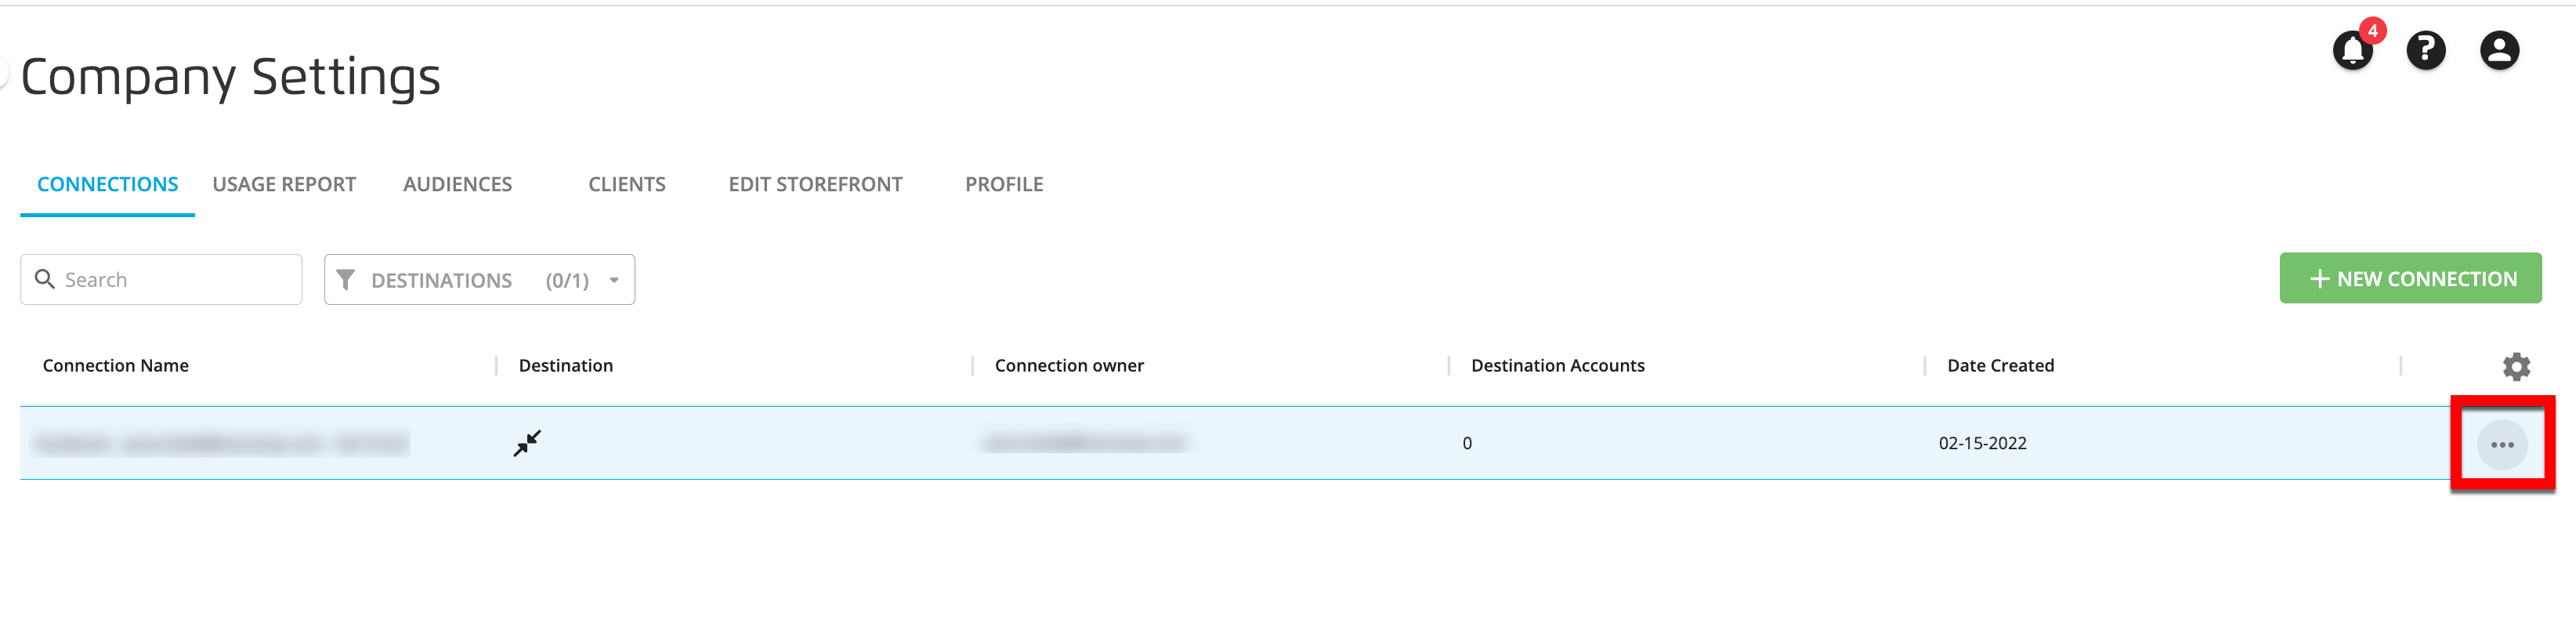
Click the "more actions" icon that appears when you hover over the row of the audience you want to delete, and then select Delete.
From the Delete OAuth Account Connection dialog, click .

Caution
Review the deletion information carefully, as deletion cannot be undone.
From time to time, you might want to check that your credentials for an OAuth connection are still valid at the OAuth destination (such as before assigning the connection to a number of destination accounts). You can do this from the Connections tab by "reauthenticating" the connection.
If any of your login credentials change at an OAuth platform (such as your email address changes), you will also need to reauthenticate the connection.
To reauthenticate an OAuth connection:
From the navigation menu, select Administration → Company Settings to navigate to the Company Settings page.
Select the Connections tab.
Click the "more actions" icon that appears when you hover over the row of the audience you want to delete, and then select Reauthenticate.