The Taxonomies Page
The Taxonomies page is where you manage the taxonomies that have been built in your account.
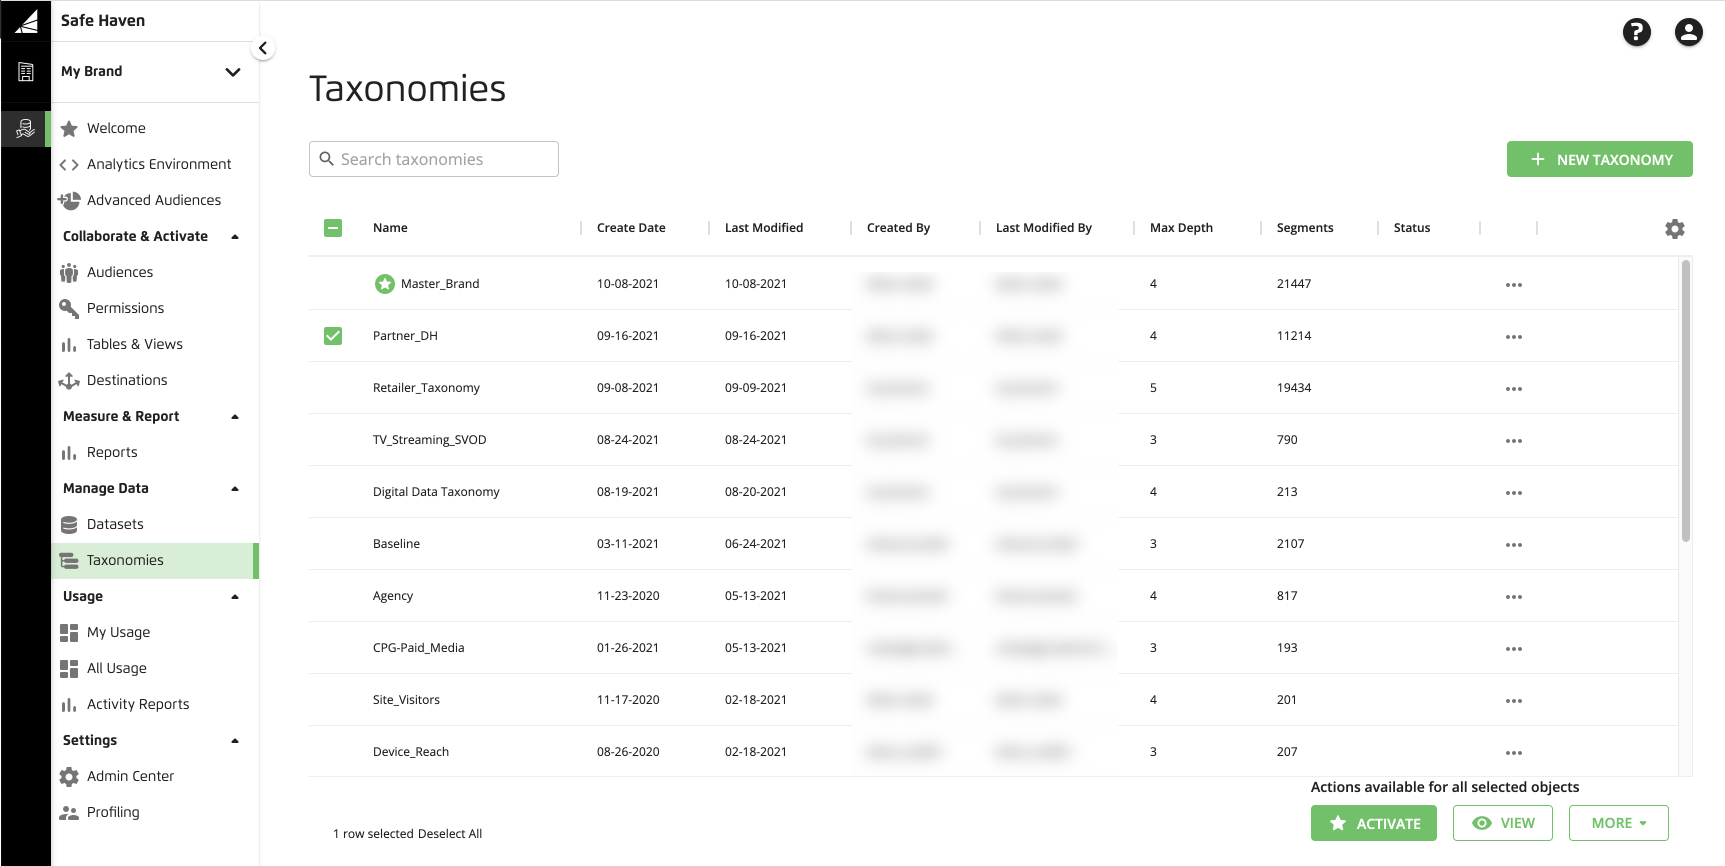
Newly-ingested datasets become available for you to add to your taxonomies on the Taxonomies page.
The taxonomy that you set to "active" becomes the taxonomy that provides the data that you can use during audience building. The active taxonomy is indicated by a star icon ( ) to the left of the taxonomy name and the row for the active taxonomy appears in green. See Make a Taxonomy the Active Taxonomy.
Note
Only one taxonomy can be active at a time.
Only users with the LSH Admin, LSH CP Admin, LSH Data Scientist, or LSH Campaign Planner personas can manage a taxonomy.
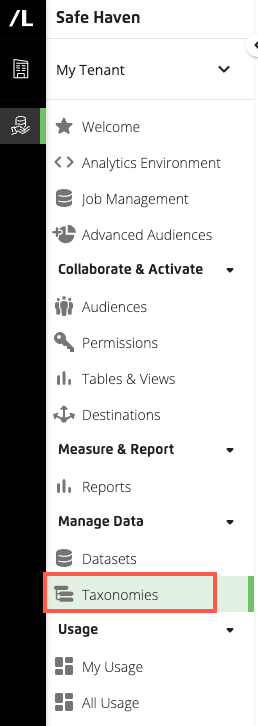
To access the Taxonomies page:
In the left navigation pane, click Taxonomies.
The taxonomies are listed in reverse chronological order (most recently created or edited taxonomies at the top of the list), with columns that provide additional information for each taxonomy. You can use the search bar to filter the taxonomies that are displayed by taxonomy name.
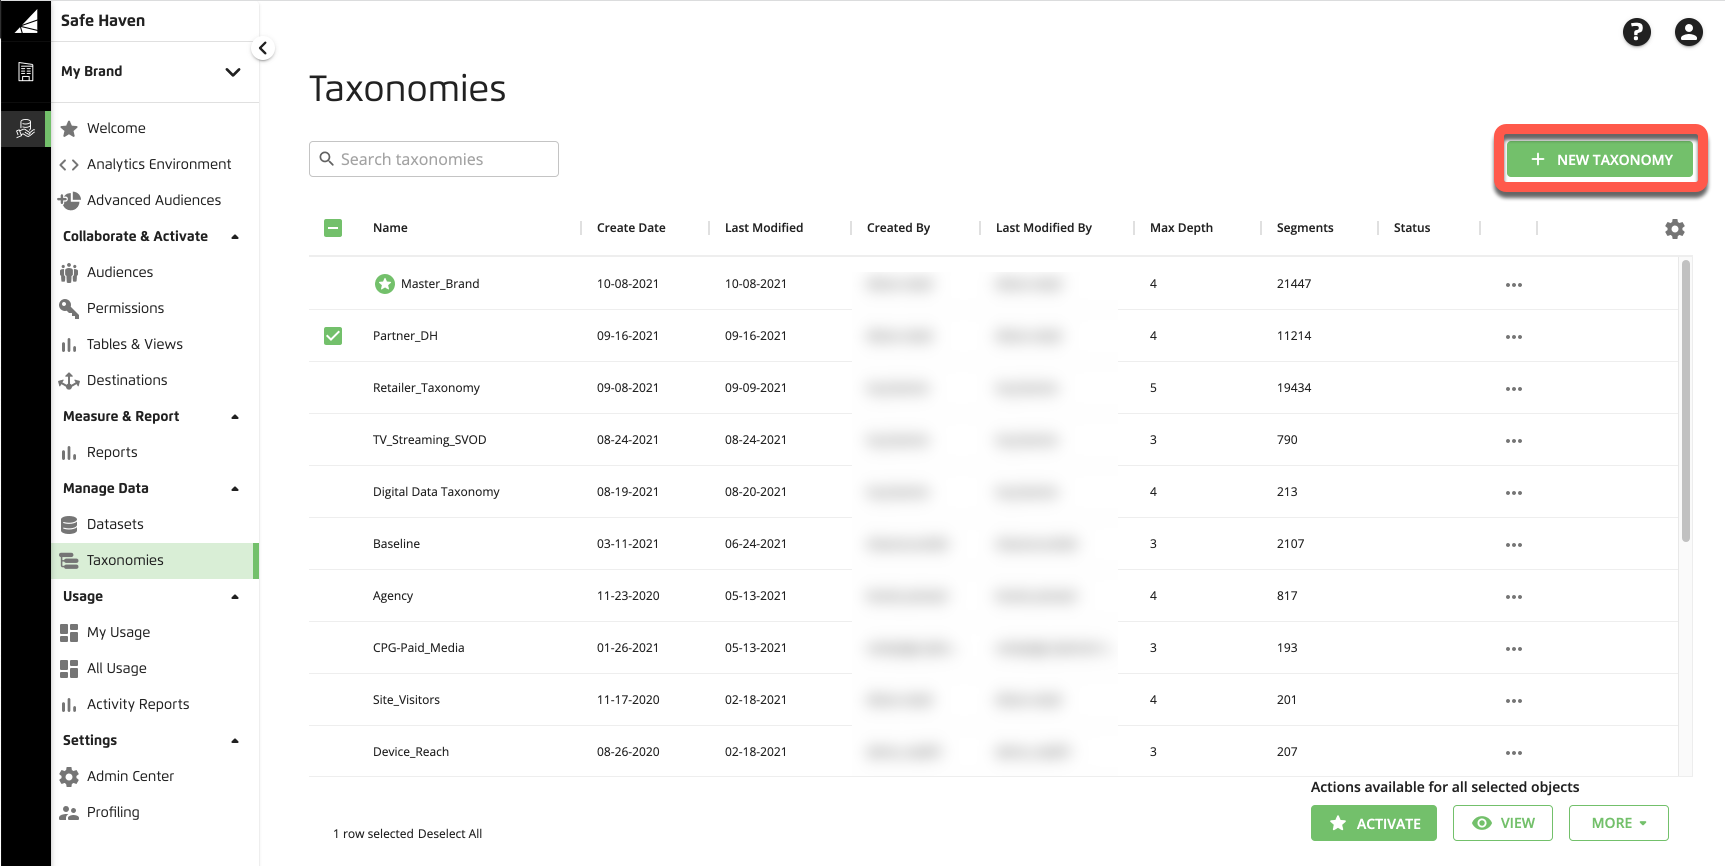
To build a new taxonomy, click .
Name: The name of the taxonomy
Create Date: The date the taxonomy was created
Last Modified: The date the taxonomy was last modified
Last Modified By: The user who last modified the taxonomy
Max Depth: The number of segment folder levels the taxonomy contains
Segments: The total number of segments the taxonomy contains
Status: The status of the taxonomy's permissions. If a permission was created for the taxonomy, a "permission" icon (
 ) appears. If no icon is present, the taxonomy has no permissions.
If you select the check box next to a particular taxonomy, buttons appear at the bottom of the page for you to perform actions on that taxonomy.
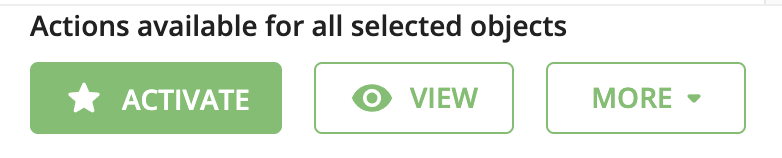
Clicking displays additional options:
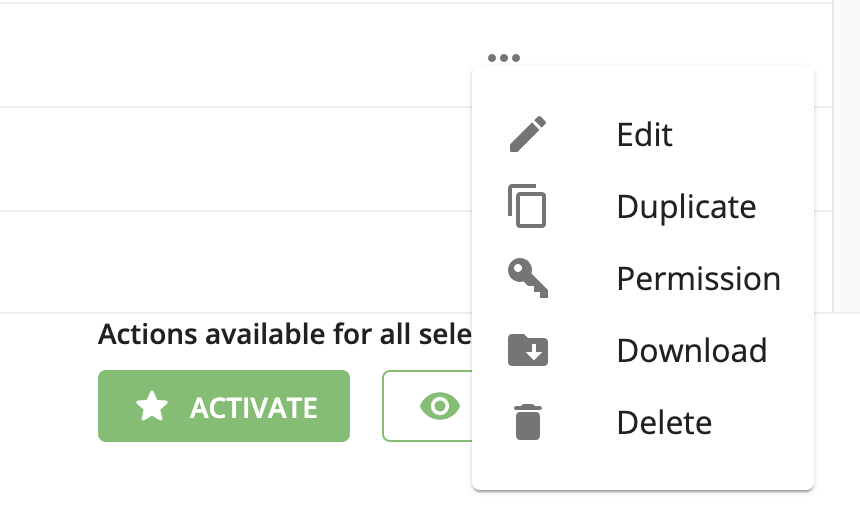
The actions listed below can be performed on taxonomies:
 Duplicate a taxonomy (so you can edit a taxonomy)
 Edit a taxonomy (for taxonomies where you are the owner)
 Delete a taxonomy (or all of the audiences within that subfolder)


Some buttons or icons might be grayed out, and the available actions might vary, depending on the status of the taxonomy.
For many tables in Advanced TV, you can change the way the table displays in some or all of the following areas:
The columns that are displayed
The order the columns are displayed in
The width of the columns
The sort order
The spacing of the table rows
Changing the Columns that are Displayed
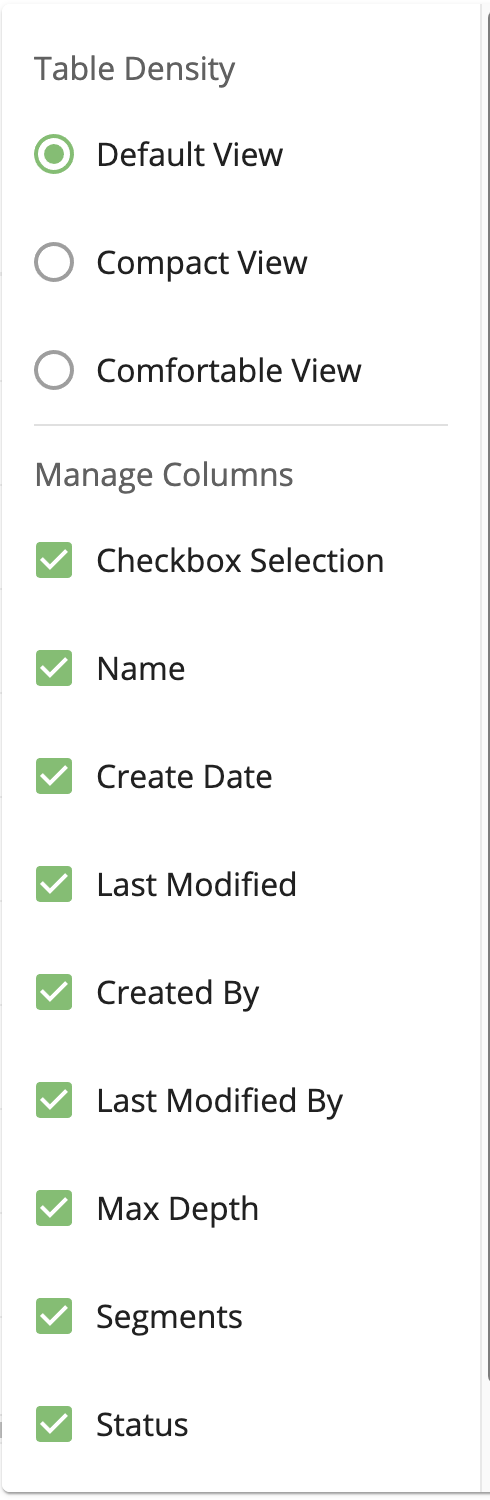
To change the columns that are displayed, click the table settings icon ( ) on the right side of the table.
From the Manage Columns area of the panel that opens, check or uncheck the appropriate check boxes for the columns you want to display or hide.
Click anywhere outside of the panel to close it.
Changing the Column Order
To change the order of the table columns, click and drag each column heading into your desired location.
Changing the Column Width
To change the width of a particular column, click and drag the small vertical line at the right edge of that column heading (Universe column example shown).
Changing the Table Sort Order
You can change the table sort order, including the column the table is sorted on and whether the sort is ascending or descending:
When you first open the page, the table is sorted by the first column in an "ascending" sort by default.
To sort the table by a particular column, click the column heading.
When you first click a column heading, the sort method defaults to "ascending" and an upward-pointing arrow appears on the right side of the column heading.
To change the sort method for the column the table is being sorted on from "ascending" to descending," click the column heading again. A downward-pointing arrow appears on the right side of the column heading.
Changing the Table Row Spacing
See the sections below for more information.
From the Table Density area, check the desired radio button:
Default view
Compact view spaces the rows more closely together than the default view
Comfortable view spaces the rows further apart than the default view
Click anywhere outside of the panel to close it.